|
|
| (4 intermediate revisions by the same user not shown) |
| Line 207: |
Line 207: |
| * Applies 20% damage scaling to next hit when beginning a combo (100/80/70...) | | * Applies 20% damage scaling to next hit when beginning a combo (100/80/70...) |
| <br> | | <br> |
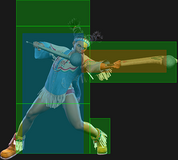
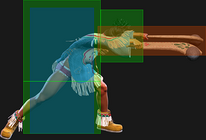
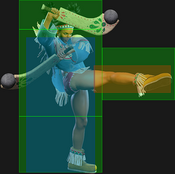
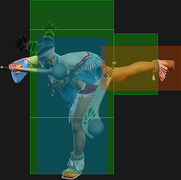
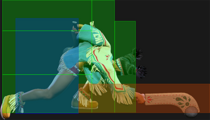
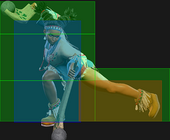
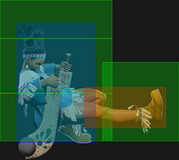
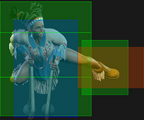
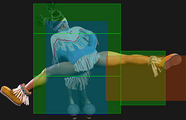
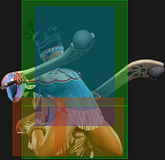
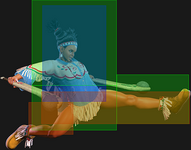
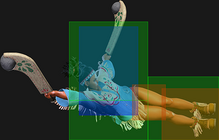
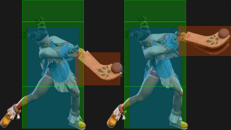
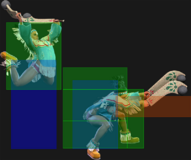
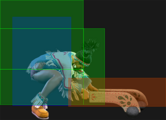
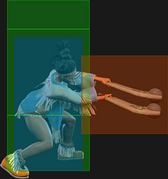
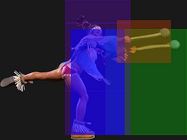
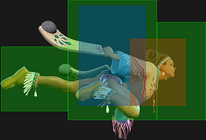
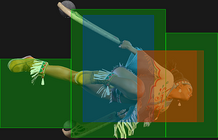
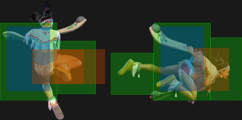
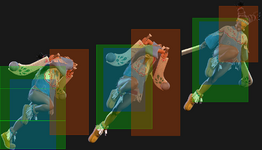
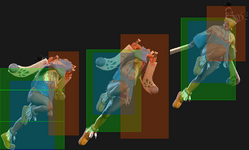
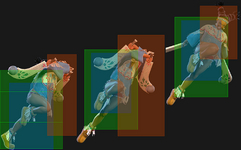
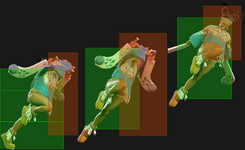
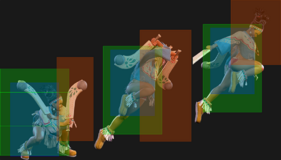
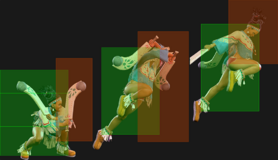
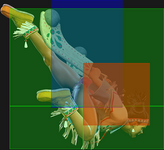
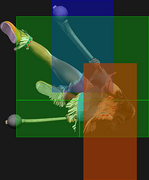
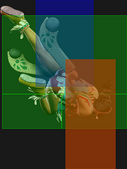
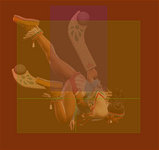
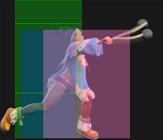
| Useful for catching an opponent trying to jump or walk backwards out of a blockstring. Can be difficult to confirm into a combo as it is not cancelable and has more pushback than her other light attacks. | | Useful for catching an opponent trying to jump or walk backwards out of a blockstring. Works well in 3-light hitconfirms as long as the 3rd button is [[#5LP|{{clr|L|5LP}}]]/[[#2LP|{{clr|L|2LP}}]]. After a [[#Condor_Wind_Attack_(214P)|{{clr|M|MP Condor Wind}}]] standing reset, [[#2LK|{{clr|L|2LK}}]] can catch opponents trying to escape a command grab, confirming into {{clr|DR|Windclad}} {{clr|M|MK}}/{{clr|OD|OD}} [[##Condor_Spire_(236K)|Condor Spire]]. |
|
| |
|
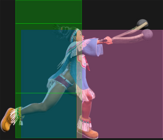
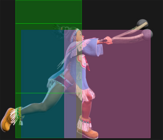
| Defensively, it is more consistent for interrupting blockstrings where [[#5LK|{{clr|L|5LK}}]] lacks the range to reach the opponent, but it isn't usually possible to reach the opponent to combo afterwards which somewhat limits its usefulness. | | Defensively, {{clr|L|2LK}} is more consistent for interrupting blockstrings where [[#5LK|{{clr|L|5LK}}]] lacks the range to reach the opponent, but these ranges it may be too far to chain into anything, limiting its usefulness. |
| }} | | }} |
|
| |
|
| Line 281: |
Line 281: |
| {{AttackDataCargo-SF6/Query|lily_jmp}} | | {{AttackDataCargo-SF6/Query|lily_jmp}} |
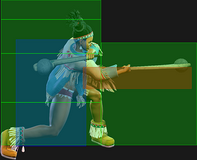
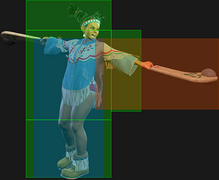
| * Puts airborne opponents into {{sf6-jug|limited juggle}} state | | * Puts airborne opponents into {{sf6-jug|limited juggle}} state |
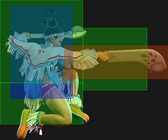
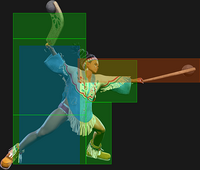
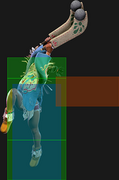
| * Chains into [[#j.MP~MP|{{clr|M|j.MP~MP}}]] Target Combo | | * Chains into [[#j.MP~MP|{{clr|M|j.MP~MP}}]] Target Combo or cancels into [[#Condor_Dive_(j.PP)|Condor Dive]]/[[#Level_2_Super_(236236K)|{{clr|SA|Air SA2}}]] |
| | ** Special/{{clr|SA|Super}} cancel window is 5 frames longer, enabling juggles at angles that would otherwise whiff |
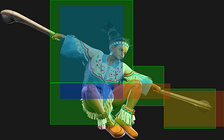
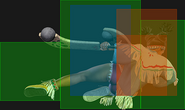
| * Shifts Lily's hurtbox upward during startup | | * Shifts Lily's hurtbox upward during startup |
| <br> | | <br> |
| Line 496: |
Line 497: |
| * {{clr|PC|Punish Counter}}: HKD +20 | | * {{clr|PC|Punish Counter}}: HKD +20 |
| * Applies 20% immediate damage scaling when comboed into (e.g. after Crumple) | | * Applies 20% immediate damage scaling when comboed into (e.g. after Crumple) |
| | * Successful Throw Escape builds {{clr|DR|1 Drive Gauge}} and {{clr|SA|10% Super Gauge}} for defender |
| | ** Awarded to random player if Throws are input simultaneously |
| <br> | | <br> |
| While it has less damage and range than Mexican Typhoon, Lily's normal throw leaves the opponent much closer on the ground for significantly better followup options. It also allows Lily to recover in time to anti-air an opponent that jumps in anticipation of a command grab. | | While it has less damage and range than Mexican Typhoon, Lily's normal throw leaves the opponent much closer on the ground for significantly better followup options. It also allows Lily to recover in time to anti-air an opponent that jumps in anticipation of a command grab. |
| Line 520: |
Line 523: |
| * {{clr|PC|Punish Counter}}: HKD +32 | | * {{clr|PC|Punish Counter}}: HKD +32 |
| * Applies 20% immediate damage scaling when comboed into (e.g. after Crumple) | | * Applies 20% immediate damage scaling when comboed into (e.g. after Crumple) |
| | * Successful Throw Escape builds {{clr|DR|1 Drive Gauge}} and {{clr|SA|10% Super Gauge}} for defender |
| | ** Awarded to random player if Throws are input simultaneously |
| <br> | | <br> |
| While this has a longer knockdown than forward throw it also leaves the opponent further away, so it's best to avoid sending them midscreen with it. | | While this has a longer knockdown than forward throw it also leaves the opponent further away, so it's best to avoid sending them midscreen with it. |
| Line 525: |
Line 530: |
| After throwing the opponent back into the corner, {{clr|DR|Drive Rush}} sets up another close range strike/throw mixup. Unlike forward throw, there is enough time to recover and block reversals.<br> | | After throwing the opponent back into the corner, {{clr|DR|Drive Rush}} sets up another close range strike/throw mixup. Unlike forward throw, there is enough time to recover and block reversals.<br> |
| Alternatively, performing a regular dash sets up a mixup between [[#4HP|{{clr|H|4HP}}]], microwalk [[#2HP|{{clr|H|2HP}}]], or walk-up [[#Mexican_Typhoon_(360+P)|{{clr|OD|Command Grab}}]]. Input 2486 or 8426 during the dash animation, then hold forwards and press punch just as the opponent stands up. | | Alternatively, performing a regular dash sets up a mixup between [[#4HP|{{clr|H|4HP}}]], microwalk [[#2HP|{{clr|H|2HP}}]], or walk-up [[#Mexican_Typhoon_(360+P)|{{clr|OD|Command Grab}}]]. Input 2486 or 8426 during the dash animation, then hold forwards and press punch just as the opponent stands up. |
|
| |
| }} | | }} |
| <br> | | <br> |
| Line 847: |
Line 851: |
| * '''Anti-Air Invuln''' 1-10f (cannot hit cross-up); '''Airborne''' 7-37f ({{FKD}} state) | | * '''Anti-Air Invuln''' 1-10f (cannot hit cross-up); '''Airborne''' 7-37f ({{FKD}} state) |
| * Puts opponents into a {{sf6-jug|limited juggle}} state (can get follow-up juggle on high anti-air connect) | | * Puts opponents into a {{sf6-jug|limited juggle}} state (can get follow-up juggle on high anti-air connect) |
| * 2nd hit launches standing opponents into higher juggle state (KD +48~52); allows midscreen follow-ups | | * 2nd hit launches standing opponents into higher juggle state (KD +49~53); allows midscreen follow-ups |
| {{AttackDataCargo-SF6/Query|lily_623mp_1stock}} | | {{AttackDataCargo-SF6/Query|lily_623mp_1stock}} |
| * '''Anti-Air Invuln''' 1-12f (cannot hit cross-up); '''Airborne''' 9-44f ({{FKD}} state) | | * '''Anti-Air Invuln''' 1-12f (cannot hit cross-up); '''Airborne''' 9-44f ({{FKD}} state) |
| Line 999: |
Line 1,003: |
| | info = | | | info = |
| {{AttackDataCargo-SF6/Query|lily_236236k}} | | {{AttackDataCargo-SF6/Query|lily_236236k}} |
| * '''Full Invuln:''' 1-12f; '''Projectile Invuln:''' 13-41f; '''Airborne''' 7-80f ({{FKD}} state); Armor Break | | * '''Full Invuln:''' 1-12f; '''Projectile Invuln:''' 13-41f; '''Airborne''' 13-80f ({{FKD}} state); Armor Break |
| * '''Drive Gauge Depletion:''' 1 bar (hit) / 0.5 bars (block); up to 0.7 bars vs. stand block | | * '''Drive Gauge Depletion:''' 1 bar (hit) / 0.5 bars (block); up to 0.7 bars vs. stand block |
| * 40% minimum damage scaling | | * 40% minimum damage scaling; Damage distribution: 100x7,1800 |
| * Damage distribution: 100x7,1800
| |
| {{AttackDataCargo-SF6/Query|lily_j236236k}} | | {{AttackDataCargo-SF6/Query|lily_j236236k}} |
| * '''Full Invuln:''' 1-12f; '''Projectile Invuln:''' 13-41f; ({{FKD}} state until landing); Armor Break | | * '''Full Invuln:''' 1-12f; '''Projectile Invuln:''' 13-41f; ({{FKD}} state until landing); Armor Break |
| * '''Drive Gauge Depletion:''' 1 bar (hit) / 0.5 bars (block) | | * '''Drive Gauge Depletion:''' 1 bar (hit) / 0.5 bars (block) |
| * 40% minimum damage scaling | | * 40% minimum damage scaling; Damage distribution: 100x7,1800 |
| * 2f startup when canceled from [[#Condor_Spire_(236K)|{{clr|OD|236KK}}]]; Damage distribution: 100x7,1800 | | * 2f startup when canceled from [[#Condor_Spire_(236K)|{{clr|OD|236KK}}]] (this version remains '''Fully Invuln''' 1-41f) |
| <br> | | <br> |
| Can be canceled into from [[#Condor_Spire_(236K)|{{clr|OD|OD Condor Spire}}]] and [[#Condor_Wind_Attack_(214P)|{{clr|OD|OD Condor Wind}}]]. The latter is especially potent as it builds {{clr|DR|Windclad}} for extra damage on the spot. | | Can be canceled into from [[#Condor_Spire_(236K)|{{clr|OD|OD Condor Spire}}]] and [[#Condor_Wind_Attack_(214P)|{{clr|OD|OD Condor Wind}}]]. The latter is especially potent as it builds {{clr|DR|Windclad}} for extra damage on the spot. |
|
| |
|
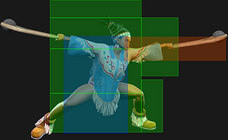
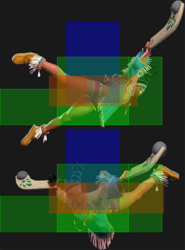
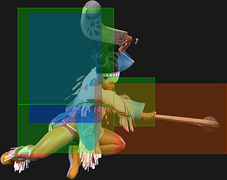
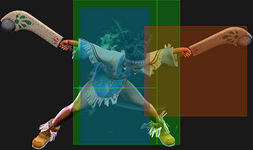
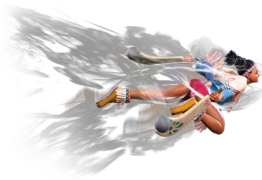
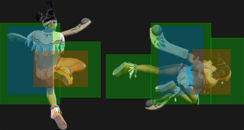
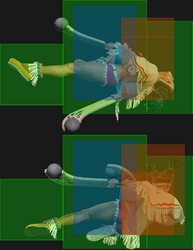
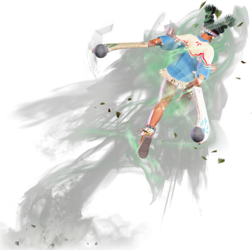
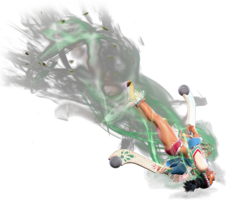
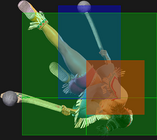
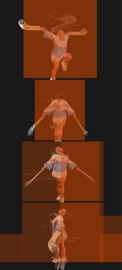
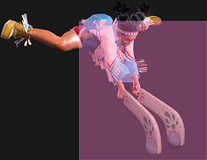
| This is a good anti air that hits straight upwards and in both directions, catching crossup attempts. It's also a good reversal that beats most buttons. When jumping out of a corner throw loop, inputting the aerial version in the opposite direction allows Lily to punish an opponent who tries to anti-air uppercut your escape; this is a risky call-out, as it can't be done on reaction. | | This is a good anti air that hits straight upwards and in both directions, catching crossup attempts. It's also a good reversal that beats most buttons. When jumping out of a corner throw loop, inputting the aerial version in the opposite direction allows Lily to punish an opponent who tries to anti-air uppercut your escape; this is a risky call-out, as it can't be done on reaction, and the full invincibility may run out against some attacks. |
|
| |
|
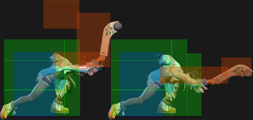
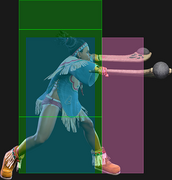
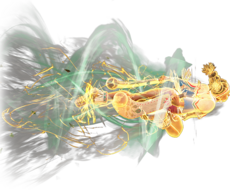
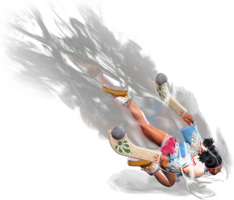
| The {{clr|DR|Windclad}} version has significantly more range and deals more damage, making it useful as an anti-projectile tool and as a long range punish. The suction effect will ensure it fully connects even against an extended hurtbox. | | The {{clr|DR|Windclad}} version has significantly more range and deals more damage, making it useful as an anti-projectile tool and as a long range punish. The suction effect will ensure it fully connects even against an extended hurtbox. |
| Line 1,027: |
Line 1,030: |
| | info = | | | info = |
| {{AttackDataCargo-SF6/Query|lily_236236k_1stock}} | | {{AttackDataCargo-SF6/Query|lily_236236k_1stock}} |
| * '''Full Invuln:''' 1-12f; '''Projectile Invuln:''' 13-41f; '''Airborne''' 7-80f ({{FKD}} state); Armor Break | | * '''Full Invuln:''' 1-12f; '''Projectile Invuln:''' 13-41f; '''Airborne''' 13-80f ({{FKD}} state); Armor Break |
| * Consumes 1 Windclad stock | | * Consumes 1 Windclad stock |
| * '''Drive Gauge Depletion:''' 1 bar (hit) / 0.6 bars (block); up to 0.825 bars vs. stand block | | * '''Drive Gauge Depletion:''' 1 bar (hit) / 0.6 bars (block); up to 0.825 bars vs. stand block |
| * 40% minimum damage scaling | | * 40% minimum damage scaling; Damage distribution: 100x12,1600 |
| * Damage distribution: 100x12,1600
| |
| {{AttackDataCargo-SF6/Query|lily_j236236k_1stock}} | | {{AttackDataCargo-SF6/Query|lily_j236236k_1stock}} |
| * '''Full Invuln:''' 1-12f; '''Projectile Invuln:''' 13-41f; ({{FKD}} state until landing); Armor Break | | * '''Full Invuln:''' 1-12f; '''Projectile Invuln:''' 13-41f; ({{FKD}} state until landing); Armor Break |
| * Consumes 1 Windclad stock | | * Consumes 1 Windclad stock |
| * '''Drive Gauge Depletion:''' 1 bar (hit) / 0.6 bars (block) | | * '''Drive Gauge Depletion:''' 1 bar (hit) / 0.6 bars (block) |
| * 40% minimum damage scaling | | * 40% minimum damage scaling; Damage distribution: 100x12,1600 |
| * 2f startup when canceled from [[#Condor_Spire_(236K)|{{clr|OD|236KK}}]]; Damage distribution: 100x12,1600 | | * 2f startup when canceled from [[#Condor_Spire_(236K)|{{clr|OD|236KK}}]] (this version remains '''Fully Invuln''' 1-41f) |
| <br> | | <br> |
| Can be canceled into from [[#Condor_Spire_(236K)|{{clr|OD|OD Condor Spire}}]] and [[#Condor_Wind_Attack_(214P)|{{clr|OD|OD Condor Wind}}]]. The latter is especially potent as it builds {{clr|DR|Windclad}} for extra damage on the spot. | | Can be canceled into from [[#Condor_Spire_(236K)|{{clr|OD|OD Condor Spire}}]] and [[#Condor_Wind_Attack_(214P)|{{clr|OD|OD Condor Wind}}]]. The latter is especially potent as it builds {{clr|DR|Windclad}} for extra damage on the spot. |
|
| |
|
| This is a good anti air that hits straight upwards and in both directions, catching crossup attempts. It's also a good reversal that beats most buttons. When jumping out of a corner throw loop, inputting the aerial version in the opposite direction allows Lily to punish an opponent who tries to anti-air uppercut your escape; this is a risky call-out, as it can't be done on reaction. | | This is a good anti air that hits straight upwards and in both directions, catching crossup attempts. It's also a good reversal that beats most buttons. When jumping out of a corner throw loop, inputting the aerial version in the opposite direction allows Lily to punish an opponent who tries to anti-air uppercut your escape; this is a risky call-out, as it can't be done on reaction, and the full invincibility may run out against some attacks. |
|
| |
|
| The {{clr|DR|Windclad}} version has significantly more range and deals more damage, making it useful as an anti-projectile tool and as a long range punish. The suction effect will ensure it fully connects even against an extended hurtbox. | | The {{clr|DR|Windclad}} version has significantly more range and deals more damage, making it useful as an anti-projectile tool and as a long range punish. The suction effect will ensure it fully connects even against an extended hurtbox. |


