(→Combos) |
|||
| (6 intermediate revisions by the same user not shown) | |||
| Line 2: | Line 2: | ||
= Introduction = | = Introduction = | ||
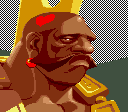
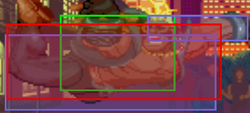
Birdie is a former professional wrestler who turned to a life of crime once his career was over, while he was street fighting (heh) he eventually found out about the Shadaloo and fought Bison(dictator) to prove his worthy of working for them. | |||
Him and Adon are the only reappearing SF1 characters in this game that weren't in SF2. | |||
{{ProConTable | |||
|pros= | |||
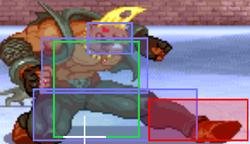
* '''360 command grab with great range in a game with no throw protection | |||
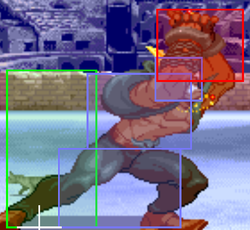
* '''The Birdie:''' has good range and speed, so it can be easy to hit an "unblockable". | |||
* '''Bull Revenger:''' has more invencibility on the way down and significantly more damage compared to its A2 counterpart. | |||
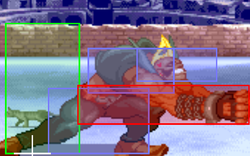
* '''Anti-airs:''' Bull Head has a lot of active frames, making it a great anti-air tool even if it's more prone to trade or deal less damage in comparison to Bull Horn; 5HP and 5HK are also good options. | |||
|cons= | |||
* '''Normals are overall Slower on average then most if not all chars''' | |||
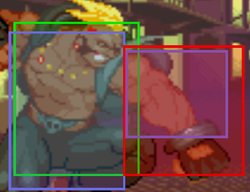
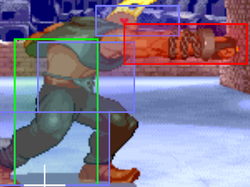
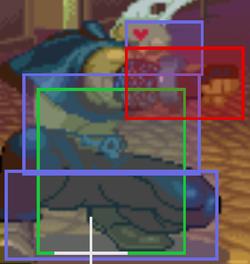
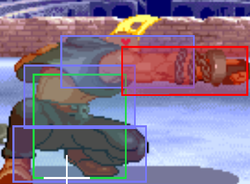
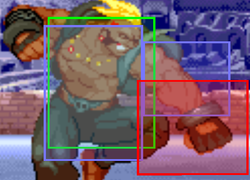
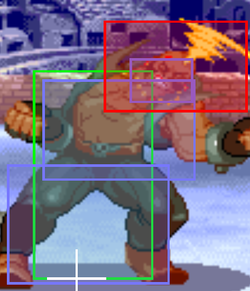
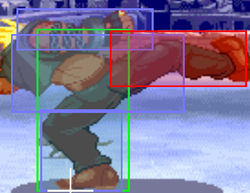
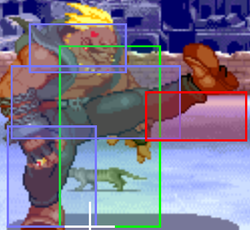
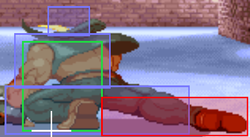
* '''Cannot block alot of buttons from the very tip due to his huge hurtbox''' | |||
* '''Final tap Does Less damage Then A heavy dp from A shoto''' | |||
* '''Least ammount of lows of any character''' | |||
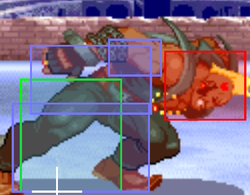
* '''Bullhead can be punished on hit if done too close or comboed into Making it lackluster at best''' | |||
* '''Frame data:''' His + frames are usually a suggestion rather then something that exists since alot of his moves are either 0 or - on hit. | |||
* '''Slowest Forward walk in the game By a pretty big margin''' | |||
* '''Weak to grabs:'''Birdie's slow jump and lack of a real meterless reversal makes dealing with Sodom's 360/720 setups a nightmare, his regular throw range is also pitful so even teching throws to not be looped into death is a challenge. | |||
* '''The Birdie's lvl 2 & 3:''' Both variants have HORRIBLE lower body invencibility, any low stronger than a short will either interrupt it outright or trade, lvl 3 can even be punished by mashing during the stun animation if they don't end up in the corner; Don't rely too much on this super as a reversal like in A2. | |||
}} | |||
}} | |||
}} | |||
= Moves List = | = Moves List = | ||
| Line 475: | Line 459: | ||
|Block=[[File:Mid.png]] | |Block=[[File:Mid.png]] | ||
|Properties= | |Properties= | ||
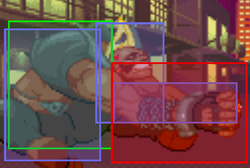
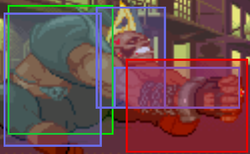
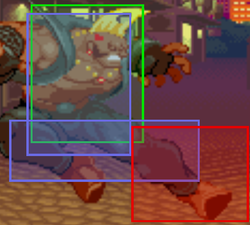
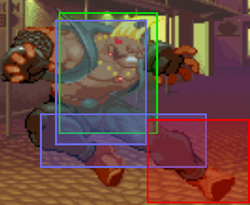
|description= A cross up that whiffs every crouching character in the game.... Yeah | |description= A cross up that whiffs every crouching character in the game.... Yeah.<br> | ||
BUT, this move somehow makes Birdie reach the floor slightly faster than normal, which makes him not get punished by fireballs or supers if he's just a little above the ground. | |||
}} | }} | ||
}} | }} | ||
| Line 559: | Line 544: | ||
= The Basics = | = The Basics = | ||
Birdie is a rather flawed character, in order to deal consistent damage he has to either spend meter or simply LP/MP Bull Head send the opponent far enough for him to not be severly punished.<br> | |||
In a way, he's kinda of a slugger (even though he doesn't do that much damage in the context of this game), he will gladly take trades in order to brute force his way to victory.<br> | |||
2LK is your best normal to use a blocked Bull Horn, use it for tick throw or just to combo, prioritize the command grab though, it's Birdie's stronger meterless tool and deals 1/4 of the opponent's health, even if it doesn't hard knockdown you're still going to need use it whenever you can, even if you have to make a read or do it on reaction. | |||
= Advanced Strategy = | = Advanced Strategy = | ||
= Match-ups = | = Match-ups = | ||
Vs. Adon: | |||
Vs. Akuma: Regular, Red and air fire balls make approaching Akuma a herculean effort, Birdie should "technically" be able to just punish those with super but they are so fast it's nearly impossible for someone to just super on reaction (and actually hit Akuma), specially against a good opponent that's not going to just spam fire ball willy-nilly; So you have to make every hit COUNT.<br> | |||
Anyway, if Akuma tries to lame you out by jumping backwards and fire ball you have two options, jump over it if the trajectory is too close to him or use either Medium or Heavy Bull Head if the projectile decends further from Akuma which will allow Birdie to go under and hit the opponent on the way down. | |||
Bull Horn is not that usefull in this match up as Akuma gains meter like crazy and will usually AC whenever it gets blocked, use this only to dodge his air fireball super.<br> | |||
Also, do NOT try to air-to-air Akuma, Birdie's air normals 9 times out of 10 won't beat the air fire ball. | |||
Vs. Birdie (self): | |||
Vs. Charlie: | |||
Vs. Chun-Li: | |||
Vs. Dan: | |||
Vs. Guy: | |||
Vs. Ken: This character bullies Birdie the most, roll pressure is too strong for Birdie to handle, depending on how well the Ken player performs it, your only answers to it are HK whiff into 360, super, 2LK if he cancels it from a light or a well timed Bull horn, otherwise you can deal with Ken like you deal with Ryu. | |||
Vs. M. Bison (dictator): | |||
Vs. Rose: | |||
Vs. Ryu: Deal with his zoning with J.2HP but don't be too hasty with it or else you'll get anti-air'd, but if you manage to bait Ryu to use Shinku with it then you'll be able to punish him with "The Birdie" once you're out of hitstun.<br> | |||
Raw Bull Horn can occasionally deal with his tatsu super, also, don't forget to whiff 5HK into 360 (even if Ryu kara cancels into anything BUT shoryuken he's going to get hit either way), | |||
Vs. Sagat: | |||
Vs. Sodom: Don't ever let Sodom pressure you, Birdie has no meterless escape from his 360/720 setups, so if you have meter to spare don't shy away from using AC or long Bull revenger to get out of danger, never try to use "The Birdie" to punish Sodom in this situation unless you're sure sure the first hit will kill since Sodom is considered airborne while performing the command grab.<br> | |||
Although it sounds bad, this match up is not as one sided as it seems, Sodom also doesn't have any meterless anser to Birdie's tick throws and short Bull Revenger can punish the long ranged setups that require Sodom to Kara his command grab. | |||
{{Navbox-SFA1}} | {{Navbox-SFA1}} | ||
Latest revision as of 23:11, 20 May 2025
Introduction
Birdie is a former professional wrestler who turned to a life of crime once his career was over, while he was street fighting (heh) he eventually found out about the Shadaloo and fought Bison(dictator) to prove his worthy of working for them. Him and Adon are the only reappearing SF1 characters in this game that weren't in SF2.
| Strengths | Weaknesses |
|---|---|
|
|
}} }}
Moves List
Normal Moves
Command Moves
Special Moves
Murderer Chain
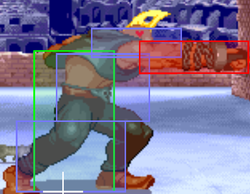
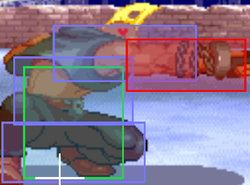
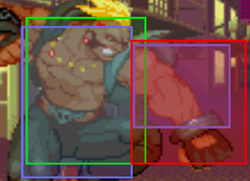
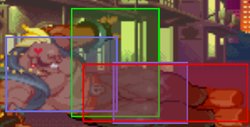
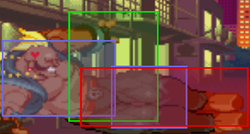
360 + P connects close; unblockable
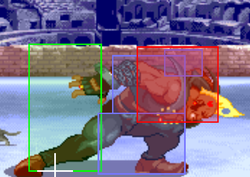
Bull Horn
Super Moves
The Birdie
Charge b for 2 seconds,f, b, f + P
Bull Revenger
qcf, qcf + P/K
Combos
-j.HK,c.LK,c.HP,HP Bull Head
-j.HK,c.LK,c.HP,The Birdie Lvl2
-j.HK,c.LK,c.HP,The Birdie Lvl3 (in the corner)
-crossup j.HP,c.LK,c.MP,c.HK
The Basics
Birdie is a rather flawed character, in order to deal consistent damage he has to either spend meter or simply LP/MP Bull Head send the opponent far enough for him to not be severly punished.
In a way, he's kinda of a slugger (even though he doesn't do that much damage in the context of this game), he will gladly take trades in order to brute force his way to victory.
2LK is your best normal to use a blocked Bull Horn, use it for tick throw or just to combo, prioritize the command grab though, it's Birdie's stronger meterless tool and deals 1/4 of the opponent's health, even if it doesn't hard knockdown you're still going to need use it whenever you can, even if you have to make a read or do it on reaction.
Advanced Strategy
Match-ups
Vs. Adon:
Vs. Akuma: Regular, Red and air fire balls make approaching Akuma a herculean effort, Birdie should "technically" be able to just punish those with super but they are so fast it's nearly impossible for someone to just super on reaction (and actually hit Akuma), specially against a good opponent that's not going to just spam fire ball willy-nilly; So you have to make every hit COUNT.
Anyway, if Akuma tries to lame you out by jumping backwards and fire ball you have two options, jump over it if the trajectory is too close to him or use either Medium or Heavy Bull Head if the projectile decends further from Akuma which will allow Birdie to go under and hit the opponent on the way down.
Bull Horn is not that usefull in this match up as Akuma gains meter like crazy and will usually AC whenever it gets blocked, use this only to dodge his air fireball super.
Also, do NOT try to air-to-air Akuma, Birdie's air normals 9 times out of 10 won't beat the air fire ball.
Vs. Birdie (self):
Vs. Charlie:
Vs. Chun-Li:
Vs. Dan:
Vs. Guy:
Vs. Ken: This character bullies Birdie the most, roll pressure is too strong for Birdie to handle, depending on how well the Ken player performs it, your only answers to it are HK whiff into 360, super, 2LK if he cancels it from a light or a well timed Bull horn, otherwise you can deal with Ken like you deal with Ryu.
Vs. M. Bison (dictator):
Vs. Rose:
Vs. Ryu: Deal with his zoning with J.2HP but don't be too hasty with it or else you'll get anti-air'd, but if you manage to bait Ryu to use Shinku with it then you'll be able to punish him with "The Birdie" once you're out of hitstun.
Raw Bull Horn can occasionally deal with his tatsu super, also, don't forget to whiff 5HK into 360 (even if Ryu kara cancels into anything BUT shoryuken he's going to get hit either way),
Vs. Sagat:
Vs. Sodom: Don't ever let Sodom pressure you, Birdie has no meterless escape from his 360/720 setups, so if you have meter to spare don't shy away from using AC or long Bull revenger to get out of danger, never try to use "The Birdie" to punish Sodom in this situation unless you're sure sure the first hit will kill since Sodom is considered airborne while performing the command grab.
Although it sounds bad, this match up is not as one sided as it seems, Sodom also doesn't have any meterless anser to Birdie's tick throws and short Bull Revenger can punish the long ranged setups that require Sodom to Kara his command grab.
