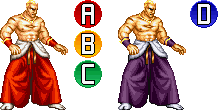
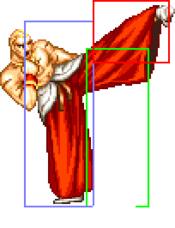
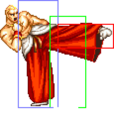
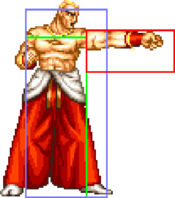
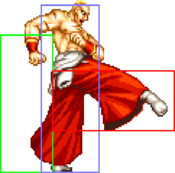
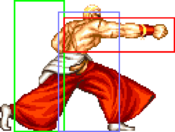
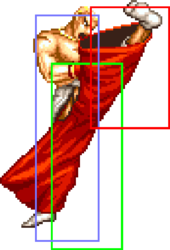
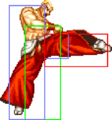
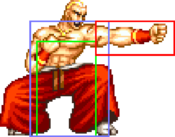
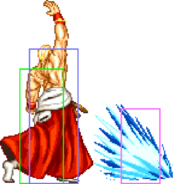
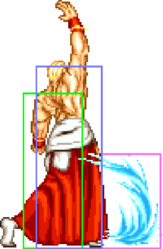
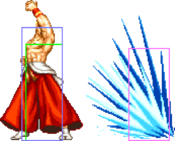
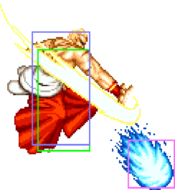
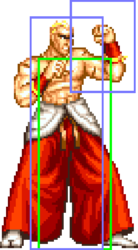
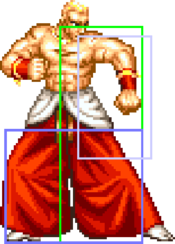
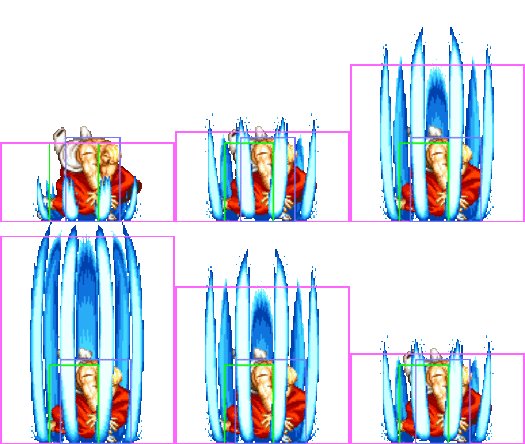
(→Throws) |
Tag: Undo |
||
| (6 intermediate revisions by the same user not shown) | |||
| Line 4: | Line 4: | ||
==Introduction== | ==Introduction== | ||
Geese Howard will not hesitate to stand his ground as the ultimate mob boss of South Town and Terry Bogard's ultimate rival. | Geese Howard will not hesitate to stand his ground as the ultimate mob boss of South Town and Terry Bogard's ultimate rival. His grounded Reppukens and handy air fireball combined with instant counters a great anti-air 2C make it easy for Geese to zone while also punishing any attempt at jumping in. However, he is not an easy character to play as one careless mistake can cost Geese's control of the screen which his floaty jump makes grueling to take back. If you love Geese, however, then he will not disappoint by being a unique character with an awesome stage and a rocking theme song. | ||
{| | {| | ||
| Line 17: | Line 17: | ||
| style="width: 50%;"| | | style="width: 50%;"| | ||
* Timing counter moves right can be tricky | * Timing counter moves right can be tricky | ||
* | * His high damage combos don’t work on crouching or small characters | ||
* Has a hard time against characters that can circumvent his projectiles | * Has a hard time against characters that can circumvent his projectiles | ||
* Steeper learning curve | * Steeper learning curve | ||
| Line 740: | Line 740: | ||
| Block Adv = -25 | | Block Adv = -25 | ||
| Property = | | Property = | ||
| description = *Bigger and more damaging than regular Reppuken, but much | | description = * Bigger and more damaging than regular Reppuken, but generally inferior as it takes much longer to start moving and is extremely slow to recover. Mostly used to chip after landing an anti-air or knockdown. | ||
}} | }} | ||
}} | }} | ||
| Line 835: | Line 835: | ||
}} | }} | ||
=== | ===Desperation Move=== | ||
===== <span class="invisible-header">Raging Storm (1632143BC)</span> ===== | ===== <span class="invisible-header">Raging Storm (1632143BC)</span> ===== | ||
<font style="visibility:hidden" size="0"></font> | <font style="visibility:hidden" size="0"></font> | ||
| Line 855: | Line 855: | ||
|Block Adv=-8 | |Block Adv=-8 | ||
|Property= | |Property= | ||
|description= | |description= Very slow and rarely ever possible to combo into. | ||
* The main use is as a high reward anti-air callout, though it's not as reliable as Geese's other options. | |||
}} | }} | ||
}} | }} | ||
| Line 866: | Line 867: | ||
* c5C > 236A/C - 32/37 damage | * c5C > 236A/C - 32/37 damage | ||
* 2C > 1632143BC | * 2C > 1632143BC | ||
Character/Backturn specific. | |||
==Strategy== | ==Strategy== | ||
Latest revision as of 04:43, 6 July 2025
Introduction
Geese Howard will not hesitate to stand his ground as the ultimate mob boss of South Town and Terry Bogard's ultimate rival. His grounded Reppukens and handy air fireball combined with instant counters a great anti-air 2C make it easy for Geese to zone while also punishing any attempt at jumping in. However, he is not an easy character to play as one careless mistake can cost Geese's control of the screen which his floaty jump makes grueling to take back. If you love Geese, however, then he will not disappoint by being a unique character with an awesome stage and a rocking theme song.
| Pros | Cons |
|---|---|
|
|
Move List
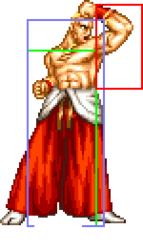
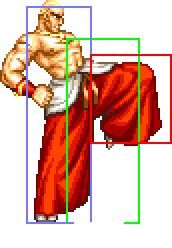
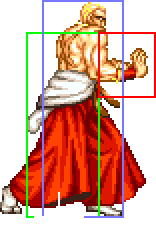
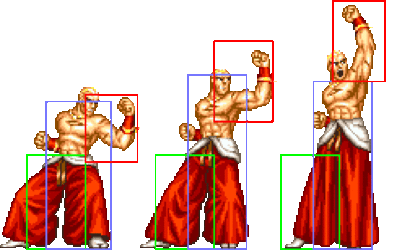
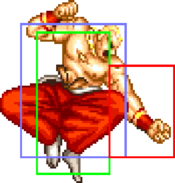
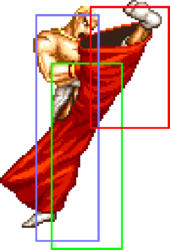
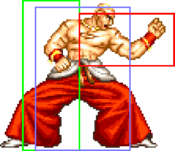
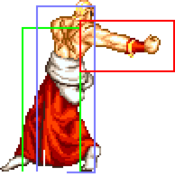
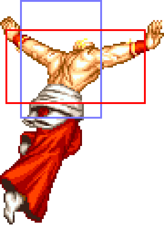
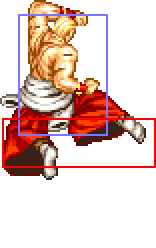
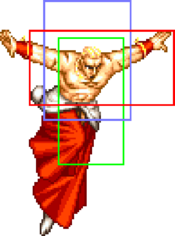
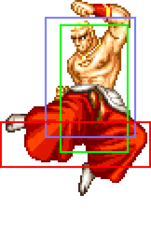
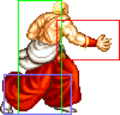
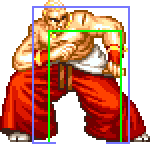
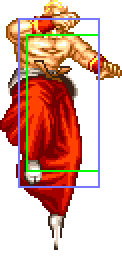
General Hurtboxes
| Standing/Walking | Crouching/Crawling | Jumping |
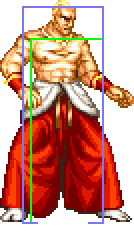 |
 |
|
| 58F (4+51+3) duration, tied for the slowest jump in the game. |
Close Standing Normals
c5A
| Damage | Stun | Guard | Startup | Active | Recovery | Total | Hit Adv | Block Adv | Property | |
|---|---|---|---|---|---|---|---|---|---|---|
| 8 | 2 | Mid | 5 | 6 | 0 | 10 | +10 | +11 | Kara Cancel | |
| ||||||||||
c5B
| Damage | Stun | Guard | Startup | Active | Recovery | Total | Hit Adv | Block Adv | Property | |
|---|---|---|---|---|---|---|---|---|---|---|
| 10 | 2 | Mid | 3 | 5 | 6 | 13 | +5 | +6 | Kara Cancel | |
| ||||||||||
c5C
| Damage | Stun | Guard | Startup | Active | Recovery | Total | Hit Adv | Block Adv | Property | |
|---|---|---|---|---|---|---|---|---|---|---|
| 18 | 4 | Mid | 6 | 9 | 14 | 28 | +1 | 0 | Kara Cancel | |
| ||||||||||
c5D
Far Standing Normals
f5A
| Damage | Stun | Guard | Startup | Active | Recovery | Total | Hit Adv | Block Adv | Property | |
|---|---|---|---|---|---|---|---|---|---|---|
| 6 | 2 | Mid | 4 | 7 | 0 | 10 | +9 | +10 | Kara Cancel | |
| ||||||||||
f5B
| Damage | Stun | Guard | Startup | Active | Recovery | Total | Hit Adv | Block Adv | Property | |
|---|---|---|---|---|---|---|---|---|---|---|
| 8 | 2 | Mid | 8 | 10 | 17 | 34 | -11 | -10 | Kara Cancel | |
| ||||||||||
f5C
| Damage | Stun | Guard | Startup | Active | Recovery | Total | Hit Adv | Block Adv | Property | |
|---|---|---|---|---|---|---|---|---|---|---|
| 16 | 4 | Mid | 7 | 13 | 19 | 38 | -9 | -10 | - | |
| ||||||||||
f5D
| Damage | Stun | Guard | Startup | Active | Recovery | Total | Hit Adv | Block Adv | Property | |
|---|---|---|---|---|---|---|---|---|---|---|
| 18 | 4 | Mid | 15 | 12 | 10 | 36 | +1 | 0 | - | |
Crouching Normals
2A
| Damage | Stun | Guard | Startup | Active | Recovery | Total | Hit Adv | Block Adv | Property | |
|---|---|---|---|---|---|---|---|---|---|---|
| 6 | 2 | Mid | 4 | 5 | 8 | 16 | +3 | +4 | Kara Cancel | |
| ||||||||||
2B
| Damage | Stun | Guard | Startup | Active | Recovery | Total | Hit Adv | Block Adv | Property | |
|---|---|---|---|---|---|---|---|---|---|---|
| 8 | 2 | Low | 5 | 4 | 6 | 14 | +6 | +7 | Kara Cancel | |
| ||||||||||
2C
| Damage | Stun | Guard | Startup | Active | Recovery | Total | Hit Adv | Block Adv | Property | |
|---|---|---|---|---|---|---|---|---|---|---|
| 11x2 | 4x2 | Mid | 3 | 3+6+12 | 21 | 44 | -14 | -13 | Kara Cancel | |
| ||||||||||
2D
| Damage | Stun | Guard | Startup | Active | Recovery | Total | Hit Adv | Block Adv | Property | |
|---|---|---|---|---|---|---|---|---|---|---|
| 14 | 4 | Low | 9 | 10 | 22 | 40 | KD | -9 | Kara Cancel | |
| ||||||||||
Jumping Normals
jA
| Damage | Stun | Guard | Startup | Active | Recovery | Total | Hit Adv | Block Adv | Property | |
|---|---|---|---|---|---|---|---|---|---|---|
| 6 | 2 | Overhead | 6 | ∞ | - | - | - | - | - | |
| ||||||||||
jB
| Damage | Stun | Guard | Startup | Active | Recovery | Total | Hit Adv | Block Adv | Property | |
|---|---|---|---|---|---|---|---|---|---|---|
| 8 | 2 | Overhead | 5 | ∞ | - | - | - | - | - | |
| ||||||||||
jC
jD
Universal Mechanics
Lane Blast (CD)
| Version | Damage | Stun | Guard | Startup | Active | Recovery | Total | Hit Adv | Block Adv | Property | |
|---|---|---|---|---|---|---|---|---|---|---|---|
| Front Lane | 22 | 5 | Mid | 16 | 17 | 7 | 39 | KD | -5 | Cancel | |
| |||||||||||
| Back Lane | 22 | 5 | Mid | 13 | 12 | 20 | 44 | KD | -13 | Cancel | |
| |||||||||||
Lane Attack
| Version | Damage | Stun | Guard | Startup | Active | Recovery | Total | Hit Adv | Block Adv | Property |
|---|---|---|---|---|---|---|---|---|---|---|
| A | 20 | 2 | Overhead | 9 | - | 4 | - | - | - | - |
| B | 20 | 2 | Overhead | 14 | - | 4 | - | - | - | - |
| C | 20 | 4 | Overhead | 9 | - | 4 | - | - | - | - |
| D | 20 | 4 | Overhead | 14 | - | 4 | - | - | - | - |
Dodge Attack
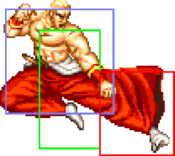
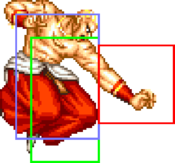
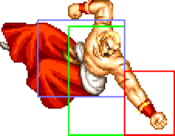
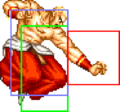
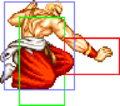
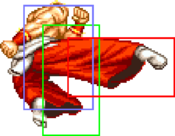
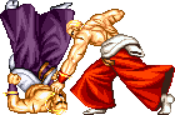
Throws
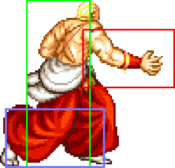
Katate Nage (4/6C)
| Damage | Stun | Range | Guard | Startup | Active | Recovery | Total | Hit Adv | Block Adv | Property |
|---|---|---|---|---|---|---|---|---|---|---|
| 26 | 3 | 12 | Throw | 1 | 1 | / | - | KD (+82) | / | - |
| ||||||||||
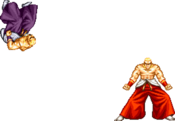
Shinkuu Nage (3C)
| Damage | Stun | Range | Guard | Startup | Active | Recovery | Total | Hit Adv | Block Adv | Property |
|---|---|---|---|---|---|---|---|---|---|---|
| 26 | 3 | 12 | Throw | 1 | 1 | / | - | KD (+41) | / | - |
| ||||||||||
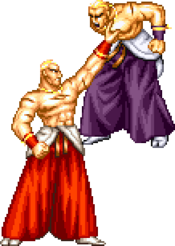
Kosatsusho (4/6D)
| Damage | Stun | Range | Guard | Startup | Active | Recovery | Total | Hit Adv | Block Adv | Property |
|---|---|---|---|---|---|---|---|---|---|---|
| 20~32 (4 x 5~8) | 0 | 11 | Throw | 1 | 1 | / | - | +8 | / | - |
| ||||||||||
Special Moves
Reppuken (236A)
| Damage | Stun | Guard | Startup | Active | Recovery | Total | Hit Adv | Block Adv | Property | |
|---|---|---|---|---|---|---|---|---|---|---|
| 16 (4) | 3 | Mid | 18 | - | 35 | 52 | -2 | -5 | - | |
| ||||||||||
Double Reppuken (236C)
| Damage | Stun | Guard | Startup | Active | Recovery | Total | Hit Adv | Block Adv | Property | |
|---|---|---|---|---|---|---|---|---|---|---|
| 22 (5) | 6 | Mid | 17 | - | 59 | 75 | -18 | -25 | - | |
| ||||||||||
Shippuuken (j214P)
- Good tool for punishing enemy projectiles or anti-air attempts.
- Both versions send Geese up and backward, allowing him to alter his jump trajectory.
| Version | Damage | Stun | Guard | Startup | Active | Recovery | Total | Hit Adv | Block Adv | Property | |
|---|---|---|---|---|---|---|---|---|---|---|---|
| A | 12 (4) | 3 | Mid/Low※ | 11 | - | Landing + 3 | - | - | - | - | |
| |||||||||||
| C | 18 (4) | 6 | Mid/Low※ | 11 | - | Landing + 3 | - | - | - | - | |
| |||||||||||
Jyoudan Atemi Nage (41236B)
| Damage | Stun | Guard | Startup | Active | Recovery | Total | Hit Adv | Block Adv | Property | |
|---|---|---|---|---|---|---|---|---|---|---|
| 18 | 3 | / | 1 | 19 | 21 | 40 | KD | / | - | |
| ||||||||||
Chuudan Atemi Nage (41236D)
| Damage | Stun | Guard | Startup | Active | Recovery | Total | Hit Adv | Block Adv | Property | |
|---|---|---|---|---|---|---|---|---|---|---|
| 18 | 3 | / | 1 | 19 | 21 | 40 | KD | - | - | |
| ||||||||||
Desperation Move
Raging Storm (1632143BC)
| Damage | Stun | Guard | Startup | Active | Recovery | Total | Hit Adv | Block Adv | Property | |
|---|---|---|---|---|---|---|---|---|---|---|
| 48 (12) | 4 | Mid | 22 | 30 | 12 | 63 | KD | -8 | - | |
|
Very slow and rarely ever possible to combo into.
| ||||||||||
Combos
- 2B x 3 - 24 damage
2B linked to 2B does not scale.
- (2B), c5A x 1~4 > f5A x 1~2 > f5C - 49 damage
2B does not link to c5A on Geese and Krauser.
- c5C > 236A/C - 32/37 damage
- 2C > 1632143BC
Character/Backturn specific.
Strategy
The Basics
Advanced Strategy
There is a bug that allows Player 1 Geese to make his Reppuken unblockable after a knockdown by whiffing f5A so that the projectile hits on f5A's last active frame. Even if it is a frame perfect trick, there is no risk to missing the timing, so you might as well go for it. Good opportunities for an unblockable Reppuken are after a counter or 4/6C throw, and it is recommended to walk back slightly before throwing the Reppuken. P1 Geese's c5A is also unblockable under the same conditions, but is far more risky so not as practical.

