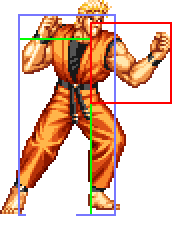
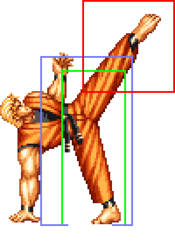
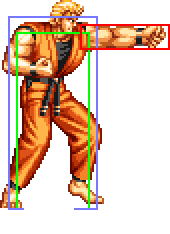
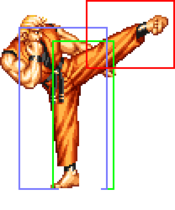
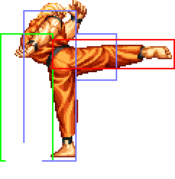
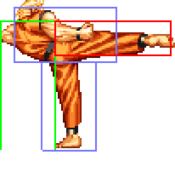
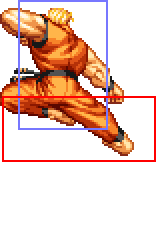
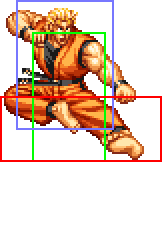
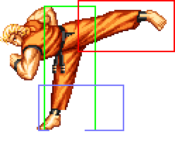
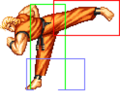
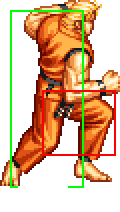
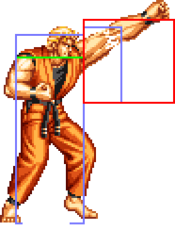
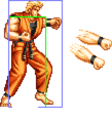
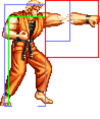
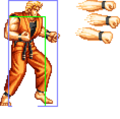
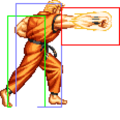
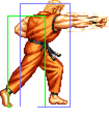
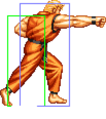
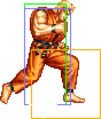
(→Throws) |
|||
| (22 intermediate revisions by 2 users not shown) | |||
| Line 6: | Line 6: | ||
'''Play as Ryo Sakazaki (AES only)'''<br> | '''Play as Ryo Sakazaki (AES only)'''<br> | ||
To play as Ryo Sakazaki, you must first reach him and defeat him. Then, wait at the title screen until a demonstration starts and input the following code after the word FIGHT! appears: ↑ ← ↓ → ↑ A ↑ → ↓ ← ↑ C. You will then hear Ryo shout "Ora! Ora!". Press START and select P1 VS P2 mode, and Ryo will appear right next to Krauser on the character select screen. '''Ryo is NOT playable in the MVS (arcade) version of the game. As the biggest Fatal Fury Special competitions are played on the arcade version, Ryo is also not playable in tournaments.''' | To play as Ryo Sakazaki, you must first reach him and defeat him. Then, wait at the title screen until a demonstration starts and input the following code after the word "FIGHT!" appears: ↑ ← ↓ → ↑ A ↑ → ↓ ← ↑ C. You will then hear Ryo shout "Ora! Ora!". Press START and select P1 VS P2 mode, and Ryo will appear right next to Krauser on the character select screen. '''Ryo is NOT playable in the MVS (arcade) version of the game. As the biggest Fatal Fury Special competitions are played on the arcade version, Ryo is also not playable in tournaments.''' | ||
==Move List== | ==Move List== | ||
{| border="1em" cellspacing="0" style="border: 1px solid #999;" | {| border="1em" cellspacing="0" style="border: 1px solid #999;" | ||
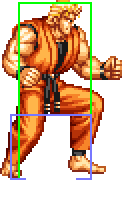
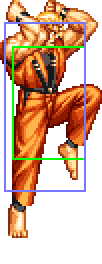
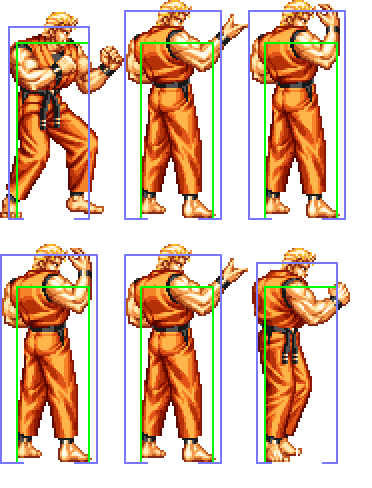
| align="center" | Standing/Walking || align="center" | Crouching | | align="center" | Standing/Walking || align="center" | Crouching || align="center" | Crawling || align="center" | Jumping || align="center" | Taunting | ||
|- | |- | ||
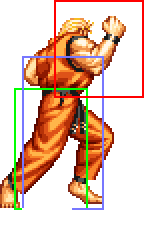
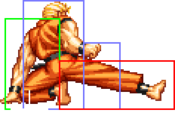
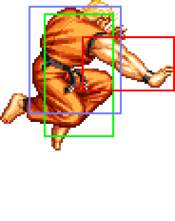
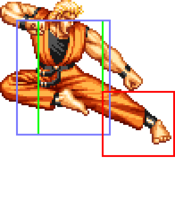
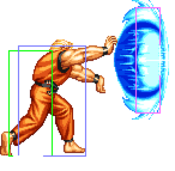
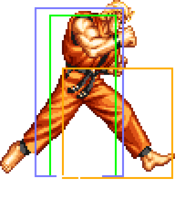
| align="center"; valign="bottom" | [[File:FFS Ryo Stand.png|bottom]] || align="center"; valign="bottom" | [[File:FFS Ryo Crouch.png|bottom]] [[File:FFS Ryo Crouchwalk.png|bottom]] || align="center"; valign="bottom" | [[File:FFS Ryo Land.png|bottom]] [[File:FFS Ryo Jump.png|bottom]] [[File:FFS Ryo Land.png|bottom]] || align="center"; valign="bottom" | [[File:FFS Ryo Taunt.gif|bottom|Ora ora!]] | | align="center"; valign="bottom" | [[File:FFS Ryo Stand.png|bottom]] || align="center"; valign="bottom" | [[File:FFS Ryo Crouch.png|bottom]] || align="center"; valign="bottom" | [[File:FFS Ryo Crouchwalk.png|bottom]] || align="center"; valign="bottom" | [[File:FFS Ryo Land.png|bottom]] [[File:FFS Ryo Jump.png|bottom]] [[File:FFS Ryo Land.png|bottom]] || align="center"; valign="bottom" | [[File:FFS Ryo Taunt.gif|bottom|Ora ora!]] | ||
|- | |- | ||
| align="center" | || align="center" | || align="center" | Ryo is upper-body invincible during his prejump and landing frames. 50F (4+43+3) duration. || align="center" | | | align="center" | || align="center" | || align="center" | || align="center" | Ryo is upper-body invincible during his prejump and landing frames. 50F (4+43+3) duration. || align="center" | | ||
|} | |} | ||
| Line 593: | Line 593: | ||
<font style="visibility:hidden" size="0"></font> | <font style="visibility:hidden" size="0"></font> | ||
{{MoveData | {{MoveData | ||
|image=FFS_Ryo_Throw.png | |image=FFS_Ryo_Throw 1.png | ||
|caption= | |caption= | ||
|name=Tomoe Nage | |name=Tomoe Nage | ||
| Line 601: | Line 601: | ||
|Damage=26 | |Damage=26 | ||
|Stun=3 | |Stun=3 | ||
|range=20 | |||
|Guard=Throw | |Guard=Throw | ||
|Startup=1 | |Startup=1 | ||
| Line 609: | Line 610: | ||
|Property=/ | |Property=/ | ||
|description= * Switches sides. | |description= * Switches sides. | ||
}} | }} | ||
}} | }} | ||
| Line 624: | Line 622: | ||
| image = FFS Ryo 236A 1.png | | image = FFS Ryo 236A 1.png | ||
| caption = | | caption = | ||
| data = | | data = Both versions have the fastest recovery of any non-charge fireball in the game. | ||
{{AttackData-FFS | {{AttackData-FFS | ||
| version = A | | version = A | ||
| Line 658: | Line 656: | ||
| Block Adv = +9 | | Block Adv = +9 | ||
| Property = | | Property = | ||
| description = | | description = | ||
<gallery class="mw-collapsible"> | <gallery class="mw-collapsible"> | ||
FFS Ryo 236C.png| | FFS Ryo 236C.png| | ||
| Line 673: | Line 671: | ||
| image = FFS Ryo 16K.png | | image = FFS Ryo 16K.png | ||
| caption = | | caption = | ||
| data = | | data = Both versions are completely worthless as offensive attacks as they are slow and the two hits don't combo together, allowing Ryo to be punished on hit. The second hit is a true blockstring on block, however, so it can do decent chip damage and let Ryo steal his turn back after an unsafe normal. | ||
* Can be used to advance forward after a knockdown or dizzy. | |||
<gallery class="mw-collapsible"> | <gallery class="mw-collapsible"> | ||
FFS Ryo 16K.png| | FFS Ryo 16K.png| | ||
| Line 739: | Line 738: | ||
| Block Adv = +7 | | Block Adv = +7 | ||
| Property = Upper-Body Invuln 24-26F | | Property = Upper-Body Invuln 24-26F | ||
| description = | | description = | ||
}} | }} | ||
}} | }} | ||
| Line 750: | Line 749: | ||
| image = FFS Ryo 623P.png | | image = FFS Ryo 623P.png | ||
| caption = | | caption = | ||
| data = | | data = * Both versions are reliable anti-airs. | ||
<gallery class="mw-collapsible"> | <gallery class="mw-collapsible"> | ||
FFS Ryo 623P.png| | FFS Ryo 623P.png| | ||
| Line 770: | Line 769: | ||
| Hit Adv = -16※ | | Hit Adv = -16※ | ||
| Block Adv = -11※ | | Block Adv = -11※ | ||
| Property = Upper-Body Invuln 49-51F | | Property = Invincible 1-14F, Upper-Body Invuln 49-51F | ||
| description = ※Advantage values are from the 3rd hit. | | description = * Can be punished on hit. | ||
※Advantage values are from the 3rd hit. | |||
}} | }} | ||
{{AttackData-FFS | {{AttackData-FFS | ||
| Line 786: | Line 786: | ||
| Hit Adv = -15※ | | Hit Adv = -15※ | ||
| Block Adv = -17※ | | Block Adv = -17※ | ||
| Property = Upper-Body Invuln 58-60F | | Property = Invincible 1-16F, Upper-Body Invuln 58-60F | ||
| description = * Can instantly stun all characters but Big Bear and Krauser if 3 hits connect. | | description = * Can instantly stun all characters but Big Bear and Krauser if 3 hits connect. | ||
* Although it has fantastic stun output, Ryo can still be punished on hit if not done from the extremely close range where it is capable of dizzying. The 3rd hit can also whiff against some crouching characters. This limits its versatility as a reversal or combo tool. | |||
※Hit advantage is from the 3rd hit, block advantage is from the 4th hit. | ※Hit advantage is from the 3rd hit, block advantage is from the 4th hit. | ||
}} | }} | ||
| Line 811: | Line 812: | ||
| Block Adv = -23※ | | Block Adv = -23※ | ||
| Property = | | Property = | ||
| description = * | | description = * Difficult to input, has short range, and none of the hits combo into each other, allowing Ryo to be punished on hit. | ||
* | * All hits before the last one have no pushback on hit. | ||
※Hit advantage is from the final hit, block advantage is from blocking at point blank. | ※Hit advantage is from the final hit, block advantage is from blocking at point blank. | ||
<gallery class="mw-collapsible mw-collapsed" data-expandtext="show detailed hitboxes" data-collapsetext="hide detailed hitboxes"> | <gallery class="mw-collapsible mw-collapsed" data-expandtext="show detailed hitboxes" data-collapsetext="hide detailed hitboxes"> | ||
| Line 855: | Line 856: | ||
| Block Adv = +2 | | Block Adv = +2 | ||
| Property = | | Property = | ||
| description = | | description = * Big fireball. Very slow and easy to avoid, and doesn't do much more damage than a normal fireball, so there is little reason to use this in neutral. | ||
* If Ryo happens to dizzy his opponent in the corner, this can be done point blank and will outdamage a jump-in or lane attack, won't push Ryo back and is plus enough to link out of. | |||
<gallery class="mw-collapsible"> | <gallery class="mw-collapsible"> | ||
FFS Ryo 641236C.png| | FFS Ryo 641236C.png| | ||
| Line 884: | Line 886: | ||
| Block Adv = / | | Block Adv = / | ||
| Property = Upper-Body Invuln 21-23F, 64-66F | | Property = Upper-Body Invuln 21-23F, 64-66F | ||
| description = * | | description = Ryo rushes across the entire screen and unleashes a series of strikes if he comes in contact with the opponent. | ||
* Is considered a throw, but can hit both grounded and airborne opponents and will hit throw-invincible reversals. However, it whiff against lane-switching opponents and still respects the 17F of wakeup throw invincibility. | |||
* Can be jumped over or interrupted if used in neutral. | |||
* <span style="color:#ff0000;">Air throwing Ryo out of this move can softlock or crash the game.</span> | |||
<gallery class="mw-collapsible"> | <gallery class="mw-collapsible"> | ||
FFS Ryo Land.png| | FFS Ryo Land.png|21-23F | ||
FFS Ryo 21416BD.png| | FFS Ryo 21416BD.png| | ||
FFS Ryo 21416BD 1.png| | FFS Ryo 21416BD 1.png| | ||
FFS Ryo Land.png| | FFS Ryo Land.png|64-66F | ||
</gallery> | </gallery> | ||
}} | }} | ||
}} | }} | ||
==The Basics== | ==Combos== | ||
==Strategy== | |||
===The Basics=== | |||
==Advanced Strategy== | ===Advanced Strategy=== | ||
== | ==Matchups== | ||
===Vs. Andy Bogard=== | ===Vs. Andy Bogard=== | ||
Latest revision as of 02:24, 27 April 2025
Introduction
Fight against Ryo Sakazaki (MVS & AES)
To fight Ryo Sakazaki, you must defeat all 15 opponents in arcade mode with a 2-0 record. If you lose a round, you can continue progressing by having a second player join in before the match ends and defeating that second player. Switching between the first and second player is allowed as long as the continuing player gets a 2-0 record against the losing player. After defeating Wolfgang Krauser under these conditions, Ryo Sakazaki will challenge you in a dream match.
Play as Ryo Sakazaki (AES only)
To play as Ryo Sakazaki, you must first reach him and defeat him. Then, wait at the title screen until a demonstration starts and input the following code after the word "FIGHT!" appears: ↑ ← ↓ → ↑ A ↑ → ↓ ← ↑ C. You will then hear Ryo shout "Ora! Ora!". Press START and select P1 VS P2 mode, and Ryo will appear right next to Krauser on the character select screen. Ryo is NOT playable in the MVS (arcade) version of the game. As the biggest Fatal Fury Special competitions are played on the arcade version, Ryo is also not playable in tournaments.
Move List
| Standing/Walking | Crouching | Crawling | Jumping | Taunting |
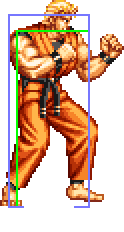 |
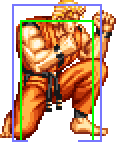 |
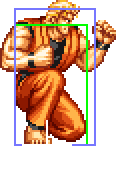 |
   |
|
| Ryo is upper-body invincible during his prejump and landing frames. 50F (4+43+3) duration. |
Close Standing Normals
c5A
| Damage | Stun | Guard | Startup | Active | Recovery | Total | Hit Adv | Block Adv | Property |
|---|---|---|---|---|---|---|---|---|---|
| 8 | 2 | Mid | 6 | 6 | 7 | 18 | +3 | +4 | Kara Cancel |
c5B
| Damage | Stun | Guard | Startup | Active | Recovery | Total | Hit Adv | Block Adv | Property |
|---|---|---|---|---|---|---|---|---|---|
| 10 | 2 | Mid | 8 | 6 | 6 | 19 | +4 | +5 | Kara Cancel |
c5C
| Damage | Stun | Guard | Startup | Active | Recovery | Total | Hit Adv | Block Adv | Property |
|---|---|---|---|---|---|---|---|---|---|
| 18 | 4 | Mid | 10 | 8 | 7 | 24 | +8 | +7 | Kara Cancel |
c5D
Far Standing Normals
f5A
| Damage | Stun | Guard | Startup | Active | Recovery | Total | Hit Adv | Block Adv | Property |
|---|---|---|---|---|---|---|---|---|---|
| 6 | 2 | Mid | 3 | 3 | 3 | 8 | +10 | +11 | Kara Cancel |
f5B
| Damage | Stun | Guard | Startup | Active | Recovery | Total | Hit Adv | Block Adv | Property |
|---|---|---|---|---|---|---|---|---|---|
| 8 | 2 | Mid | 7 | 6 | 11 | 23 | -1 | 0 | Kara Cancel |
f5C
| Damage | Stun | Guard | Startup | Active | Recovery | Total | Hit Adv | Block Adv | Property |
|---|---|---|---|---|---|---|---|---|---|
| 16 | 4 | Mid | 7 | 8 | 14 | 28 | +1 | 0 | / |
f5D
| Damage | Stun | Guard | Startup | Active | Recovery | Total | Hit Adv | Block Adv | Property |
|---|---|---|---|---|---|---|---|---|---|
| 18 | 4 | Mid | 18 | 9 | 12 | 38 | +2 | +1 | / |
Crouching Normals
2A
| Damage | Stun | Guard | Startup | Active | Recovery | Total | Hit Adv | Block Adv | Property |
|---|---|---|---|---|---|---|---|---|---|
| 6 | 2 | Mid | 4 | 5 | 4 | 12 | +7 | +8 | Kara Cancel |
2B
| Damage | Stun | Guard | Startup | Active | Recovery | Total | Hit Adv | Block Adv | Property |
|---|---|---|---|---|---|---|---|---|---|
| 8 | 2 | Low | 5 | 6 | 6 | 16 | +4 | +5 | Kara Cancel |
2C
2D
| Damage | Stun | Guard | Startup | Active | Recovery | Total | Hit Adv | Block Adv | Property |
|---|---|---|---|---|---|---|---|---|---|
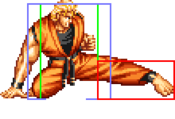
| 18 | 4 | Low | 12 | 7 | 20 | 38 | KD | -4 | Kara Cancel |
Jumping Normals
Note: Ryo is upper-body invincible during the landing frames of all of his jumping normals.
jA
| Damage | Stun | Guard | Startup | Active | Recovery | Total | Hit Adv | Block Adv | Property |
|---|---|---|---|---|---|---|---|---|---|
| 8 | 2 | Overhead | 6 | ∞ | / | / | - | - | - |
jB
| Version | Damage | Stun | Guard | Startup | Active | Recovery | Total | Hit Adv | Block Adv | Property |
|---|---|---|---|---|---|---|---|---|---|---|
| Diagonal Jump 跳び横下段蹴り |
10 | 2 | Overhead | 6 | ∞ | / | / | - | - | - |
| Neutral Jump 跳び中段蹴り |
10 | 2 | Overhead | 6 | ∞ | / | / | - | - | - |
jC
| Version | Damage | Stun | Guard | Startup | Active | Recovery | Total | Hit Adv | Block Adv | Property |
|---|---|---|---|---|---|---|---|---|---|---|
| Diagonal Jump | 18 | 4 | Overhead | 6 | 20 | / | / | - | - | - |
| Neutral Jump | 18 | 4 | Overhead | 6 | 17 | / | / | - | - | - |
jD
| Version | Damage | Stun | Guard | Startup | Active | Recovery | Total | Hit Adv | Block Adv | Property |
|---|---|---|---|---|---|---|---|---|---|---|
| Diagonal Jump 跳び横下段蹴り |
16 | 4 | Overhead | 9 | 22 | / | / | - | - | - |
| Neutral Jump 跳び中段蹴り |
16 | 4 | Overhead | 6 | 17 | / | / | - | - | - |
Universal Mechanics
Lane Blast (CD)
| Version | Damage | Stun | Guard | Startup | Active | Recovery | Total | Hit Adv | Block Adv | Property |
|---|---|---|---|---|---|---|---|---|---|---|
| Front Lane 中段回し蹴り |
22 | 5 | Mid | 12 | 9 | 20 | 40 | KD | -10 | Cancel, Lane Shift |
| Back Lane 中段後ろ回し蹴り |
22 | 5 | Mid | 14 | 6 | 17 | 36 | KD | -4 | Cancel, Lane Shift |
Lane Attack
Dodge Attack
Throws
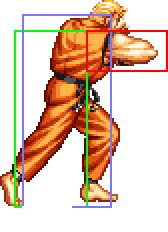
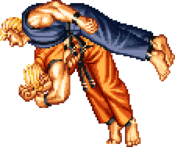
Tomoe Nage (4/6C)
| Damage | Stun | Range | Guard | Startup | Active | Recovery | Total | Hit Adv | Block Adv | Property |
|---|---|---|---|---|---|---|---|---|---|---|
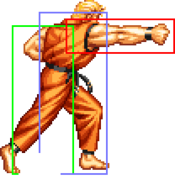
| 26 | 3 | 20 | Throw | 1 | 1 | / | - | - | / | / |
| ||||||||||
Special Moves
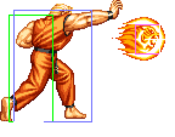
Ko-Oh Ken (236P)
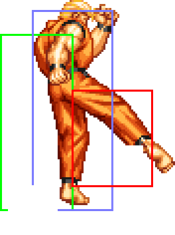
Hien Shippu Kyaku (16K)
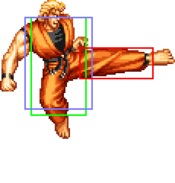
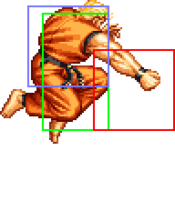
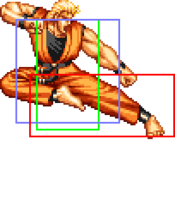
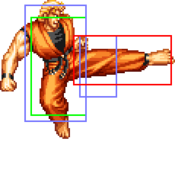
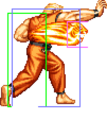
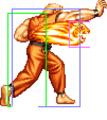
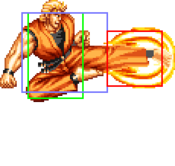
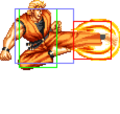
- Can be used to advance forward after a knockdown or dizzy.
| Version | Damage | Stun | Guard | Startup | Active | Recovery | Total | Hit Adv | Block Adv | Property |
|---|---|---|---|---|---|---|---|---|---|---|
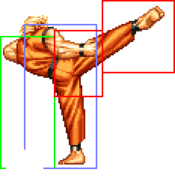
| B | 12 (3) | 3 | Mid | 21 | 24 | 12 | 56 (whiff) | - | - | Upper-Body Invuln 45-56F |
| 2nd hit | 12 (3) | 3 | Mid | 8 | 5 | 11 | 23 | Air Reset | +3 | Upper-Body Invuln 31-33F |
| D | 19 (4) | 6 | Mid | 24 | 32 | 16 | 71 (whiff) | - | - | Upper-Body Invuln 56-71F |
| 2nd hit | 19 (4) | 6 | Mid | 10 | 6 | 10 | 25 | KD | +7 | Upper-Body Invuln 24-26F |
Kohou (623P)
- Both versions are reliable anti-airs.
| Version | Damage | Stun | Guard | Startup | Active | Recovery | Total | Hit Adv | Block Adv | Property | |
|---|---|---|---|---|---|---|---|---|---|---|---|
| A | 10x4 (2x4) | 3x4 | Low, Mid, Mid, Mid | 7 | 3+5+5+15 | 17 | 51 | -16※ | -11※ | Invincible 1-14F, Upper-Body Invuln 49-51F | |
※Advantage values are from the 3rd hit. | |||||||||||
| C | 17x4 (4x4) | 6x4 | Low, Mid, Mid, Mid | 8 | 4+5+6+18 | 20 | 60 | -15※ | -17※ | Invincible 1-16F, Upper-Body Invuln 58-60F | |
※Hit advantage is from the 3rd hit, block advantage is from the 4th hit. | |||||||||||
Zanretsuken (Mash C)
| Damage | Stun | Guard | Startup | Active | Recovery | Total | Hit Adv | Block Adv | Property | |
|---|---|---|---|---|---|---|---|---|---|---|
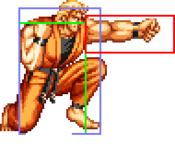
| 8x7 (2x7) | 3x7 | Mid | 10 | 3 (2) 3 (2) 3 (2) 3 (2) 3 (2) 3 (8) 3 | 12 | 60 | +3※ | -23※ | - | |
※Hit advantage is from the final hit, block advantage is from blocking at point blank. | ||||||||||
Haoh Shoukou Ken (641236C)
| Damage | Stun | Guard | Startup | Active | Recovery | Total | Hit Adv | Block Adv | Property | |
|---|---|---|---|---|---|---|---|---|---|---|
| 30 (7) | 3 | Mid | 49 | - | 28 | 76 | +13 | +2 | - | |
| ||||||||||
Desperation Move
Ryuuko Ranbu (21416BD)
| Damage | Stun | Guard | Startup | Active | Recovery | Total | Hit Adv | Block Adv | Property | |
|---|---|---|---|---|---|---|---|---|---|---|
| 48 | 4 | Unblockable | 24 | 40 | 3 | 66 | KD | / | Upper-Body Invuln 21-23F, 64-66F | |
|
Ryo rushes across the entire screen and unleashes a series of strikes if he comes in contact with the opponent.
| ||||||||||
