|
|
| (4 intermediate revisions by 2 users not shown) |
| Line 8: |
Line 8: |
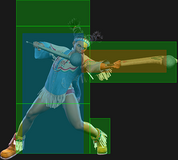
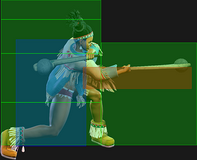
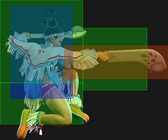
| | title = Standing Light Punch | | | title = Standing Light Punch |
| | subtitle = | | | subtitle = |
| | input = {{Classic_sf6}} 5LP<br>{{Modern_sf6}} 5L~L | | | input = {{Classic_sf6}} 5LP<br>{{Modern_sf6}} 5/2L~5L |
| | images = | | | images = |
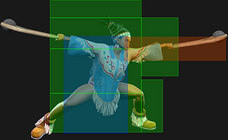
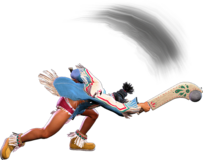
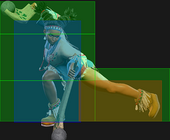
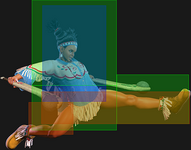
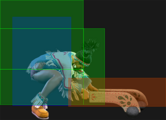
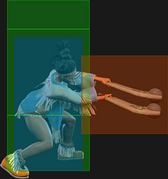
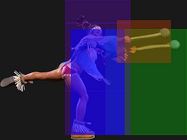
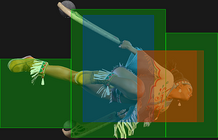
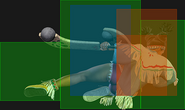
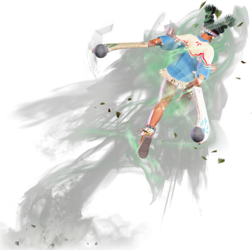
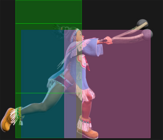
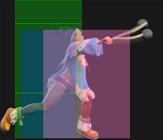
| {{MoveDataCargoImage|imageHeight=160px|lily_5lp|caption=}} | | {{MoveDataCargoImage|imageHeight=160px|lily_5lp|caption=}} |
| Line 178: |
Line 178: |
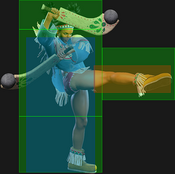
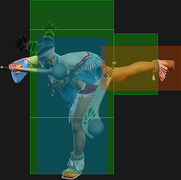
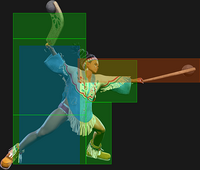
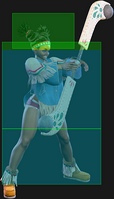
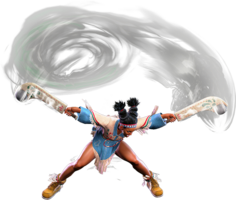
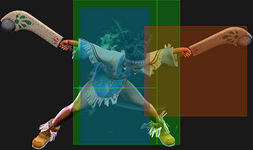
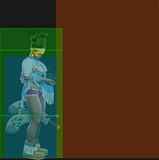
| {{AttackDataCargo-SF6/Query|lily_2hp}} | | {{AttackDataCargo-SF6/Query|lily_2hp}} |
| * {{clr|PC|Counter-hit}}/{{clr|PC|Punish Counter}} puts airborne opponents into {{sf6-jug|limited juggle}} state | | * {{clr|PC|Counter-hit}}/{{clr|PC|Punish Counter}} puts airborne opponents into {{sf6-jug|limited juggle}} state |
| * Can anti-air cross-ups on the first 2 active frames | | * Cannot hit cross-up |
| * '''Cancel Hitconfirm Window:''' 30f / 18f (2nd hit only) | | * '''Cancel Hitconfirm Window:''' 30f / 18f (2nd hit only) |
| * Special/{{clr|DR|DR}} cancel is delayed until after the 4th active frame (2nd active frame of the 2nd hit) | | * Special/{{clr|DR|DR}} cancel is delayed until after the 4th active frame (2nd active frame of the 2nd hit) |
| Line 190: |
Line 190: |
| At longer ranges it spaces out various reversals, and can be used to start [[#Street_Fighter_6/Lily/Strategy#Condor_Spire|Condor Spire Pressure]] from an obscene distance. | | At longer ranges it spaces out various reversals, and can be used to start [[#Street_Fighter_6/Lily/Strategy#Condor_Spire|Condor Spire Pressure]] from an obscene distance. |
|
| |
|
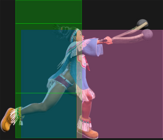
| As an anti-air it will catch jumps a significant distance in front of Lily as well as above and even slightly behind her. On {{clr|PC|Counter-hit}} it juggles into [[#Condor_Wind_Attack_(214P)|{{clr|OD|Condor Wind}}]] or [[#Condor_Spire_(236K)|{{clr|OD|Condor Spire}}]], but this is risky to attempt as the opponent can punish with a reversal after an empty jump. | | As an anti-air it will catch jumps directly above Lily and a significant distance in front of her. On {{clr|PC|Counter-hit}} it juggles into [[#Condor_Wind_Attack_(214P)|{{clr|OD|Condor Wind}}]] or [[#Condor_Spire_(236K)|{{clr|OD|Condor Spire}}]], but this is risky to attempt as the opponent can punish with a reversal after an empty jump. |
| }} | | }} |
|
| |
|
| Line 259: |
Line 259: |
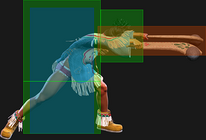
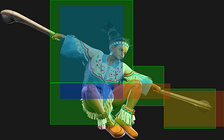
| | title = Jumping Light Punch | | | title = Jumping Light Punch |
| | subtitle = | | | subtitle = |
| | input = {{Classic_sf6}} j.LP<br>{{Modern_sf6}} -- | | | input = {{Classic_sf6}} j.LP<br>{{Modern_sf6}} j.L |
| | images = | | | images = |
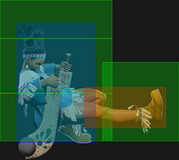
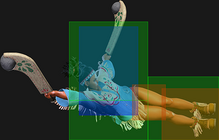
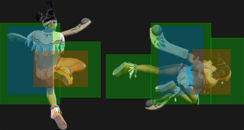
| {{MoveDataCargoImage|imageHeight=140px|lily_jlp|caption=}} | | {{MoveDataCargoImage|imageHeight=140px|lily_jlp|caption=}} |
| Line 291: |
Line 291: |
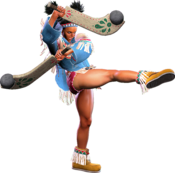
| | title = Jumping Heavy Punch | | | title = Jumping Heavy Punch |
| | subtitle = | | | subtitle = |
| | input = {{Classic_sf6}} j.HP<br>{{Modern_sf6}} -- | | | input = {{Classic_sf6}} j.HP<br>{{Modern_sf6}} j.A[H] |
| | images = | | | images = |
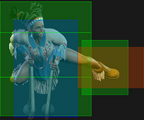
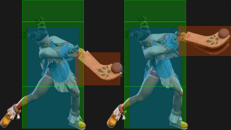
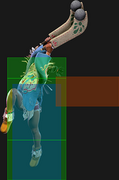
| {{MoveDataCargoImage|imageHeight=160px|lily_jhp|caption=}} | | {{MoveDataCargoImage|imageHeight=160px|lily_jhp|caption=}} |
| Line 307: |
Line 307: |
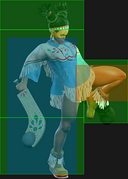
| | title = Jumping Light Kick | | | title = Jumping Light Kick |
| | subtitle = | | | subtitle = |
| | input = {{Classic_sf6}} j.LK<br>{{Modern_sf6}} j.L | | | input = {{Classic_sf6}} j.LK<br>{{Modern_sf6}} j.A[L] |
| | images = | | | images = |
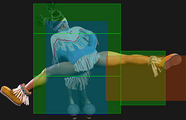
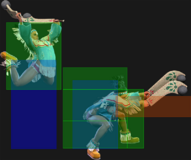
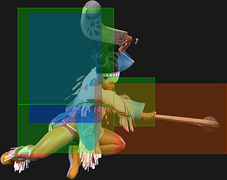
| {{MoveDataCargoImage|imageHeight=140px|lily_jlk|caption=}} | | {{MoveDataCargoImage|imageHeight=140px|lily_jlk|caption=}} |
| Line 323: |
Line 323: |
| | title = Jumping Medium Kick | | | title = Jumping Medium Kick |
| | subtitle = | | | subtitle = |
| | input = {{Classic_sf6}} j.MK<br>{{Modern_sf6}} -- | | | input = {{Classic_sf6}} j.MK<br>{{Modern_sf6}} j.A[M] |
| | images = | | | images = |
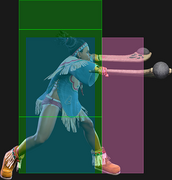
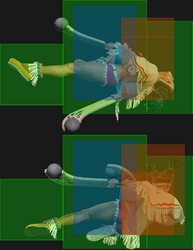
| {{MoveDataCargoImage|imageHeight=130px|lily_jmk|caption=}} | | {{MoveDataCargoImage|imageHeight=130px|lily_jmk|caption=}} |
| Line 891: |
Line 891: |
| * {{FKD}} state until landing | | * {{FKD}} state until landing |
| * Final active frame expands downward to prevent whiff vs. low-profile | | * Final active frame expands downward to prevent whiff vs. low-profile |
| * Applies 10% immediate damage scaling when comboed into (stacks with [[#Tomahawk_Buster_(623P)|{{clr|OD|623PP}}]] damage scaling)
| |
| <br> | | <br> |
| Can be used to punish fireballs from medium or close range. This is more effective when using the {{clr|OD|OD}} version as it moves significantly faster.<br> | | Can be used to punish fireballs from medium or close range. This is more effective when using the {{clr|OD|OD}} version as it moves significantly faster.<br> |
| Line 920: |
Line 919: |
| * {{FKD}} state until landing | | * {{FKD}} state until landing |
| * Final active frame expands downward to prevent whiff vs. low-profile | | * Final active frame expands downward to prevent whiff vs. low-profile |
| * Applies 10% immediate damage scaling when comboed into (stacks with [[#Tomahawk_Buster_(623P)|{{clr|OD|623PP}}]] damage scaling)
| |
| <br> | | <br> |
| Can be used to punish fireballs from medium or close range. This is more effective when using the {{clr|OD|OD}} version as it moves significantly faster.<br> | | Can be used to punish fireballs from medium or close range. This is more effective when using the {{clr|OD|OD}} version as it moves significantly faster.<br> |
| Line 1,001: |
Line 999: |
| | info = | | | info = |
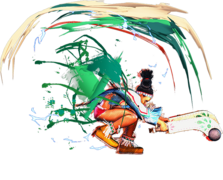
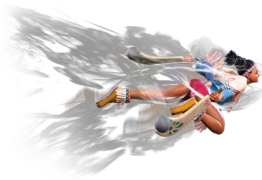
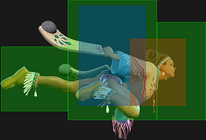
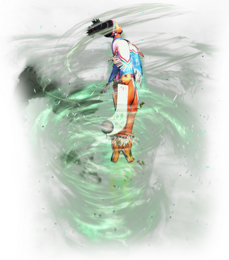
| {{AttackDataCargo-SF6/Query|lily_236236k}} | | {{AttackDataCargo-SF6/Query|lily_236236k}} |
| * '''Full Invuln:''' 1-41f; '''Airborne''' 7-80f ({{FKD}} state); Armor Break | | * '''Full Invuln:''' 1-12f; '''Projectile Invuln:''' 13-41f; '''Airborne''' 7-80f ({{FKD}} state); Armor Break |
| * '''Drive Gauge Depletion:''' 1 bar (hit) / 0.5 bars (block); up to 0.7 bars vs. stand block | | * '''Drive Gauge Depletion:''' 1 bar (hit) / 0.5 bars (block); up to 0.7 bars vs. stand block |
| * 40% minimum damage scaling | | * 40% minimum damage scaling |
| * Damage distribution: 100x7,1800 | | * Damage distribution: 100x7,1800 |
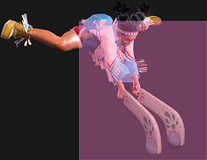
| {{AttackDataCargo-SF6/Query|lily_j236236k}} | | {{AttackDataCargo-SF6/Query|lily_j236236k}} |
| * '''Full Invuln:''' 1-41f ({{FKD}} state until landing); Armor Break | | * '''Full Invuln:''' 1-12f; '''Projectile Invuln:''' 13-41f; ({{FKD}} state until landing); Armor Break |
| * '''Drive Gauge Depletion:''' 1 bar (hit) / 0.5 bars (block) | | * '''Drive Gauge Depletion:''' 1 bar (hit) / 0.5 bars (block) |
| * 40% minimum damage scaling | | * 40% minimum damage scaling |
| Line 1,013: |
Line 1,011: |
| Can be canceled into from [[#Condor_Spire_(236K)|{{clr|OD|OD Condor Spire}}]] and [[#Condor_Wind_Attack_(214P)|{{clr|OD|OD Condor Wind}}]]. The latter is especially potent as it builds {{clr|DR|Windclad}} for extra damage on the spot. | | Can be canceled into from [[#Condor_Spire_(236K)|{{clr|OD|OD Condor Spire}}]] and [[#Condor_Wind_Attack_(214P)|{{clr|OD|OD Condor Wind}}]]. The latter is especially potent as it builds {{clr|DR|Windclad}} for extra damage on the spot. |
|
| |
|
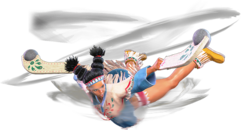
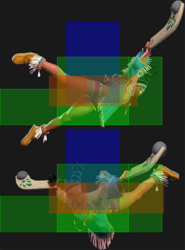
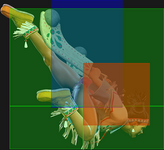
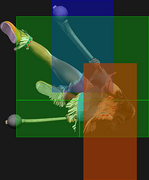
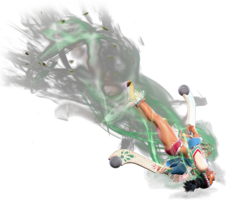
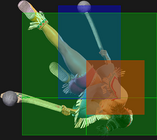
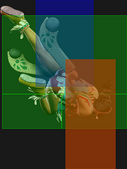
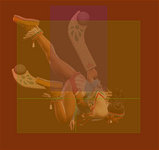
| This is a good anti air that hits straight upwards and in both directions, catching crossup attempts. It's also a good reversal that beats most buttons as well as vertical jump. When jumping out of a corner throw loop, inputting the aerial version in the opposite direction allows Lily to punish an opponent who tries to anti-air uppercut your escape; this is a risky call-out, as it can't be done on reaction. | | This is a good anti air that hits straight upwards and in both directions, catching crossup attempts. It's also a good reversal that beats most buttons. When jumping out of a corner throw loop, inputting the aerial version in the opposite direction allows Lily to punish an opponent who tries to anti-air uppercut your escape; this is a risky call-out, as it can't be done on reaction. |
| | |
| The huge length of its invincibility makes it good at going for chip kills. The aerial version in particular hits more times against a crouching opponent, so it is usually good to cancel into it from {{clr|OD|OD Spire}}. However, it doesn't necessarily need to be confirmed from another blocked move because the long invincibility will outlast the opponent even if they try to counter with their own Super. You do need to be careful of some characters though, who can use their own Super Art to dodge Lily's. These are:
| |
| * 1 bar: Cammy
| |
| * 2 bars: E.Honda, Lily, Zangief
| |
| * 3 bars: Marisa, JP, Dee Jay, Dhalsim
| |
|
| |
|
| The {{clr|DR|Windclad}} version has significantly more range and deals more damage, making it useful as an anti-projectile tool and as a long range punish. The suction effect will ensure it fully connects even against an extended hurtbox. | | The {{clr|DR|Windclad}} version has significantly more range and deals more damage, making it useful as an anti-projectile tool and as a long range punish. The suction effect will ensure it fully connects even against an extended hurtbox. |
| Line 1,034: |
Line 1,027: |
| | info = | | | info = |
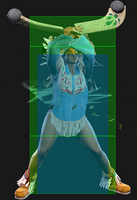
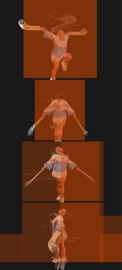
| {{AttackDataCargo-SF6/Query|lily_236236k_1stock}} | | {{AttackDataCargo-SF6/Query|lily_236236k_1stock}} |
| * '''Full Invuln:''' 1-41f; '''Airborne''' 7-80f ({{FKD}} state); Armor Break | | * '''Full Invuln:''' 1-12f; '''Projectile Invuln:''' 13-41f; '''Airborne''' 7-80f ({{FKD}} state); Armor Break |
| * Consumes 1 Windclad stock | | * Consumes 1 Windclad stock |
| * '''Drive Gauge Depletion:''' 1 bar (hit) / 0.6 bars (block); up to 0.825 bars vs. stand block | | * '''Drive Gauge Depletion:''' 1 bar (hit) / 0.6 bars (block); up to 0.825 bars vs. stand block |
| Line 1,040: |
Line 1,033: |
| * Damage distribution: 100x12,1600 | | * Damage distribution: 100x12,1600 |
| {{AttackDataCargo-SF6/Query|lily_j236236k_1stock}} | | {{AttackDataCargo-SF6/Query|lily_j236236k_1stock}} |
| * '''Full Invuln:''' 1-41f ({{FKD}} state until landing); Armor Break | | * '''Full Invuln:''' 1-12f; '''Projectile Invuln:''' 13-41f; ({{FKD}} state until landing); Armor Break |
| * Consumes 1 Windclad stock | | * Consumes 1 Windclad stock |
| * '''Drive Gauge Depletion:''' 1 bar (hit) / 0.6 bars (block) | | * '''Drive Gauge Depletion:''' 1 bar (hit) / 0.6 bars (block) |
| Line 1,048: |
Line 1,041: |
| Can be canceled into from [[#Condor_Spire_(236K)|{{clr|OD|OD Condor Spire}}]] and [[#Condor_Wind_Attack_(214P)|{{clr|OD|OD Condor Wind}}]]. The latter is especially potent as it builds {{clr|DR|Windclad}} for extra damage on the spot. | | Can be canceled into from [[#Condor_Spire_(236K)|{{clr|OD|OD Condor Spire}}]] and [[#Condor_Wind_Attack_(214P)|{{clr|OD|OD Condor Wind}}]]. The latter is especially potent as it builds {{clr|DR|Windclad}} for extra damage on the spot. |
|
| |
|
| This is a good anti air that hits straight upwards and in both directions, catching crossup attempts. It's also a good reversal that beats most buttons as well as vertical jump. When jumping out of a corner throw loop, inputting the aerial version in the opposite direction allows Lily to punish an opponent who tries to anti-air uppercut your escape; this is a risky call-out, as it can't be done on reaction. | | This is a good anti air that hits straight upwards and in both directions, catching crossup attempts. It's also a good reversal that beats most buttons. When jumping out of a corner throw loop, inputting the aerial version in the opposite direction allows Lily to punish an opponent who tries to anti-air uppercut your escape; this is a risky call-out, as it can't be done on reaction. |
| | |
| The huge length of its invincibility makes it good at going for chip kills. The aerial version in particular hits more times against a crouching opponent, so it is usually good to cancel into it from {{clr|OD|OD Spire}}. However, it doesn't necessarily need to be confirmed from another blocked move because the long invincibility will outlast the opponent even if they try to counter with their own Super. You do need to be careful of some characters though, who can use their own Super Art to dodge Lily's. These are:
| |
| * 1 bar: Cammy
| |
| * 2 bars: E.Honda, Lily, Zangief
| |
| * 3 bars: Marisa, JP, Dee Jay, Dhalsim
| |
|
| |
|
| The {{clr|DR|Windclad}} version has significantly more range and deals more damage, making it useful as an anti-projectile tool and as a long range punish. The suction effect will ensure it fully connects even against an extended hurtbox. | | The {{clr|DR|Windclad}} version has significantly more range and deals more damage, making it useful as an anti-projectile tool and as a long range punish. The suction effect will ensure it fully connects even against an extended hurtbox. |
