| Line 850: | Line 850: | ||
===Advanced Strategy=== | ===Advanced Strategy=== | ||
Hissatsu Shinobibachi (41236D) is generally unsafe, but can be made safe on block if it connects just as your opponent is getting up. You can follow it immediately with 214C to deal extra chip damage and punish anyone trying to press buttons against you. | |||
===Match-ups=== | ===Match-ups=== | ||
Revision as of 16:54, 22 December 2024
Introduction
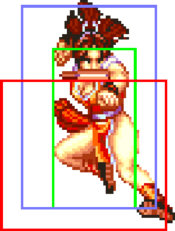
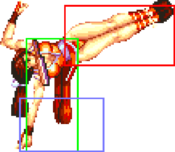
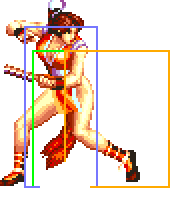
"Nippon Ichi!" Easily one of gaming's most iconic characters, Mai Shiranui takes to the fighting stage in Fatal Fury Special as a powerful zoning character, capable of shutting anyone out with ease. Easy to play as right away, she has great anti-air tools, a great fireball, a deadly (albeit very risky) super, simple combos, rewarding damage, and a unique stage where she actually gains an additional advantage from it, Mai Shiranui is holding nothing back. Her super is very risky as already mentioned, as while it does great damage and decent chip damage, everyone can very easily punish her on block and can be predictable. Her mobility too is not the greatest, albeit not as bad as some other characters. And while she may seem like a great glass cannon type character, she's not. You must play her defensively as a strict keepaway character. But no matter who she's up against, chances are her impeccable zoning give her an advantage at all times as even her up close game isn't too lacking when she's forced to confront the opponent.
| Pros | Cons |
|---|---|
|
|
Move List
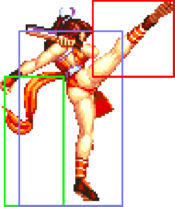
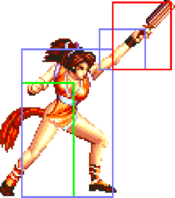
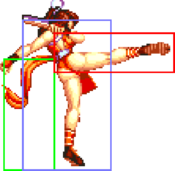
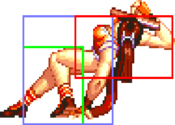
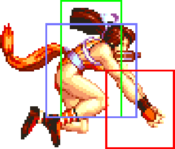
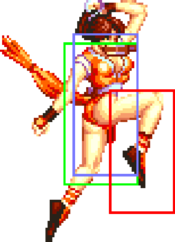
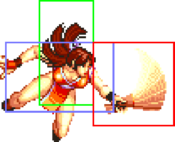
| Standing | Crouching | Jumping | Jumping 2 | Backdash |
 |
 |
 |
 |
|
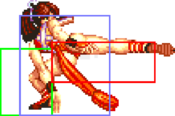
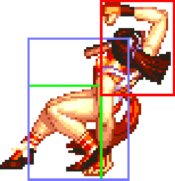
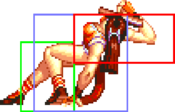
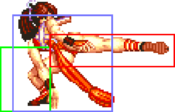
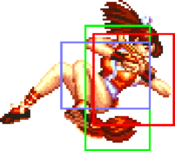
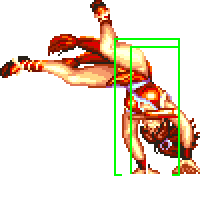
| Mai is grounded during her backdash and can more easily be thrown. |
Close Standing Normals
c5A
c5B
| Damage | Stun | Guard | Startup | Active | Recovery | Total | Hit Adv | Block Adv | Property | |
|---|---|---|---|---|---|---|---|---|---|---|
| 8 | 2 | Mid | 8 | 4 | 11 | 21 | +1 | +2 | Kara Cancel | |
| ||||||||||
c5C
| Damage | Stun | Guard | Startup | Active | Recovery | Total | Hit Adv | Block Adv | Property | |
|---|---|---|---|---|---|---|---|---|---|---|
| 14 | 4 | Mid | 8 | 7 | 17 | 31 | 0 | -1 | Kara Cancel | |
c5D
| Damage | Stun | Guard | Startup | Active | Recovery | Total | Hit Adv | Block Adv | Property | |
|---|---|---|---|---|---|---|---|---|---|---|
| 16 | 4 | Mid | 10 | 7 | 17 | 33 | 0 | -1 | Kara Cancel | |
| ||||||||||
Far Standing Normals
f5A
| Damage | Stun | Guard | Startup | Active | Recovery | Total | Hit Adv | Block Adv | Property | |
|---|---|---|---|---|---|---|---|---|---|---|
| 4 | 2 | Mid | 6 | 4 | 10 | 19 | +2 | +3 | Kara Cancel | |
| ||||||||||
f5B
| Damage | Stun | Guard | Startup | Active | Recovery | Total | Hit Adv | Block Adv | Property | |
|---|---|---|---|---|---|---|---|---|---|---|
| 6 | 2 | Mid | 6 | 6 | 8 | 19 | +2 | +3 | Cancel | |
| ||||||||||
f5C
| Damage | Stun | Guard | Startup | Active | Recovery | Total | Hit Adv | Block Adv | Property | |
|---|---|---|---|---|---|---|---|---|---|---|
| 10 | 4 | Mid | 8 | 13 | 10 | 30 | 0 | -1 | - | |
| ||||||||||
f5D
| Damage | Stun | Guard | Startup | Active | Recovery | Total | Hit Adv | Block Adv | Property | |
|---|---|---|---|---|---|---|---|---|---|---|
| 14 | 4 | Mid | 8 | 8 | 17 | 32 | -2 | -3 | - | |
| ||||||||||
Crouching Normals
2A
| Damage | Stun | Guard | Startup | Active | Recovery | Total | Hit Adv | Block Adv | Property | |
|---|---|---|---|---|---|---|---|---|---|---|
| 4 | 2 | Mid | 6 | 4 | 8 | 17 | +4 | +5 | Kara Cancel | |
| ||||||||||
2B
| Damage | Stun | Guard | Startup | Active | Recovery | Total | Hit Adv | Block Adv | Property | |
|---|---|---|---|---|---|---|---|---|---|---|
| 6 | 2 | Low | 6 | 4 | 7 | 16 | +5 | +6 | Kara Cancel | |
| ||||||||||
2C
| Damage | Stun | Guard | Startup | Active | Recovery | Total | Hit Adv | Block Adv | Property | |
|---|---|---|---|---|---|---|---|---|---|---|
| 12 | 4 | Mid | 5 | 10 | 18 | 32 | -4 | -5 | Kara Cancel | |
| ||||||||||
2D
| Damage | Stun | Guard | Startup | Active | Recovery | Total | Hit Adv | Block Adv | Property | |
|---|---|---|---|---|---|---|---|---|---|---|
| 14 | 4 | Low | 8 | 11 | 21 | 39 | KD | -9 | Kara Cancel | |
| ||||||||||
Jumping Normals
jA
| Damage | Stun | Guard | Startup | Active | Recovery | Total | Hit Adv | Block Adv | Property | |
|---|---|---|---|---|---|---|---|---|---|---|
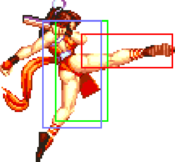
| 6 | 2 | Overhead | 5 | ∞ | - | - | - | - | - | |
| ||||||||||
jB
| Damage | Stun | Guard | Startup | Active | Recovery | Total | Hit Adv | Block Adv | Property | |
|---|---|---|---|---|---|---|---|---|---|---|
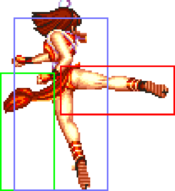
| 8 | 2 | Overhead | 10 | ∞ | - | - | - | - | Air | |
| ||||||||||
jC
| Version | Damage | Stun | Guard | Startup | Active | Recovery | Total | Hit Adv | Block Adv | Property | |
|---|---|---|---|---|---|---|---|---|---|---|---|
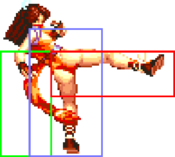
| Diagonal Jump | 14 | 4 | Overhead | 5 | 8 | - | - | - | - | - | |
| |||||||||||
| Neutral Jump | 14 | 4 | Overhead | 5 | 6 | - | - | - | - | - | |
| |||||||||||
jD
| Version | Damage | Stun | Guard | Startup | Active | Recovery | Total | Hit Adv | Block Adv | Property | |
|---|---|---|---|---|---|---|---|---|---|---|---|
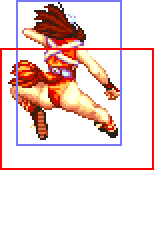
| Diagonal Jump | 16 | 4 | Overhead | 5 | 20 | - | - | - | - | - | |
| |||||||||||
| Neutral Jump | 16 | 4 | Overhead | 5 | 12 | - | - | - | - | - | |
| |||||||||||
Universal Mechanics
Lane Blast (CD)
| Version | Damage | Stun | Guard | Startup | Active | Recovery | Total | Hit Adv | Block Adv | Property | |
|---|---|---|---|---|---|---|---|---|---|---|---|
| Front Lane | 22 | 5 | Mid | 9 | 7 | 22 | 37 | KD | -10 | Cancel | |
| |||||||||||
| Back Lane | 22 | 5 | Mid | 11 | 7 | 17 | 34 | KD | -5 | Cancel | |
| |||||||||||
Lane Attack
| Version | Damage | Stun | Guard | Startup | Active | Recovery | Total | Hit Adv | Block Adv | Property | |
|---|---|---|---|---|---|---|---|---|---|---|---|
| A/B | 18 | 2 | Overhead | 13 | - | 4 | - | - | - | - | |
| |||||||||||
| C/D | 18 | 4 | Overhead | 13 | - | 4 | - | - | - | - | |
| |||||||||||
Dodge Attack
| Damage | Stun | Guard | Startup | Active | Recovery | Total | Hit Adv | Block Adv | Property | |
|---|---|---|---|---|---|---|---|---|---|---|
| 11 | 5 | Mid | 15 | 16 | 15 | 45 | Air reset | -12 | Kara Cancel, Upper-Body Invuln 1-30F | |
| ||||||||||
Throws
Fuusha Kuzushi (4/6C)
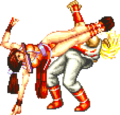
Yume Zakura (j2D)
| Damage | Stun | Guard | Startup | Active | Recovery | Total | Hit Adv | Block Adv | Property | |
|---|---|---|---|---|---|---|---|---|---|---|
| 26 | 3 | / | 1 | 1 | - | - | KD | / | - | |
| ||||||||||
Special Moves
Kachosen (236P)
| Version | Damage | Stun | Guard | Startup | Active | Recovery | Total | Hit Adv | Block Adv | Property | |
|---|---|---|---|---|---|---|---|---|---|---|---|
| A | 14 (3) | 3 | Mid | 15 | - | 36 | 50 | - | - | - | |
| |||||||||||
| C | 22 (5) | 6 | Mid | 17 | - | 45 | 61 | - | - | - | |
| |||||||||||
Ryuenbu (214P)
| Version | Damage | Stun | Guard | Startup | Active | Recovery | Total | Hit Adv | Block Adv | Property | |
|---|---|---|---|---|---|---|---|---|---|---|---|
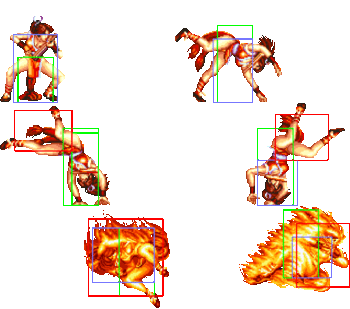
| A | 16x2 (4x2) | 3x2 | Mid | 7 | 2+2 (4) 12 | 12 | 38 | KD | +1 | Foot Invuln 11-18F | |
| |||||||||||
| C | 22x2 (5x2) | 6x2 | Mid | 9 | 2+2 (5) 17 | 19 | 54 | KD | -6 | Invincible 1-13F, Foot Invuln 14-23F | |
| |||||||||||
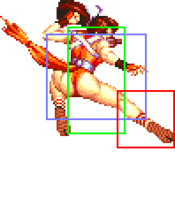
Hissatsu Shinobibachi (41236D)
| Damage | Stun | Guard | Startup | Active | Recovery | Total | Hit Adv | Block Adv | Property | |
|---|---|---|---|---|---|---|---|---|---|---|
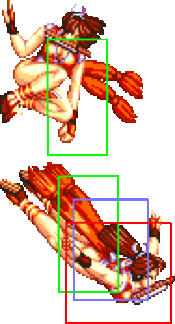
| 20 (5x2) | 3 | Mid | 26 | 26 | 6 | 57 | KD | -7 | Invincible 11-14F, Airborne 20-51F | |
| ||||||||||
Musasabi no Mai ([2]8P)
| Version | Damage | Stun | Guard | Startup | Active | Recovery | Total | Hit Adv | Block Adv | Property | |
|---|---|---|---|---|---|---|---|---|---|---|---|
| A (Non-Mai Stage) | 20 (5) | 3 | Mid | Jump + 16 | 21 | 18 | - | KD | -1 at best | Invuln 1-15F after touching wall | |
| |||||||||||
| C (Non-Mai Stage) | 20 (5) | 6 | Mid | Jump + 16 | 21 | 18 | - | KD | -1 at best | Invuln 1-15F after touching wall | |
| |||||||||||
| A (Mai's Stage) | 20 (5) | 3 | Mid | 30 | 22 | 20 | - | KD | -3 at best | Invincible 1-29F | |
| |||||||||||
| C (Mai's Stage) | 20 (5) | 6 | Mid | 30 | 22 | 20 | - | KD | -3 at best | Invincible 1-29F | |
| |||||||||||
Super Move
Chou Hissatsu Shinobibachi (616BC)
| Damage | Stun | Guard | Startup | Active | Recovery | Total | Hit Adv | Block Adv | Property | |
|---|---|---|---|---|---|---|---|---|---|---|
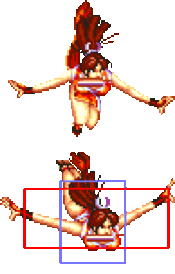
| 30 (0 + 7x3) | 4 | Mid | 15 | 6+5+5+32 | 20 | 82 | KD | -14 | Invincible 15-18F, Upper-Body Invuln 19-23F, Airborne 26-62 | |
| ||||||||||
Combos
- c5A/B > 214A/C
- 2C > 236A - 31 damage
- c5C/D > 616BC - 40/42 damage
Strategies
The Basics
If you're new to the game and want to start winning matches as fast as possible, you can't go wrong with picking Mai. Her gameplan is very simple but effective and revolves around a small number of moves. She's also one of the least demanding characters when it comes to execution: you don't need to learn any weird motions or long tricky combos to play her properly. Despite this, she's still extremely powerful even in high level play and does have a lot of tricks up her sleeve that give a dedicated player plenty of potential for improvement. In nearly all of her matchups, Mai plays a pure defensive keep-away game, using projectile pressure to force her opponents into taking risks and punishing all attempts at getting close with her heavy Ryuuenbu.
The moves you'll be using in the most in neutral are:
- Light Kachosen (236A): A great projectile that's very safe to use and gives Mai good spatial control. Use this as often as possible to pressure your opponent and force them to jump or do some sort of evasive action lest they keep taking chip damage.
- Heavy Ryuuenbu (214C): Once your opponent goes for a jump or tries to challenge you up close, this is what you use to get them off your back. Fully invulnerable startup, making it very difficult for your opponent to counter this move with anything. Against jump-ins, you'll want to time this quite late so it catches your opponent during their landing recovery; this way the move hits twice dealing a ton of damage.
- 2D: One of the best sweep kicks in the game and possibly Mai's most useful normal. You can cancel it into 236A on block to continue your pressure and deal chip damage.
- 5A: Another great ground poke that's even faster than her sweep. You can also cancel this into 236A or other specials.
Despite all her strengths, Mai does also have some weaknesses unique to her: she has twice as much jump start-up and landing recovery frames as average, and she's the only character to not be considered airborne during a backstep, making it possible for her to grabbed out of her backstep with any ground throw. Her walk speed and jump duration are still faster than average, though, so all things considered her overall mobility is still far from bad.
Advanced Strategy
Hissatsu Shinobibachi (41236D) is generally unsafe, but can be made safe on block if it connects just as your opponent is getting up. You can follow it immediately with 214C to deal extra chip damage and punish anyone trying to press buttons against you.
