| Line 865: | Line 865: | ||
The "Zaneiken throw" is a rather nasty technique where you space a light Zaneiken so that it stops just before making contact with your enemy, and immediately go for a throw once you're in their face. Very hard to react to, but requires excellent spacing skills. | The "Zaneiken throw" is a rather nasty technique where you space a light Zaneiken so that it stops just before making contact with your enemy, and immediately go for a throw once you're in their face. Very hard to react to, but requires excellent spacing skills. | ||
Andy can cancel the recovery of his backstep into a Shoryudan to gain extra frames of invulnerability. Useful if you notice you're about to backstep right into a fireball. | |||
===Match-ups=== | ===Match-ups=== | ||
Revision as of 21:37, 24 November 2024
Introduction
Andy is a top tier all-rounder with great movement and neutral. His most important feature is his Zaneiken, a safe fullscreen elbow that opponents will have to respect at all times.
| Pros | Cons |
|---|---|
|
|
Move List
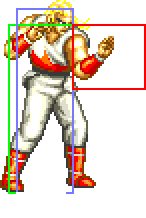
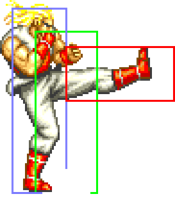
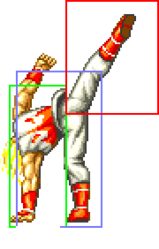
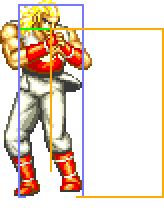
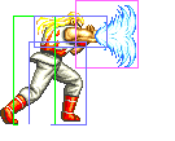
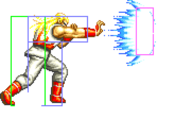
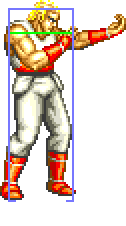
| Standing/Taunting | Crouching | Jumping |
  |
 |
|
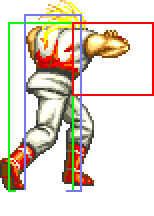
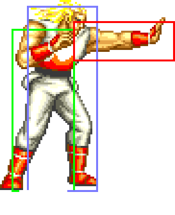
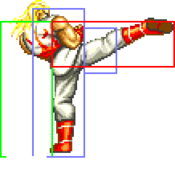
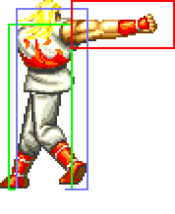
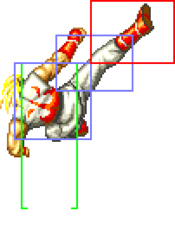
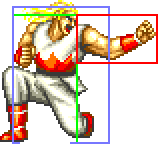
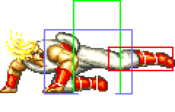
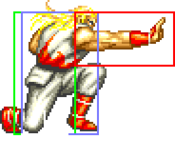
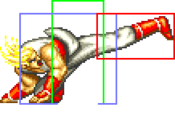
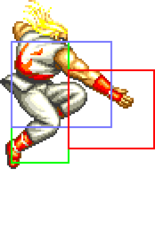
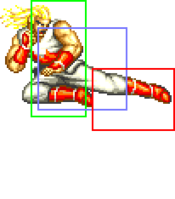
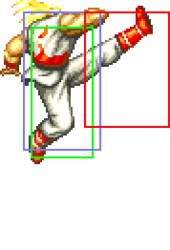
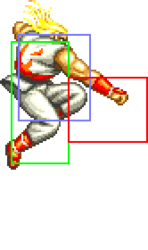
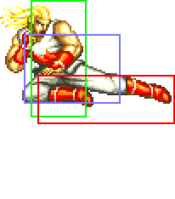
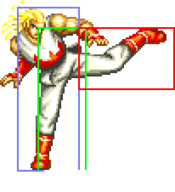
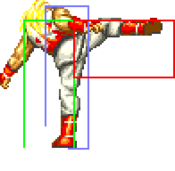
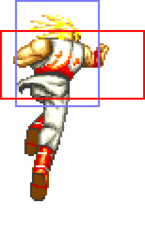
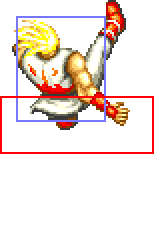
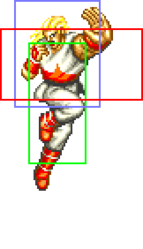
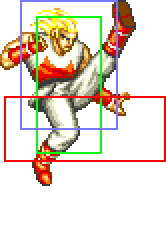
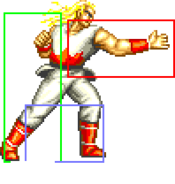
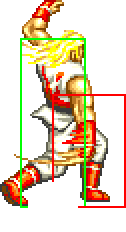
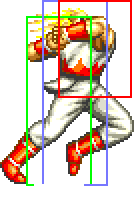
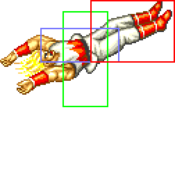
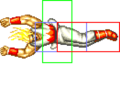
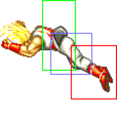
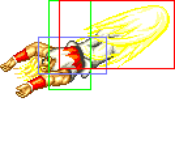
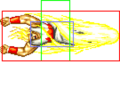
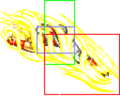
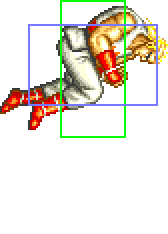
| Andy cycles between hurtboxes as he spins during diagonal jumps. 52F duration. |
Close Standing Normals
c5A
| Damage | Stun | Guard | Startup | Active | Recovery | Total | Hit Adv | Block Adv | Property | |
|---|---|---|---|---|---|---|---|---|---|---|
| 8 | 2 | Mid | 8 | 4 | 3 | 14 | +9 | +10 | Kara Cancel, Self Cancel | |
| ||||||||||
c5B
| Damage | Stun | Guard | Startup | Active | Recovery | Total | Hit Adv | Block Adv | Property | |
|---|---|---|---|---|---|---|---|---|---|---|
| 10 | 2 | Mid | 4 | 6 | 5 | 14 | +5 | +6 | Kara Cancel | |
| ||||||||||
c5C
c5D
| Damage | Stun | Guard | Startup | Active | Recovery | Total | Hit Adv | Block Adv | Property | |
|---|---|---|---|---|---|---|---|---|---|---|
| 20 | 4 | Mid | 8 | 10 | 28 | 45 | -14 | -15 | Kara Cancel | |
| ||||||||||
Far Standing Normals
f5A
| Damage | Stun | Guard | Startup | Active | Recovery | Total | Hit Adv | Block Adv | Property | |
|---|---|---|---|---|---|---|---|---|---|---|
| 6 | 2 | Mid | 5 | 4 | 4 | 12 | +8 | +9 | Kara Cancel, Self Cancel | |
| ||||||||||
f5B
| Damage | Stun | Guard | Startup | Active | Recovery | Total | Hit Adv | Block Adv | Property | |
|---|---|---|---|---|---|---|---|---|---|---|
| 8 | 2 | Mid | 8 | 9 | 12 | 28 | -5 | -4 | Kara Cancel | |
| ||||||||||
f5C
| Damage | Stun | Guard | Startup | Active | Recovery | Total | Hit Adv | Block Adv | Property | |
|---|---|---|---|---|---|---|---|---|---|---|
| 16 | 4 | Mid | 8 | 12 | 16 | 35 | -5 | -6 | / | |
| ||||||||||
f5D
| Damage | Stun | Guard | Startup | Active | Recovery | Total | Hit Adv | Block Adv | Property | |
|---|---|---|---|---|---|---|---|---|---|---|
| 18 | 4 | Mid | 8 | 11 | 18 | 36 | -6 | -7 | / | |
| ||||||||||
Crouching Normals
2A
| Damage | Stun | Guard | Startup | Active | Recovery | Total | Hit Adv | Block Adv | Property | |
|---|---|---|---|---|---|---|---|---|---|---|
| 6 | 2 | Mid | 3 | 4 | 4 | 10 | +8 | +9 | Kara Cancel, Self Cancel | |
| ||||||||||
2B
| Damage | Stun | Guard | Startup | Active | Recovery | Total | Hit Adv | Block Adv | Property | |
|---|---|---|---|---|---|---|---|---|---|---|
| 8 | 2 | Low | 10 | 7 | 4 | 20 | +5 | +6 | Kara Cancel | |
| ||||||||||
2C
| Damage | Stun | Guard | Startup | Active | Recovery | Total | Hit Adv | Block Adv | Property | |
|---|---|---|---|---|---|---|---|---|---|---|
| 16 | 4 | Mid | 12 | 7 | 9 | 27 | +8 | +7 | Kara Cancel | |
| ||||||||||
2D
| Damage | Stun | Guard | Startup | Active | Recovery | Total | Hit Adv | Block Adv | Property | |
|---|---|---|---|---|---|---|---|---|---|---|
| 14 | 4 | Low | 11 | 10 | 18 | 38 | KD | -5 | Kara Cancel | |
| ||||||||||
Jumping Normals
jA
| Damage | Stun | Guard | Startup | Active | Recovery | Total | Hit Adv | Block Adv | Property | |
|---|---|---|---|---|---|---|---|---|---|---|
| 8 | 2 | Overhead | 5 | ∞ | / | / | - | - | - | |
| ||||||||||
jB
| Damage | Stun | Guard | Startup | Active | Recovery | Total | Hit Adv | Block Adv | Property | |
|---|---|---|---|---|---|---|---|---|---|---|
| 10 | 2 | Overhead | 5 | ∞ | / | / | - | - | - | |
| ||||||||||
jC
| Version | Damage | Stun | Guard | Startup | Active | Recovery | Total | Hit Adv | Block Adv | Property | |
|---|---|---|---|---|---|---|---|---|---|---|---|
| Diagonal Jump | 18 | 4 | Overhead | 5 | 15 | / | / | - | - | - | |
| |||||||||||
| Neutral Jump | 16 | 4 | Overhead | 5 | 13 | / | / | - | - | - | |
jD
| Version | Damage | Stun | Guard | Startup | Active | Recovery | Total | Hit Adv | Block Adv | Property | |
|---|---|---|---|---|---|---|---|---|---|---|---|
| Diagonal Jump | 20 | 4 | Overhead | 6 | 15 | / | / | - | - | - | |
| |||||||||||
| Neutral Jump | 20 | 4 | Overhead | 5 | 13 | / | / | - | - | - | |
| |||||||||||
Universal Mechanics
Lane Blast
| Version | Damage | Stun | Guard | Startup | Active | Recovery | Total | Hit Adv | Block Adv | Property | |
|---|---|---|---|---|---|---|---|---|---|---|---|
| Front Lane | 22 | 5 | Mid | 17 | 10 | 12 | 39 | KD (+91) | -3 | Cancel, Lane Shift | |
| |||||||||||
| Back Lane | 22 | 5 | Mid | 14 | 9 | 10 | 32 | KD (+83) | 0 | Cancel, Lane Shift | |
| |||||||||||
Lane Attack
| Version | Damage | Stun | Guard | Startup | Active | Recovery | Total | Hit Adv | Block Adv | Property | |
|---|---|---|---|---|---|---|---|---|---|---|---|
| A | 20 | 2 | Overhead | 13 | - | 4 | - | - | - | / | |
| |||||||||||
| B | 20 | 2 | Overhead | 22 | - | 4 | - | - | - | / | |
| |||||||||||
| C | 20 | 4 | Overhead | 13 | - | 4 | - | - | - | / | |
| |||||||||||
| D | 20 | 4 | Overhead | 22 | - | 4 | - | - | - | / | |
| |||||||||||
Dodge Attack
Throws
C Throw
Special Moves
Hishou Ken (214P)
| Version | Damage | Stun | Guard | Startup | Active | Recovery | Total | Hit Adv | Block Adv | Property | |
|---|---|---|---|---|---|---|---|---|---|---|---|
| A | 16 (4) | 3 | Mid | 22 | - | 33 | 54 | 0 | +1 | / | |
| |||||||||||
| C | 22 (5) | 6 | Mid | 26 | - | 35 | 60 | +6 | -5 | / | |
| |||||||||||
Shoryu Dan (236P)
| Version | Damage | Stun | Guard | Startup | Active | Recovery | Total | Hit Adv | Block Adv | Property | |
|---|---|---|---|---|---|---|---|---|---|---|---|
| A | 14 (3) | 3 | Mid | 10 | 3+4+5+6 | 20 | 47 | KD | -10 | Invincible 1~18F | |
| |||||||||||
| C | 20 (4) | 6 | Mid | 13 | 4+5+6+8 | 31 | 66 | KD | -30 | Invincible 1~24F | |
| |||||||||||
Zan Ei Ken ([1]6P)
| Version | Damage | Stun | Guard | Startup | Active | Recovery | Total | Hit Adv | Block Adv | Property | |
|---|---|---|---|---|---|---|---|---|---|---|---|
| A | 16 (4) | 3 | Mid | 10 | 16 | 2 | 27 | Air Reset | -6 | Throw Invincible | |
| C | 22 (5) | 6 | Mid | 13 | 20 | 2 | 34 | KD | -2 | Throw Invincible | |
Kuuha Dan (19K)
| Version | Damage | Stun | Guard | Startup | Active | Recovery | Total | Hit Adv | Block Adv | Property | |
|---|---|---|---|---|---|---|---|---|---|---|---|
| B | 13x2 (3x2) | 3x2 | Mid | 16 | 32 | 9 | 56 | -11 | -14 | Invincible 1~15F, Airborne 16~47F | |
| |||||||||||
| D | 18 (4x2) | 6 | Mid | 16 | 50 | 12 | 77 | KD | -28 | Invincible 1~15F, Airborne 16~65F | |
| |||||||||||
Desperation Move
Chou Reppa Dan ([2]36BD)
| Damage | Stun | Guard | Startup | Active | Recovery | Total | Hit Adv | Block Adv | Property | |
|---|---|---|---|---|---|---|---|---|---|---|
| 36 (9x2) | 4 | Mid | 21 | 48 | 24 | 92 | KD | -20 | Airborne 21~68F | |
Combos
- (2A > 2A >) 2A > [1]6A - 20 Damage
- 2C > [1]6C - 35 Damage
- c5A > c5A > c5D > [1]6C - 55 Damage
Ideal punish combo.
- (Corner, far distance) 214A, [1]6C - 38 Damage
Strategies
The Basics
While Andy in Special has been slightly toned down from his FF2 appearance, he still boasts an amazing, well-rounded set of moves and remains a high tier character. His gameplan is largely centered around the Zaneiken, a high-speed elbow rush attack that gives him incredible ground mobility. Compared to the other two protagonist characters, Andy is much more focused on close range rushdown and hit-and-run style tactics rather than keepaway. While he does have a fireball, it's not used much for zoning due to it's long startup; instead, it's most effective when used in tandem with his other specials. An extremely common but effective tactic is to first throw a light Hishoken, and immediately follow it up with a heavy Zaneiken: the fireball will act as a "shield" of shorts in front of you, making it very difficult for the enemy to stop your approach. Even if the Zaneiken gets blocked, you're safe and free to backstep away before your enemy gets a chance to counterattack. A good chunk of the damage you deal as Andy comes from blocked Zaneikens alone, so don't be afraid to throw the move out a lot especially if your opponent is bad at countering it. Light Zaneiken travels about half the screen and has almost no recovery on whiff making it an excellent movement tool, but try to favor the heavy version when you actually want to hit your opponent as it's much safer on block.
Kuuha Dan is your most reliable tool against projectiles, as Andy isn't going to win any projectile wars with his slow fireball. You can use it to fly past virtually all enemy projectiles, save for maybe Krauser's High Blitzball an Kaiser Wave, and punish your opponent before they're able to recover. Be very careful with your spacing, though, as it'll leave you defenseless right next to your enemy when blocked up close which will spell doom for Andy. On the other hand, when properly spaced, Kuuha Dan can actually be plus on block, allowing you to continue your offense. It even has some invincibility on startup, so you can use it as a (very risky) reversal if you wish.
Andy's biggest weakness is his rather stubby normals, although it's not a huge issue thanks to him being able to get into close range much easier than most of the cast. The buttons you'll be using most commonly are 2A: a fast short range jab ideal for pressuring your opponent, 5B: a relatively long-reaching kick that can be cancelled into Hishoken or Zaneiken, and 2C: crouching heavy punch that can combo into Zaneiken. Both of his standing heavy kicks are great for anti-airing, and on top of that you've got Shoryudan, a dedicated anti-air special with a lot of startup invulnerability. Use your kick buttons if you're going for a jump-in: jB stays active for the entire duration of the jump, while jD can cross up.
Advanced Strategy
The "Zaneiken throw" is a rather nasty technique where you space a light Zaneiken so that it stops just before making contact with your enemy, and immediately go for a throw once you're in their face. Very hard to react to, but requires excellent spacing skills.
Andy can cancel the recovery of his backstep into a Shoryudan to gain extra frames of invulnerability. Useful if you notice you're about to backstep right into a fireball.
