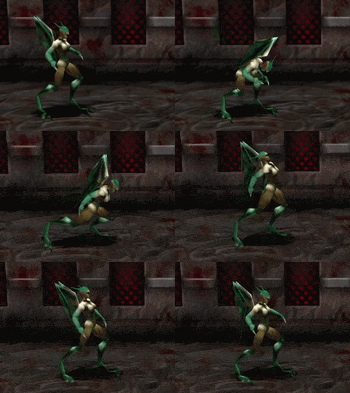
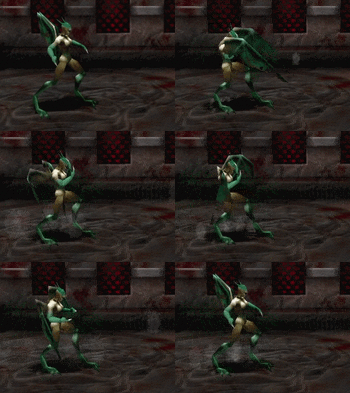
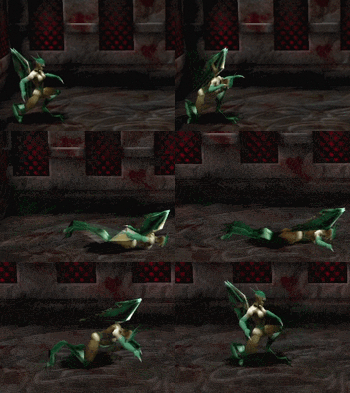
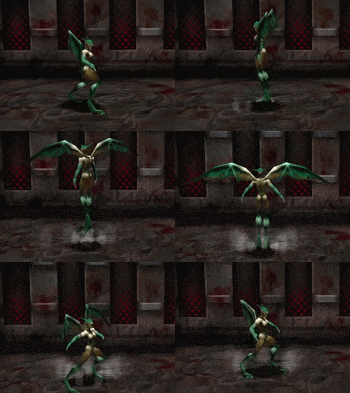
Thrill Kill/Marukka

From SuperCombo Wiki


Overview

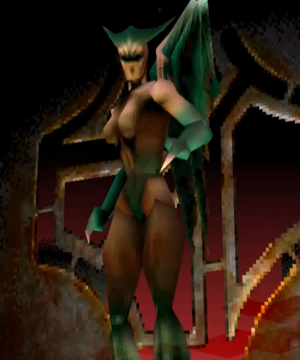
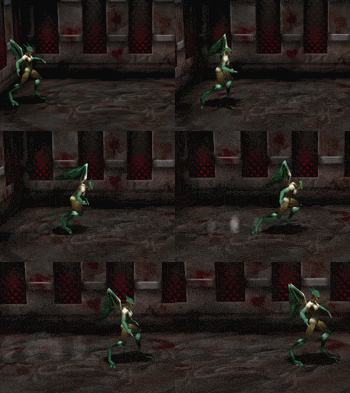
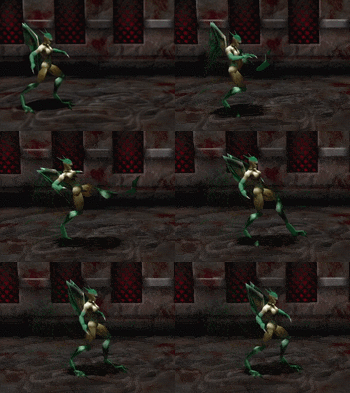
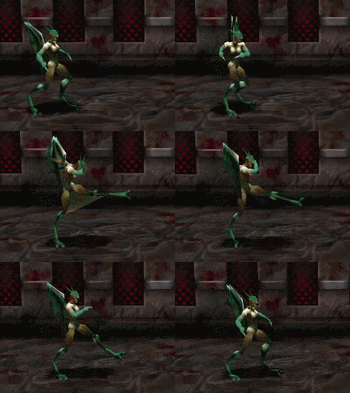
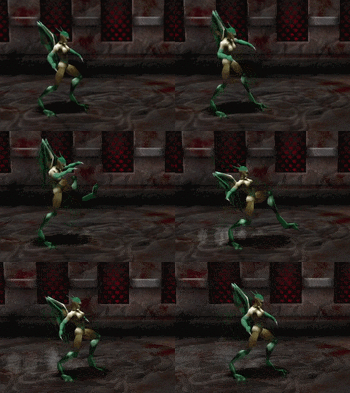
 Marukka, the final boss and mastermind behind the Thrill Kill tournament, is fittingly an extremely dangerous character with the potential to out-maneuver and out-range a lot of the cast. While her combo strings frequently change between highs and lows allowing them to be countered, she has fantastic special attacks that can lead to very good guaranteed damage, and her "Three Piece" juggle string allows for great damage anywhere on the stage.

 Easily Marukka's greatest strengths are her maneuverability and her disjointed attacks. Her rapid dash cooldown is the fastest in the game, allowing her to dart around the stage extremely quickly and evade your opponents attempts to close gaps for grabs and r-cancels. Her two best combo starters - the mid hitting Stomach Stun Kick and the low launching Low Sweep - have incredible range and both can convert to great juggle strings.

 Other special moves of note include Wings Of Fury, which can completely tilt out your opponent and create space and, if you time it right, send your opponent flying over and over again as they desperately try getting back on their feet. Turn To Stone can be very useful as it's one of the few stunning moves in the game that cannot be mashed out of, but opponents can attack through it and avoid being turned to stone. Her Flying Toss grab should also be mentioned, as it does a whopping 25 damage and sends your opponent directly into the opposite corner of the stage for a wall combo to potentially win the round in two touches.

 One of her few downsides is that every single one of her combo strings switch frequently between high/mids and lows. While this does mean she can get around blocking players easily, if your opponent starts getting wise to your habits, you can very easily be low countered or blocked ending a combo with Low Sweep, or high countered ending with a launcher.

At a glance:
Pros Cons
  • Disjointed Attacks: Stomach Stun Kick and Low Sweep are both attacks with fantastic range and fast recovery that some characters are completely unable to punish, and both can convert to great mid-stage juggle damage if either connect.
  • Mobility: Marukka has the fastest dash cooldown in the game, allowing you to get in with r-cancels easily and backdash quickly to safety after attacks to prevent opponents from punishing your buttons.
  • Slippery Hitbox: Some combo strings will whiff against Marukka. Oddball in particular has a hard time connecting his standard combo strings against her.
  • Counterable Combos: Every single one of her combo strings can be countered out of, making her rely on her stun and launcher specials for guaranteed damage.
  • People Will Hate You: Nobody will play with you if you Wings Of Fury loop them in the corner.


Marukka
TK Marukka Ingame.png
Hitbox Diameter 4.7u⌀ (Large)
Movement Speed 3.8u/s (3rd slowest)
Dash Distance 5.2u (Worst in game)

Move List

Square Front Punch
Demon Slash
Square
TK-Marukka-S.gif
Hit Startup Active Recovery Adv. (Block / Hit) Damage Range Property Stance
High.png 4f 2f 13f -8 / -1 3 3.0u - -


A minus on hit jab. Welcome to Thrill Kill.


Shin Slash
ForwardTK-input-comma.pngSquare
TK-Marukka-fS.gif
Hit Startup Active Recovery Adv. (Block / Hit) Damage Range Property Stance
Low.png 11f 3f 12f -8 / +1 4 4.6u - -


A low swipe with considerable reach but sluggish startup.


Cancels:
ForwardTK-input-comma.pngTriangle - Power Uppercut
BackTK-input-comma.pngForwardTK-input-comma.pngCircle - Low Sweep


Double Hand Slash
BackTK-input-comma.pngForwardTK-input-comma.pngSquare
TK-Marukka-bfS.gif
Hit Startup Active Recovery Adv. (Block / Hit) Damage Range Property Stance
Mid.png 10f 2f 14f -9 / -1 13 3.8u Knockdown.png -


Knockdown combo ender.


Turn To Stone
Quarter CircleTK-input-comma.pngSquare
TK-Marukka-qcS.gif
Hit Startup Active Recovery Adv. (Block / Hit) Damage Range Property Stance
Mid.png 16f 1f 9f -1 / +92 5 10.5u Dzzy.png -


Another great special move. It may look like a projectile attack, but in reality it's a single frame check to see if an opponent is in range. If it connects, it freezes them in place for a free combo. Be careful: it does not turn opponents currently attacking into stone, and some attacks will go right through your spit. Can be blocked standing or crouching.


Slash From Crouch
L2PlusSquare
TK-Marukka-L2S.gif
Hit Startup Active Recovery Adv. (Block / Hit) Damage Range Property Stance
Low.png 6f 1f 10f -4 / +3 3 1.5u - -


A crouching poke.


Cancels:
ForwardTK-input-comma.pngSquare - Shin Slash
ForwardTK-input-comma.pngCross - Stomach Stun Kick


Triangle Back Punch
Uppercut Slash
Triangle
TK-Marukka-T.gif
Hit Startup Active Recovery Adv. (Block / Hit) Damage Range Property Stance
Mid.png 7f 2f 12f -7 / +25 5 3.6u Launch.png Switch


Moderately quick launching button with fair range.


Cancels:
BackTK-input-comma.pngForwardTK-input-comma.pngSquare - Double Hand Slash


Power Uppercut
ForwardTK-input-comma.pngTriangle
TK-Marukka-fT.gif
Hit Startup Active Recovery Adv. (Block / Hit) Damage Range Property Stance
Mid.png 9f 1f 11f -5 / +21 7 3.6u Launch.png -


A better version of Uppercut Slash, but with two extra startup frames. A good launching ender.


Horn Attack
BackTK-input-comma.pngForwardTK-input-comma.pngTriangle
TK-Marukka-bfT.gif
Hit Startup Active Recovery Adv. (Block / Hit) Damage Range Property Stance
Mid.png 11f 2f 12f -8 / +30 6 3.1u Launch.png -


A headbutt launcher that sends your opponent high into the air. Very short ranged.


Demon Flap
Quarter CircleTK-input-comma.pngTriangle
CrossPlusTriangle
TK-Marukka-qcT.gif
Hit Startup Active Recovery Adv. (Block / Hit) Damage Range Property Stance
Mid.png 11f 1f 49f -13 / -18 3 3.9u Knockdown.png -


The attack sends two gusts of wind forwards. Can be blocked standing or crouching. The same attack you get when you taunt.


Cancels:
Quarter CircleTK-input-comma.pngCross - Flying Throw Kick


Horn Slide From Crouch
L2PlusTriangle
TK-Marukka-L2T.gif
Hit Startup Active Recovery Adv. (Block / Hit) Damage Range Property Stance
Low.png 11f 9f 19f -18 / +11 8 12.0u Knockdown.png -


A diving headbutt to the feet. Insane range and active frames, and perfect for long range disruption, but getting it blocked will feel really bad.


Wings Of Fury
Half CircleTK-input-comma.pngSquare/Triangle
TK-Marukka-hcT.gif
Hit Startup Active Recovery Adv. (Block / Hit) Damage Range Property Stance
Mid.png 12f 1f 33f -13 /-1 3 10.2u Knockdown.png -


Quite possibly the most annoying attack in the game.


Running Charge
ForwardTK-input-comma.pngForwardTK-input-comma.pngSquare/Triangle
TK-Marukka-ffT.gif
Hit Startup Active Recovery Adv. (Block / Hit) Damage Range Property Stance
Mid.png 14f 10f 9f -10 / +30 10 11.8u Hardknockdown.png -


A sprinting shoulder charge with lots of active frames.


Cross Front Kick
Front Kick
Cross
TK-Marukka-X.gif
Hit Startup Active Recovery Adv. (Block / Hit) Damage Range Property Stance
Mid.png 7f 3f 9f -5 / +2 3 7.1u - -


Long ranged kick with plenty of forward movement.


Cancels:
ForwardTK-input-comma.pngCross - Stomach Stun Kick
BackTK-input-comma.pngForwardTK-input-comma.pngCircle - Low Sweep


Stomach Stun Kick
ForwardTK-input-comma.pngCross
TK-Marukka-fX.gif
Hit Startup Active Recovery Adv. (Block / Hit) Damage Range Property Stance
Mid.png 8f 2f 11f -6 / +49 (+7) 5 4.3u Dzzy.png -


Character defining move, and possibly the second best stunning move in the game next to Violet's Dislocating Stun. Great range and lots of plus frames on hit, even against a player who perfectly mashes out of the stun.


Cancels:
Quarter CircleTK-input-comma.pngCircle - Rising Power Kick


Power Front Kick
BackTK-input-comma.pngForwardTK-input-comma.pngCross
TK-Marukka-bfX.gif
Hit Startup Active Recovery Adv. (Block / Hit) Damage Range Property Stance
Mid.png 14f 1f 11f -5 / +37 11 3.3u Hardknockdown.png -


Hard knockdown combo ender. Shorter range than it looks.


Flying Throw Kick
Quarter CircleTK-input-comma.pngCross
TK-Marukka-qcX.gif
Hit Startup Active Recovery Adv. (Block / Hit) Damage Range Property Stance
On Grab High.png 12f 1f 43f -8 / -15 17 < 11.1u Knockdown.png -
On Hit Mid.png 13f 3f 17f -8 / +9 8 > 11.1u Hardknockdown.png -


A command normal that hard knockdowns if the grab doesn't activate. Excellent forward movement. Sadly, your opponent can get up before you fully finish your recovery animation.


Kick From Crouch
L2PlusCross
TK-Marukka-L2X.gif
Hit Startup Active Recovery Adv. (Block / Hit) Damage Range Property Stance
Low.png 5f 1f 11f -5 / +2 3 1.3u - -


A very short ranged low poke.


Cancels:
ForwardTK-input-comma.pngSquare - Shin Slash


Circle Back Kick
Side Kick
Circle
TK-Marukka-C.gif
Hit Startup Active Recovery Adv. (Block / Hit) Damage Range Property Stance
High.png 10f 1f 18f -12 / +24 6 4.0u Hardknockdown.png Switch


A single-button hard knockdown attack.


Cancels:
ForwardTK-input-comma.pngCircle - Floating Spin Kick


Floating Spin Kick
ForwardTK-input-comma.pngCircle
TK-Marukka-fC.gif
Hit Startup Active Recovery Adv. (Block / Hit) Damage Range Property Stance
High.png 11f 2f 16f -11 / +31 9 3.2u Hardknockdown.png Switch


Used for wall-splat combo extensions.


Low Sweep
BackTK-input-comma.pngForwardTK-input-comma.pngCircle
TK-Marukka-bfC.gif
Hit Startup Active Recovery Adv. (Block / Hit) Damage Range Property Stance
Low.png 12f 2f 8f -3 / +23 5 4.5u Launch.png Switch


Character defining move. A low hitting sweeping attack that frequently hits through invincible moves with a massive range, and it pops your opponent in the air allowing for follow up juggle hit. With it's great recovery and range, you'll be using this both by itself and a combo ender.


Cancels:
BackTK-input-comma.pngForwardTK-input-comma.pngCross - Power Front Kick
Quarter CircleTK-input-comma.pngCircle - Rising Power Kick


Rising Power Kick
Quarter CircleTK-input-comma.pngCircle
TK-Marukka-qcC.gif
Hit Startup Active Recovery Adv. (Block / Hit) Damage Range Property Stance
Mid.png 11f 1f 14f -8 / +31 6 4.4u Launch.png -


Your go-to launcher ender. Fairly good range, too.


Knock Down From Crouch
L2PlusCircle
TK-Marukka-L2C.gif
Hit Startup Active Recovery Adv. (Block / Hit) Damage Range Property Stance
Low.png 8f 2f 9f -4 / +4 7 3.2u Knockdown.png -


A sweeping knockdown pick. Can be useful for interrupting some of your opponent's shenanigans.


Teleport
Half CircleTK-input-comma.pngCross/Circle
TK-Marukka-hcC.gif
Hit Startup Active Recovery Adv. (Block / Hit) Damage Range Property Stance
- - - 85f - - - - -


A forwards teleport! A little slow.


Running Slide Kick
ForwardTK-input-comma.pngForwardTK-input-comma.pngCross/Circle
TK-Marukka-ffC.gif
Hit Startup Active Recovery Adv. (Block / Hit) Damage Range Property Stance
Low.png 17f 5f 24f -22 / +7 7 14.5u Knockdown.png -


A low hitting dash attack.


Grabs / Misc Moves

Marukka's missed grab animation is 18f long.

Demon Scratch
CrossPlusSquare
TK-Marukka-GrabXS.gif
Hit Startup Active Recovery Adv. (Block / Hit) Damage Range Property Stance
High.png 0f - 82f -1 19 0.9u - -


The less-good of her two throws.


Flying Toss
CirclePlusTriangle
TK-Marukka-GrabCT.gif
Hit Startup Active Recovery Adv. (Block / Hit) Damage Range Property Stance
High.png 0f - 78f +17 25 0.9u Hardknockdown.png -


Her best grab. Amazing damage, and throws your opponent to the corner. If you want to grab, use this.


Swap Places
CirclePlusSquare
CrossPlusSquare
TK-Marukka-GrabCS.gif
Hit Startup Active Recovery Adv. (Block / Hit) Damage Range Property Stance
High.png 0f - 24f 0 20 0.9u - -


Doubles as her rear grapple.


Thrill Kills

Thrill Kill 1 - No Inputs
Thrill Kill 2 - Cross + L1 + Forward
Thrill Kill 3 - Cross + Circle + L1 + Back
Combo Kill - Square + Triangle + Cross + Circle + Up
Dance - Square + Triangle + Cross + Circle + L1 + Down

TK Navigation

General
Controls and Notation
System
Tier List
FAQ
Characters
TormentorOddballBelladonnaDr. FaustusThe ImpVioletMammothCleetusCainJudasMarukka