| Early game information
This game is relatively new, and its pages are still being written. Some information may be mildly inaccurate or missing altogether. You can join the SF6 Resource Hub for more info on editing and other ways you can potentially help with this resource. |
Introduction
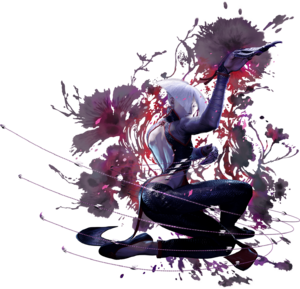
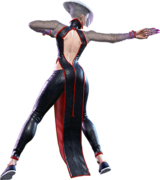
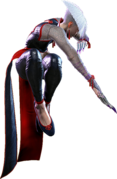
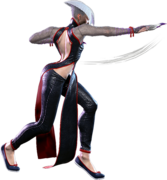
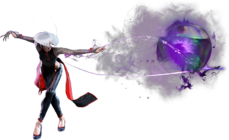
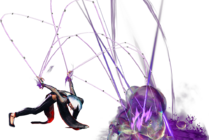
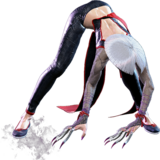
A poison-wielding apprentice of F.A.N.G, the former Shadaloo officer. Enchanted by the power of toxins, nothing brings her more joy than testing them on a new target—other than attention from her “master,” that is.
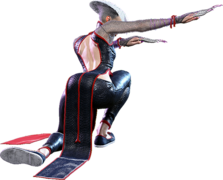
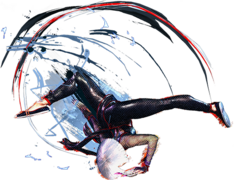
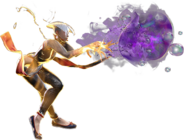
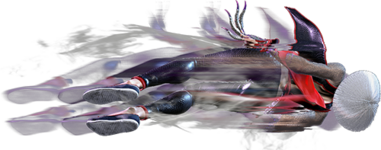
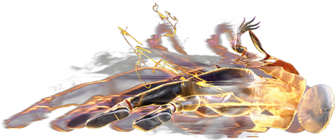
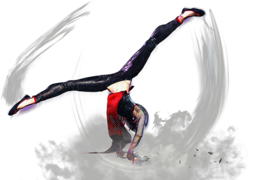
Slithering onto the battlefield with zoning capabilities and powerful okizeme options, A.K.I. is an unconventional and unorthodox character who revolves heavily around her poison mechanic. Some of A.K.I.'s specials poison opponents on hit, which slowly tick away at their life bar. Using this, A.K.I. baits her opponents into making risky play before elegantly maneuvering around them and going for the kill.
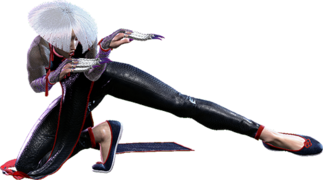
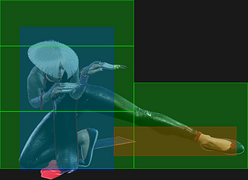
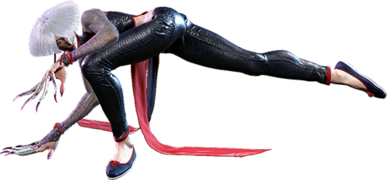
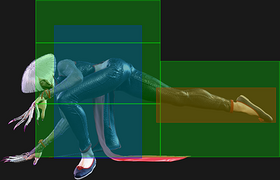
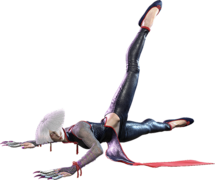
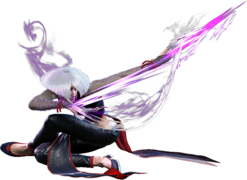
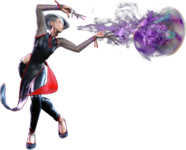
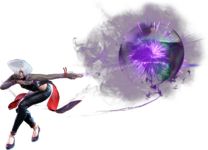
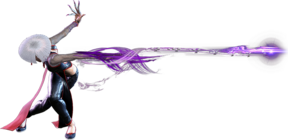
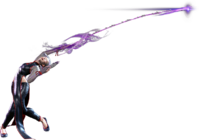
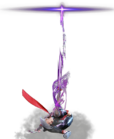
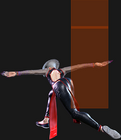
A.K.I's most important special is Nightshade Pulse, a slow advancing projectile that causes poison on hit. A.K.I. can send this projectile out to control the screen as she advances behind it or use it as a meaty to maintain advantage. Nightshade is very strong and defines a lot of matchups for A.K.I., as opponents who fail to deal with it will find her slowly closing in on them. However, Nightshade is just one tool in A.K.I.'s tremendously large kit. Serpent Lash acts as a strong midrange poke, while Orchid Spring allows A.K.I. to set up an unblockable poison pool. A.K.I. is also known for having some rather unique approach options. Snake Step and Sinister Slide cause A.K.I. to drop to the floor and go low-profile, allowing her to slide under all sorts of nonsense. Enemy fireballs, high-reaching pokes, and even Drive Impacts - A.K.I. can duck under it all and lash out with any number of follow-ups. Even better, A.K.I. has a command grab out of Snake Step, giving her unique ways to mess with the opponent.
As a defining part of her kit, if A.K.I. hits her opponent with a poison-inducing move while they are already poisoned, they will explode into a "Toxic Blossom" that gives her extended combo opportunities. Thus, A.K.I. can quickly adapt her gameplan from far-reaching pokes into a very scary mixup and okizeme character if she gets the chance. The looping poison setups she can dish out take off a good amount of life, and the consistent safe jumps she can get off of Toxic Blossom combos allow her to continue offense after a combo very safely. Combined with a strong overhead, a few ways to be plus on block, the sheer volume of potential attacks and specials at her disposal, on top of the threat of poison, and A.K.I. can be an absolute menace if she is closed in on the opponent.
In general, A.K.I. has a high number of complex routes for her combos that are dependent on if the opponent is poisoned or not, but the tradeoff is that her huge kit and unique normals allow her pickups off of openings that other characters may struggle to confirm. As well, her defensive options tend to be lackluster, often lacking important invulnerability frames to push through meaties and deep jump-ins. Another important thing is that A.K.I.'s animations are very long, making it difficult for her to play around Drive Impact. She will be constantly looking for it, far more than most other characters, which can result in a lot of mental fatigue. If you can grapple with this fact, and all of the above sounds appealing to you, shed your inhibitions and become one with the queen of toxicity herself.
| Pick if you like: | Avoid if you dislike: |
|---|---|
|
|
Classic & Modern Versions Comparison
| Missing Normals |
|
|---|---|
| Missing Command Normals |
|
| Shortcut-Only Specials |
|
| Assist Combos |
|
| Miscellaneous Changes |
|
Poison & Toxic Blossom
| A.K.I. | |
|---|---|
| Vitals | |
| Life Points | 10000 |
| Ground Movement | |
| Forward Walk Speed | 0.0452 |
| Backward Walk Speed | 0.032 |
| Forward Dash Speed | 19 |
| Backward Dash Speed | 23 |
| Forward Dash Distance | 1.300 |
| Backward Dash Distance | 1.079 |
| Drive Rush Min. Distance (Throw) | 0.907 |
| Drive Rush Min. Distance (Block) | 2.437 |
| Drive Rush Max Distance | 4.049 |
| Jumping | |
| Jump Speed | 4+40+3 |
| Jump Apex | 2.176 |
| Forward Jump Distance | 2.00 |
| Backward Jump Distance | 1.60 |
| Throws | |
| Throw Range | 0.8 |
| Throw Hurtbox | 0.33 |
| Frame Data Glossary - SF6 | |
|---|---|
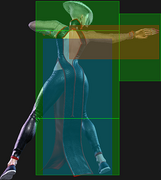
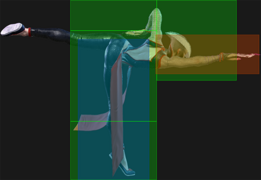
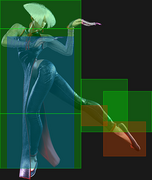
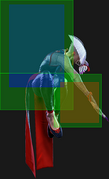
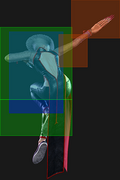
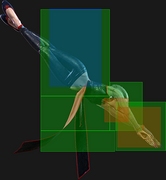
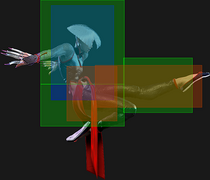
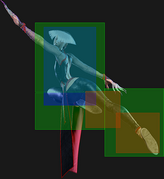
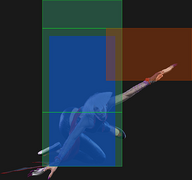
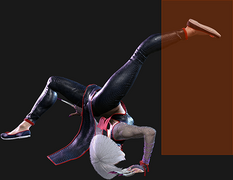
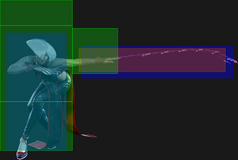
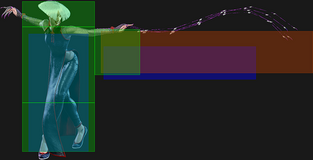
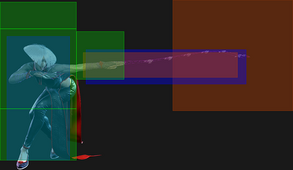
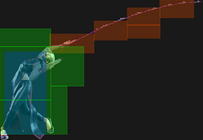
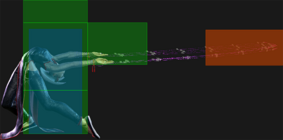
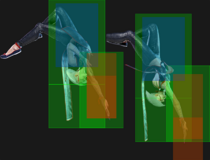
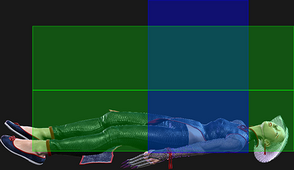
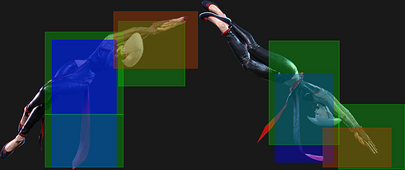
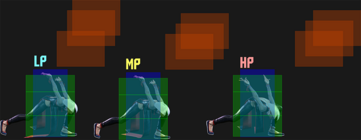
| Hitbox Images |
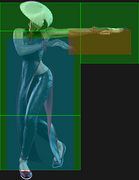
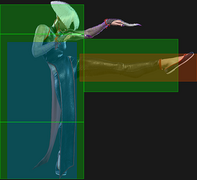
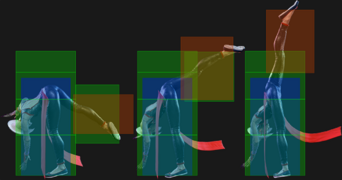
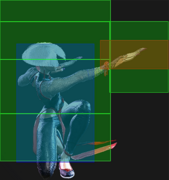
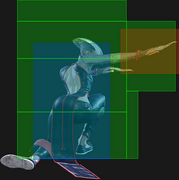
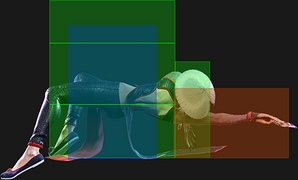
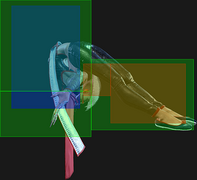
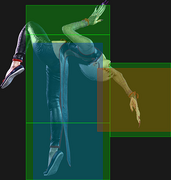
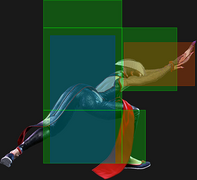
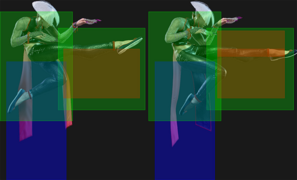
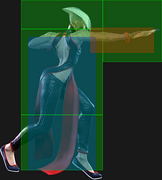
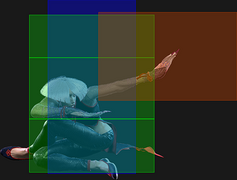
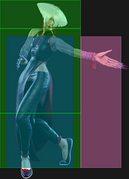
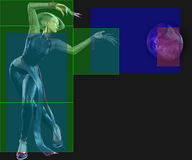
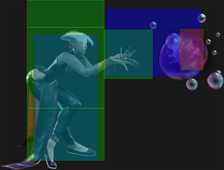
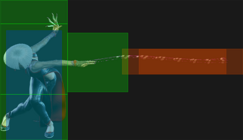
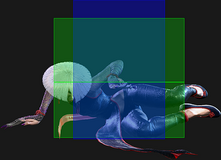
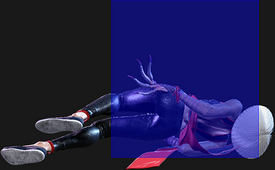
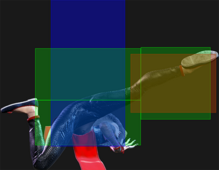
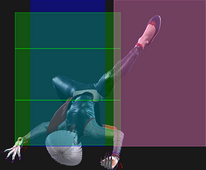
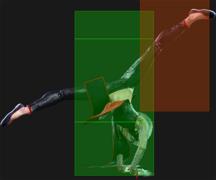
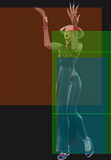
🟥 (Red): Attack hitbox
🟩 (Green): Vulnerable hurtbox that can be hit by strikes/projectiles
🟦 (Blue): Vulnerable throw hurtbox
|
| Active |
How many frames a move remains active (can hurt opponents) for. For projectiles with a maximum active period, a value may be listed in [brackets], but this number is not factored into the move's total frame count.
|
| Cancel |
Available options for canceling one move into another move.
|
| Cancel Hitconfirm Windows |
Hitconfirm reaction windows into Special Moves, Target Combos, and Super Arts.
|
| Damage |
Attack damage on hit. Multi-hit moves may have the damage listed for individual hits as X,Y (or sometimes X*Y). Sometimes a move's damage changes depending on which active frame connects, or on cinematic vs. non-cinematic hits; in this case, multiple values may be listed, and it will be clarified in the move description.
|
| Damage Scaling |
Some moves cause additional damage scaling in combos. Refer to Game Data page for a more detailed breakdown. Scaling Types:
|
| Drive Rush Cancel Advantage |
Refers to the frame advantage when canceling a normal, command normal, or Target Combo into Drive Rush on hit or block (abbreviated as DRC for Drive Rush Cancel). This is calculated at the moment a follow-up attack can be input, not at the moment the character can block or perform movement options. An attack that with DRC +8 on Hit can link into an 8-frame attack, and DRC +4 on Block can create a true blockstring into a 4-frame attack. Note that any DRC on Block worse than +4 cannot form a true blockstring, allowing the opponent to interrupt with an invincible reversal. Most light normals are slightly negative after a DRC on block, meaning the opponent can mash their fastest normal to guarantee a counter-hit (though this requires fast reactions). The attacking character could punish this with Light > DRC into an immediate invincible attack, but this would be an incredibly expensive and high-risk gambit.
|
| Forced Knockdown |
Most airborne command normals, special moves, and Super Arts put the user in a "Forced Knockdown" state. While in this state, an air knockdown will occur when being hit by any attack, even if it would otherwise cause an air reset. As an example, Ryu's 2HP causes an air reset when used as an anti-air. Against a move like Cammy's Hooligan Combination, however, the 2HP puts her into an air knockdown state. This allows Ryu to successfully cancel 2HP into Shoryuken for a juggle, similar to how a Drive Impact wall splat works. Taking advantage of Forced Knockdown juggles is important for dealing with moves like Ken's Dragonlash, Dhalsim's Air Teleport, or Kimberly's 6HK~Hop sequence. Moves that already cause an air knockdown, like most j.MP air-to-airs, will not display the "Forced Knockdown" message.
|
| Guard |
Refers to the direction an attack must be blocked. L is for Low attacks (must be blocked crouching), H is for High attacks/overheads (must be blocked standing), LH is for attacks that can be blocked crouching or standing. T is for Throw attacks which cannot be blocked.
|
| Juggles |
When a character is put into an Air Knockdown state, it is often possible to follow up with a Juggle attack before they hit the ground. In the simplest terms, there are 2 main juggle states:
The following is a more detailed overview of the SF6 juggle system:
Juggle Start (JS): When starting a juggle, the opponent's JC will be set to this value. May be different vs. standing and airborne opponents.
Juggle Increase (JI): When opponent is already in a juggle state, attacks will increase the opponent's JC by this amount.
Juggle Limit (JL): Property of an attack hitbox that determines whether it connects on a juggled opponent. The JL must be ≥ the opponent's JC to hit successfully.
An example to tie everything together:
Drive Rush notes:
More recently, the official definitions used by Capcom are slightly different than these community-designated terms. When reading official patch notes, the following terms are used instead:
|
| On Hit/Block |
These are frame advantage values when the attack hits or is blocked. If the number is positive, then the move will recover before the defender can act again. If the number is negative, the defender will be able to act before the attacker and maybe even punish. KD refers to knockdown on hit, and the listed KD Advantage refers to how many frames the attacker can act before the defender finishes their wakeup animation.
|
| Recovery |
How many frames it takes for a move to finish after the active frames have finished. For projectiles, recovery is considered to begin after the first active frame.
|
| Startup |
How many frames it takes before the move becomes 'active' or have a hit box. The last startup frame and the first active frame are the same frame, meaning all values are written as Startup + 1.
|
| IASA / Actionable Recovery |
Some moves play out an extended recovery animation when no other button/direction is input (for crouching moves, it applies when holding any down direction). These are often referred to as "actionable recovery" frames; in some games, the term IASA (Interruptible As Soon As) refers to the frame that Actionable Recovery begins. Letting the Actionable Recovery frames play out can change the character's position, potentially setting up spacing traps by recovering farther away. For example, Manon 5HP will recover much farther away from the opponent if no input is performed immediately after her recovery; holding back or down-back to block will keep her much closer to the opponent.
|
Normals
Standing Normals
5LP
| Startup | Active | Recovery | Cancel | Damage | Guard | On Hit | On Block |
|---|---|---|---|---|---|---|---|
| 5 | 2 | 7 | Sp SA TC | 300 | LH | +4 | -1 |
- Does not chain into or from any other lights.
- Has a unique TC chain into itself.
AKI's 5LP is a somewhat unique 5f normal. It doesn't lead to much on its own, but the TC can frame trap and make its -1 frame advantage uniquely threatening.
5MP
| Startup | Active | Recovery | Cancel | Damage | Guard | On Hit | On Block |
|---|---|---|---|---|---|---|---|
| 6 | 5 | 14(16) | Sp SA | 600 | LH | +3 | -3 |
5MP is an excellent spacing trap against players who like to mash after her light chains. While it doesn't link into anything on its own, it combos into most of AKI's special moves and is confirmable on Counterhit or Punish Counter.
5HP
| Startup | Active | Recovery | Cancel | Damage | Guard | On Hit | On Block |
|---|---|---|---|---|---|---|---|
| 12 | 3 | 21 | TC | 800 | LH | +1 | -4 |
5LK
| Startup | Active | Recovery | Cancel | Damage | Guard | On Hit | On Block |
|---|---|---|---|---|---|---|---|
| 4 | 3 | 12 | Sp SA | 300 | LH | +3 | -3 |
5MK
| Startup | Active | Recovery | Cancel | Damage | Guard | On Hit | On Block |
|---|---|---|---|---|---|---|---|
| 8 | 3 | 15(17) | - | 700 | LH | +6 | -2 |
5HK
| Startup | Active | Recovery | Cancel | Damage | Guard | On Hit | On Block |
|---|---|---|---|---|---|---|---|
| 9 | 4 | 19 | Sp SA | 800 | LH | +4 | -3 |
Crouching Normals
2LP
| Startup | Active | Recovery | Cancel | Damage | Guard | On Hit | On Block |
|---|---|---|---|---|---|---|---|
| 4 | 2 | 9 | Chn Sp SA | 300 | LH | +4 | -1 |
2MP
| Startup | Active | Recovery | Cancel | Damage | Guard | On Hit | On Block |
|---|---|---|---|---|---|---|---|
| 7 | 3 | 18 | Sp SA | 600 | LH | +1 | -3 |
2HP
| Startup | Active | Recovery | Cancel | Damage | Guard | On Hit | On Block |
|---|---|---|---|---|---|---|---|
| 10 | 3 | 28 | - | 900 | L | KD +27 | -8 |
2LK
| Startup | Active | Recovery | Cancel | Damage | Guard | On Hit | On Block |
|---|---|---|---|---|---|---|---|
| 5 | 3 | 8 | Chn | 200 | L | +3 | -2 |
2MK
| Startup | Active | Recovery | Cancel | Damage | Guard | On Hit | On Block |
|---|---|---|---|---|---|---|---|
| 7 | 3 | 16 | SA | 600 | L | +5 | +1 |
2HK
| Startup | Active | Recovery | Cancel | Damage | Guard | On Hit | On Block |
|---|---|---|---|---|---|---|---|
| 10 | 6 | 20 | SA | 900 | LH | 0 | -3 |
Jumping Normals
j.LP
| Startup | Active | Recovery | Cancel | Damage | Guard | On Hit | On Block |
|---|---|---|---|---|---|---|---|
| 5 | 9 | 3 land | - | 300 | H | +2(+9) | -2(+5) |
j.MP
| Startup | Active | Recovery | Cancel | Damage | Guard | On Hit | On Block |
|---|---|---|---|---|---|---|---|
| 7 | 4 | 3 land | - | 700 | H | +9(+11) | +5(+7) |
j.HP
| Startup | Active | Recovery | Cancel | Damage | Guard | On Hit | On Block |
|---|---|---|---|---|---|---|---|
| 11 | 6 | 3 land | - | 800 | H | +5(+15) | +1(+11) |
j.LK
| Startup | Active | Recovery | Cancel | Damage | Guard | On Hit | On Block |
|---|---|---|---|---|---|---|---|
| 5 | 6 | 3 land | - | 300 | H | +4(+10) | 0(+6) |
j.MK
| Startup | Active | Recovery | Cancel | Damage | Guard | On Hit | On Block |
|---|---|---|---|---|---|---|---|
| 7 | 6 | 3 land | - | 600 | H | +4(+13) | 0(+9) |
j.HK
| Startup | Active | Recovery | Cancel | Damage | Guard | On Hit | On Block |
|---|---|---|---|---|---|---|---|
| 8 | 8 | 3 land | - | 800 | H | +8(+15) | +4(+11) |
Command Normals
3MP
| Startup | Active | Recovery | Cancel | Damage | Guard | On Hit | On Block |
|---|---|---|---|---|---|---|---|
| 24 | 3 | 18 | - | 600 | H | +3 | -2 |
6HP
| Startup | Active | Recovery | Cancel | Damage | Guard | On Hit | On Block |
|---|---|---|---|---|---|---|---|
| 16 | 3 | 20(21) | SA | 900 | LH | +3 | -4 |
6HK
| Startup | Active | Recovery | Cancel | Damage | Guard | On Hit | On Block |
|---|---|---|---|---|---|---|---|
| 14 | 3(5)3 | 16(24) | - | 400x2 | LH | +4 | +2 |
j.2HP
| Startup | Active | Recovery | Cancel | Damage | Guard | On Hit | On Block |
|---|---|---|---|---|---|---|---|
| 9 | 5 | 3 land | - | 800 | H | +5(+15) | +1(+11) |
- Forward Jump only
- Can only hit cross-up (behind A.K.I.)
Target Combos
5LP~LP
| Startup | Active | Recovery | Cancel | Damage | Guard | On Hit | On Block |
|---|---|---|---|---|---|---|---|
| 8 | 2 | 14(16) | Sp SA | 300(240) | LH | +1 | -3 |
5HP~HP
| Startup | Active | Recovery | Cancel | Damage | Guard | On Hit | On Block |
|---|---|---|---|---|---|---|---|
| 14 | 3 | 24(29) | - | 400 | LH | KD +34[+54] | -15 |
Throws
Forward Throw (LPLK)
| Startup | Active | Recovery | Cancel | Damage | Guard | On Hit | On Block |
|---|---|---|---|---|---|---|---|
| 5 | 3 | 23 | - | 1200 (2040) | T | KD +19 | - |
- Punish Counter: +19 HKD
Back Throw (4LPLK)
| Startup | Active | Recovery | Cancel | Damage | Guard | On Hit | On Block |
|---|---|---|---|---|---|---|---|
| 5 | 3 | 23 | - | 1200 (2040) | T | KD +20 | - |
- Side switches
- Punish Counter: +27 HKD
Drive System
Drive Impact (HPHK)
| Startup | Active | Recovery | Cancel | Damage | Guard | On Hit | On Block |
|---|---|---|---|---|---|---|---|
| 26 | 2 | 35 | - | 800 | LH | KD +35 / Wall Splat KD +65 | -3 / Wall Splat HKD +72 |
See Drive Impact
When canceled from a normal, these are the important blockstring gaps; a gap of N will trade with an N-frame startup attack; [] = Burnout
- 5HK: 7[3]
- 2MP: 10[6]
- 5MP, 5LP~LP: 12[8]
- Note: A gap ≥ 6f can be thrown, and a gap ≥ 9f can be jumped out of by most characters
Drive Reversal (6HPHK)
| Startup | Active | Recovery | Cancel | Damage | Guard | On Hit | On Block |
|---|---|---|---|---|---|---|---|
| 20 | 3 | 26(31) | - | 500 recoverable | LH | KD +23 | -6 |
See Drive Reversal
- Full Invuln: 1-22f; Armor Break
Drive Parry (MPMK)
| Startup | Active | Recovery | Cancel | Damage | Guard | On Hit | On Block |
|---|---|---|---|---|---|---|---|
| 1 | 12 or until released | 33(1)(11) | - | - | - | - | - |
See Drive Parry
- Perfect Parry has only 1f recovery, and disables the opponent from canceling their attack
- Perfect Parry vs. projectiles puts you into a fixed 11f recovery
Drive Rush (66)
No results
See Drive Rush. Frame data shown in (parentheses) refers to Parry Drive Rush.
- Distance:
- 0.907 (min, cancel into immediate Throw)
- 2.437 (min, earliest blocking/movement frame)
- 4.049 (max, final DR frame)
- See Strategy page for Blockstring Gaps and Combo Routes
Special Moves
Nightshade Pulse (214LP)
| Startup | Active | Recovery | Cancel | Damage | Guard | On Hit | On Block |
|---|---|---|---|---|---|---|---|
| 17 | - | 35 | SA3 | 500 | LH | -5 | -10 |
| Startup | Active | Recovery | Cancel | Damage | Guard | On Hit | On Block |
|---|---|---|---|---|---|---|---|
| 16 | - | 28 | SA2 SA3 | 300,400 | LH | KD +45 | +1 |
Nightshade Chaser (214LP~6P)
| Startup | Active | Recovery | Cancel | Damage | Guard | On Hit | On Block |
|---|---|---|---|---|---|---|---|
| 13 | 2 | 34 | SA3 | 500[800] | LH | -4 [KD +38] | -16(-11) |
| Startup | Active | Recovery | Cancel | Damage | Guard | On Hit | On Block |
|---|---|---|---|---|---|---|---|
| 14 | 6 | 29 | - | 800 | LH | KD +42 | -4 |
| Startup | Active | Recovery | Cancel | Damage | Guard | On Hit | On Block |
|---|---|---|---|---|---|---|---|
| 13 | 5 | 28 | SA2 SA3 | 600[800] | LH | KD +25 [KD +41~44] | -13(-10) |
| Startup | Active | Recovery | Cancel | Damage | Guard | On Hit | On Block |
|---|---|---|---|---|---|---|---|
| 14 | 12 | 20 | SA2 SA3 | 800x2 | LH | KD +43(+52~57) | -2(+4) |
Orchid Spring (214MP)
| Startup | Active | Recovery | Cancel | Damage | Guard | On Hit | On Block |
|---|---|---|---|---|---|---|---|
| 26 | [160] | 20 | - | - | - | - | - |
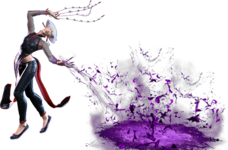
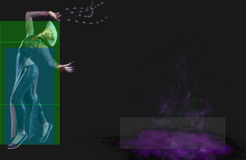
Toxic Wreath (214HP)
| Startup | Active | Recovery | Cancel | Damage | Guard | On Hit | On Block |
|---|---|---|---|---|---|---|---|
| 13 | 3(14)9 | 13 | SA3 | 200,600 | LH | KD +40 | -4 |
Serpent Lash (236P)
| Startup | Active | Recovery | Cancel | Damage | Guard | On Hit | On Block |
|---|---|---|---|---|---|---|---|
| 14 | 3 | 20(26) | SA3 | 500[800] | LH | +1(+3) [KD +44(46)] | -8(-6) |
- Straight forward
| Startup | Active | Recovery | Cancel | Damage | Guard | On Hit | On Block |
|---|---|---|---|---|---|---|---|
| 14 | 9 | 21 | SA3 | 600[700] | LH | KD +44 [Crumple +69] | -12 |
- Slight upward angle
| Startup | Active | Recovery | Cancel | Damage | Guard | On Hit | On Block |
|---|---|---|---|---|---|---|---|
| 11 | 6 | 32 | SA3 | 700[800] | LH | KD +44 [KD +53] | -20 |
- Straight up
| Startup | Active | Recovery | Cancel | Damage | Guard | On Hit | On Block |
|---|---|---|---|---|---|---|---|
| 21 | 5 | 25 | [TB: SA2 SA3] | 600[800] | LH | +4 [Crumple +71] | -14(-11) |
- Straight forward
Cruel Fate (214K)
| Startup | Active | Recovery | Cancel | Damage | Guard | On Hit | On Block |
|---|---|---|---|---|---|---|---|
| 24 | 2(5)2(4)2(5)2 | 18 land | SA3 | 200x4 (800) | LH | +1 (KD +38~45) | -3 |
| Startup | Active | Recovery | Cancel | Damage | Guard | On Hit | On Block |
|---|---|---|---|---|---|---|---|
| 28 | 2(5)2(4)2(5)2 | 18 land | SA3 | 200x3,300 (900) | LH | +3 (KD +38~45) | -3 |
| Startup | Active | Recovery | Cancel | Damage | Guard | On Hit | On Block |
|---|---|---|---|---|---|---|---|
| 33 | 2(5)2(4)2(5)2 | 18 land | SA3 | 200x3,400 (1000) | LH | +4 (KD +41~50) | -3 |
| Startup | Active | Recovery | Cancel | Damage | Guard | On Hit | On Block |
|---|---|---|---|---|---|---|---|
| 28 | 3(4)2(4)2(5)2 | 18 land | SA2* SA3* | 200,200x4,600 (1600) | LH | HKD +42 (+2~3) | +2 |
Snake Step (236K)
| Startup | Active | Recovery | Cancel | Damage | Guard | On Hit | On Block |
|---|---|---|---|---|---|---|---|
| 37 total | - | - | - | - | - | - | - |
| Startup | Active | Recovery | Cancel | Damage | Guard | On Hit | On Block |
|---|---|---|---|---|---|---|---|
| 39 total | - | - | - | - | - | - | - |
| Startup | Active | Recovery | Cancel | Damage | Guard | On Hit | On Block |
|---|---|---|---|---|---|---|---|
| 43(50~54) total | - | - | - | - | - | - | - |
| Startup | Active | Recovery | Cancel | Damage | Guard | On Hit | On Block |
|---|---|---|---|---|---|---|---|
| 42(48~57) | - | - | - | - | - | - | - |
Sinister Slide (2PP)
| Startup | Active | Recovery | Cancel | Damage | Guard | On Hit | On Block |
|---|---|---|---|---|---|---|---|
| 11(28) | [185] | 20 | - | - | - | - | - |
- Cancelable by inputting up direction
- Can input followups after 11f
Venomous Fang (2PP~P)
| Startup | Active | Recovery | Cancel | Damage | Guard | On Hit | On Block |
|---|---|---|---|---|---|---|---|
| 11+19 | 15 | 30 | - | 1100 | LH | KD +20(34) [Crumple +67(81)] |
-25(-11) |
Heel Strike (2PP~K)
| Startup | Active | Recovery | Cancel | Damage | Guard | On Hit | On Block |
|---|---|---|---|---|---|---|---|
| 11+11 | 3(9)3 | 17(20) | SA3 (2nd) | 300x2 | LH | +4 | -3 |
Entrapment (2PP~LPLK)
| Startup | Active | Recovery | Cancel | Damage | Guard | On Hit | On Block |
|---|---|---|---|---|---|---|---|
| 11+23 | 3 | 55 | - | 1852 (2222) | T | HKD +16 | - |
Super Arts
Level 1 Super (236236K)
| Startup | Active | Recovery | Cancel | Damage | Guard | On Hit | On Block |
|---|---|---|---|---|---|---|---|
| 10 | 3 | 68 | - | 850,950 (1800) | LH | KD +30 | -46 |
- Strike/Throw Invuln: 1-12f
- Good anti-air (cannot hit cross-up)
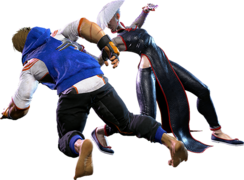
- On hit, transitions to a cinematic and poisons the opponent
Level 2 Super (214214P)
| Startup | Active | Recovery | Cancel | Damage | Guard | On Hit | On Block |
|---|---|---|---|---|---|---|---|
| 7 | 53(28)12 | 54 | - | 300,200x6,1000 (2500) | LH | KD +30 | -19~ |
- Button strength determines distance
- Poisons the opponent on hit
- Creates a pool that poisons the opponent on hit/block
Level 3 Super (236236P)
| Startup | Active | Recovery | Cancel | Damage | Guard | On Hit | On Block |
|---|---|---|---|---|---|---|---|
| 10 | 3 | 58 | - | 4000 | LH | HKD +30 | -36 |
- Full Invuln: 1-12f
- Cannot hit cross-up
| Startup | Active | Recovery | Cancel | Damage | Guard | On Hit | On Block |
|---|---|---|---|---|---|---|---|
| 10 | 3 | 58 | - | 4500 | LH | HKD +21 | -36 |
- Full Invuln: 1-12f
- Cannot hit cross-up
Taunts
Neutral Taunt (5PPPKKK)
"The master's prized poison... ahh, a perfect, beautiful, most brilliantly crafted poison! Now you'll get a taste."
| Startup | Active | Recovery | Cancel | Damage | Guard | On Hit | On Block |
|---|---|---|---|---|---|---|---|
| 611 (total) | - | - | - | - | - | - | - |
- Builds 1 bar of Super gauge
Forward Taunt (6PPPKKK)
"Time for some experimentation... I bet poison would work wonders on you."
| Startup | Active | Recovery | Cancel | Damage | Guard | On Hit | On Block |
|---|---|---|---|---|---|---|---|
| 484 (total) | - | - | - | - | - | - | - |
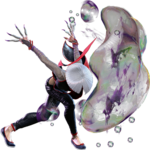
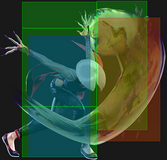
Back Taunt (4PPPKKK)
| Startup | Active | Recovery | Cancel | Damage | Guard | On Hit | On Block |
|---|---|---|---|---|---|---|---|
| 175 | 32 | 258(264) | - | 600 | LH | KD -197 | -239 |
- Bubbles have a large projectile hitbox behind A.K.I.
