|
|
| Line 895: |
Line 895: |
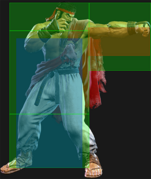
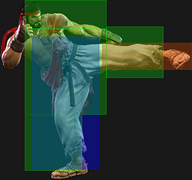
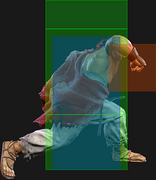
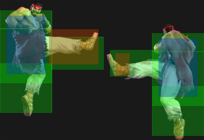
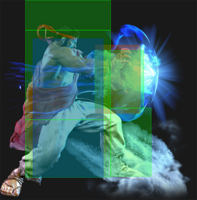
| {{AttackDataCargo-SF6/Query|ryu_236lk}} | | {{AttackDataCargo-SF6/Query|ryu_236lk}} |
| * Puts opponent into {{sf6-jug|limited juggle}} state | | * Puts opponent into {{sf6-jug|limited juggle}} state |
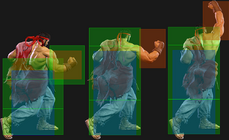
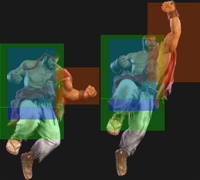
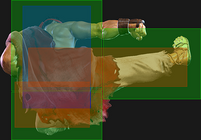
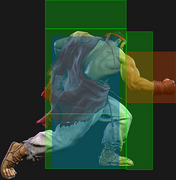
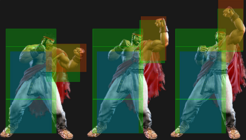
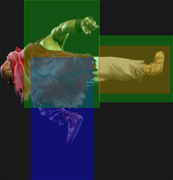
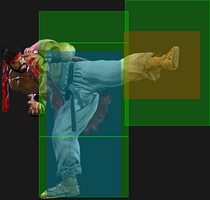
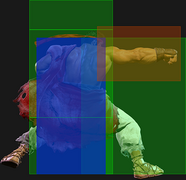
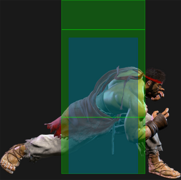
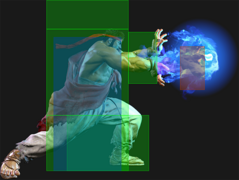
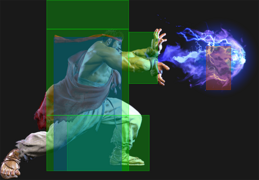
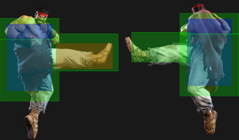
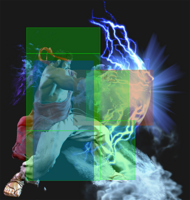
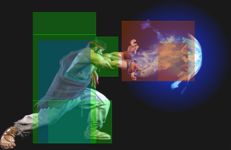
| | * Can be spaced to hit up to active frame 5; final 2 active frames have identical range |
| * '''Cancel Hitconfirm Window:''' 22f (Super) | | * '''Cancel Hitconfirm Window:''' 22f (Super) |
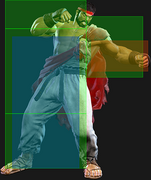
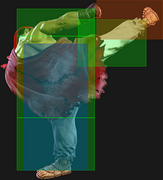
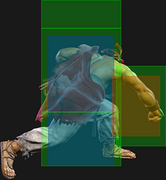
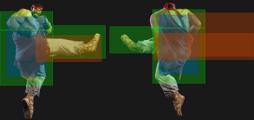
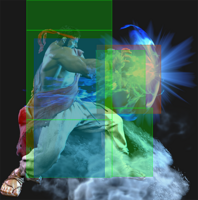
| {{AttackDataCargo-SF6/Query|ryu_236mk}} | | {{AttackDataCargo-SF6/Query|ryu_236mk}} |
| * Puts opponent into {{sf6-jug|limited juggle}} state | | * Puts opponent into {{sf6-jug|limited juggle}} state |
| * 3f extra recovery on whiff | | * 3f extra recovery on whiff |
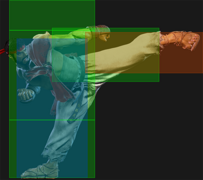
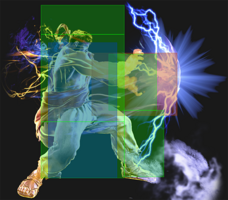
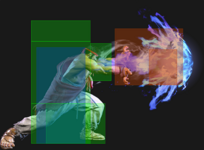
| | * Can be spaced to hit up to active frame 7; final 3 active frames have identical range |
| * '''Cancel Hitconfirm Window:''' 25f (Super) | | * '''Cancel Hitconfirm Window:''' 25f (Super) |
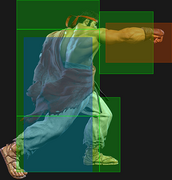
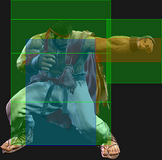
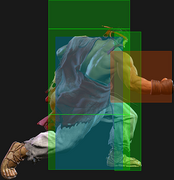
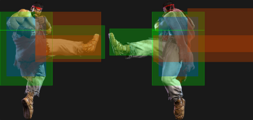
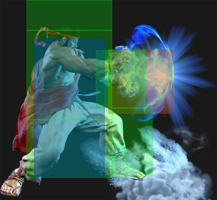
| {{AttackDataCargo-SF6/Query|ryu_236hk}} | | {{AttackDataCargo-SF6/Query|ryu_236hk}} |
| * Puts opponent into {{sf6-jug|limited juggle}} state; can juggle {{clr|L|623LP}}/{{clr|SA|SA3}} in corner | | * Puts opponent into {{sf6-jug|limited juggle}} state; can juggle {{clr|M|MP}}/{{clr|OD|OD}} Shoryuken or {{clr|SA|SA3}} in the corner |
| * {{clr|PC|Punish Counter}}: KD +95 (OTG Tumble state) | | * {{clr|PC|Punish Counter}}: KD +96~102 (OTG Tumble state) |
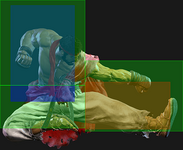
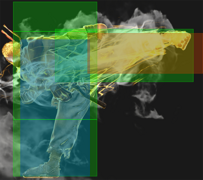
| | * Can be spaced to hit up to active frame 7; final 3 active frames have identical range |
| * '''Cancel Hitconfirm Window:''' 30f (Super) | | * '''Cancel Hitconfirm Window:''' 30f (Super) |
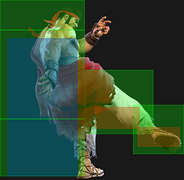
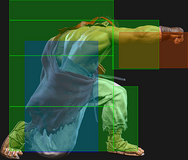
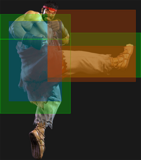
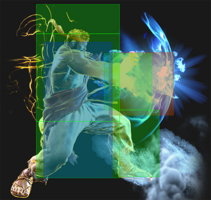
| {{AttackDataCargo-SF6/Query|ryu_236kk}} | | {{AttackDataCargo-SF6/Query|ryu_236kk}} |
| Line 916: |
Line 919: |
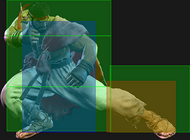
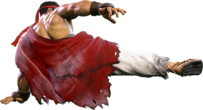
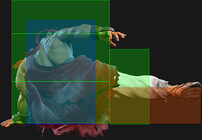
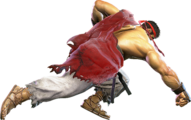
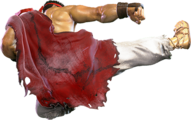
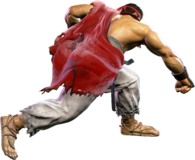
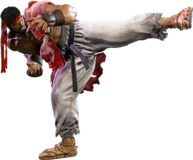
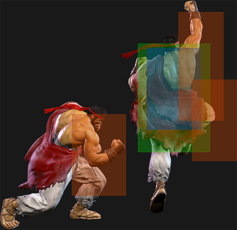
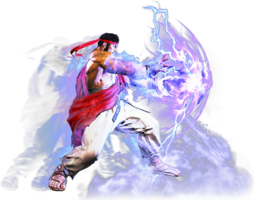
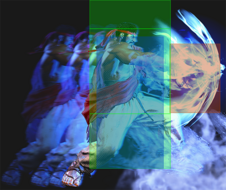
| The {{clr|M|MK}} version can be spaced relatively safely, and often can set up a safe Denjin Charge when used midscreen. It is great for harassing the opponent's Drive gauge unless they have an unusually fast and long-range punish option. It combos from all medium normals, as well as {{clr|PC|Punish Counter}} {{clr|L|5LK}}/{{clr|L|2LP}}. | | The {{clr|M|MK}} version can be spaced relatively safely, and often can set up a safe Denjin Charge when used midscreen. It is great for harassing the opponent's Drive gauge unless they have an unusually fast and long-range punish option. It combos from all medium normals, as well as {{clr|PC|Punish Counter}} {{clr|L|5LK}}/{{clr|L|2LP}}. |
|
| |
|
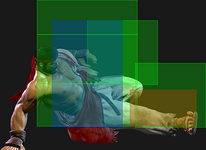
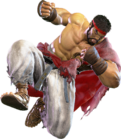
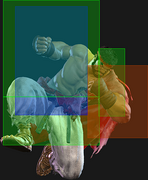
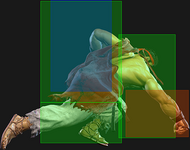
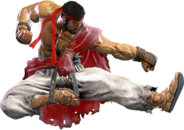
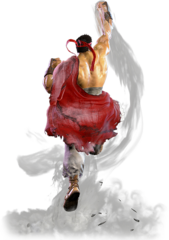
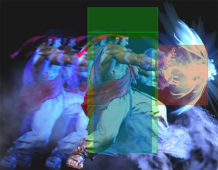
| The {{clr|H|HK}} version is very slow, but the high pushback makes it much safer than other versions. Only {{clr|H|4HP}} can naturally combo into it; other buttons require {{clr|DR|Drive Rush}}, {{clr|PC|Punish Counter}}, or juggle routes to combo successfully. Juggling into {{clr|H|236HK}} (e.g. {{clr|H|214HP}}, {{clr|DR|DR~}}{{clr|H|5HP}} > {{clr|H|236HK}}) usually leaves the opponent at +42, setting up an auto-timed corner safe jump. Be careful when throwing this out in neutral, as the opponent can react with {{clr|DR|Drive Impact}} unless you cancel into {{clr|SA|SA3}} on reaction. It is also a great punish starter if you know your routing. | | The {{clr|H|HK}} version is very slow, but the high pushback makes it much safer than other versions. Only {{clr|H|4HP}} can naturally combo into it; other buttons require {{clr|DR|Drive Rush}}, {{clr|PC|Punish Counter}}, or juggle routes to combo successfully. Juggling into {{clr|H|236HK}} (e.g. {{clr|H|214HP}}, {{clr|DR|DR~}}{{clr|H|5HP}} > {{clr|H|236HK}}) usually leaves the Ryu at +42, setting up an auto-timed corner safe jump. Be careful when throwing this out in neutral, as the opponent can react with {{clr|DR|Drive Impact}} unless you cancel into {{clr|SA|SA3}} on reaction. It can also be a great punish starter after blocking a cornered opponent's reversal, especially if you have a stock to follow up with {{clr|H|Denjin 214HP}}. |
|
| |
|
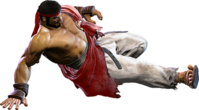
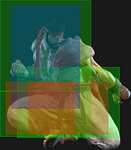
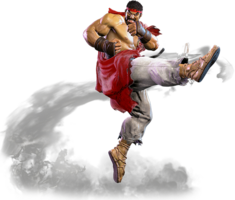
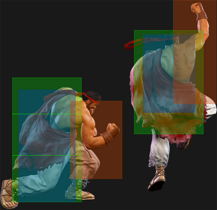
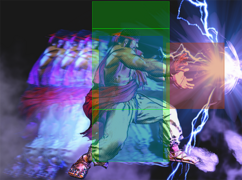
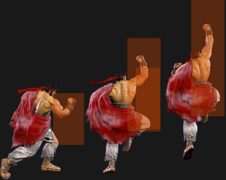
| {{clr|OD|OD High Blade Kick}} is the star of the show due to its Wall Bounce, which can lead to powerful juggles; it can even combo into fully charged {{clr|SA|SA2}} when canceled (although the release must be manually timed). The {{clr|OD|OD}} version can be comboed into from medium attacks or from a {{clr|PC|Punish Counter}} {{clr|L|5LK}}. If Ryu is too close to the corner, the opponent will bounce over his head, resulting in no follow-up juggle. In these situations, {{clr|OD|OD Tatsu}} is preferred. | | {{clr|OD|OD High Blade Kick}} can get some powerful juggles due to its Wall Bounce; it can even combo into fully charged {{clr|SA|SA2}} when canceled (although the release must be manually timed). {{clr|OD|236KK}} can be comboed into from medium attacks or from a {{clr|PC|Punish Counter}} {{clr|L|5LK}}. The most common follow-up juggles are {{clr|H|6HK}} > Air Tatsu, or {{clr|H|4HK (2nd hit)}} > {{clr|H|HP Shoryuken}}. The first route gives good corner carry, while the second can cancel into {{clr|SA|SA3}} for great midscreen damage. If Ryu is too close to the corner, the opponent will bounce over his head, resulting in no follow-up juggle. In these situations, {{clr|OD|OD Tatsu}} is preferred. |
| }} | | }} |
|
| |
|


