|
|
| Line 418: |
Line 418: |
|
| |
|
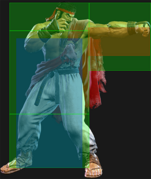
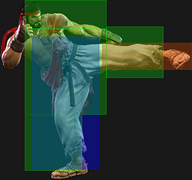
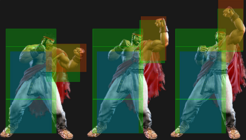
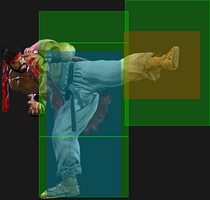
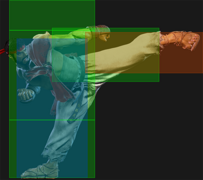
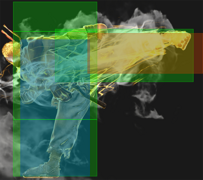
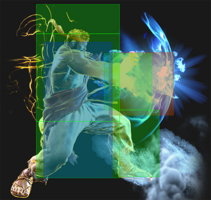
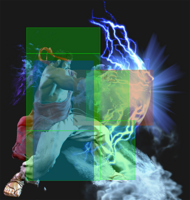
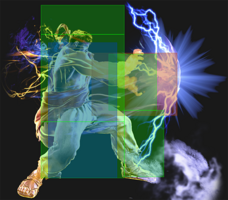
| Can be used as an anti-air, but the hitbox makes it a little inconsistent against strong air normals; stick with {{clr|H|2HP}} for a more reliable normal. | | Can be used as an anti-air, but the hitbox makes it a little inconsistent against strong air normals; stick with {{clr|H|2HP}} for a more reliable normal. |
| | }} |
| | |
| | =====<font style="visibility:hidden; float:right">4HK</font>===== |
| | {{MoveDataCargo |
| | | title = Axe Kick |
| | | subtitle = |
| | | input = {{Classic_sf6}} 4HK<br>{{Modern_sf6}} 4H |
| | | images = |
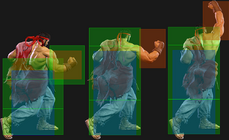
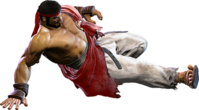
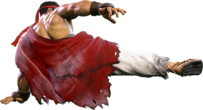
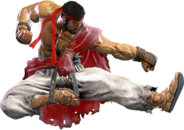
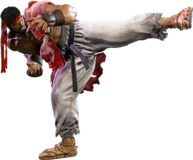
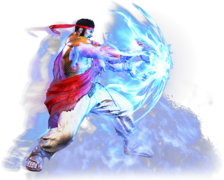
| | {{MoveDataCargoImage|imageHeight=180px|ryu_4hk|caption=}} |
| | | hitboxes = |
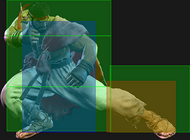
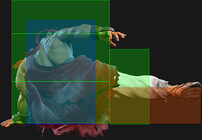
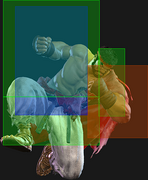
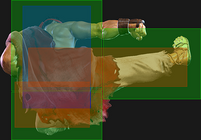
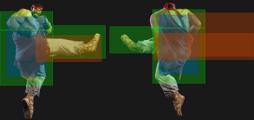
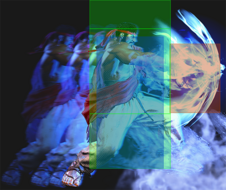
| | {{MoveDataCargoImage|hitbox=yes|imageHeight=180px|ryu_4hk|1|caption=}} |
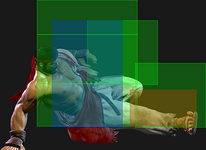
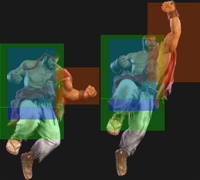
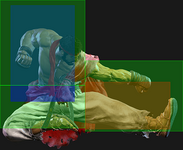
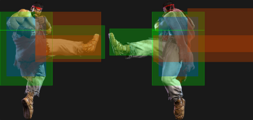
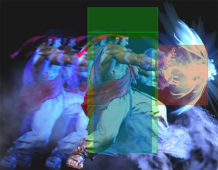
| | {{MoveDataCargoImage|hitbox=yes|imageHeight=90px|ryu_4hk|2|caption=}} |
| | | info = |
| | {{AttackDataCargo-SF6/Query|ryu_4hk}} |
| | * 2 hits; () refers to startup of 2nd hit only |
| | * 1st hit forces stand, puts airborne opponents into {{sf6-jug|limited juggle}} state |
| | * 2nd hit puts airborne opponents into OTG Bounce state |
| | * Counter-hit/Punish Counter bonus advantage applies to both hits |
| | * '''Cancel Hitconfirm Window:''' 37f / 17f (2nd hit) |
| | * '''{{clr|DR|Drive Rush}} cancel advantage:''' 1st hit {{sf6-adv|VP|+10}} oH / {{sf6-adv|VP|+4}} oB, 2nd hit {{sf6-adv|VP|+14}} oH / {{sf6-adv|VP|+10}} oB |
| | <br> |
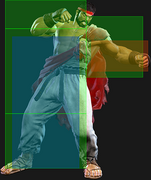
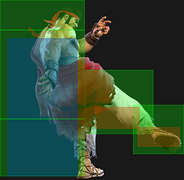
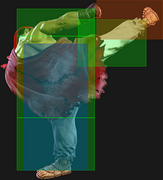
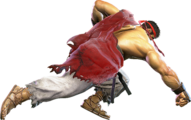
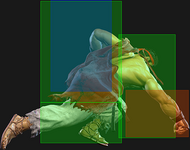
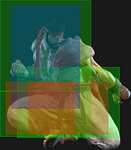
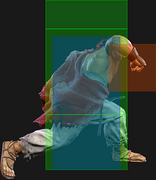
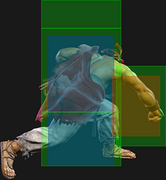
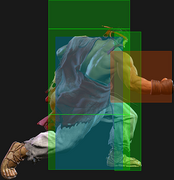
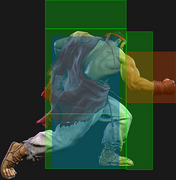
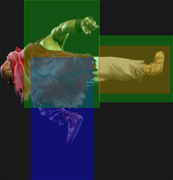
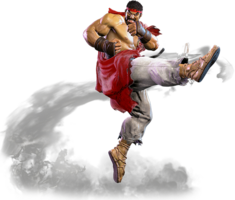
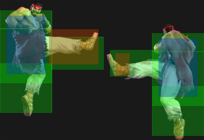
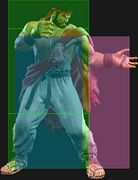
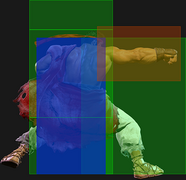
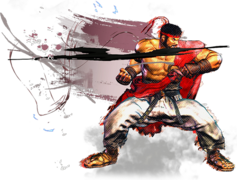
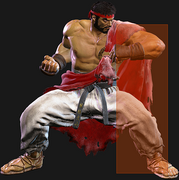
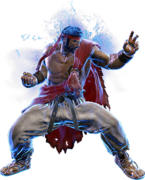
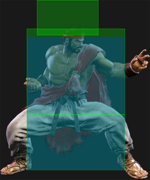
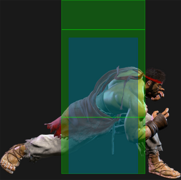
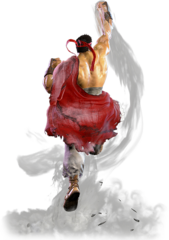
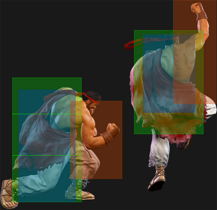
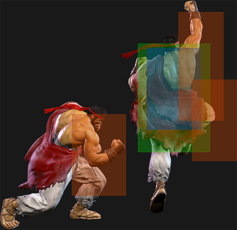
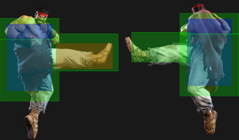
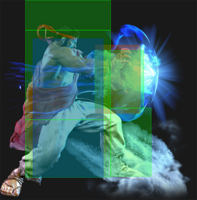
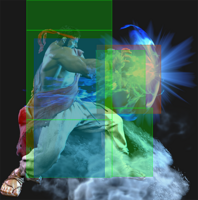
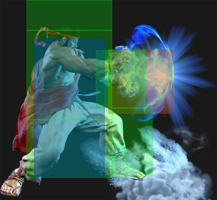
| | Ryu's Axe Kick is cancelable on both hits, so it's easy to confirm an appropriate follow-up on hit or block. At {{sf6-adv|VM|-4}} it's fairly safe most of the time due to pushback. The first hit can whiff on crouch blockers at farther ranges. The move has a lot of active frames, making it easy to time on the opponent's wakeup. |
| | |
| | Though risky, using it as an AA has decent reward due to the 2nd hit's ground bounce, which can juggle into a move like {{clr|H|HP Shoryuken}} or {{clr|M|MK High Blade Kick}}. In some rare cases, a high connect only allows the 1st hit to juggle; in this case, an immediate cancel into Shoryuken or a Tatsu will also work. |
| }} | | }} |
|
| |
|
| Line 468: |
Line 492: |
|
| |
|
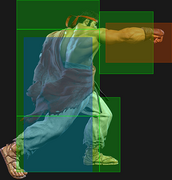
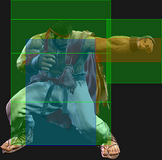
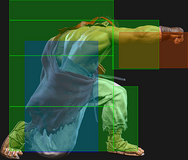
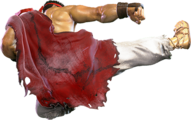
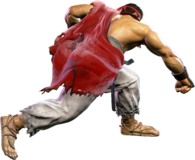
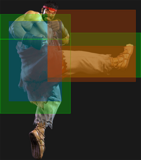
| This move's primary use is to end juggles, most notably after a midscreen {{clr|OD|OD High Blade Kick}}. Juggling {{clr|H|6HK}} into the meterless Tatsu gives great corner carry and decent oki after a double dash. The {{clr|OD|OD Air Tatsu}} ender generally leads to the same juggle follow-ups as the non-{{clr|H|6HK}} version, and should only be used near the corner unless the extra damage is enough to secure the round. | | This move's primary use is to end juggles, most notably after a midscreen {{clr|OD|OD High Blade Kick}}. Juggling {{clr|H|6HK}} into the meterless Tatsu gives great corner carry and decent oki after a double dash. The {{clr|OD|OD Air Tatsu}} ender generally leads to the same juggle follow-ups as the non-{{clr|H|6HK}} version, and should only be used near the corner unless the extra damage is enough to secure the round. |
| }}
| |
|
| |
| =====<font style="visibility:hidden; float:right">4HK</font>=====
| |
| {{MoveDataCargo
| |
| | title = Axe Kick
| |
| | subtitle =
| |
| | input = {{Classic_sf6}} 4HK<br>{{Modern_sf6}} 4H
| |
| | images =
| |
| {{MoveDataCargoImage|imageHeight=180px|ryu_4hk|caption=}}
| |
| | hitboxes =
| |
| {{MoveDataCargoImage|hitbox=yes|imageHeight=180px|ryu_4hk|1|caption=}}
| |
| {{MoveDataCargoImage|hitbox=yes|imageHeight=90px|ryu_4hk|2|caption=}}
| |
| | info =
| |
| {{AttackDataCargo-SF6/Query|ryu_4hk}}
| |
| * 2 hits; () refers to startup of 2nd hit only
| |
| * 1st hit forces stand, puts airborne opponents into {{sf6-jug|limited juggle}} state
| |
| * 2nd hit puts airborne opponents into OTG Bounce state
| |
| * Counter-hit/Punish Counter bonus advantage applies to both hits
| |
| * '''Cancel Hitconfirm Window:''' 37f / 17f (2nd hit)
| |
| * '''{{clr|DR|Drive Rush}} cancel advantage:''' 1st hit {{sf6-adv|VP|+10}} oH / {{sf6-adv|VP|+4}} oB, 2nd hit {{sf6-adv|VP|+14}} oH / {{sf6-adv|VP|+10}} oB
| |
| <br>
| |
| Ryu's Axe Kick is cancelable on both hits, so it's easy to confirm an appropriate follow-up on hit or block. At {{sf6-adv|VM|-4}} it's fairly safe most of the time due to pushback. The first hit can whiff on crouch blockers at farther ranges. The move has a lot of active frames, making it easy to time on the opponent's wakeup.
| |
|
| |
| Though risky, using it as an AA has decent reward due to the 2nd hit's ground bounce, which can juggle into a move like {{clr|H|HP Shoryuken}} or {{clr|M|MK High Blade Kick}}. In some rare cases, a high connect only allows the 1st hit to juggle; in this case, an immediate cancel into Shoryuken or a Tatsu will also work.
| |
| }} | | }} |
| <br> | | <br> |


