|
|
| Line 1,306: |
Line 1,306: |
| | info = | | | info = |
| {{AttackDataCargo-SF6/Query|Jamie_236236k_dl2}} | | {{AttackDataCargo-SF6/Query|Jamie_236236k_dl2}} |
| * Damage DL0-DL4: 1890/1989/2100/2199/2310 | | * Damage DL0-DL4: 1890 / 1989 / 2100 / 2199 / 2310 |
| ** Chip: 450/472/500/522/550 | | ** Chip: 450 / 472 / 500 / 522 / 550 |
| * '''Full Invuln:''' 1f; '''Strike/Throw Invuln:''' 2-12f; Armor Break | | * '''Full Invuln:''' 1f; '''Strike/Throw Invuln:''' 2-12f; Armor Break |
| * Depletes 1/2 Drive bar from opponent on hit | | * '''Drive Gauge Depletion:''' 0.5 bars (hit) / 0.25 bars (block) |
| * 30% minimum damage scaling | | * 30% minimum damage scaling |
| {{AttackDataCargo-SF6/Query|Jamie_236236k_drink_dl2}} | | {{AttackDataCargo-SF6/Query|Jamie_236236k_drink_dl2}} |
| * Damage DL0-DL4: 1575/1658/1750/1833/1925 | | * Damage DL0-DL4: 1575 / 1658 / 1750 / 1833 / 1925 |
| ** Chip: 360/380/400/420/440 | | ** Chip: 360 / 380 / 400 / 420 / 440 |
| * '''Full Invuln:''' 1f; '''Strike/Throw Invuln:''' 2-12f; Armor Break | | * '''Full Invuln:''' 1f; '''Strike/Throw Invuln:''' 2-12f; Armor Break |
| * Depletes 1/2 Drive bar from opponent on hit | | * '''Drive Gauge Depletion:''' 0.5 bars (hit) / 0.25 bars (block) |
| * 30% minimum damage scaling | | * 30% minimum damage scaling |
| * Ends in a Drink in exchange for reduced Damage and KD Advantage | | * Ends in a Drink in exchange for reduced Damage and KD Advantage |
| Line 1,362: |
Line 1,362: |
| | info = | | | info = |
| {{AttackDataCargo-SF6/Query|Jamie_236236p_dl2}} | | {{AttackDataCargo-SF6/Query|Jamie_236236p_dl2}} |
| * Damage DL0-DL4: 2340/2469/2600/2729/2860 | | * Damage DL0-DL4: 2340 / 2469 / 2600 / 2729 / 2860 |
| ** Non-Cinematic Hit: 450/475/500/525/550 | | ** Non-Cinematic Hit: 450 / 475 / 500 / 525 / 550 |
| ** Chip: 450x2/475x2/500x2/525x2/550x2 | | ** Chip: 450x2 / 475x2 / 500x2 / 525x2 / 550x2 |
| * '''Full Invuln:''' 1-12f; Armor Break | | * '''Full Invuln:''' 1-12f; Armor Break |
| * Launches opponent into [[Street_Fighter_6/Glossary#Juggles|free juggle state]] on cinematic hit | | * Launches opponent into [[Street_Fighter_6/Glossary#Juggles|free juggle state]] on cinematic hit |
| * Depletes 1.5 Drive bars from opponent on hit | | * '''Drive Gauge Depletion:''' 1.5 bars (hit) / 0.75 bars (block) |
| ** Cinematic time regenerates ~1.8 Drive bars for Jamie | | ** Cinematic time regenerates ~1.8 Drive bars for Jamie |
| * 50% minimum damage scaling; applies 10% immediate damage scaling when canceled from special moves | | * 50% minimum damage scaling; applies 10% immediate damage scaling when canceled from special moves |
| {{AttackDataCargo-SF6/Query|Jamie_236236p_ca_dl2}} | | {{AttackDataCargo-SF6/Query|Jamie_236236p_ca_dl2}} |
| * Damage DL0-DL4: 4050/4274/4500/4724/4950 | | * Damage DL0-DL4: 4050 / 4274 / 4500 / 4724 / 4950 |
| ** Non-Cinematic Hit: 450/475/500/525/550 | | ** Non-Cinematic Hit: 450 / 475 / 500 / 525 / 550 |
| ** Chip: 450,675/475,712/500,750/525,787/550,825 | | ** Chip: 450,675 / 475,712 / 500,750 / 525,787 / 550,825 |
| * '''Full Invuln:''' 1-12f; Armor Break | | * '''Full Invuln:''' 1-12f; Armor Break |
| * Available at 25% HP or below | | * Available at 25% HP or below |
| * Depletes 2 Drive bars from opponent on hit | | * '''Drive Gauge Depletion:''' 2 bars (hit) / 1 bar (block) |
| ** Cinematic time regenerates ~2.2 Drive bars for Jamie | | ** Cinematic time regenerates ~2.2 Drive bars for Jamie |
| * 50% minimum damage scaling; applies 10% immediate damage scaling when canceled from special moves | | * 50% minimum damage scaling; applies 10% immediate damage scaling when canceled from special moves |
| <br> | | <br> |
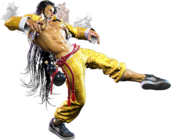
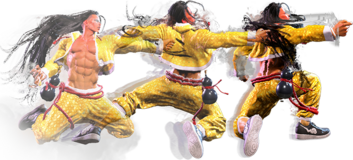
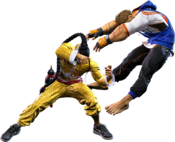
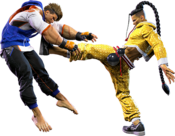
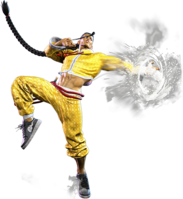
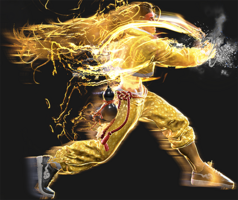
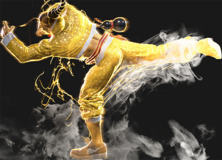
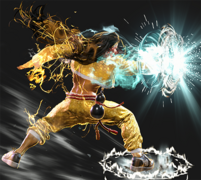
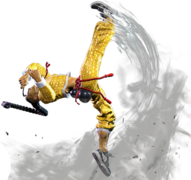
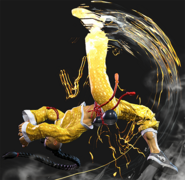
| Jamie's Level 3 Super goes into a cinematic if the first hit connects, while the 2nd hit is extremely weak on its own. The cinematic hit ends by launching the opponent, reminiscent of Yun's You Hou Ultra 1 from USF4. As a result, the damage is quite low, instead relying on the follow-up juggle to make it worthwhile. The cinematic ends abruptly, so it takes practice to learn exactly when to execute the follow-up. Jamie has several options, like Dash + 5HP or Drive Rush~2HP into further juggles. | | Jamie's SA3 goes into a cinematic if the first hit connects, while the 2nd hit is extremely weak on its own. The cinematic hit ends by launching the opponent, reminiscent of Yun's You Hou Ultra 1 from USF4. As a result, the damage is quite low, instead relying on the follow-up juggle to make it worthwhile; this unfortunately means that the damage potential is quite low in highly scaled combos. The cinematic ends abruptly, so it takes practice to learn exactly when to execute the follow-up. Jamie has several options, like 214HP, Dash 5HP, or Drive Rush 2KK into further juggles. |
|
| |
|
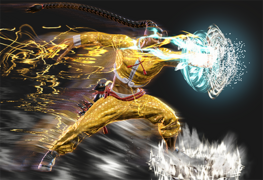
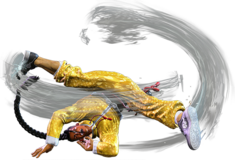
| The Critical Art version lacks this ending juggle, but makes up for it with higher base damage and a cooler ending cinematic. | | The Critical Art version lacks this ending juggle, but makes up for it with higher base damage and a cooler ending cinematic. Jamie's CA can be comboed into directly after OD Tenshin, bypassing the extra scaling that would otherwise apply and making it the most damaging throw mixup in the game. |
| | |
| | Because SA3 hits twice on block, the first hit can be used to put the opponent into Burnout before chipping out with the 2nd hit. Opponents can Drive Reversal to prevent this if Jamie uses a blockstring into SA3, but this requires them to be aware of the gimmick and to have full awareness of the HP and Drive meter situation. |
| }} | | }} |
| <br> | | <br> |


