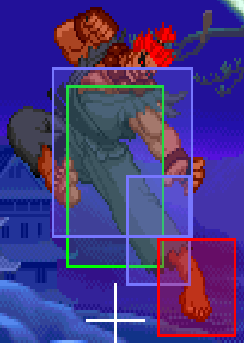
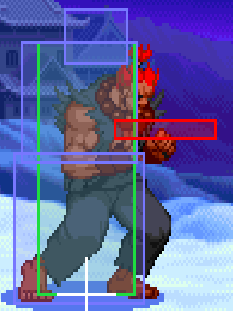
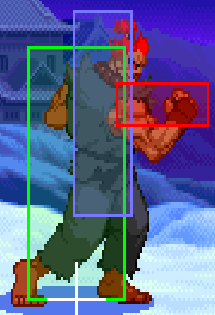
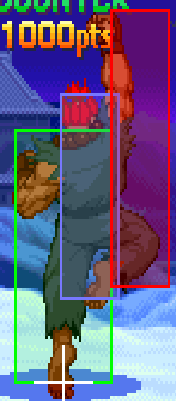
| Line 40: | Line 40: | ||
|align="center"| 4,7 | |align="center"| 4,7 | ||
|align="center"| -3 | |align="center"| -3 | ||
|align="center"| | |align="center"| C | ||
|align="center"| HL | |align="center"| HL | ||
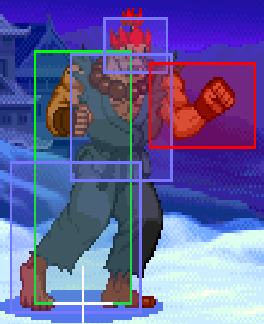
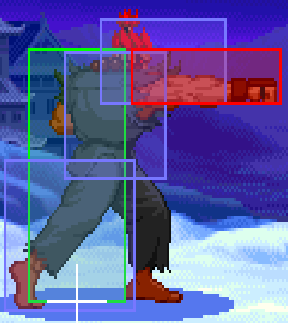
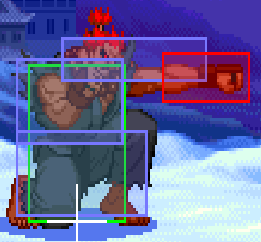
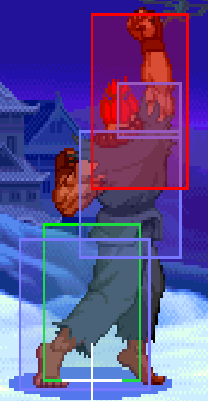
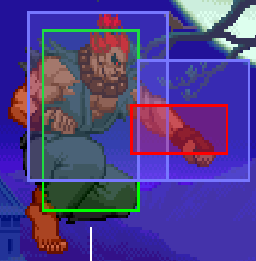
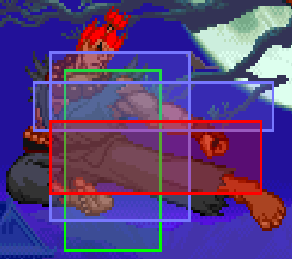
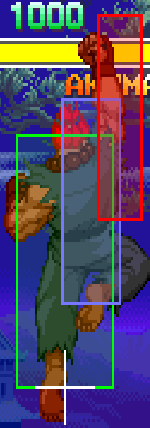
|valign="bottom" style="border-right:0px;"| [[File:Aku_s.mp(1).png|center]] | |valign="bottom" style="border-right:0px;"| [[File:Aku_s.mp(1).png|center]] | ||
| Line 50: | Line 50: | ||
|align="center"| 8 | |align="center"| 8 | ||
|align="center"| -2 | |align="center"| -2 | ||
|align="center"| | |align="center"| - | ||
|align="center"| HL | |align="center"| HL | ||
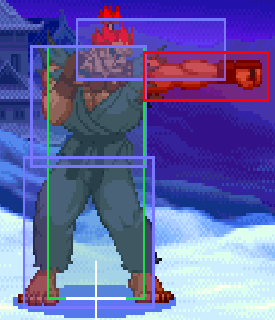
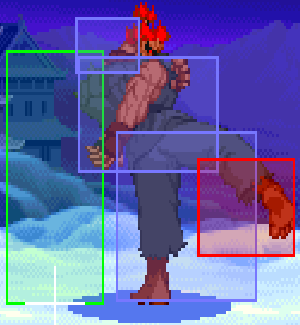
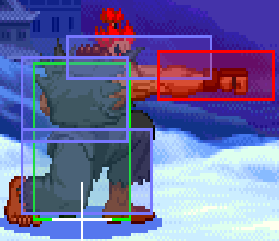
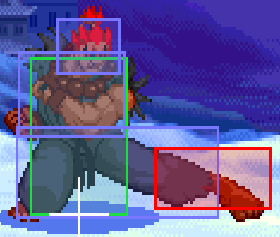
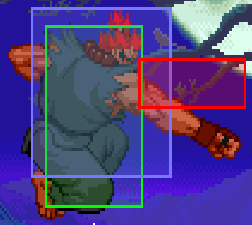
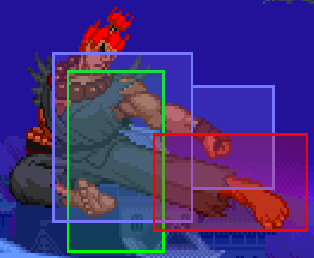
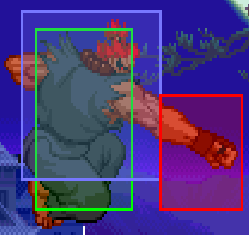
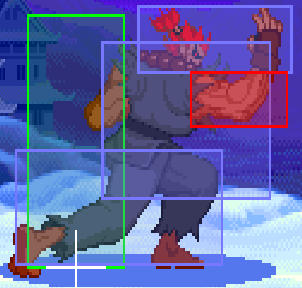
|colspan="3" | [[File:Aku_s.hp.png|center]] | |colspan="3" | [[File:Aku_s.hp.png|center]] | ||
| Line 76: | Line 76: | ||
|align="center"| 10 | |align="center"| 10 | ||
|align="center"| +7 | |align="center"| +7 | ||
|align="center"| | |align="center"| - | ||
|align="center"| HL | |align="center"| HL | ||
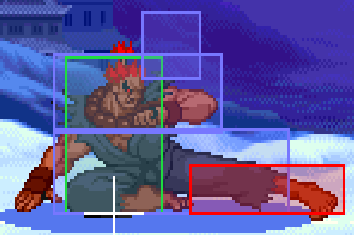
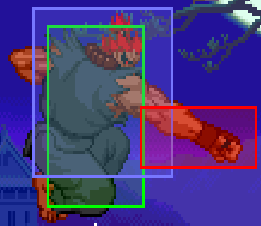
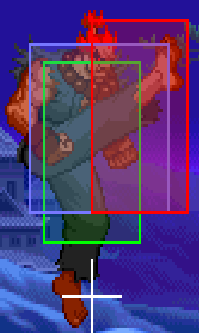
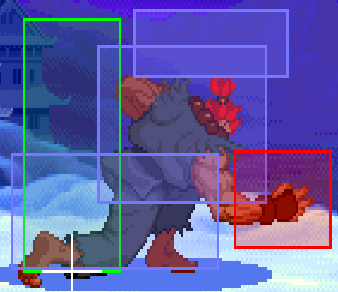
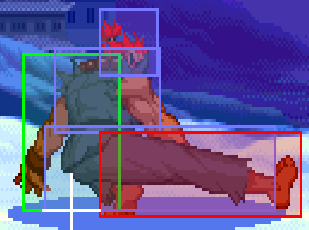
|colspan="3" | [[File:Aku_s.hk.png|center]] | |colspan="3" | [[File:Aku_s.hk.png|center]] | ||
| Line 94: | Line 94: | ||
|align="center"| 5 | |align="center"| 5 | ||
|align="center"| +5 | |align="center"| +5 | ||
|align="center"| | |align="center"| C | ||
|align="center"| HL | |align="center"| HL | ||
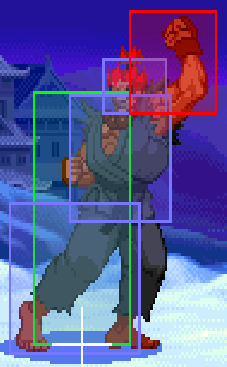
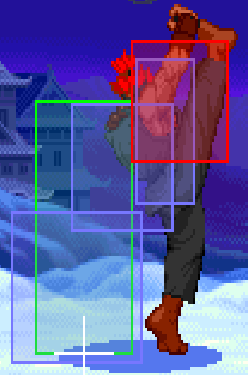
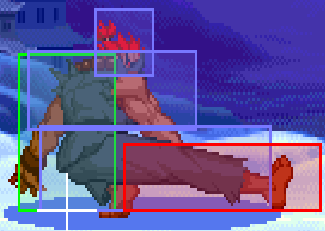
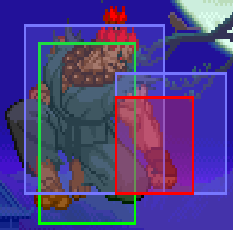
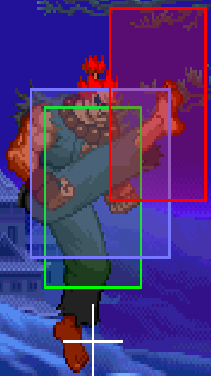
|colspan="3" | [[File:Aku_c.mp.png|center]] | |colspan="3" | [[File:Aku_c.mp.png|center]] | ||
| Line 137: | Line 137: | ||
! [[File:Lp.png]] | ! [[File:Lp.png]] | ||
|align="center"| 6 | |align="center"| 6 | ||
|align="center"| | |align="center"| - | ||
|align="center"| - | |align="center"| - | ||
|align="center"| H | |align="center"| H | ||
| Line 145: | Line 145: | ||
! [[File:Mp.png]] | ! [[File:Mp.png]] | ||
|align="center"| 9 | |align="center"| 9 | ||
|align="center"| | |align="center"| - | ||
|align="center"| - | |align="center"| - | ||
|align="center"| H | |align="center"| H | ||
| Line 153: | Line 153: | ||
! [[File:Hp.png]] | ! [[File:Hp.png]] | ||
|align="center"| 6 | |align="center"| 6 | ||
|align="center"| | |align="center"| - | ||
|align="center"| - | |align="center"| - | ||
|align="center"| H | |align="center"| H | ||
| Line 161: | Line 161: | ||
! [[File:Lk.png]] | ! [[File:Lk.png]] | ||
|align="center"| 8 | |align="center"| 8 | ||
|align="center"| | |align="center"| - | ||
|align="center"| - | |align="center"| - | ||
|align="center"| H | |align="center"| H | ||
| Line 169: | Line 169: | ||
! [[File:Mk.png]] | ! [[File:Mk.png]] | ||
|align="center"| 8 | |align="center"| 8 | ||
|align="center"| | |align="center"| - | ||
|align="center"| - | |align="center"| - | ||
|align="center"| HL | |align="center"| HL | ||
| Line 177: | Line 177: | ||
! [[File:Hk.png]] | ! [[File:Hk.png]] | ||
|align="center"| 7 | |align="center"| 7 | ||
|align="center"| | |align="center"| - | ||
|align="center"| - | |align="center"| - | ||
|align="center"| HL | |align="center"| HL | ||
| Line 187: | Line 187: | ||
! [[File:Lp.png]] | ! [[File:Lp.png]] | ||
|align="center"| 6 | |align="center"| 6 | ||
|align="center"| | |align="center"| - | ||
|align="center"| - | |align="center"| - | ||
|align="center"| H | |align="center"| H | ||
| Line 195: | Line 195: | ||
! [[File:Mp.png]] | ! [[File:Mp.png]] | ||
|align="center"| 6 | |align="center"| 6 | ||
|align="center"| | |align="center"| - | ||
|align="center"| - | |align="center"| - | ||
|align="center"| H | |align="center"| H | ||
| Line 203: | Line 203: | ||
! [[File:Hp.png]] | ! [[File:Hp.png]] | ||
|align="center"| 9 | |align="center"| 9 | ||
|align="center"| | |align="center"| - | ||
|align="center"| - | |align="center"| - | ||
|align="center"| H | |align="center"| H | ||
| Line 211: | Line 211: | ||
! [[File:Lk.png]] | ! [[File:Lk.png]] | ||
|align="center"| 6 | |align="center"| 6 | ||
|align="center"| | |align="center"| - | ||
|align="center"| - | |align="center"| - | ||
|align="center"| H | |align="center"| H | ||
| Line 219: | Line 219: | ||
! [[File:Mk.png]] | ! [[File:Mk.png]] | ||
|align="center"| 5 | |align="center"| 5 | ||
|align="center"| | |align="center"| - | ||
|align="center"| - | |align="center"| - | ||
|align="center"| H | |align="center"| H | ||
| Line 227: | Line 227: | ||
! [[File:Hk.png]] | ! [[File:Hk.png]] | ||
|align="center"| 13 | |align="center"| 13 | ||
|align="center"| | |align="center"| - | ||
|align="center"| - | |align="center"| - | ||
|align="center"| H | |align="center"| H | ||
| Line 236: | Line 236: | ||
|- | |- | ||
! [[File:f.png]][[File:Mp.png]] | ! [[File:f.png]][[File:Mp.png]] | ||
|align="center"| | |align="center"| 27, 31 | ||
|align="center"| | |align="center"| +2 | ||
|align="center"| - | |align="center"| - | ||
|align="center"| H | |align="center"| H | ||
| Line 246: | Line 246: | ||
|- | |- | ||
! [[File:f.png]][[File:Mk.png]] | ! [[File:f.png]][[File:Mk.png]] | ||
|align="center"| | |align="center"| 24 | ||
|align="center"| | |align="center"| 0 | ||
|align="center"| - | |align="center"| - | ||
|align="center"| H | |align="center"| H | ||
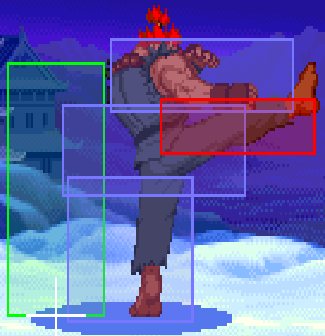
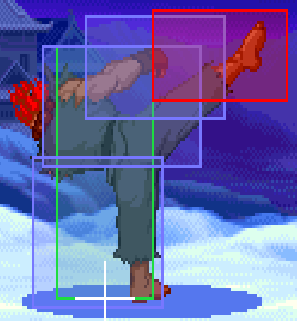
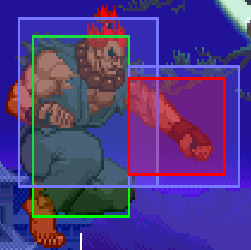
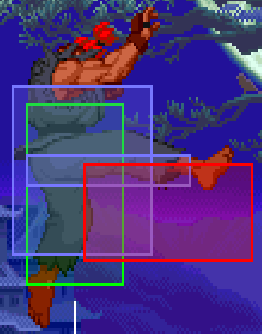
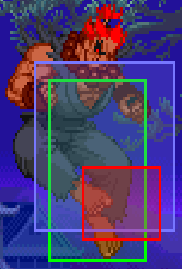
|colspan="3" | [[File:Aku_f.forward.png|center]] | |colspan="3" | [[File:Aku_f.forward.png|center]] | ||
|align="left"| Hopkick is good for keeping the pressure on the ground | |align="left"| Hopkick is good for keeping the pressure on the ground. | ||
|- | |- | ||
! J. [[File:df.png]][[File:Mk.png]] | ! J. [[File:df.png]][[File:Mk.png]] | ||
|align="center"| | |align="center"| 4 | ||
|align="center"| - | |align="center"| -1 | ||
|align="center"| - | |align="center"| - | ||
|align="center"| | |align="center"| HL | ||
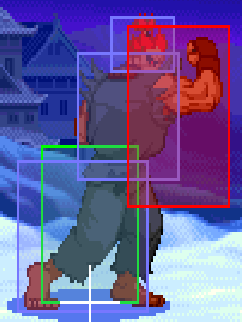
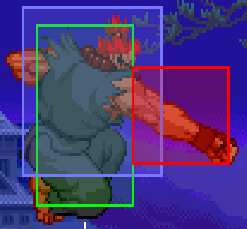
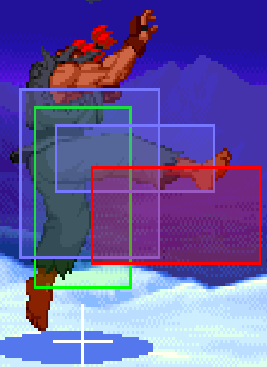
|valign="bottom" style="border-right:0px;"| [[File:Aku_jd.forward(1).png|center]] | |valign="bottom" style="border-right:0px;"| [[File:Aku_jd.forward(1).png|center]] | ||
|valign="bottom" style="border-right:0px; border-left:0px;"| [[File:Aku_jd.forward(2).png|center]] | |valign="bottom" style="border-right:0px; border-left:0px;"| [[File:Aku_jd.forward(2).png|center]] | ||
|valign="bottom" style="border-left:0px;"| | |valign="bottom" style="border-left:0px;"| | ||
|align="left"| Use the dive kick to start your offense. If blocked, it leaves you at a slight | |align="left"| Use the dive kick to start your offense. If blocked, it leaves you at a slight disadvantage. | ||
|- | |- | ||
|} | |} | ||
Revision as of 07:26, 22 June 2019
Introduction
He believed his ancestors to be fools for sealing the Raging Demon. So what if teh technique could kill the person who executed it? Akuma will do everything he can to win. By releasing the Raging Demon, he sealed his evil destiny and destroyed his own master.
Akuma's Objective is to establish close range. Akuma is a well-rounded character that can be played in a number of ways. Even so, Akuma's great combos and offense make him most effective in close range. Get in and use the diverse offensive tools at your disposal to pressure your opponent with combos and Custom Combos.
Moves List
Normal Moves
STANDING
Normal Throws
Alpha Counters
![]()
![]()
![]() +
+![]() - Works good against jump-ins done early. Do not use this to replace a dp because opponents will be able to block if their attack is done deep.
- Works good against jump-ins done early. Do not use this to replace a dp because opponents will be able to block if their attack is done deep.
![]()
![]()
![]() +
+![]() - Useful for punishing ground attacks and some projectiles when done close. This is the AC you should be using mostly.
- Useful for punishing ground attacks and some projectiles when done close. This is the AC you should be using mostly.
Special Moves
Tatsumaki Zanku Kyaku
![]() +
+ ![]() (May also be done in air)
(May also be done in air)
Hyakki Go Zan (During Hyakki Shu)Press nothing
Hyakki Go Sho
(During Hyakki Shu) ![]()
Hyakki Go Sen
(During Hyakki Shu) ![]()
Hyakki Go Sai
(During Hyakki Shu) ![]() +
+ ![]() close to enemy
close to enemy
Hyakki Go Tsui
(Can also be performed on a jumping opponent)
Super Moves
The Basics
GENERAL STRATEGY Akuma plays like a mix of Ryu and Ken. He can zone with fireballs like Ryu or he can be in your face attacking like Ken. Due to the amount of normals he has though, Akuma is best played aggressively. A good opening to start off his offense on the ground is cr.lkx2. From this, it can lead to a couple of options: Option 1: cr.lkx2, throw (if blocked) Option 2: cr.lkx2, fireball (if not blocked) Option 3: cr.lkx2, do nothing momentarily then walk up to repeat with a different option. Since Akuma has access to a roll type move it works in the same way Ken can use it. The best version to use is the lp version. It’s fast and leaves you at an advantage when you add it at the end of your block strings. However, you want to establish a mid-range game early on with properly placed fireballs and air fireballs to kind of “feel” out the match. One of the objects of Akuma’s game is to land that custom combo. It’s very damaging and can turn the tide of the match.
Akuma works best when the opponent is in the corner and when the opponent is knocked down. After this you can begin a series of mixups:
Do nothing, if you suspect your opponent will wakeup and punish accordingly Begin a series of block strings, beginning with cr.lkx2 Jump straight up, air fireball Overhead When you’re playing Akuma, always always be thinking about trying to land that cc.
s.mk is a real good anti cross up buffer s.mp into a fireball when anti-airing Raging Demon sucks Dive kick has great priority
Advanced Strategy
Akuma's Objective
- Establishing Mid-Range Offense
Your goal at mid-range is to land LP Shoryuken or cr.HK. Stand just outside of your opponents poke range and work your spacing as they move. From this distance, Hadouken beats a lot of low attacks , and its pretty difficult for your opponent to jump in on it on reaction. Anticipate the opponents attack, then throw a HP Hadouken. You can bait jumps by occasionally whiffing LP which may make them jump forward. If they do, counter with HP Shoryuken or a CC. If they don't, immediately follow up with another HP Hadouken.
You can also try walking into attack range to bait attacks from your opponent. Be ready to back away in anticipation of an attack and use cr.HK xx LP Zenpo Tenshin to whiff punish. Doing this allows you to be close enough to punish recovery roll attempts. Since it's unsafe to use recovery roll against Akuma, you can gain a positional advantage if you whiff punish with cr.HK. This sets up an option select depending on whether or not the opponent attempts a recovery roll. When you recover from LP Zenpo Tenshin, immediately perform cr.MK xx HP Hadouken. If your opponent does in fact recovery roll, the cr.MK hits cancelling into HP Hadouken for a quick 2 hit. However, if they don't, only cr.MK will come out, and you have ample time to walk forward and begin applying wake-up pressure.
- Air Hadouken Pressure
Against opponents with strong air defense, you can jump forward from just outside mid-range and throw a LP Zanku Hadou. Because it is a projectile, it can be hard to anti-air effectively without meter. Whether or not it hits, you can apply mix-up pressure.
- Tenma Kujin Kyaku(Divekick) Tactics
Read a ground attack and jump in on your opponent. When you reach the top of your jump arc,
Keep in mind that his MP dp doesn’t always knock down, which is a shame as it is his possible answer to lows unlike his LP dp for example.
His air fireball is not good at all, except certain special situation you should stay away from it.
Teleports are pretty bad, really just use them to get away and don’t involve it into your offense as the recovery is bad.
The divekick is great and the timing is easier then in A3. Learn that and use it. It’s his fastest air move to get you grounded and beats out quite some stuff, too.
Basic lvl 1 CC is the same as for Ken. As lvl 3 CC better use after the c.HK, qcb+HK, his red fireballs and then finish with an FP dp insted of going into a FP after the qcb+HK in a lvl 1 CC. His CC’s do a lot more damage then his supers, hit easier too, so really try to learn them quickly.
Sides canceling his c.HK on block into a Hadoken you can also use an LP roll to stay close and continue your pressure. So basically the same stuff as Ken has. Exspecially good as Akumas fireball recovery isn’t good.
You can use special moves, supers after c.LK or include them into your pressure strings. Also note the range is not as bad as it seems and you can easily throw after getting a close short blocked by your opponent.
Akumas overhead is slow as hell, so don’t use it often and if your opponent has good reaction --> never! Maybe mix some demon flips and quick divekicks into your game as overhead moves.
Combos
Cr.LK x2, LK TSK,HP GRK
(Cr.MP,Link), cr.MK,GDK
Cr.LK x2 s.LK, MGS
cr.hk XX hk tatsu, hp uppercut
j. hk, cr. mk, mk tatsu, hp uppercut j. hk, cr. mk, mk tatsu, fireball super
cr. mk xx hcb x 2 lvl 3 super (not sure if notation is right?)
c.lk, c.lk xx shoryureppa c.mk xx lk hurricane, lvl 1 shoryureppa c.mk xx lk hurricane, hp dp c.rh xx lk hurricane, activate, [lp dp, red fireball]xN air hurricane, hurricane or dp c.rh xx hk hurricane c.rh xx lk hurricane, lp dp c.lk x3 xx hk hurricane
Custom Combos
- Lv1:
[CC]c.HK,LK TSK,HP S.HDK,HP HDK,HP SRK[/CC]
[CC]c.HK,HK TSK,HP SRK[/CC]
- Lv3:
[CC]c.HK,HK TSK,LK TSKX3,HP S.HDK,HP SRK[/CC]
[CC]c.HK,s.HK,HP S.HDKx4[/CC]
[CC]c.HK,[LP SRK,HP S.HDK]x2,HP SRK[/CC]
[CC]c.HK,[HP G.HDK,HP SRK]x3[/CC]
Akuma: lvl 1- c.rh xx lp dp, red fb, hp dp
lvl 1- c.rh xx hk hurricane, hp dp (far cc)
lvl 2- c.rh xx hk hurricane, lk hurricane, red fb, hp dp
lvl 3- c.rh xx lp dp, lp dp, lk hurricane, red fb, hp dp
lvl 3- c.rh xx hk hurricane, lk hurricane x3, red fb, hp dp
lvl 3- c.rh xx lp dp, red fb, lp dp, red fb, hp dp (dreamfire cc)
Match-ups
Vs. Adon:
Vs. Akuma (self):
Vs. Birdie:
Vs. Charlie:
Vs. Chun-Li:
Vs. Dan:
Vs. Dhalsim:
Vs. Gen:
Vs. Guy:
Vs. Ken:
Vs. M. Bison (dictator):
Vs. Rolento:
Vs. Rose: The best thing to do to Rose with Akuma is low alpha counter (knocks her down). Then cross her up, making sure u kick about at the point where u reach perpendicular to her head. It is a super difficult block for Rose, and she really cant consistently bock it. other usefull things to do. …Rose has a big body, so she is easy to filp grab, if you see her toss a fireball u can do a flip and grab her (depending on how close u are, it will be overhead, body to body) or just finish with the slide and she cant really hit u back…air-fireballs are good to keep her off balance, just dont get too into tossing them…sweep into hurricane kick is good for her too, cause she misses the low alpha counter
Vs. Ryu:
Vs. Sagat:
Vs. Sakura:
Vs. Sodom:
Vs. Zangief:
| Characters |
|---|
| Adon - Akuma - Birdie - Charlie - Chun-Li - Dan - Dhalsim - Evil Ryu - Gen - Guy - Ken - M.Bison - Rolento - Rose - Ryu - Sagat - Sakura - Sodom - Zangief |
