|
|
| Line 938: |
Line 938: |
| | info = | | | info = |
| {{AttackDataCargo-SF6/Query|ryu_214lp}} | | {{AttackDataCargo-SF6/Query|ryu_214lp}} |
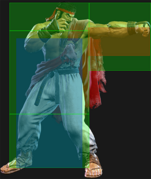
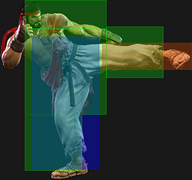
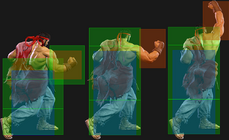
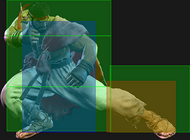
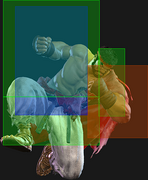
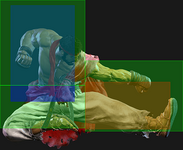
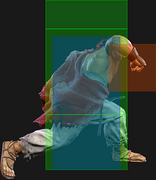
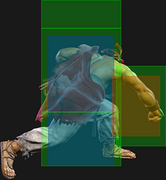
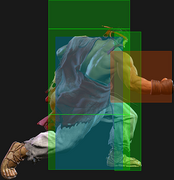
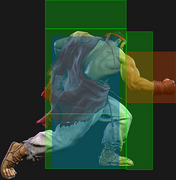
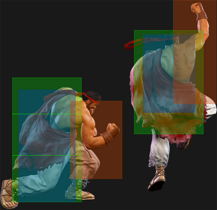
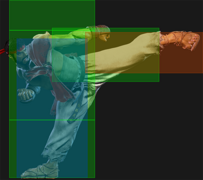
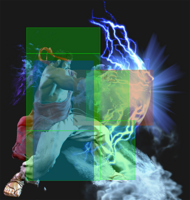
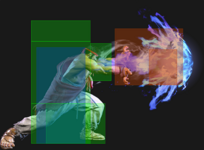
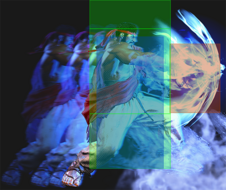
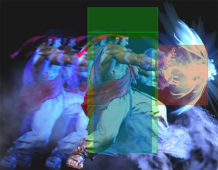
| | * 1 hit; strike hitbox that can dissipate 1-hit meterless projectiles |
| * {{clr|PC|Counter-hit/Punish Counter}}: KD +57/+59 (spinning {{sf6-jug|limited juggle}} state) | | * {{clr|PC|Counter-hit/Punish Counter}}: KD +57/+59 (spinning {{sf6-jug|limited juggle}} state) |
| * Increased pushback on block vs. opponents in Burnout | | * Increased pushback on block vs. opponents in Burnout |
| * '''Cancel Hitconfirm Window:''' 24f (Super) | | * '''Cancel Hitconfirm Window:''' 24f (Super) |
| {{AttackDataCargo-SF6/Query|ryu_214mp}} | | {{AttackDataCargo-SF6/Query|ryu_214mp}} |
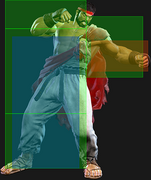
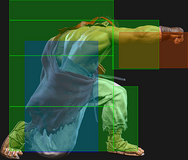
| | * 1 hit; strike hitbox that can dissipate 1-hit meterless projectiles |
| * {{clr|PC|Counter-hit/Punish Counter}}: KD +58 (spinning {{sf6-jug|limited juggle}} state) | | * {{clr|PC|Counter-hit/Punish Counter}}: KD +58 (spinning {{sf6-jug|limited juggle}} state) |
| * '''Cancel Hitconfirm Window:''' 23f (Super) | | * '''Cancel Hitconfirm Window:''' 23f (Super) |
| {{AttackDataCargo-SF6/Query|ryu_214hp}} | | {{AttackDataCargo-SF6/Query|ryu_214hp}} |
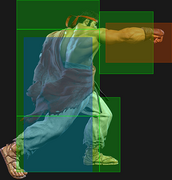
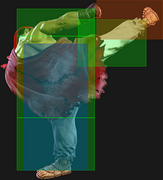
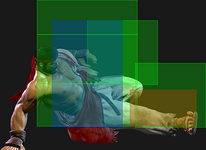
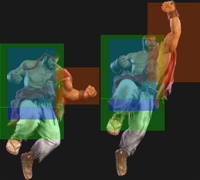
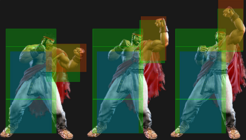
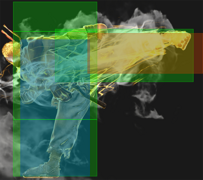
| * 2 hits; puts opponent into Spinning juggle state (no CH/PC required) | | * 2 hits (even when connecting on the final active frame); strike hitbox that can dissipate 2-hit meterless projectiles |
| | * Puts opponents into a spinning {{sf6-jug|limited juggle}} state (no {{clr|PC|CH/PC}} required) |
| * '''Cancel Hitconfirm Window:''' 39f (Super) | | * '''Cancel Hitconfirm Window:''' 39f (Super) |
| {{AttackDataCargo-SF6/Query|ryu_214pp}} | | {{AttackDataCargo-SF6/Query|ryu_214pp}} |
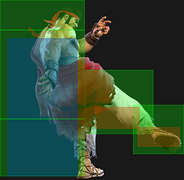
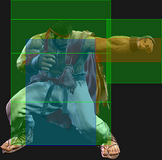
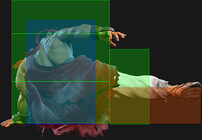
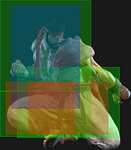
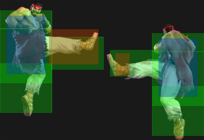
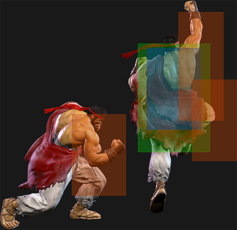
| | * 1 hit; can dissipate meterless or 1-hit {{clr|OD|OD}} projectiles |
| * '''Cancel Hitconfirm Window:''' 22f (Super) | | * '''Cancel Hitconfirm Window:''' 22f (Super) |
| * Counts as 2 hits for damage scaling when comboed into (applies to next hit) | | * Counts as 2 hits for damage scaling when comboed into (applies to next hit) |
| <br> | | <br> |
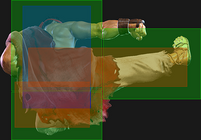
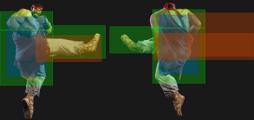
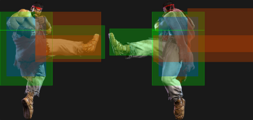
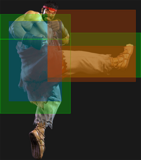
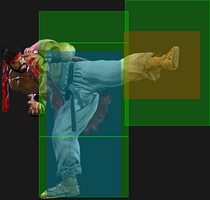
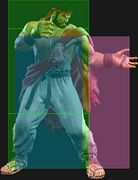
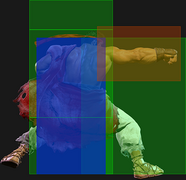
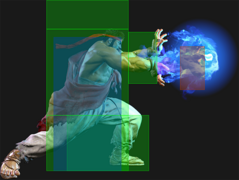
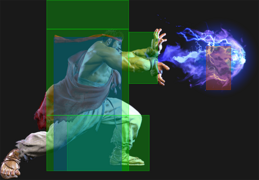
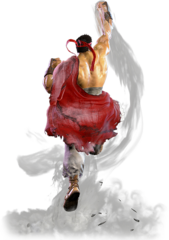
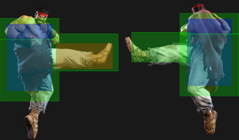
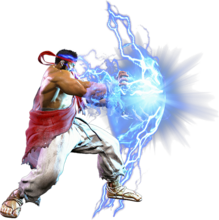
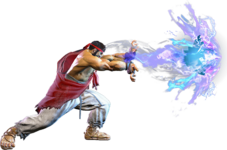
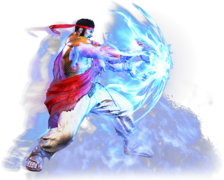
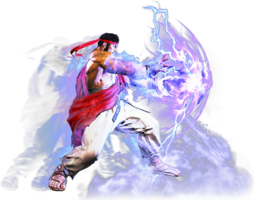
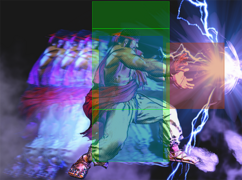
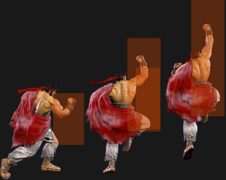
| All versions of Hashogeki have a strike hitbox, but can also nullify a 1-hit projectile of equal priority; the {{clr|OD|OD}} version will completely destroy meterless fireballs just like any other {{clr|OD|OD}} projectile. Because it has a strike hitbox, it cannot be used to stuff Level 1 Supers; this is especially important to know when using it in a Burnout blockstring, as opponents will be looking for any gap to Super through.
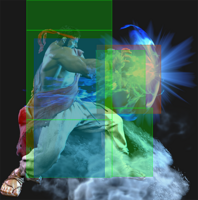
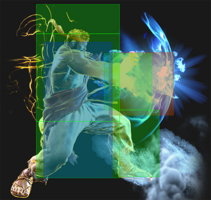
| | Hashogeki acts as a strike that can nullify equal-priority projectiles; the {{clr|OD|OD}} version will completely destroy meterless fireballs just like any other {{clr|OD|OD}} projectile. This strike property means that it cannot be used to stuff reversal {{clr|SA|Level 1 Supers}}; this is especially important to know when using it in a Burnout blockstring, as opponents will be looking for any gap to {{clr|SA|Super}} through. The opponent is left standing after being hit by the {{clr|L|LP}}/{{clr|M|MP}}/{{clr|OD|OD}} versions, but too far away for Ryu to immediately land a throw. He can use his frame advantage to press a medium button, beating reversal 4-frame normals and preventing a jump or backdash; the threat of this can allow him to walk in for the "fake" throw pressure. |
|
| |
|
| Hashogeki has juggle potential on all versions; the {{clr|L|LP}} and {{clr|M|MP}} versions allow for high damage juggle routes, especially in the corner. This is most commonly achieved by launching with {{clr|OD|236KK}} or {{clr|OD|214KK}}, then following up with a juggled {{clr|DR|Drive Rush}} normal into 214P. On a grounded hit, the opponent is left standing after the {{clr|L|LP}}/{{clr|M|MP}}/{{clr|OD|OD}} versions; Ryu is left too far away for an immediate throw mixup in the non-{{clr|OD|OD}} versions, but the opponent can still be punished for attempting to escape or hit a defensive button.
| | {{clr|L|LP Hashogeki}} has short range and low pushback but is safe on block. Its fast whiff animation also makes it useful as a fireball feint, baiting people into using jump, parry, or anti-projectile moves on reaction while leaving time for Ryu to respond. The slower {{clr|M|MP Hashogeki}} is technically unsafe, but the spacing often makes it more difficult to punish. With specific setups, the {{clr|L|LP}}/{{clr|M|MP}} versions are useful as meaty tools on the opponent's wakeup. When scoring a {{clr|PC|Counter-hit/Punish Counter}}, both versions launch the opponent with plenty of time to react. Ryu can pick up the juggle anywhere on-screen with {{clr|DR|DR~}}{{clr|M|5MP}}/{{clr|M|2MP}}; you can also get {{clr|DR|DR~}}{{clr|H|4HP}} if {{clr|M|214MP}} hits from close range. |
|
| |
|
| {{clr|L|214LP}} has short range and low pushback but is safe; {{clr|M|214MP}} is technically unsafe but the spacing often makes it more difficult to punish. With specific setups, the {{clr|L|LP}}/{{clr|M|MP}} versions are useful as meaty tools on the opponent's wakeup. {{clr|L|214LP}} also has a secondary use as a fireball feint. Use it to get people to parry or jump at midrange with an AA or throw response respectively. | | {{clr|H|HP Hashogeki}} gives Ryu frame advantage on block and keeps them inside throw range, but canceling into it leaves him vulnerable during its long startup. If you condition the opponent to expect a {{clr|H|214HP}} cancel, you can punish their light normal mash by ending with the {{clr|L|LP}} or {{clr|M|MP}} versions instead, creating an intentional gap of 1-4 frames; this allows you to use the aforementioned {{clr|PC|Counter-hit}} launch juggle routes, even if he trades with the opponent's normal. |
|
| |
|
| {{clr|H|214HP}} gives Ryu frame advantage, but canceling into it leaves Ryu vulnerable during its long startup. If you condition the opponent to expect a {{clr|H|214HP}} cancel, you can punish their light normal mash by ending with the {{clr|L|LP}} or {{clr|M|MP}} versions instead, creating an intentional gap of 1-4 frames in the blockstring. Since a {{clr|PC|Counter-hit}} puts the opponent into a juggle state, Ryu can juggle even if he trades hits with the opponent. | | {{clr|OD|OD Hashogeki}} is also plus on block, but has little reward on hit without a Denjin stock. Due to it's high damage and ability to be linked out of, using it as a {{clr|PC|PC}} starter is great; the damage scaling only kicks in when comboing '''into''' the {{clr|OD|214PP}}. It's serviceable as a round closer or to keep certain buttons safe for punishment. |
|
| |
|
| {{clr|OD|214PP}} is also plus on block but has little to no reward on normal hit. Though due to it's high damage and ability to be linked out of, using it as a {{clr|PC|PC}} starter is great. It's serviceable as a round closer or to keep certain buttons safe for punishment. | | All versions of Hashogeki can be juggled into in some capacity. The {{clr|L|LP}} and {{clr|M|MP}} versions are used in some high-damage corner juggle routes, usually by using {{clr|DR|Drive Rush}} buttons after {{clr|OD|OD Tatsu}} or {{clr|H|HP Hashogeki}}. See the [[Street_Fighter_6/Ryu/Combos|Combos page]] for details about specific routes with their damage and resource cost. |
|
| |
|
| Against opponents in Burnout, {{clr|L|214LP}} can be used for extended pressure sequences; however, Burnout increases the pushback on block, so Ryu must spend meter to force his way back in or take a risk with a pressure reset like {{clr|H|214HP}}, {{clr|H|5HP}} > {{clr|L|214LP}}, or something else. Looping {{clr|M|2MP}} > {{clr|OD|214PP}} creates a true blockstring that can create easy checkmate scenarios with either chip or DI ({{clr|H|5HP}} > {{clr|PC|DI}} after a {{clr|OD|214PP}} will create a blockstring most characters can't escape). | | Against opponents in Burnout, {{clr|L|214LP}} can be used for extended pressure sequences; however, Burnout increases the pushback on block, so Ryu must spend meter to force his way back in or take a risk with a pressure reset like {{clr|H|214HP}}, {{clr|H|5HP}} > {{clr|L|214LP}}, or something else. Looping {{clr|M|2MP}} > {{clr|OD|214PP}} creates a true blockstring that can create easy checkmate scenarios with either chip or {{clr|DR|DI}}; for example, {{clr|H|5HP}} > {{clr|DR|DI}} after a {{clr|OD|214PP}} will create a blockstring most characters can't escape. |
|
| |
|
| The following are some common blockstring gaps; all examples assume Ryu cancels at the fastest possible timing, though a longer gap can be created by delaying the cancel: | | The following are some common blockstring gaps; all examples assume Ryu cancels at the fastest possible timing, though a longer gap can be created by delaying the cancel: |


