|
|
| Line 1,238: |
Line 1,238: |
| {{AttackDataCargo-SF6/Query|mai_236236k}} | | {{AttackDataCargo-SF6/Query|mai_236236k}} |
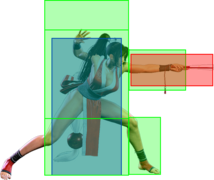
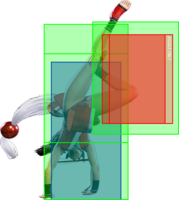
| * '''Full Invuln:''' 1-8f; Armor Break | | * '''Full Invuln:''' 1-8f; Armor Break |
| | * 11f extra recovery on block |
| * '''Drive Gauge Depletion:''' 1 bar (hit) / 0.5 bars (block) | | * '''Drive Gauge Depletion:''' 1 bar (hit) / 0.5 bars (block) |
| * 40% minimum damage scaling | | * 40% minimum damage scaling |
| * Applies 40% damage scaling to next hit when beginning a combo; counts as 2 hits for damage scaling when comboed into (applies to next hit) | | * Applies 40% damage scaling to next hit when beginning a combo; counts as 2 hits for damage scaling when comboed into (applies to next hit) |
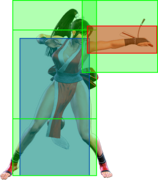
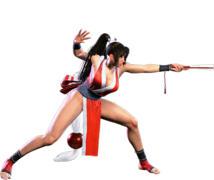
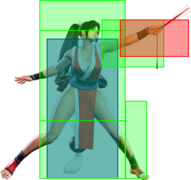
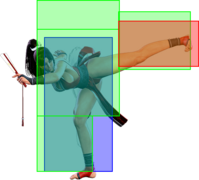
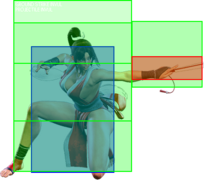
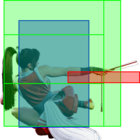
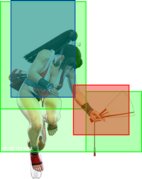
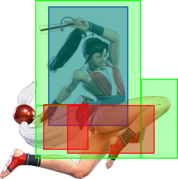
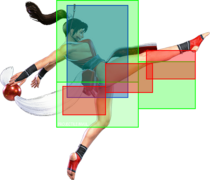
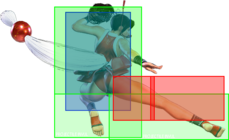
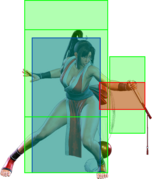
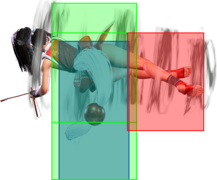
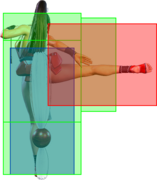
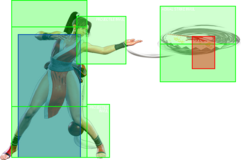
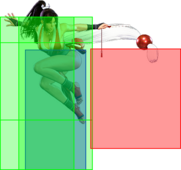
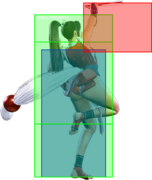
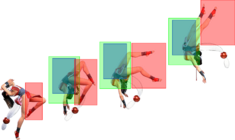
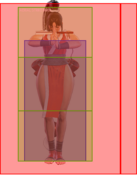
| | Mai performs an invincible cartwheel before launching forward fullscreen. It can be used as a reversal due to its fast startup and full invincibility, and at some ranges it can be effective against fireballs (though the {{clr|SA|Flame version}} is much more consistent at this). |
| | |
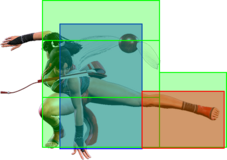
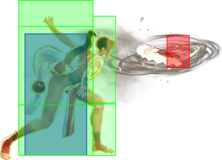
| | {{clr|SA|SA2}} is a great juggle ender that pushes the opponent toward the corner and gives enough knockdown advantage for oki anywhere on the screen. You can usually charge up a Held Kachousen safely if the opponent doesn't have a long range anti-fireball {{clr|SA|Super}} stocked. It's important to juggle manually into {{clr|SA|SA2}} rather than canceling from {{clr|OD|OD}} specials, as it will usually whiff or lose several hits of damage. Just be aware that some juggle starters, such as {{clr|H|4HK}}~{{clr|H|HK}}, don't launch high enough to juggle into 7-frame moves. |
| {{AttackDataCargo-SF6/Query|mai_j236236k}} | | {{AttackDataCargo-SF6/Query|mai_j236236k}} |
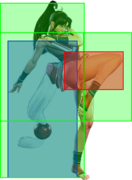
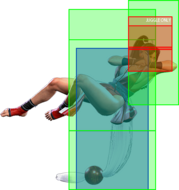
| * Armor Break; no invincibility; {{FKD}} state until landing | | * Armor Break; no invincibility; {{FKD}} state until landing |
| * Can be input during Forward/Neutral Jump only | | * Can be input during Forward/Neutral Jump only; cannot hit cross-up |
| * '''Drive Gauge Depletion:''' 1 bar (hit) / 0.5 bars (block) | | * '''Drive Gauge Depletion:''' 1 bar (hit) / 0.5 bars (block) |
| * 40% minimum damage scaling | | * 40% minimum damage scaling |
| * Counts as 2 hits for damage scaling when comboed into (applies to next hit) | | * Counts as 2 hits for damage scaling when comboed into (applies to next hit) |
| <br>
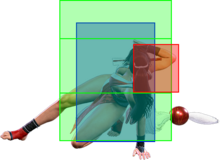
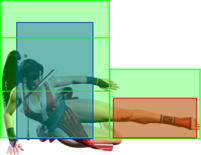
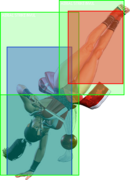
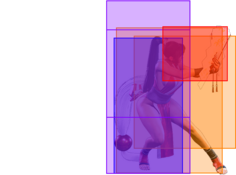
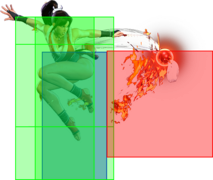
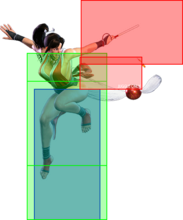
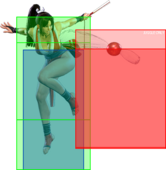
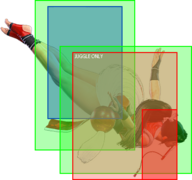
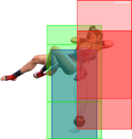
| | {{clr|SA|Air SA2}} is primarily used as a combo tool from {{clr|M|j.MP}} as an air-to-air or after a {{clr|OD|236KK}} launch. It also links after {{clr|L|5LK}}~{{clr|L|LK}}~{{clr|L|LK}}; on a blocked Target Combo, it can also help Mai escape some punishes on reaction (though this is generally a poor use of resources). On hit, Mai generally gets poor oki outside the corner, though the exact knockdown advantage depends on how it connects. |
| | |
| | While a bit tricky to use, {{clr|SA|Air SA2}} can actually be a better anti-projectile tool than the grounded version, especially at longer ranges where the invincibility runs out. If you buffer your 236236 motion in neutral, you can react to a midrange fireball with 9+K to complete the Tiger Knee input (2362369K) for a minimum-height {{clr|SA|Super}}. This may take opponents by surprise if they assume you need a Flame Stock to punish their projectiles. |
|
| |
|
| | If blocked, Mai is likely to fly over the opponent. If done from very close range, this may be difficult to punish for some characters. From mid range (such as a poorly-predicted Tiger Knee {{clr|SA|Air SA2}}), she will land close enough that most characters can reach with one forward dash. |
| }} | | }} |
| |-| | | |-| |
| Line 1,267: |
Line 1,274: |
| {{AttackDataCargo-SF6/Query|mai_236236k_flame}} | | {{AttackDataCargo-SF6/Query|mai_236236k_flame}} |
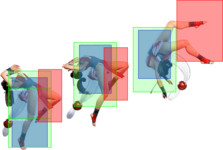
| * '''Full Invuln:''' 1-8f; '''Projectile Invuln''' 9-12f ; Armor Break | | * '''Full Invuln:''' 1-8f; '''Projectile Invuln''' 9-12f ; Armor Break |
| | * Puts opponents into a {{sf6-jug|limited juggle}} state |
| | * 6f extra recovery on block |
| * '''Drive Gauge Depletion:''' 1 bar (hit) / 0.5 bars (block) | | * '''Drive Gauge Depletion:''' 1 bar (hit) / 0.5 bars (block) |
| * 40% minimum damage scaling | | * 40% minimum damage scaling |
| * Applies 40% damage scaling to next hit when beginning a combo; counts as 2 hits for damage scaling when comboed into (applies to next hit) | | * Applies 40% damage scaling to next hit when beginning a combo; counts as 2 hits for damage scaling when comboed into (applies to next hit) |
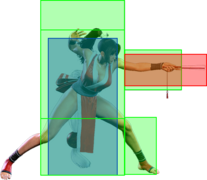
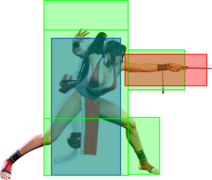
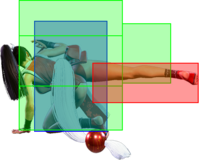
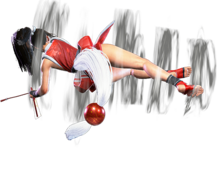
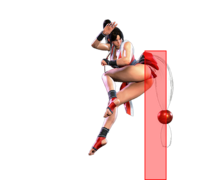
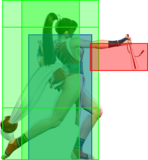
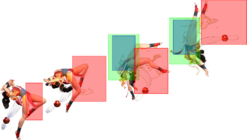
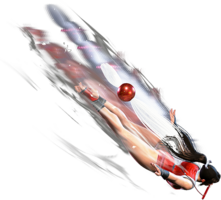
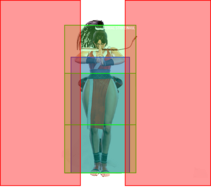
| | The Flame version of {{clr|SA|SA2}} skips the initial cartwheel, causing Mai to launch herself across the screen at lightning speed. Combined with its additional projectile invincibility, zoners will have to treat Mai the way they treat a Cammy with {{clr|SA|SA3}} ready to go. It works similarly well as a whiff punish tool or as a fast reversal, but the fast movement speed causes it to whiff under most jumps when used as an anti-air. Activating from longer ranges can cause Mai to whiff some of the earlier hits, resulting in less damage. |
| | |
| | {{clr|SA|Flame SA2}} is a great combo ender with a ton of juggle potential and corner carry. If it reaches the corner, Mai can always follow up with {{clr|L|623LK}}, and higher juggle connects allow even more. If you have 3 Flame Stocks and want to dump some meter, you can even get a midscreen juggle with {{clr|OD|214PP}}, {{clr|SA|Flame SA2}}, {{clr|OD|623KK}} for big damage. Just like the non-Flame version, it's always better to manually juggle into this {{clr|SA|Super}} rather than canceling into it from {{clr|OD|OD}} specials, as it will usually whiff most or all of its hits. |
| {{AttackDataCargo-SF6/Query|mai_j236236k_flame}} | | {{AttackDataCargo-SF6/Query|mai_j236236k_flame}} |
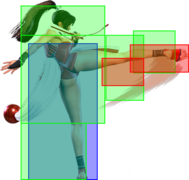
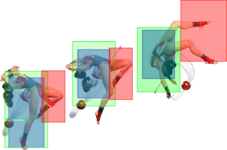
| * Armor Break; no invincibility; {{FKD}} state until landing | | * Armor Break; no invincibility; {{FKD}} state until landing |
| * Can be input during Forward/Neutral Jump only | | * Can be input during Forward/Neutral Jump only; cannot hit cross-up |
| * '''Drive Gauge Depletion:''' 1 bar (hit) / 0.5 bars (block) | | * '''Drive Gauge Depletion:''' 1 bar (hit) / 0.5 bars (block) |
| * 40% minimum damage scaling | | * 40% minimum damage scaling |
| * Counts as 2 hits for damage scaling when comboed into (applies to next hit) | | * Counts as 2 hits for damage scaling when comboed into (applies to next hit) |
| <br>
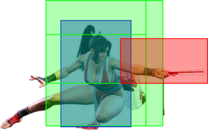
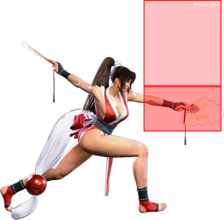
| | The enhanced {{clr|SA|Flame Air SA2}} doesn't offer much over the regular version aside from the extra 200 damage. As a long range air-to-air, the faster movement speed can guarantee more hits connect, but this isn't a very common occurrence. It's also slightly better against fireballs when input with a Tiger Knee motion (2362369K), but there's little reason to attempt this when a grounded {{clr|SA|Flame SA2}} works just as well. |
|
| |
|
| | {{clr|SA|Flame Air SA2}} can still be worthwhile after air-to-air {{clr|M|j.MP}} or {{clr|L|5LK}}~{{clr|L|LK}}~{{clr|L|LK}}, but the grounded version is a better use of a Flame Stock in any scenario that allows it. |
| }} | | }} |
| </tabber> | | </tabber> |
|
| |
|
| |
|
| =====<font style="visibility:hidden; float:right">Level 3 Super (214214P)</font>===== | | =====<font style="visibility:hidden; float:right">Level 3 Super (214214P)</font>===== |


