|
|
| Line 982: |
Line 982: |
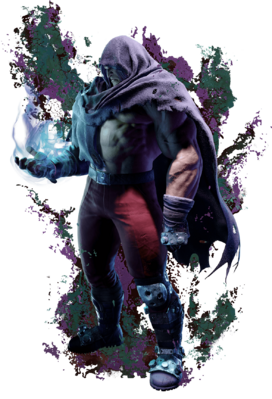
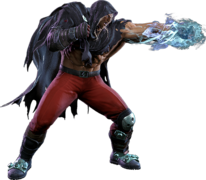
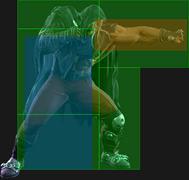
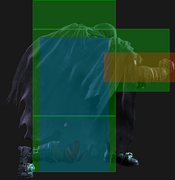
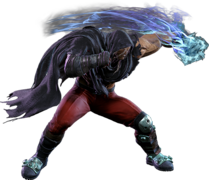
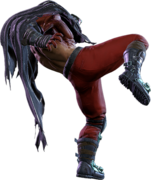
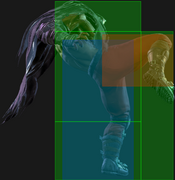
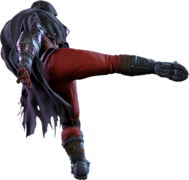
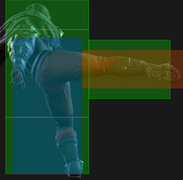
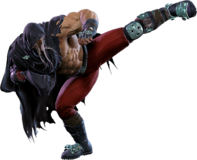
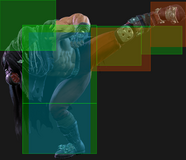
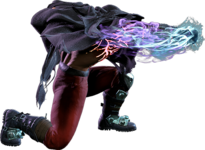
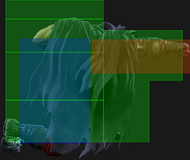
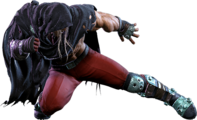
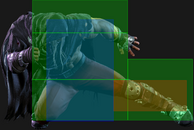
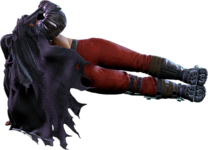
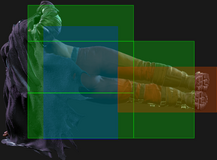
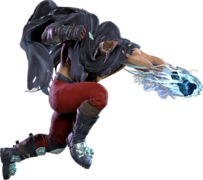
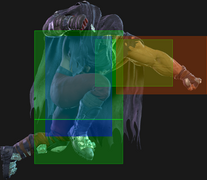
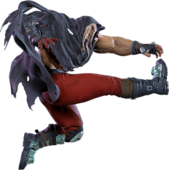
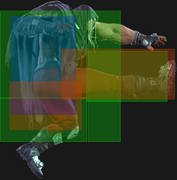
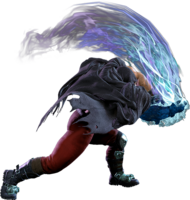
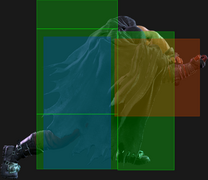
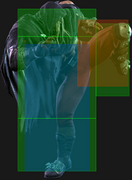
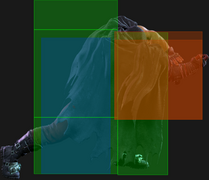
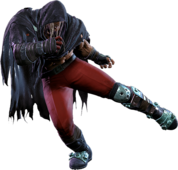
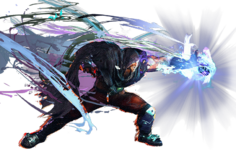
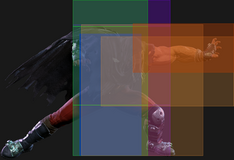
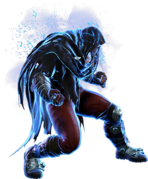
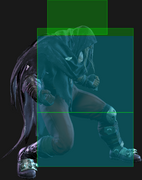
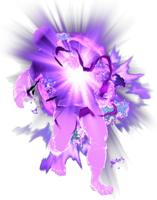
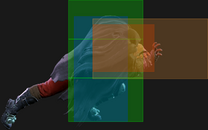
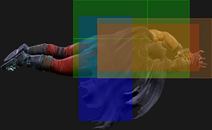
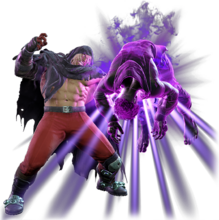
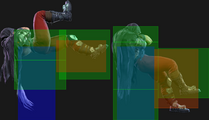
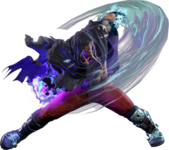
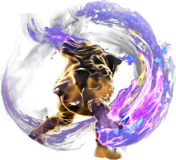
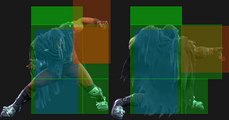
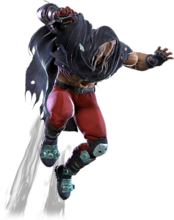
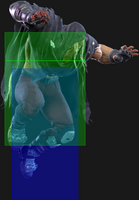
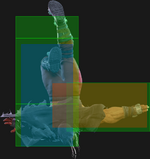
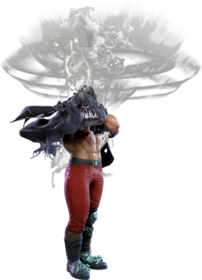
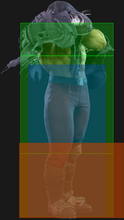
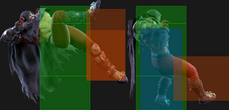
| A forward-moving Super that reaches about half screen. From farther out, only the later hits connect, making the move considerably weaker and not worth using. It functions as Bison's primary reversal, only losing to projectiles or frame-perfect meaty safe jabs on some characters. However, the forward movement and hitbox position makes it a poor anti-air at most ranges. | | A forward-moving Super that reaches about half screen. From farther out, only the later hits connect, making the move considerably weaker and not worth using. It functions as Bison's primary reversal, only losing to projectiles or frame-perfect meaty safe jabs on some characters. However, the forward movement and hitbox position makes it a poor anti-air at most ranges. |
|
| |
|
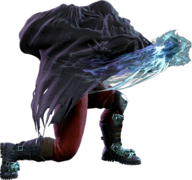
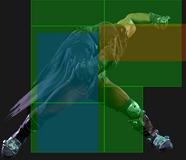
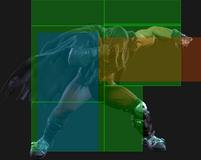
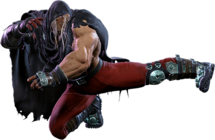
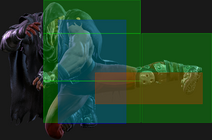
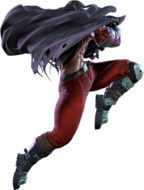
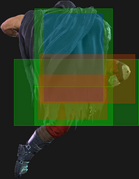
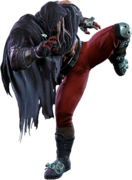
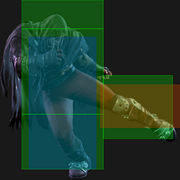
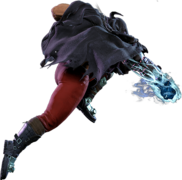
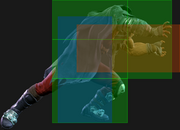
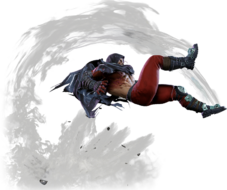
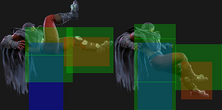
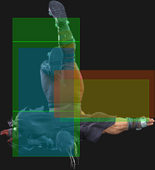
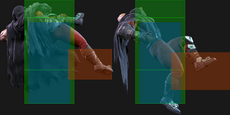
| Knee Press Nightmare is a solid juggle ender for tacking on damage, notably after a Psycho Mine infused {{clr|H|HP Backfist}} or {{clr|H|HP Psycho Crusher}}. Bison almost always has stronger cancel options, but it's possible to hitconfirm on reaction from his far-reaching {{clr|H|5HP}} for damage and corner carry. The threat of a cancel to {{clr|10|SA1}} also makes this poke viable against {{clr|4|Drive Impact}} in neutral. | | Knee Press Nightmare is a solid juggle ender for tacking on damage, notably after a Psycho Mine infused {{clr|H|HP Backfist}} or {{clr|H|HP Psycho Crusher}}. Bison almost always has stronger cancel options, but it's possible to hitconfirm on reaction from his far-reaching {{clr|H|5HP}} for damage and corner carry. The threat of a cancel to {{clr|SA|SA1}} also makes this poke viable against {{clr|4|Drive Impact}} in neutral. |
|
| |
|
| Bison does not get any follow-up oki on hit; when used midscreen, he ends up a full screen apart afterwards, and is still left about a half screen away against a cornered opponent. It also depletes any planted Psycho Mine, so using this Super often comes at the cost of future damage and pressure. | | Bison does not get any follow-up oki on hit; when used midscreen, he ends up a full screen apart afterwards, and is still left about a half screen away against a cornered opponent. It also depletes any planted Psycho Mine, so using this Super often comes at the cost of future damage and pressure. |
|
| |
|
| When attempting to chip out a burned out opponent with a raw {{clr|10|SA1}}, every character except Dhalsim, Lily, and Zangief can jump to avoid it after the Super freeze. Additionally, Dhalsim can avoid it with teleport; Lily can counter with {{clr|10|SA1}}, and Zangief can escape with {{clr|10|SA1}} or punish with {{clr|10|SA2}}. | | When attempting to chip out a burned out opponent with a raw {{clr|SA|SA1}}, every character except Dhalsim, Lily, and Zangief can jump to avoid it after the Super freeze. Additionally, Dhalsim can avoid it with teleport; Lily can counter with {{clr|SA|SA1}}, and Zangief can escape with {{clr|SA|SA1}} or punish with {{clr|SA|SA2}}. |
| }} | | }} |
|
| |
|
| Line 1,006: |
Line 1,006: |
| * 40% minimum damage scaling | | * 40% minimum damage scaling |
| <br> | | <br> |
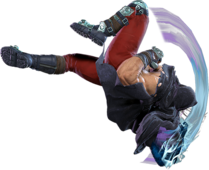
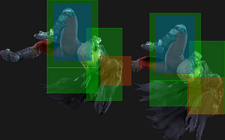
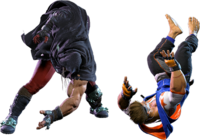
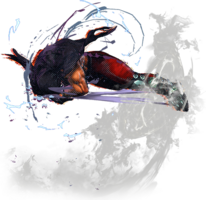
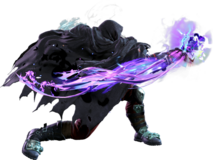
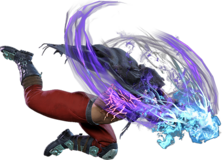
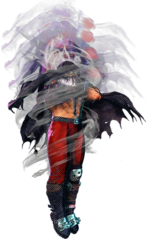
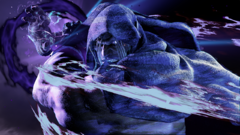
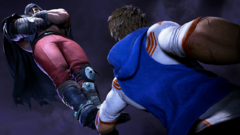
| Bison leaps the opponent before stomping to the ground. If the move connects, the opponent is put into a brief cinematic. | | Bison leaps toward the opponent before stomping to the ground. If the move connects, the opponent is put into a brief cinematic. |
|
| |
|
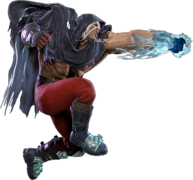
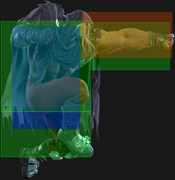
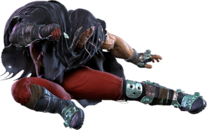
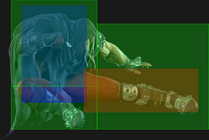
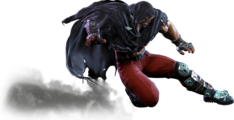
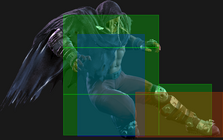
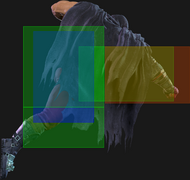
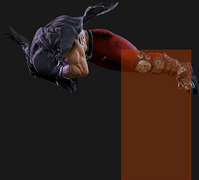
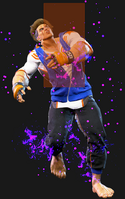
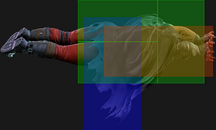
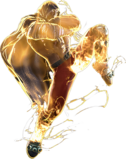
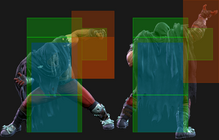
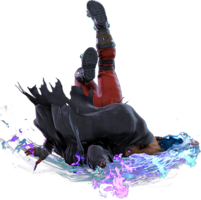
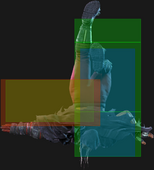
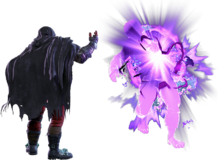
| While slow to startup, Psycho Punisher can reach any part of the screen, allowing Bison to punish ranged projectiles or install specials that would otherwise be too far to reach. In combos, it's best used after launches or ground bounces that can accommodate its slow speed; juggling into {{clr|H|5HP}} > {{clr|10|SA2}} or canceling from {{clr|10|OD Backfist}} are good examples. Notably, {{clr|10|OD Psycho Crusher}} does not naturally combo into {{clr|10|SA2}} despite being cancelable; be sure not to attempt this without a Psycho Mine planted. | | While slow to startup, Psycho Punisher can reach any part of the screen, allowing Bison to punish ranged projectiles or install specials that would otherwise be too far to reach. In combos, it's best used after launches or ground bounces that can accommodate its slow speed; juggling into {{clr|H|5HP}} > {{clr|SA|SA2}} or canceling from {{clr|OD|OD Backfist}} are good examples. Notably, {{clr|OD|OD Psycho Crusher}} does not naturally combo into {{clr|SA|SA2}} despite being cancelable; be sure not to attempt this without a Psycho Mine planted. |
|
| |
|
| While {{clr|10|SA2}} can hit on both sides, an opponent can easily parry or jump out of the way after the Super freeze. Against an opponent in Burnout (or very close to it), using this Super with meaty timing after a knockdown or air reset could allow for an ambiguous left/right mixup. However, the risk of attempting this vastly outweighs the potential reward, so the cross-up hit should only be used to switch sides on a confirmed hit. Opponents can also react to the animation and defuse the setup with Drive Parry. | | While {{clr|SA|SA2}} can hit on both sides, an opponent can easily parry or jump out of the way after the Super freeze. Because Bison is technically never considered airborne, moves with anti-air invincibility (like most meterless DPs) cannot counter {{clr|SA|SA2}}. Against an opponent in Burnout (or very close to it), using this Super with meaty timing after a knockdown or air reset could allow for an ambiguous left/right mixup. However, the risk of attempting this vastly outweighs the potential reward, so the cross-up hit should only be used to switch sides on a confirmed hit. |
| | |
| | After the cinematic, Bison sends the opponent flying a full screen away; in the corner, he will remain close enough for strong oki. A forward dash leaves him at {{sf6-adv|VP|+4}}, which sets up an auto-timed strike/throw mixup and potential {{clr|M|5MP}} trade combos. {{clr|DR|DR~}}{{clr|H|4HK}} hits as a last-frame meaty, becoming {{sf6-adv|VP|+11 oH}} / {{sf6-adv|VP|+8 oB}}, making it one of the strongest meaty options in the game. |
| }} | | }} |
|
| |
|
| Line 1,019: |
Line 1,021: |
| | input = {{Classic_sf6}} 236236P<br>{{Modern_sf6}} 236236H or 2HS | | | input = {{Classic_sf6}} 236236P<br>{{Modern_sf6}} 236236H or 2HS |
| | images = | | | images = |
| {{MoveDataCargoImage|imageHeight=135px|m.bison_236236p|caption=''' "" '''}} | | {{MoveDataCargoImage|imageHeight=135px|m.bison_236236p|caption=}} |
| ---- | | ---- |
| {{MoveDataCargoImage|imageHeight=135px|m.bison_236236p(ca)|caption= Critical Art adds 500 more damage}} | | {{MoveDataCargoImage|imageHeight=135px|m.bison_236236p(ca)|caption= Critical Art adds 500 more damage}} |
| Line 1,027: |
Line 1,029: |
| {{AttackDataCargo-SF6/Query|m.bison_236236p}} | | {{AttackDataCargo-SF6/Query|m.bison_236236p}} |
| * '''Full Invuln:''' 1-15f; Armor Break | | * '''Full Invuln:''' 1-15f; Armor Break |
| * 5f start up when canceled from special moves | | * 5f startup when canceled from special moves |
| * Causes a planted Psycho Mine to disappear on hit | | * Causes a planted Psycho Mine to disappear on hit |
| * '''Drive Gauge Depletion:''' 1.5 bars (hit) / 0.75 bars (block) | | * '''Drive Gauge Depletion:''' 1.5 bars (hit) / 0.75 bars (block) |
| Line 1,035: |
Line 1,037: |
| * '''Full Invuln:''' 1-15f; Armor Break | | * '''Full Invuln:''' 1-15f; Armor Break |
| * Available at 25% HP or below | | * Available at 25% HP or below |
| * 5f start up when canceled from special moves | | * 5f startup when canceled from special moves |
| * Causes a planted Psycho Mine to disappear on hit | | * Causes a planted Psycho Mine to disappear on hit |
| * '''Drive Gauge Depletion:''' 2 bars (hit) / 1 bar (block) | | * '''Drive Gauge Depletion:''' 2 bars (hit) / 1 bar (block) |
| Line 1,041: |
Line 1,043: |
| * 50% minimum damage scaling; applies 10% immediate damage scaling when canceled from special moves | | * 50% minimum damage scaling; applies 10% immediate damage scaling when canceled from special moves |
| <br> | | <br> |
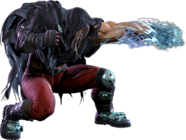
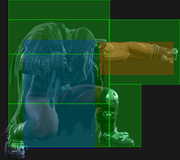
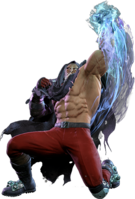
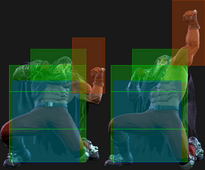
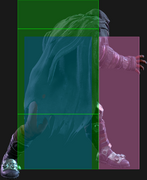
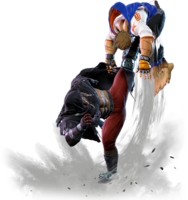
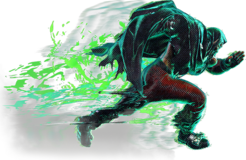
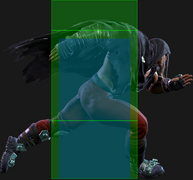
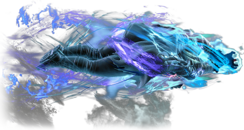
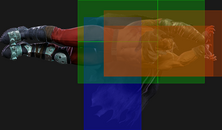
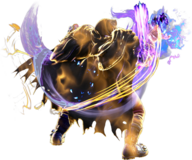
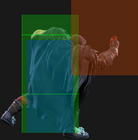
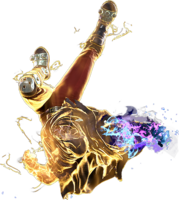
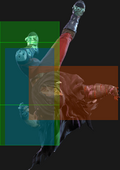
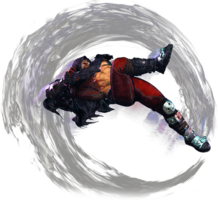
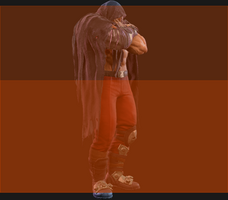
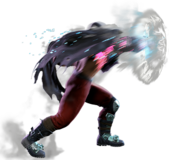
| A powerful version of Psycho Crusher with just under half screen range, making it a viable reversal and projectile punish in some matchups. Bison has many ways to combo into this Super, with Psycho Crusher generally being the strongest cancel route. With a Psycho Mine planted, both {{clr|H|HP Backfist}} and {{clr|H|HP Psycho Crusher}} juggle the opponent high enough to combo into {{clr|10|SA3}} without a cancel, which can increase the damage in low-scaling combo routes. | | A powerful version of Psycho Crusher with just under half screen range, making it a viable reversal and projectile punish in some matchups. Bison has many ways to combo into this Super, with Psycho Crusher generally being the strongest cancel route. With a Psycho Mine planted, both {{clr|H|HP Backfist}} and {{clr|H|HP Psycho Crusher}} juggle the opponent high enough to combo into {{clr|SA|SA3}} without a cancel, which can increase the damage in low-scaling combo routes. |
| | |
| | After the cinematic, Bison can {{clr|DR|Drive Rush}} to pressure the opponent. Attempting a Throw can get beaten by wakeup buttons, but the threat of eating a full combo can cause opponents to remain blocking. {{clr|DR|DR~}}{{clr|M|2MP}}, {{clr|M|2MP}} is generally the best option for pressure and hitconfirms; {{clr|M|5MP}} trades with 4f normals, but the pushback prevents the powerful trade combos he can get in other oki scenarios. |
|
| |
|
| When attempting to chip out a burned out opponent with a raw {{clr|10|SA3}}, they will not be able to jump away after the Super freeze. Without an invincible Super, only Dhalsim (Teleport) and JP (Amnesia) can avoid the chip. | | When attempting to chip out a burned out opponent with a raw {{clr|SA|SA3}}, they will not be able to jump away after the Super freeze. Without an invincible Super, only Dhalsim (Teleport) and JP (Amnesia) can avoid the chip. |
| }} | | }} |
| <br> | | <br> |
