|
|
| Line 18: |
Line 18: |
| * Chains into {{clr|L|5LP}}/{{clr|L|2LP}}/{{clr|L|2LK}} | | * Chains into {{clr|L|5LP}}/{{clr|L|2LP}}/{{clr|L|2LK}} |
| * '''Cancel Hitconfirm Window:''' 13f | | * '''Cancel Hitconfirm Window:''' 13f |
| * '''{{clr|4|Drive Rush}} cancel advantage:''' {{sf6-adv|VP|+5}} oH / {{sf6-adv|M|-1}} oB | | * '''{{clr|DR|Drive Rush}} cancel advantage:''' {{sf6-adv|VP|+5}} oH / {{sf6-adv|M|-1}} oB |
| * Applies 20% damage scaling to next hit when beginning a combo (100/80/70...) | | * Applies 20% damage scaling to next hit when beginning a combo (100/80/70...) |
| <br> | | <br> |
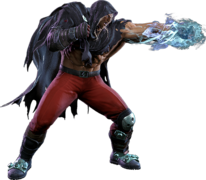
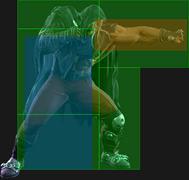
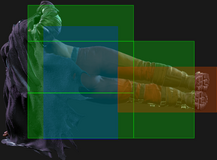
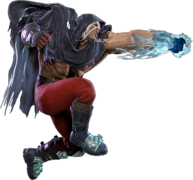
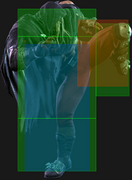
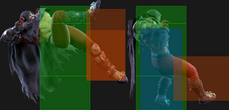
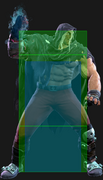
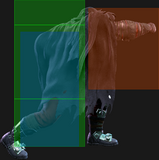
| Bison's longest reaching light normal. Notably 5f, so it will not combo from {{clr|PC|Counter-Hit}} {{clr|L|LK Scissors}}. | | Bison's longest reaching light normal, comparable to a {{clr|L|5LK}} on many other characters. At 5f startup, it will not combo from {{clr|PC|Counter-Hit}} {{clr|L|LK Scissors}}. At the end of a 3-light chain, it also fails to combo into {{clr|L|LP Backfist Combo}} due to the pushback. |
| }} | | }} |
|
| |
|
| Line 36: |
Line 36: |
| {{AttackDataCargo-SF6/Query|m.bison_5mp}} | | {{AttackDataCargo-SF6/Query|m.bison_5mp}} |
| * '''Cancel Hitconfirm Window:''' 15f (requires {{clr|PC|Counter-Hit}} for {{clr|M|5MP}}~{{clr|H|6HP}} TC) | | * '''Cancel Hitconfirm Window:''' 15f (requires {{clr|PC|Counter-Hit}} for {{clr|M|5MP}}~{{clr|H|6HP}} TC) |
| * '''{{clr|4|Drive Rush}} cancel advantage:''' {{sf6-adv|VP|+14}} oH / {{sf6-adv|VP|+8}} oB | | * '''{{clr|DR|Drive Rush}} cancel advantage:''' {{sf6-adv|VP|+14}} oH / {{sf6-adv|VP|+8}} oB |
| <br> | | <br> |
| Important combo tool and sets up a strong tick throw with {{clr|DR|Drive Rush}}. Naturally links into {{clr|M|2MP}} for good damage, and can combo into the {{clr|H|2HK}} Target Combo (which is also a safe frame trap on block). With {{clr|DR|Drive Rush}}, it gains enough hitstun to link {{clr|H|2HP}} or extend a juggle with {{clr|M|5MP}}~{{clr|H|6HP}}. | | Important combo tool that sets up a strong tick throw with {{clr|DR|Drive Rush}}. Naturally links into {{clr|M|2MP}} for good damage, and can combo into the {{clr|H|2HK}} Target Combo (which is also a safe frame trap on block). |
| | |
| | With {{clr|DR|Drive Rush}}, it gains enough hitstun to link {{clr|H|2HP}} for a more rewarding hitconfirm. {{clr|DR|DR~}}{{clr|M|5MP}} can frame trap into the overhead {{clr|H|6HP}} follow-up on block, or extend a juggle with a ground bounce on hit; however, the extra blockstun sacrifices Bison's ability to frame trap into the low {{clr|H|2HK}} TC ender. |
| }} | | }} |
|
| |
|
| Line 54: |
Line 56: |
| {{AttackDataCargo-SF6/Query|m.bison_5hp}} | | {{AttackDataCargo-SF6/Query|m.bison_5hp}} |
| * {{clr|PC|Punish Counter}}: {{sf6-adv|VP|+17~19 Stagger}} | | * {{clr|PC|Punish Counter}}: {{sf6-adv|VP|+17~19 Stagger}} |
| | * Slams airborne opponents down into {{sf6-jug|limited juggle}} OTG state (higher bounce on {{clr|PC|Punish Counter}}) |
| * '''Cancel Hitconfirm Window:''' 17f / 29f {{clr|PC|PC}} (Super) | | * '''Cancel Hitconfirm Window:''' 17f / 29f {{clr|PC|PC}} (Super) |
| * Applies 20% damage scaling to next hit when beginning a combo (100/80/70...) | | * Applies 20% damage scaling to next hit when beginning a combo (100/80/70...) |
| | * Extends a hurtbox 1f before active that is vulnerable to projectiles |
| <br> | | <br> |
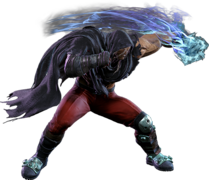
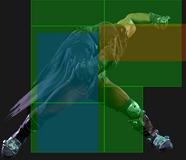
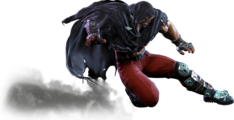
| Surprisingly potent spacing trap tool which also happens to be plus on block. Due to its {{clr|PC|Punish Counter}} properties, it also makes for a strong reversal punish starter at longer ranges, though it loses some damage due to scaling.
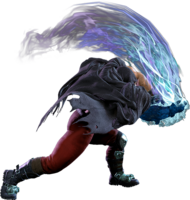
| | A slow, long-range advancing poke with great hitbox priority, making it an excellent spacing trap tool. It is plus on block without {{clr|DR|Drive Rush}}, and gains additional frame advantage when spaced at max range. While susceptible to a predictive {{clr|DR|Drive Impact}}, it can be canceled into a {{clr|SA|Super}} on reaction; it also has low enough recovery to counter-{{clr|DR|DI}} if the opponent activates it too late. |
| | |
| | The {{clr|PC|Punish Counter}} properties allow Bison to convert {{clr|H|5HP}} into high damage, which dissuades opponents from throwing out quick lights/mediums to counterpoke Scissor Kick. It can also be an effective punish against very unsafe moves (like reversals), though the damage scaling causes Bison to lose some damage. |
| }} | | }} |
|
| |
|
| Line 72: |
Line 78: |
| {{AttackDataCargo-SF6/Query|m.bison_5lk}} | | {{AttackDataCargo-SF6/Query|m.bison_5lk}} |
| * '''Cancel Hitconfirm Window:''' 12f | | * '''Cancel Hitconfirm Window:''' 12f |
| * '''{{clr|4|Drive Rush}} cancel advantage:''' {{sf6-adv|VP|+5}} oH / {{sf6-adv|P|+1}} oB | | * '''{{clr|DR|Drive Rush}} cancel advantage:''' {{sf6-adv|VP|+5}} oH / {{sf6-adv|P|+1}} oB |
| * Applies 20% damage scaling to next hit when beginning a combo (100/80/70...) | | * Applies 20% damage scaling to next hit when beginning a combo (100/80/70...) |
| <br> | | <br> |
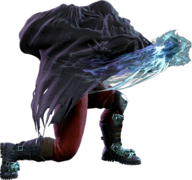
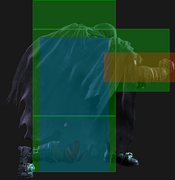
| Bison's longest-reaching 4f button. You'll want to end your 3 hit light confirms with this thanks to its range, since any other light will make LP Backfist Combo whiff. | | Bison's longest-reaching 4f button. Unlike his other light normals, this one must be linked into rather than chained. While it has less range than {{clr|L|5LP}}, this is the preferred ender for 3-light hitconfirms, as the forward movement allows {{clr|L|LP Backfist Combo}} to connect. |
| | |
| | {{clr|L|5LK}} is plus on block when canceled into {{clr|DR|Drive Rush}}, which is an extremely rare property for a light normal. |
| }} | | }} |
|
| |
|
| Line 89: |
Line 97: |
| | info = | | | info = |
| {{AttackDataCargo-SF6/Query|m.bison_5mk}} | | {{AttackDataCargo-SF6/Query|m.bison_5mk}} |
| *
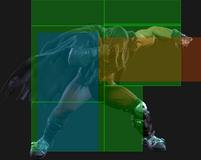
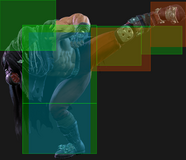
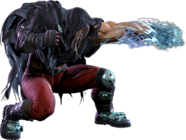
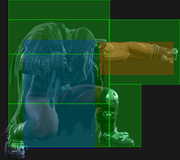
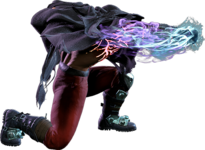
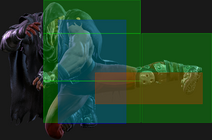
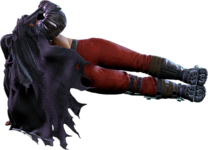
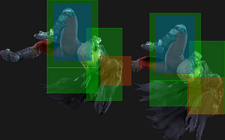
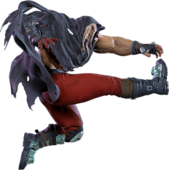
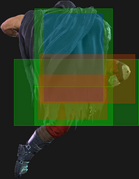
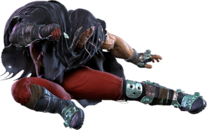
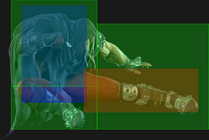
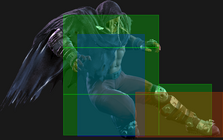
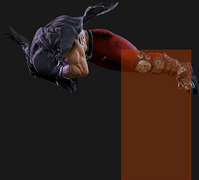
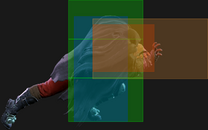
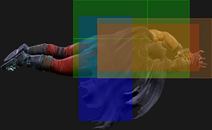
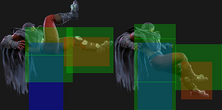
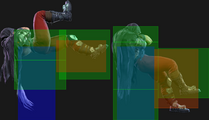
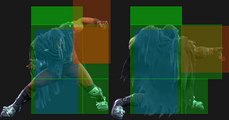
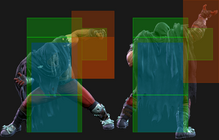
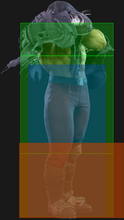
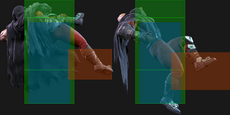
| | A strong poke due to its range and slightly disjointed hitbox. The lower body hurtbox does not extend much, making it useful against opponents with shorter-ranged {{clr|M|2MKs}}. Useful for keeping the opponent at Bison's preferred range where the threat of Scissor Kick or {{clr|DR|Drive Rush}} starters are hard to deal with. |
| <br>
| |
| Decent reach and even has a slight disjoint, but otherwise unremarkable thanks to lack of cancel options and poor frame data on hit and block.
| |
| }} | | }} |
|
| |
|
| Line 111: |
Line 117: |
| * Extends a hurtbox 1f before active that is vulnerable to projectiles | | * Extends a hurtbox 1f before active that is vulnerable to projectiles |
| <br> | | <br> |
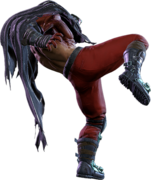
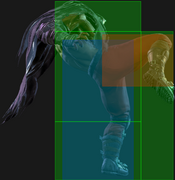
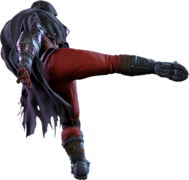
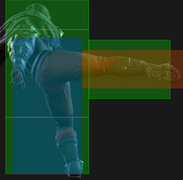
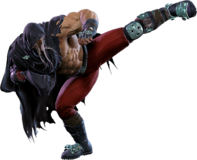
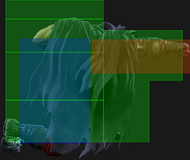
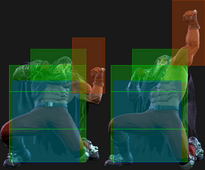
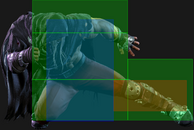
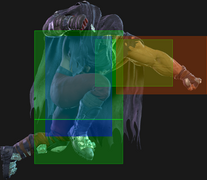
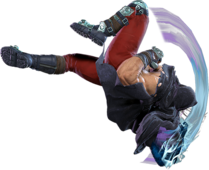
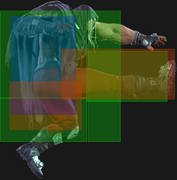
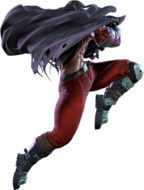
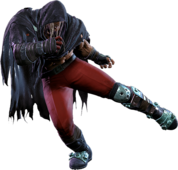
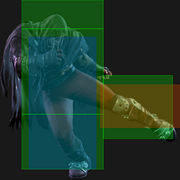
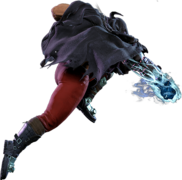
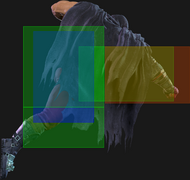
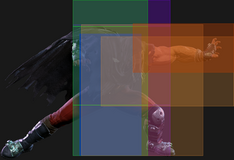
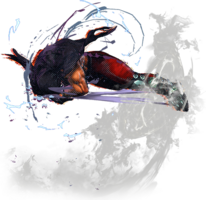
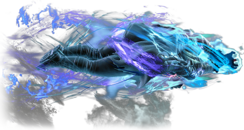
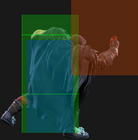
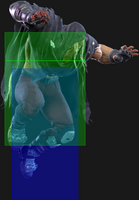
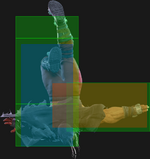
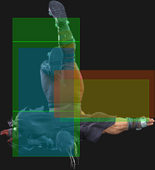
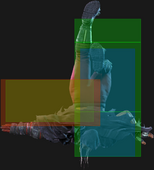
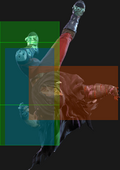
| Passable long-range anti-air, more useful as a combo tool and punish starter.
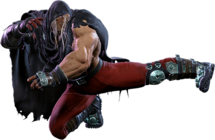
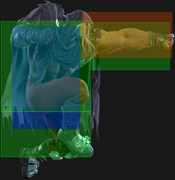
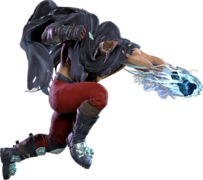
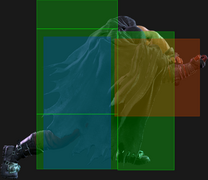
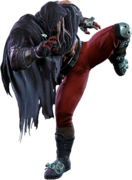
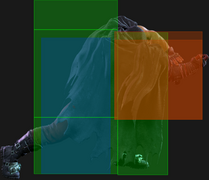
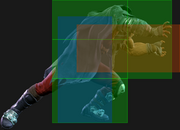
| | A long-range kick with a slight upward angle that moves Bison forward during the animation. Mostly useful as a punish starter, allowing either a grounded combo or a juggle extension depending on the follow-up timing. It naturally links into {{clr|M|2MP}} even without a {{clr|PC|Punish Counter}}, but the slow startup makes this impractical unless confirmed from a {{clr|DR|Drive Rush cancel}} or a deep jump-in. |
| | |
| | Can be used as an anti-air against long-range jumps due to the invincibility around Bison's foot, though in practice it can be difficult to use this way. |
| }} | | }} |
| <br> | | <br> |
| Line 129: |
Line 137: |
| * Chains into {{clr|L|5LP}}/{{clr|L|2LP}}/{{clr|L|2LK}} | | * Chains into {{clr|L|5LP}}/{{clr|L|2LP}}/{{clr|L|2LK}} |
| * '''Cancel Hitconfirm Window:''' 12f | | * '''Cancel Hitconfirm Window:''' 12f |
| * '''{{clr|4|Drive Rush}} cancel advantage:''' {{sf6-adv|VP|+5}} oH / {{sf6-adv|M|-1}} oB | | * '''{{clr|DR|Drive Rush}} cancel advantage:''' {{sf6-adv|VP|+5}} oH / {{sf6-adv|M|-1}} oB |
| * Applies 20% damage scaling to next hit when beginning a combo (100/80/70...) | | * Applies 20% damage scaling to next hit when beginning a combo (100/80/70...) |
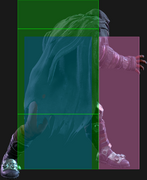
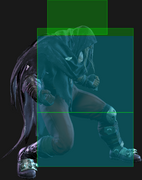
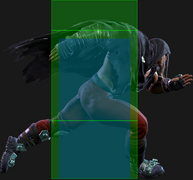
| * Topmost hurtbox on frames 1-5 is vulnerable only to aerial attacks, preventing its use as an anti-air | | * Topmost hurtbox on frames 1-5 is vulnerable only to aerial attacks, preventing its use as an anti-air |
| Line 149: |
Line 157: |
| * 3f extra recovery on whiff | | * 3f extra recovery on whiff |
| * '''Cancel Hitconfirm Window:''' 15f | | * '''Cancel Hitconfirm Window:''' 15f |
| * '''{{clr|4|Drive Rush}} cancel advantage:''' {{sf6-adv|VP|+12}} oH / {{sf6-adv|VP|+6}} oB | | * '''{{clr|DR|Drive Rush}} cancel advantage:''' {{sf6-adv|VP|+12}} oH / {{sf6-adv|VP|+6}} oB |
| * Topmost hurtbox on frames 1-8 is vulnerable only to aerial attacks, preventing its use as an anti-air | | * Topmost hurtbox on frames 1-8 is vulnerable only to aerial attacks, preventing its use as an anti-air |
| <br> | | <br> |
| Line 170: |
Line 178: |
| * Great anti-air hitbox priority on frames 12-15 but cannot hit cross-up; only the first 2 active frames are cancelable | | * Great anti-air hitbox priority on frames 12-15 but cannot hit cross-up; only the first 2 active frames are cancelable |
| * '''Cancel Hitconfirm Window:''' 16f | | * '''Cancel Hitconfirm Window:''' 16f |
| * '''{{clr|4|Drive Rush}} cancel advantage:''' {{sf6-adv|VP|+17}} oH / {{sf6-adv|VP|+8}} oB | | * '''{{clr|DR|Drive Rush}} cancel advantage:''' {{sf6-adv|VP|+17}} oH / {{sf6-adv|VP|+8}} oB |
| <br> | | <br> |
| A slow but very consistent anti-air when used early enough. Can lead to a follow-up juggle unless the opponent empty jumps, though the anti-air frames are not cancelable. | | A slow but very consistent anti-air when used early enough. Can lead to a follow-up juggle unless the opponent empty jumps, though the anti-air frames are not cancelable. |
| Line 204: |
Line 212: |
| {{AttackDataCargo-SF6/Query|m.bison_2mk}} | | {{AttackDataCargo-SF6/Query|m.bison_2mk}} |
| * '''Cancel Hitconfirm Window:''' 13f | | * '''Cancel Hitconfirm Window:''' 13f |
| * '''{{clr|4|Drive Rush}} cancel advantage:''' {{sf6-adv|VP|+8}} oH / {{sf6-adv|VP|+4}} oB | | * '''{{clr|DR|Drive Rush}} cancel advantage:''' {{sf6-adv|VP|+8}} oH / {{sf6-adv|VP|+4}} oB |
| * Applies 20% damage scaling to next hit when beginning a combo (100/80/70...) | | * Applies 20% damage scaling to next hit when beginning a combo (100/80/70...) |
| <br> | | <br> |

