|
|
| Line 21: |
Line 21: |
| * Applies 20% damage scaling to next hit when beginning a combo (100/80/70...) | | * Applies 20% damage scaling to next hit when beginning a combo (100/80/70...) |
| <br> | | <br> |
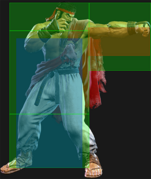
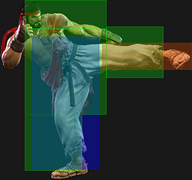
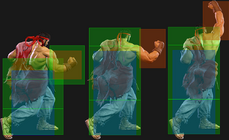
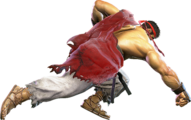
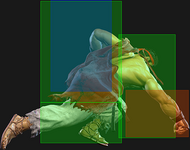
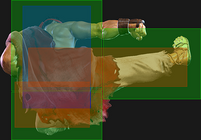
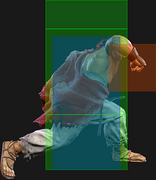
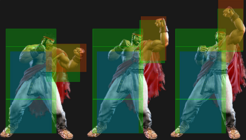
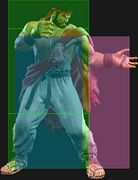
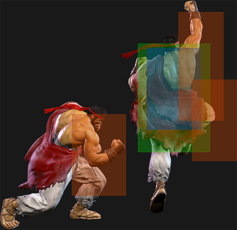
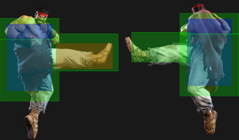
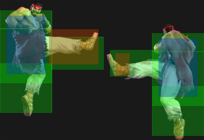
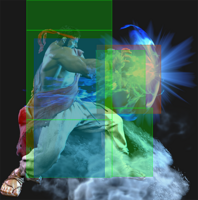
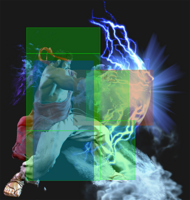
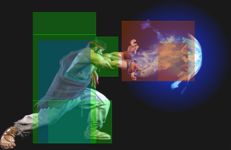
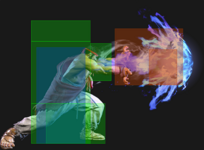
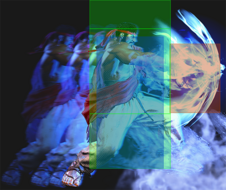
| Frame data is mostly identical to {{clr|L|2LP}}, but {{clr|L|5LP}} is the preferred chain for countering {{clr|4|Drive Impact}} since it has lower recovery. Can get a 3-hit light confirm with {{clr|L|5LP}} x3.
| | Very similar to {{clr|L|2LP}} in terms of frame data, though {{clr|L|5LP}} has more range making it the ideal 4f punish starter. The extra active frame also makes it easier to land as a meaty, and it is slightly safer on Perfect Parry which can limit the opponent's punish options. Against {{clr|4|Drive Impact}}, {{clr|L|5LP}} recovers faster due to its lower recovery, making it the safer chain option. |
| | |
| | Works in any 3-light confirm regardless of what order the buttons are chained; when starting with a {{clr|4|Drive Rush}} light, this chain can be up to 4 hits. {{clr|L|5LP}} does have slightly more pushback than {{clr|L|2LP}}, though this rarely matters in practice. |
| }} | | }} |
|
| |
|
| Line 145: |
Line 147: |
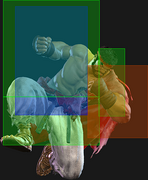
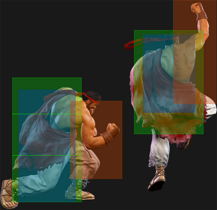
| * Extends an upwards hurtbox on frames 1-6 that is vulnerable to air strikes | | * Extends an upwards hurtbox on frames 1-6 that is vulnerable to air strikes |
| <br> | | <br> |
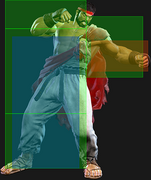
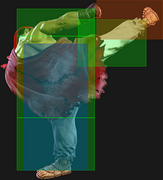
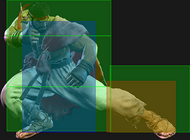
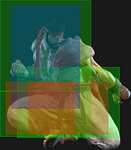
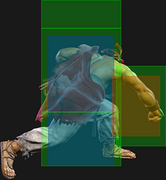
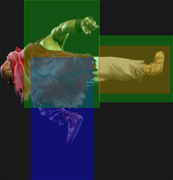
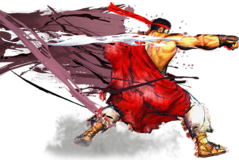
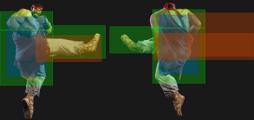
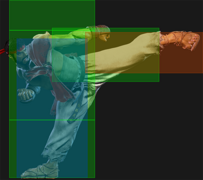
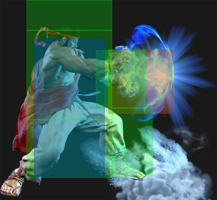
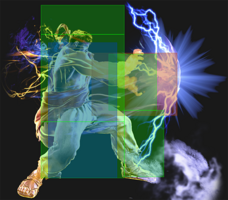
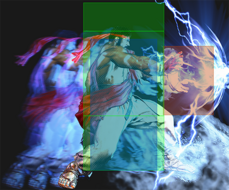
| Fast but short range chainable light normal, mainly used for hitconfirms and punishing {{sf6-adv|VM|-4}} attacks. It is slightly worse than {{clr|L|5LP}} when chaining against {{clr|4|Drive Impact}} armor.
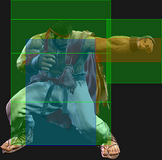
| | A fast light normal similar to {{clr|L|5LP}}; in comparison, {{clr|L|2LP}} has less range and fewer active frames. It is also slightly worse than {{clr|L|5LP}} when chaining against {{clr|4|Drive Impact}} armor. Its only real advantage is that it has slightly less pushback, which could affect Ryu's follow-ups at some specific ranges. Since Ryu is crouching during the animation, it could also cause certain attacks to whiff, such as Guile attempting a meaty {{clr|H|6HP}} on your wakeup. |
| | |
| | Works in any 3-light confirm regardless of what order the buttons are chained; when starting with a {{clr|4|Drive Rush}} light, this chain can be up to 4 hits. |
| }} | | }} |
|
| |
|
| Line 220: |
Line 224: |
| * Applies 20% damage scaling to next hit when beginning a combo (100/80/70...) | | * Applies 20% damage scaling to next hit when beginning a combo (100/80/70...) |
| <br> | | <br> |
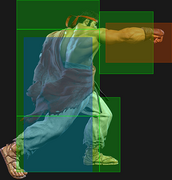
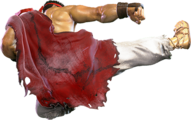
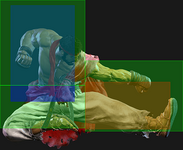
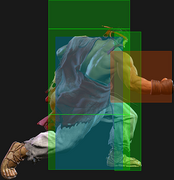
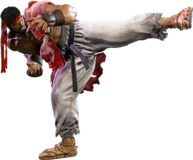
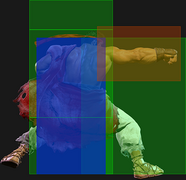
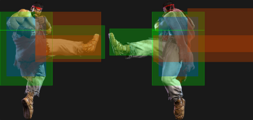
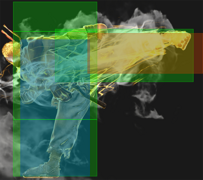
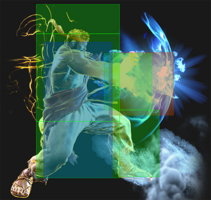
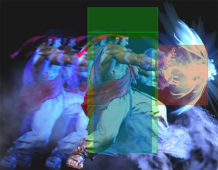
| The quintessential Shoto-style cancelable low poke, as versatile as the user wants it to be. Many characters share a nearly identical button with subtle differences, such as Ken's being 1 frame faster while having slightly less range or Cammy's having 1 less frame of recovery. Overall, Ryu's has good range for keeping the opponent at bay while canceling into fireballs to safely maintain mid-range. Combos into some version of all specials, and Denjin Hashogeki in particular gives good pressure on block, being a true string on {{clr|4|Drive Rush}}. | | The quintessential Shoto-style cancelable low poke, as versatile as the user wants it to be. Many characters share a nearly identical button with subtle differences, such as Ken's being 1 frame faster while having slightly less range or Cammy's having 1 less frame of recovery. Overall, Ryu's has good range for keeping the opponent at bay while canceling into fireballs to safely maintain mid-range. |
| | |
| | Some particularly useful cancel routes are: |
| | * 236P - low risk, low reward poking tool; vulnerable to {{clr|4|Drive Impact}} if too predictable |
| | * {{clr|M|236MK}} - relatively safe at max range (depending on opponent's punish tools) and good knockdown ender |
| | * {{clr|H|Denjin 214HP}} - rewarding on hit and great advantage on block; interruptible unless starting with {{clr|4|Drive Rush}}, but not on reaction |
| }} | | }} |
|
| |
|
| Line 240: |
Line 249: |
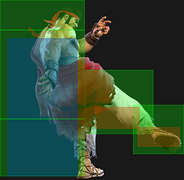
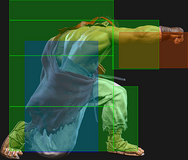
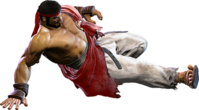
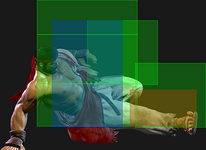
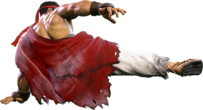
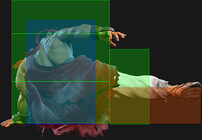
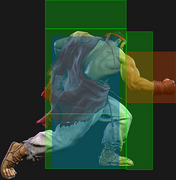
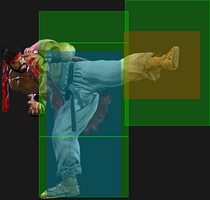
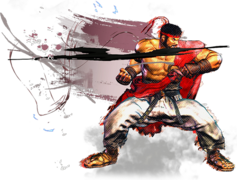
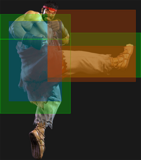
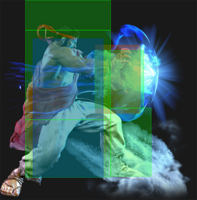
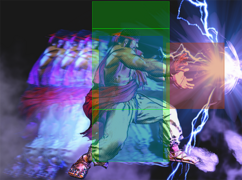
| A sweep with very good range but high punishability on block. It punishes other sweeps very well and compliments Ryu's mid-range playstyle. The range can still spare you from punishes if well spaced, but the pushback being low makes this all the more challenging. It can also be used on occasion to end Hashogeki juggles midscreen, where a Shoryuken would whiff. | | A sweep with very good range but high punishability on block. It punishes other sweeps very well and compliments Ryu's mid-range playstyle. The range can still spare you from punishes if well spaced, but the pushback being low makes this all the more challenging. It can also be used on occasion to end Hashogeki juggles midscreen, where a Shoryuken would whiff. |
|
| |
|
| Gives enough advantage on Punish counter to go for a Denjin charge and be only {{sf6-adv|VM|-5}} (safe if you are outside of 5 framer range). | | Gives enough advantage on Punish counter to go for a Denjin charge and be only {{sf6-adv|VM|-5}}; whether this is useful depends on your positioning and the opponent's 5f attack range. |
| }} | | }} |
| <br> | | <br> |


