|
|
| Line 931: |
Line 931: |
| * 30% minimum damage scaling | | * 30% minimum damage scaling |
| <br> | | <br> |
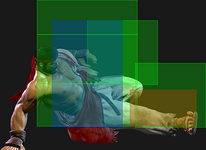
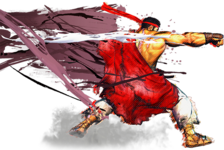
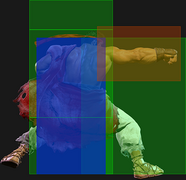
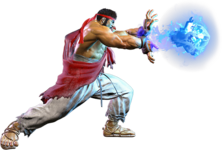
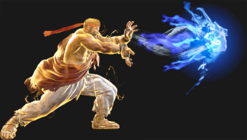
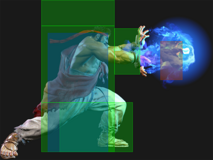
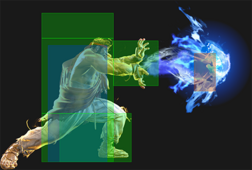
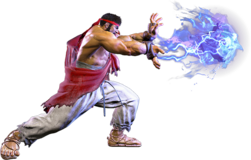
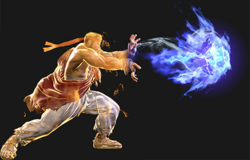
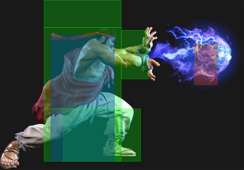
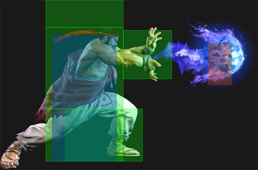
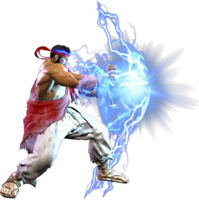
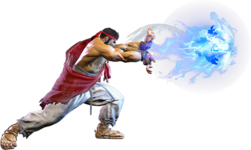
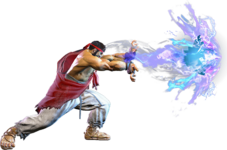
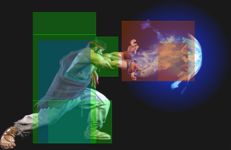
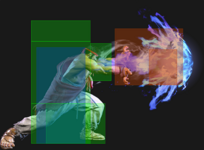
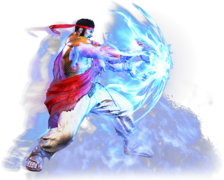
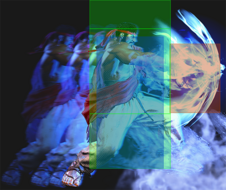
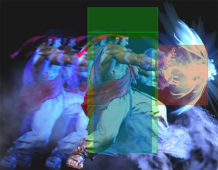
| Shinku Hadoken is Ryu's classic Super. Due to the fireball priority system, it will completely dissipate any non-Super projectile before connecting all 5 hits, although it can still be slowed down by the clash. The move has high juggle potential, making it fairly easy to land compared to many Level 1 Supers. If Ryu has a Denjin stock available, this Super does 400 extra damage and gains 1 additional frame of knockdown advantage on hit. The button strength does not affect the travel speed. If the opponent is within ~1/2 screen, they will not be able to jump over the fireball after the Super freeze, though it's still easy to punish on block at this range. | | Shinku Hadoken is Ryu's classic Super. Due to the fireball priority system, it will completely dissipate any non-Super projectile before connecting all 5 hits, although it can still be slowed down by the clash. The move has high juggle potential, making it fairly easy to land compared to many {{clr|10|Level 1 Supers}}. |
| | |
| | If Ryu has a Denjin stock available, this Super does 400 extra damage and gains 1 additional frame of knockdown advantage on hit. |
| | |
| | The button strength does not affect the travel speed. If the opponent is within ~1/2 screen, they will not be able to jump over the fireball after the Super freeze, though it's still easy to punish on block at this range. |
| }} | | }} |
|
| |
|
| Line 955: |
Line 959: |
| * 40% minimum damage scaling | | * 40% minimum damage scaling |
| <br> | | <br> |
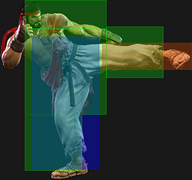
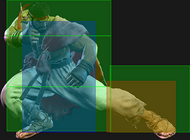
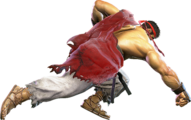
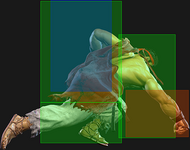
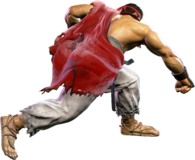
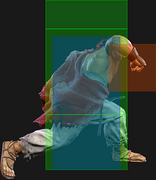
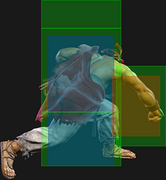
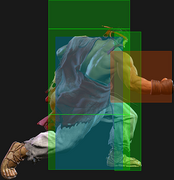
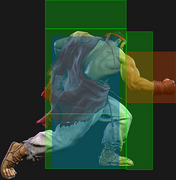
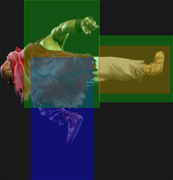
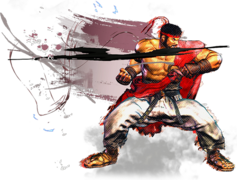
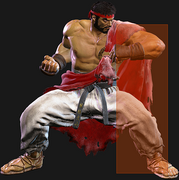
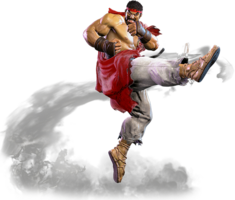
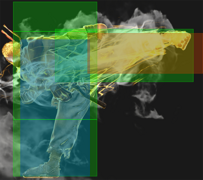
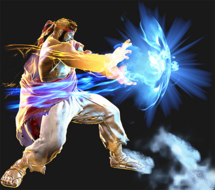
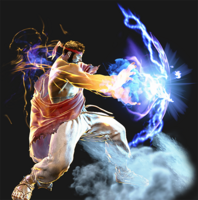
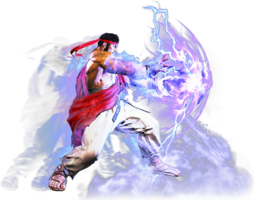
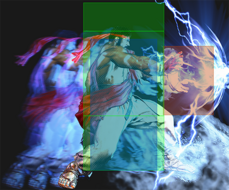
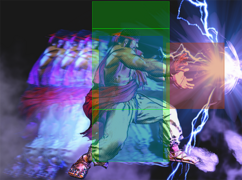
| A powered up version of Hashogeki that can be charged to a higher level by holding the Punch button. Like the original Hashogeki, it has a strike hitbox but can destroy projectile hits (up to 3). Higher level versions do more damage and drain more Drive gauge on block, but do not deal additional Chip damage against opponents in Burnout. The Denjin Charge version of each level deals 400 extra damage on hit (but again, no extra Chip). | | A powered up version of Hashogeki that can be charged to a higher level by holding the Punch button. Like the original Hashogeki, it has a strike hitbox but can destroy projectile hits (up to 3). Higher level versions do more damage and drain more Drive gauge on block, but do not deal additional Chip damage against opponents in Burnout. |
| | |
| | The Denjin Charge version of each level consumes 1 stock and deals 400 extra damage on hit (but again, no extra Chip). |
| | |
| | While this Super has some invincibility, the slower startup makes it a poor option compared to {{clr|10|SA1}} or {{clr|10|SA3}}. If attempting this, be aware that holding the button results in 3f less invincibility. |
| }} | | }} |
| |-| | | |-| |
| Line 979: |
Line 987: |
| * Button must be held for 6f after the Super freeze | | * Button must be held for 6f after the Super freeze |
| <br> | | <br> |
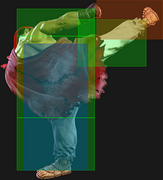
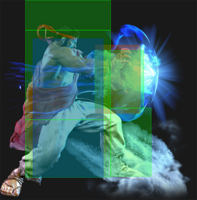
| A powered up version of Hashogeki that can be charged to a higher level by holding the Punch button. Like the original Hashogeki, it has a strike hitbox but can destroy projectile hits (up to 3). Higher level versions do more damage and drain more Drive gauge on block, but do not deal additional Chip damage against opponents in Burnout. The Denjin Charge version of each level deals 400 extra damage on hit (but again, no extra Chip). Some things that combo into level 2 charge are {{clr|H|4HP}} and {{clr|10|OD Hashogeki (non-Denjin)}}. | | A powered up version of Hashogeki that can be charged to a higher level by holding the Punch button. Like the original Hashogeki, it has a strike hitbox but can destroy projectile hits (up to 3). Higher level versions do more damage and drain more Drive gauge on block, but do not deal additional Chip damage against opponents in Burnout. |
| | |
| | The Denjin Charge version of each level consumes 1 stock and deals 400 extra damage on hit (but again, no extra Chip). |
| | |
| | While this Super has some invincibility, the slower startup makes it a poor option compared to {{clr|10|SA1}} or {{clr|10|SA3}}. If attempting this, be aware that holding the button results in 3f less invincibility. |
| | |
| | Some things that combo into Level 2 charge are {{clr|H|4HP}} and {{clr|10|OD Hashogeki (non-Denjin)}}. |
| }} | | }} |
| |-| | | |-| |
| Line 1,004: |
Line 1,018: |
| * Gives a tumbling OTG knockdown that can be followed up with a raw {{clr|4|Drive Rush}} combo | | * Gives a tumbling OTG knockdown that can be followed up with a raw {{clr|4|Drive Rush}} combo |
| <br> | | <br> |
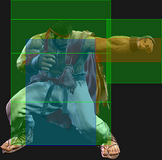
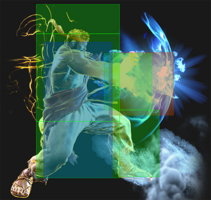
| A powered up version of Hashogeki that can be charged to a higher level by holding the Punch button. Like the original Hashogeki, it has a strike hitbox but can destroy projectile hits (up to 3). Higher level versions do more damage and drain more Drive gauge on block, but do not deal additional Chip damage against opponents in Burnout. The Denjin Charge version of each level deals 400 extra damage on hit (but again, no extra Chip). Some things that can combo into level 3 charge are {{clr|10|OD High Blade Kick}} and {{clr|10|OD Denjin Hashogeki}}. | | A powered up version of Hashogeki that can be charged to a higher level by holding the Punch button. Like the original Hashogeki, it has a strike hitbox but can destroy projectile hits (up to 3). Higher level versions do more damage and drain more Drive gauge on block, but do not deal additional Chip damage against opponents in Burnout. |
| | |
| | The Denjin Charge version of each level consumes 1 stock and deals 400 extra damage on hit (but again, no extra Chip). |
| | |
| | While this Super has some invincibility, the slower startup makes it a poor option compared to {{clr|10|SA1}} or {{clr|10|SA3}}. If attempting this, be aware that holding the button results in 3f less invincibility. |
| | |
| | Some things that can combo into Level 3 charge are {{clr|10|OD High Blade Kick}} and {{clr|10|OD Denjin Hashogeki}}. The pushback on block is extremely high on this version, and may require the opponent to use a {{clr|4|Drive Rush}} punish starter if blocked. |
| }} | | }} |
| </tabber> | | </tabber> |
| Line 1,036: |
Line 1,056: |
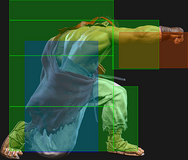
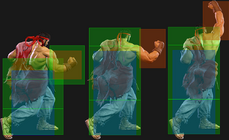
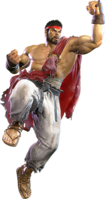
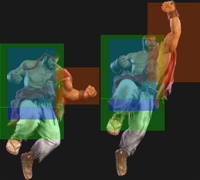
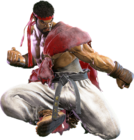
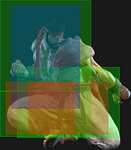
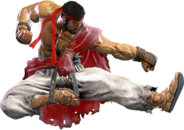
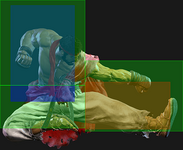
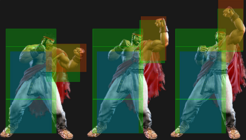
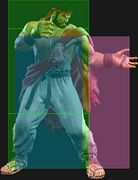
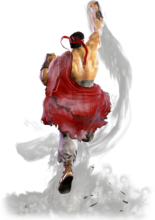
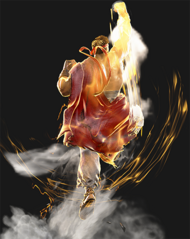
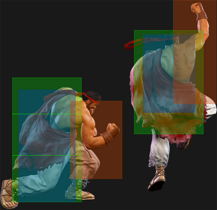
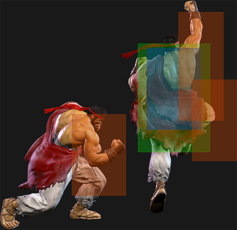
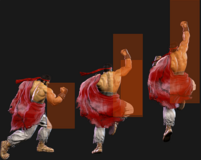
| A satisfyingly powerful and invincible uppercut Super that works well as a reversal, juggle ender, or anti-air. The range is quite short, so despite the incredibly fast 5f startup it has limited utility as a punish tool. This also causes it to whiff in some specific midscreen cancel routes. | | A satisfyingly powerful and invincible uppercut Super that works well as a reversal, juggle ender, or anti-air. The range is quite short, so despite the incredibly fast 5f startup it has limited utility as a punish tool. This also causes it to whiff in some specific midscreen cancel routes. |
|
| |
|
| {{clr|10|SA3}} cannot anti-air cross-ups, and the forward movement on startup can cause it to whiff under close jumps. Canceling a Shoryuken into {{clr|10|SA3}} as an anti-air causes Ryu to incur significant damage scaling, and may even lose out on the cinematic hit if the opponent is juggled high enough. This is much less of a problem for the CA version, which retains most of its damage even without a cinematic connect. | | {{clr|10|SA3}} cannot anti-air cross-ups, and the forward movement on startup can cause it to whiff under close jumps. Canceling a Shoryuken into {{clr|10|SA3}} as an anti-air causes Ryu to incur significant damage scaling, and may even lose out on the cinematic hit if the opponent is juggled high enough. This is much less of a problem for the {{clr|10|CA}} version, which retains most of its damage even without a cinematic connect. |
|
| |
|
| If the opponent chooses to stand block this Super (especially for taller characters), they will take a little extra blockstun and Burnout chip damage as more hits connect on the way up. However, these hits do not deal additional Drive damage on block, so it's mostly irrelevant outside of Burnout. Because {{clr|10|SA3}} hits at least 3 times on block, the first hit can be used to put the opponent into Burnout before chipping out with the remaining hits. Opponents can Drive Reversal to prevent this if Ryu uses a blockstring into {{clr|10|SA3}}, but this requires them to be aware of the gimmick and to have full awareness of the HP and Drive meter situation. Drive Reversal will give them a full punish as Ryu whiffs over them, so it's risky to attempt this chip-out gimmick. | | If the opponent chooses to stand block this Super (especially for taller characters), they will take a little extra blockstun and Burnout chip damage as more hits connect on the way up. However, these hits do not deal additional Drive damage on block, so it's mostly irrelevant outside of Burnout. Because {{clr|10|SA3}} hits at least 3 times on block, the first hit can be used to put the opponent into Burnout before chipping out with the remaining hits. Opponents can Drive Reversal to prevent this if Ryu uses a blockstring into {{clr|10|SA3}}, but this requires them to be aware of the gimmick and to have full awareness of the health and Drive meter situation. Drive Reversal will give them a full punish as Ryu whiffs over them, so it's risky to attempt this chip-out gimmick. |
| }} | | }} |
| <br> | | <br> |


