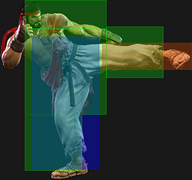
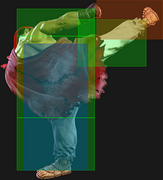
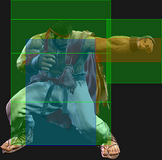
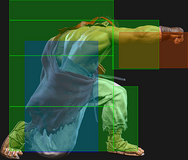
|
|
| Line 36: |
Line 36: |
| * '''Cancel Hitconfirm Window:''' 16f / 18f (TC) | | * '''Cancel Hitconfirm Window:''' 16f / 18f (TC) |
| <br> | | <br> |
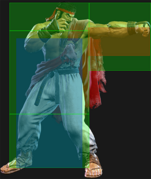
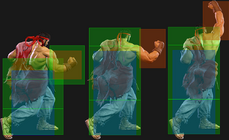
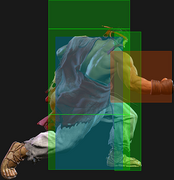
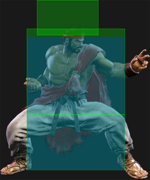
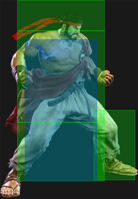
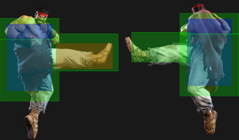
| Ryu's main combo starter, but the distance after a hit can make the followups a bit finicky. The Fuwa Triple Strike target combo is the most consistent ender and is easier to hitconfirm, but does fairly low damage. | | Ryu's main combo starter, but the distance after a hit can make the follow-ups a bit finicky. The Fuwa Triple Strike target combo is the most consistent ender and is easier to hitconfirm, but does fairly low damage. |
|
| |
|
| The link into 4HP only works from absolute point blank, and even starting with a jumpin can prevent it from working. The link into 5MP or 2MP works from slightly farther out. On Counter-hit, 5MP can link into 2HP if close enough (for example, blocked Drive Rush 5LP > CH 5MP links into 2HP, but without the Drive Rush Ryu will be too far away). | | The link into 4HP only works from absolute point blank, and even starting with a jumpin can prevent it from working. The link into 5MP or 2MP works from slightly farther out. On Counter-hit, 5MP can link into 2HP if close enough (for example, blocked Drive Rush 5LP > CH 5MP links into 2HP, but without the Drive Rush Ryu will be too far away). |
| Line 249: |
Line 249: |
| * Both hits are cancelable and put airborne opponents into [[Street_Fighter_6/Glossary#Juggles|limited juggle state]] | | * Both hits are cancelable and put airborne opponents into [[Street_Fighter_6/Glossary#Juggles|limited juggle state]] |
| <br> | | <br> |
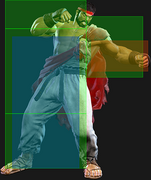
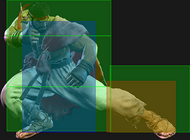
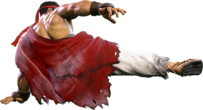
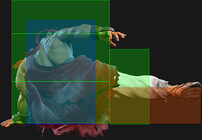
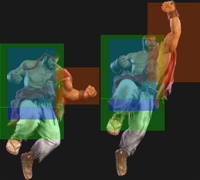
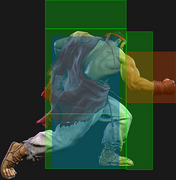
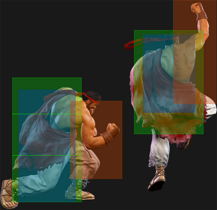
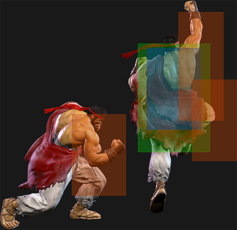
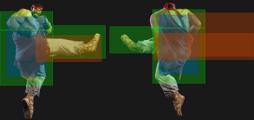
| Ryu's best air-to-air since it causes a knockdown. The followup juggle possibilities depend on the height of each character at the time it connects. Only the forward jump version is cancelable. | | Ryu's best air-to-air since it causes a knockdown. The follow-up juggle possibilities depend on the height of each character at the time it connects. Only the forward jump version is cancelable. |
| }} | | }} |
|
| |
|
| Line 297: |
Line 297: |
| * Can hit cross-up | | * Can hit cross-up |
| <br> | | <br> |
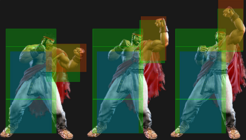
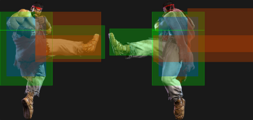
| The better of Ryu's cross-up buttons with a wider hitbox and more hitstun/blockstun allowing consistent combo followups. | | The better of Ryu's cross-up buttons with a wider hitbox and more hitstun/blockstun allowing consistent combo follow-ups. |
| }} | | }} |
|
| |
|
| Line 330: |
Line 330: |
| * 2-hit overhead; Counter-hit/Punish Counter bonus advantage applies to both hits | | * 2-hit overhead; Counter-hit/Punish Counter bonus advantage applies to both hits |
| <br> | | <br> |
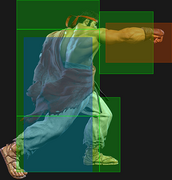
| A standard overhead that can link into 5MP or 2MP when used after Drive Rush. A regular counter-hit can still link into a 4f light, but regular hits do not allow for followup links. | | A standard overhead that can link into 5MP or 2MP when used after Drive Rush. A regular counter-hit can still link into a 4f light, but regular hits do not allow for follow-up links. |
| }} | | }} |
|
| |
|
| Line 405: |
Line 405: |
| * '''Cancel Hitconfirm Window:''' 37f (17f 2nd hit only) | | * '''Cancel Hitconfirm Window:''' 37f (17f 2nd hit only) |
| <br> | | <br> |
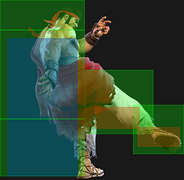
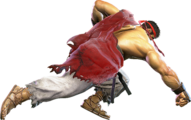
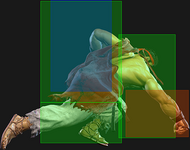
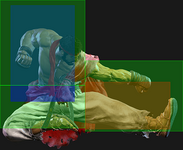
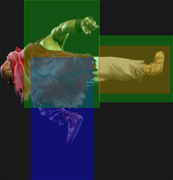
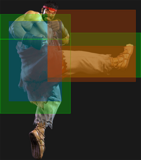
| Ryu's Axe Kick is cancelable on both hits, so it's easy to confirm an appropriate followup on hit or block. At -4 it's fairly safe most of the time due to pushback. The first hit can whiff on crouch blockers at farther ranges. The move has a lot of active frames, making it easy to time on the opponent's wakeup. | | Ryu's Axe Kick is cancelable on both hits, so it's easy to confirm an appropriate follow-up on hit or block. At -4 it's fairly safe most of the time due to pushback. The first hit can whiff on crouch blockers at farther ranges. The move has a lot of active frames, making it easy to time on the opponent's wakeup. |
| }} | | }} |
| <br> | | <br> |
| Line 445: |
Line 445: |
| * 6f gap before final hit on block | | * 6f gap before final hit on block |
| <br> | | <br> |
| A relatively weak target combo, but it's easier to confirm from 5MP than a special move. Also has some utility near max 5MP range where other followups can whiff. | | A relatively weak target combo, but it's easier to confirm from 5MP than a special move. Also has some utility near max 5MP range where other follow-ups can whiff. |
| }} | | }} |
| <br> | | <br> |
| Line 730: |
Line 730: |
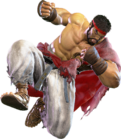
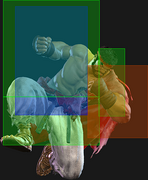
| * Forced Knockdown state until landing; the last 11f of landing recovery is in a crouching state | | * Forced Knockdown state until landing; the last 11f of landing recovery is in a crouching state |
| * Can hit Cross-up | | * Can hit Cross-up |
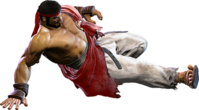
| * Puts opponent into [[Street_Fighter_6/Glossary#Juggles|limited juggle state]] (2HK and SA1 are most consistent followups) | | * Puts opponent into [[Street_Fighter_6/Glossary#Juggles|limited juggle state]] (2HK and SA1 are most consistent follow-ups) |
| * Applies 30% damage scaling to next hit when beginning a combo (100/70/60...) | | * Applies 30% damage scaling to next hit when beginning a combo (100/70/60...) |
| {{AttackDataCargo-SF6/Query|ryu_j214kk}} | | {{AttackDataCargo-SF6/Query|ryu_j214kk}} |
| Line 772: |
Line 772: |
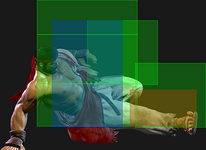
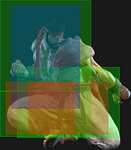
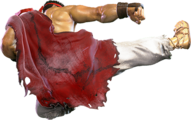
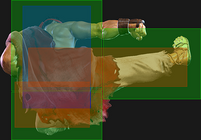
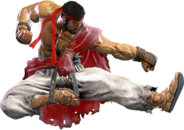
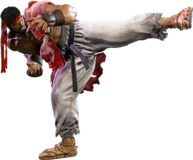
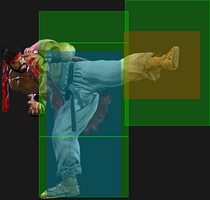
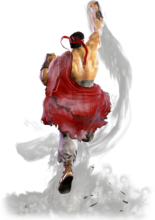
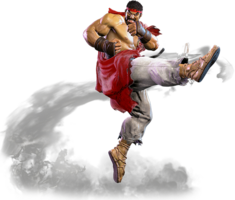
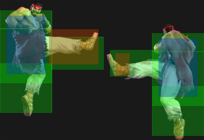
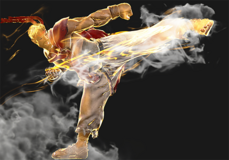
| High Blade Kick (more commonly known as "Donkey Kick") is used primarily as a juggle ender due to its high juggle potential, great oki, and consistent juggle into Lv.3 Super. LK is a quick combo ender, The MK version can be spaced relatively safely, and often can set up a safe Denjin Charge when used midscreen. HK is very slow but usually safe on block due to its huge pushback. 5LK is the fastest normal that can combo into LK, and 4HP is the only normal which can combo into HK without additional hit advantage. | | High Blade Kick (more commonly known as "Donkey Kick") is used primarily as a juggle ender due to its high juggle potential, great oki, and consistent juggle into Lv.3 Super. LK is a quick combo ender, The MK version can be spaced relatively safely, and often can set up a safe Denjin Charge when used midscreen. HK is very slow but usually safe on block due to its huge pushback. 5LK is the fastest normal that can combo into LK, and 4HP is the only normal which can combo into HK without additional hit advantage. |
|
| |
|
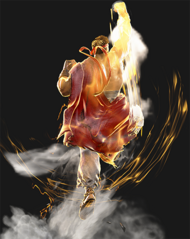
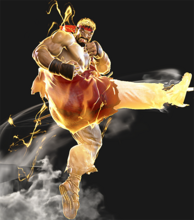
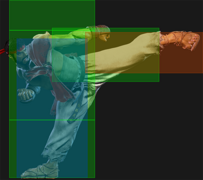
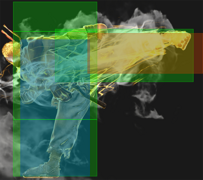
| OD High Blade Kick is the star of the show due to its Wall Bounce, which can lead to powerful juggles; it can even combo into fully charged Lv.2 Super when canceled (although the release must be manually timed). The OD version can be comboed into from medium attacks or from a Punish Counter 5LK. If Ryu is too close to the corner, the opponent will bounce over his head, resulting in no followup juggle. In these situations, OD Tatsu is preferred. | | OD High Blade Kick is the star of the show due to its Wall Bounce, which can lead to powerful juggles; it can even combo into fully charged Lv.2 Super when canceled (although the release must be manually timed). The OD version can be comboed into from medium attacks or from a Punish Counter 5LK. If Ryu is too close to the corner, the opponent will bounce over his head, resulting in no follow-up juggle. In these situations, OD Tatsu is preferred. |
| }} | | }} |
|
| |
|


