|
|
| Line 37: |
Line 37: |
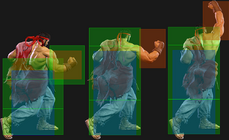
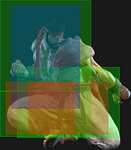
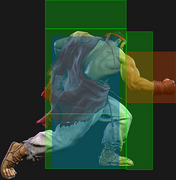
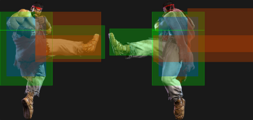
| Ryu's main combo starter, but the distance after a hit can make the followups a bit finicky. The Fuwa Triple Strike target combo is the most consistent ender and is easier to hitconfirm, but does fairly low damage. | | Ryu's main combo starter, but the distance after a hit can make the followups a bit finicky. The Fuwa Triple Strike target combo is the most consistent ender and is easier to hitconfirm, but does fairly low damage. |
|
| |
|
| The link into 4HP only works from absolute point blank, and even starting with a jumpin can prevent it from working. The link into 5MP or 2MP works from slightly farther out. On Counterhit, 5MP can link into 2HP if close enough (for example, blocked Drive Rush 5LP > CH 5MP links into 2HP, but without the Drive Rush Ryu will be too far away). | | The link into 4HP only works from absolute point blank, and even starting with a jumpin can prevent it from working. The link into 5MP or 2MP works from slightly farther out. On Counter-hit, 5MP can link into 2HP if close enough (for example, blocked Drive Rush 5LP > CH 5MP links into 2HP, but without the Drive Rush Ryu will be too far away). |
| }} | | }} |
|
| |
|
| Line 158: |
Line 158: |
| * '''Cancel Hitconfirm Window:''' 18f | | * '''Cancel Hitconfirm Window:''' 18f |
| <br> | | <br> |
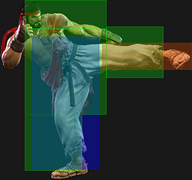
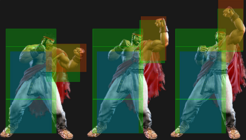
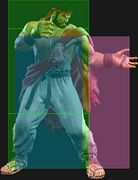
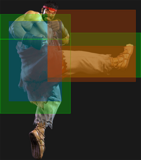
| Decent anti-air normal for situations where you don't have time to react with Shoryuken. Can be linked to after Counterhit/Punish Counter 5MP, but the short range can make this a little inconsistent. Very unsafe on block. | | Decent anti-air normal for situations where you don't have time to react with Shoryuken. Can be linked to after Counter-hit/Punish Counter 5MP, but the short range can make this a little inconsistent. Very unsafe on block. |
| }} | | }} |
|
| |
|
| Line 191: |
Line 191: |
| * Applies a 20% damage scaling penalty to the next hit when used as a combo starter (100/80/70/60...) | | * Applies a 20% damage scaling penalty to the next hit when used as a combo starter (100/80/70/60...) |
| <br> | | <br> |
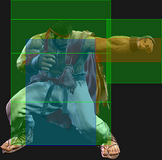
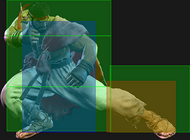
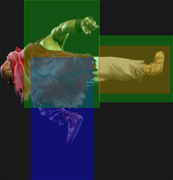
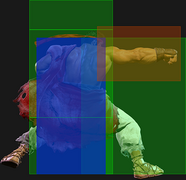
| The quintessential Shoto-style cancelable low poke, as versatile as the user wants it to be. Many characters share a nearly identical button with subtle differences, such as Ken's being 1 frame faster while having slightly less range or Cammy having 1 less frame of recovery. Overall, Ryu's has good range for keeping the opponent at bay while canceling into fireballs to safely maintain mid-range. Combos into most specials consistently, but requires Counterhit, Punish Counter, or Drive Rush to combo into a meterless Denjin Hashogeki. | | The quintessential Shoto-style cancelable low poke, as versatile as the user wants it to be. Many characters share a nearly identical button with subtle differences, such as Ken's being 1 frame faster while having slightly less range or Cammy having 1 less frame of recovery. Overall, Ryu's has good range for keeping the opponent at bay while canceling into fireballs to safely maintain mid-range. Combos into most specials consistently, but requires Counter-hit, Punish Counter, or Drive Rush to combo into a meterless Denjin Hashogeki. |
| }} | | }} |
|
| |
|
| Line 205: |
Line 205: |
| | info = | | | info = |
| {{AttackDataCargo-SF6/Query|ryu_2hk}} | | {{AttackDataCargo-SF6/Query|ryu_2hk}} |
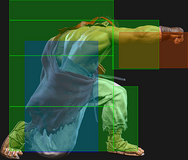
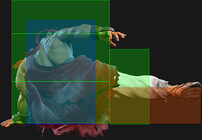
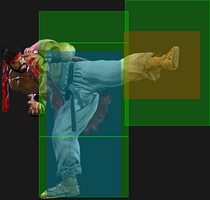
| * Counterhit/Punish Counter: +47 HKD | | * Counter-hit/Punish Counter: +47 HKD |
| * Has some juggle potential; no longer HKD when juggled into | | * Has some juggle potential; no longer HKD when juggled into |
| * On block, plays out a fixed 29f recovery (cannot be made safer with meaty timing) | | * On block, plays out a fixed 29f recovery (cannot be made safer with meaty timing) |
| Line 259: |
Line 259: |
| | info = | | | info = |
| {{AttackDataCargo-SF6/Query|ryu_jhp}} | | {{AttackDataCargo-SF6/Query|ryu_jhp}} |
| * Spike knockdown on Counterhit/Punish Counter vs. airborne opponents | | * Spike knockdown on Counter-hit/Punish Counter vs. airborne opponents |
| <br> | | <br> |
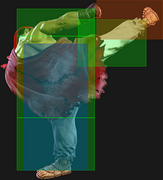
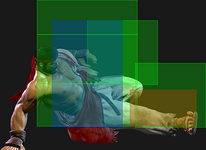
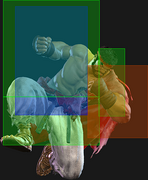
| Jumpin with a good downward reaching hitbox. | | Jumpin with a good downward reaching hitbox. |
| Line 275: |
Line 275: |
| | info = | | | info = |
| {{AttackDataCargo-SF6/Query|ryu_jlk}} | | {{AttackDataCargo-SF6/Query|ryu_jlk}} |
| * Can hit crossup | | * Can hit cross-up |
| <br> | | <br> |
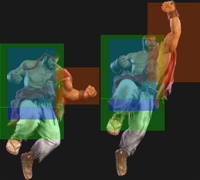
| Has a fairly narrow crossup hitbox and limited combo potential on hit. Due to its low blockstun, Ryu can land into an immediate throw/strike mixup while the opponent is expecting a stronger air normal. | | Has a fairly narrow cross-up hitbox and limited combo potential on hit. Due to its low blockstun, Ryu can land into an immediate throw/strike mixup while the opponent is expecting a stronger air normal. |
| }} | | }} |
|
| |
|
| Line 291: |
Line 291: |
| | info = | | | info = |
| {{AttackDataCargo-SF6/Query|ryu_jmk}} | | {{AttackDataCargo-SF6/Query|ryu_jmk}} |
| * Can hit crossup | | * Can hit cross-up |
| <br> | | <br> |
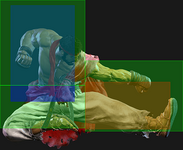
| The better of Ryu's crossup buttons with a wider hitbox and more hitstun/blockstun allowing consistent combo followups. | | The better of Ryu's cross-up buttons with a wider hitbox and more hitstun/blockstun allowing consistent combo followups. |
| }} | | }} |
|
| |
|
| Line 324: |
Line 324: |
| | info = | | | info = |
| {{AttackDataCargo-SF6/Query|ryu_6mp}} | | {{AttackDataCargo-SF6/Query|ryu_6mp}} |
| * 2-hit overhead; Counterhit/Punish Counter bonus advantage applies to both hits | | * 2-hit overhead; Counter-hit/Punish Counter bonus advantage applies to both hits |
| <br> | | <br> |
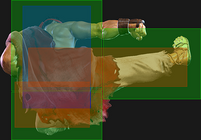
| A standard overhead that can link into 5MP or 2MP when used after Drive Rush. A regular counterhit can still link into a 4f light, but regular hits do not allow for followup links. | | A standard overhead that can link into 5MP or 2MP when used after Drive Rush. A regular counter-hit can still link into a 4f light, but regular hits do not allow for followup links. |
| }} | | }} |
|
| |
|
| Line 341: |
Line 341: |
| | info = | | | info = |
| {{AttackDataCargo-SF6/Query|ryu_6hp}} | | {{AttackDataCargo-SF6/Query|ryu_6hp}} |
| * 2 hits; Counterhit/Punish Counter bonus advantage applies to both hits | | * 2 hits; Counter-hit/Punish Counter bonus advantage applies to both hits |
| * Applies a 20% damage scaling penalty to the next hit when used as a combo starter (100/80/70/60...) | | * Applies a 20% damage scaling penalty to the next hit when used as a combo starter (100/80/70/60...) |
| * Good meaty off strong knockdowns | | * Good meaty off strong knockdowns |
|
| |
|
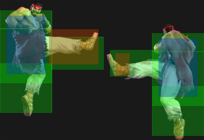
| A powerful advancing command normal that is plus on block and combos to 5MP or 2MP on hit, and even stronger combos on Counterhit/Punish Counter. It is very susceptible to Drive Impact, however, so it shouldn't be overly relied upon. Can be up to +3 on block if spaced out, but this also results in more pushback. | | A powerful advancing command normal that is plus on block and combos to 5MP or 2MP on hit, and even stronger combos on Counter-hit/Punish Counter. It is very susceptible to Drive Impact, however, so it shouldn't be overly relied upon. Can be up to +3 on block if spaced out, but this also results in more pushback. |
| }} | | }} |
|
| |
|
| Line 398: |
Line 398: |
| * 1st hit forces stand, puts airborne opponents into [[Street_Fighter_6/Glossary#Juggles|limited juggle state]] | | * 1st hit forces stand, puts airborne opponents into [[Street_Fighter_6/Glossary#Juggles|limited juggle state]] |
| * 2nd hit knocks down vs. airborne opponents | | * 2nd hit knocks down vs. airborne opponents |
| * Counterhit/Punish Counter bonus advantage applies to both hits | | * Counter-hit/Punish Counter bonus advantage applies to both hits |
| * '''Cancel Hitconfirm Window:''' 37f (17f 2nd hit only) | | * '''Cancel Hitconfirm Window:''' 37f (17f 2nd hit only) |
| <br> | | <br> |
| Line 458: |
Line 458: |
| {{AttackDataCargo-SF6/Query|ryu_lplk}} | | {{AttackDataCargo-SF6/Query|ryu_lplk}} |
| * Has access to corner throw loops without walking or dashing; throw must be manually timed | | * Has access to corner throw loops without walking or dashing; throw must be manually timed |
| * Punish Counter: +18 HKD | | * Punish Counter: HKD +17 |
| | * Applies 20% immediate damage scaling when comboed into (e.g. after Crumple) |
| | <br> |
| | Ryu has a great corner throw loop that requires no additional movement. Whiffing 5LP will auto-time the next throw, or it can be manually timed to avoid giving the opponent something to react to. |
| }} | | }} |
|
| |
|
| Line 472: |
Line 475: |
| | info = | | | info = |
| {{AttackDataCargo-SF6/Query|ryu_4lplk}} | | {{AttackDataCargo-SF6/Query|ryu_4lplk}} |
| * Side switches | | * Side switch |
| * Punish Counter: +11 HKD | | * Punish Counter: HKD +11 |
| | * Applies 20% immediate damage scaling when comboed into (e.g. after Crumple) |
| | <br> |
| | After throwing the opponent back into the corner, Ryu is left too far away for any follow-up strike or throw oki. |
| }} | | }} |
| <br> | | <br> |
| Line 714: |
Line 720: |
| {{AttackDataCargo-SF6/Query|ryu_j214k}} | | {{AttackDataCargo-SF6/Query|ryu_j214k}} |
| * Forced Knockdown state | | * Forced Knockdown state |
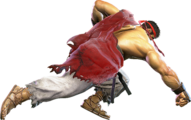
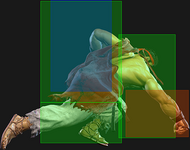
| * Can hit Crossup | | * Can hit Cross-up |
| * Puts opponent into [[Street_Fighter_6/Glossary#Juggles|limited juggle state]] (2HK and Lv.1 Super are most consistent followups) | | * Puts opponent into [[Street_Fighter_6/Glossary#Juggles|limited juggle state]] (2HK and Lv.1 Super are most consistent followups) |
| * The last 11f of recovery puts Ryu in a crouching state | | * The last 11f of recovery puts Ryu in a crouching state |
| Line 775: |
Line 781: |
| | info = | | | info = |
| {{AttackDataCargo-SF6/Query|ryu_214lp}} | | {{AttackDataCargo-SF6/Query|ryu_214lp}} |
| * Counterhit/Punish Counter puts opponent into Spinning juggle state (KD +57) | | * Counter-hit/Punish Counter puts opponent into Spinning juggle state (KD +57) |
| * '''Cancel Hitconfirm Window:''' 24f | | * '''Cancel Hitconfirm Window:''' 24f |
| {{AttackDataCargo-SF6/Query|ryu_214mp}} | | {{AttackDataCargo-SF6/Query|ryu_214mp}} |
| * Counterhit/Punish Counter puts opponent into Spinning juggle state (KD +58) | | * Counter-hit/Punish Counter puts opponent into Spinning juggle state (KD +58) |
| * '''Cancel Hitconfirm Window:''' 23f | | * '''Cancel Hitconfirm Window:''' 23f |
| {{AttackDataCargo-SF6/Query|ryu_214hp}} | | {{AttackDataCargo-SF6/Query|ryu_214hp}} |
| Line 790: |
Line 796: |
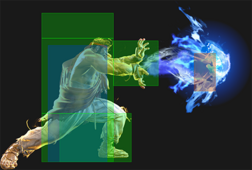
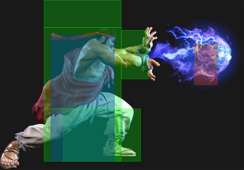
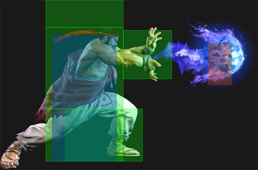
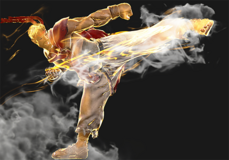
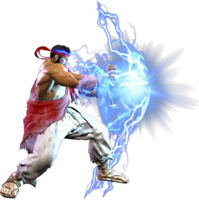
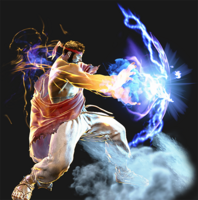
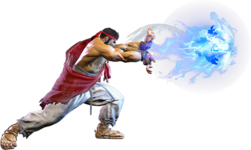
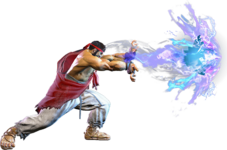
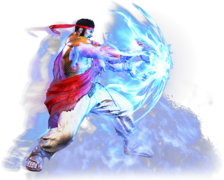
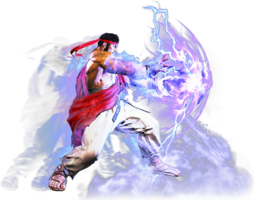
| Hashogeki has juggle potential on all versions; the LP and MP versions allow for high damage juggle routes, especially in the corner. This is most commonly achieved by launching with 236KK or 214KK, then following up with a juggled Drive Rush normal into 214P. On a grounded hit, the opponent is left standing after the LP/MP/OD versions; Ryu is left too far away for an immediate throw mixup, but the opponent can still be punished for attempting to escape or hit a defensive button. | | Hashogeki has juggle potential on all versions; the LP and MP versions allow for high damage juggle routes, especially in the corner. This is most commonly achieved by launching with 236KK or 214KK, then following up with a juggled Drive Rush normal into 214P. On a grounded hit, the opponent is left standing after the LP/MP/OD versions; Ryu is left too far away for an immediate throw mixup, but the opponent can still be punished for attempting to escape or hit a defensive button. |
|
| |
|
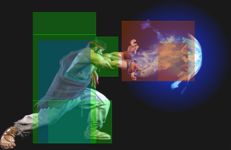
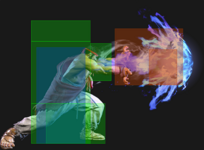
| The short range and low pushback of 214LP means that it will almost always be punishable on block with a light normal; 214MP is technically more unsafe but the spacing often makes it more difficult to punish. 214HP gives Ryu frame advantage, but canceling into it leaves Ryu vulnerable during its long startup. If you condition the opponent to expect a 214HP cancel, you can punish their light normal mash by ending with the unsafe LP or MP versions instead, creating an intentional gap of 1-4 frames in the blockstring. Since a Counterhit puts the opponent into a juggle state, Ryu can juggle even if he trades hits with the opponent. | | The short range and low pushback of 214LP means that it will almost always be punishable on block with a light normal; 214MP is technically more unsafe but the spacing often makes it more difficult to punish. 214HP gives Ryu frame advantage, but canceling into it leaves Ryu vulnerable during its long startup. If you condition the opponent to expect a 214HP cancel, you can punish their light normal mash by ending with the unsafe LP or MP versions instead, creating an intentional gap of 1-4 frames in the blockstring. Since a Counter-hit puts the opponent into a juggle state, Ryu can juggle even if he trades hits with the opponent. |
|
| |
|
| The following are some common blockstring gaps; all examples assume Ryu cancels at the fastest possible timing, though a longer gap can be created by delaying the cancel: | | The following are some common blockstring gaps; all examples assume Ryu cancels at the fastest possible timing, though a longer gap can be created by delaying the cancel: |


