|
|
| (8 intermediate revisions by 2 users not shown) |
| Line 17: |
Line 17: |
| * Chains into {{clr|L|5LP}}/{{clr|L|2LP}}/{{clr|L|2LK}} | | * Chains into {{clr|L|5LP}}/{{clr|L|2LP}}/{{clr|L|2LK}} |
| * '''Cancel Hitconfirm Window:''' 13f | | * '''Cancel Hitconfirm Window:''' 13f |
| ** {{clr|DR|DR}} cancel is delayed until after 2nd active frame | | ** {{clr|DR|DR}} cancel is delayed until after 1st recovery frame |
| * '''{{clr|DR|Drive Rush}} cancel advantage:''' {{sf6-adv|VP|+5}} oH / {{sf6-adv|M|-1}} oB | | * '''{{clr|DR|Drive Rush}} cancel advantage:''' {{sf6-adv|VP|+5}} oH / {{sf6-adv|M|-2}} oB |
| * Applies 20% damage scaling to next hit when beginning a combo (100/80/70...) | | * Applies 20% damage scaling to next hit when beginning a combo (100/80/70...) |
| <br> | | <br> |
| Line 56: |
Line 56: |
| {{AttackDataCargo-SF6/Query|m.bison_5hp}} | | {{AttackDataCargo-SF6/Query|m.bison_5hp}} |
| * {{clr|PC|Punish Counter}}: {{sf6-adv|VP|+17~19 Stagger}} | | * {{clr|PC|Punish Counter}}: {{sf6-adv|VP|+17~19 Stagger}} |
| | * 3f extra recovery on whiff or when absorbed by armor |
| * Slams airborne opponents down into {{sf6-jug|limited juggle}} OTG state (higher bounce on {{clr|PC|Punish Counter}}) | | * Slams airborne opponents down into {{sf6-jug|limited juggle}} OTG state (higher bounce on {{clr|PC|Punish Counter}}) |
| * '''Cancel Hitconfirm Window:''' 17f / 29f {{clr|PC|PC}} (Super) | | * '''Cancel Hitconfirm Window:''' 17f / 29f {{clr|PC|PC}} (Super) |
| Line 61: |
Line 62: |
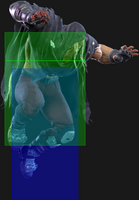
| * Extends a hurtbox 1f before active that is vulnerable to projectiles | | * Extends a hurtbox 1f before active that is vulnerable to projectiles |
| <br> | | <br> |
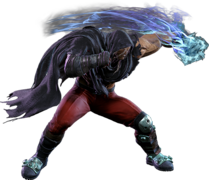
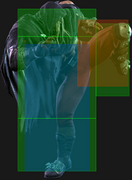
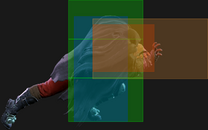
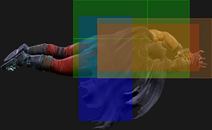
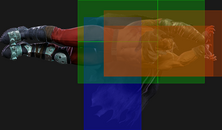
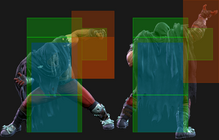
| A slow, long-range advancing poke with great hitbox priority, making it an excellent spacing trap tool. It is plus on block without {{clr|DR|Drive Rush}}, and gains additional frame advantage when spaced at max range. While susceptible to a predictive {{clr|DR|Drive Impact}}, it can be canceled into a {{clr|SA|Super}} on reaction; it also has low enough recovery to counter-{{clr|DR|DI}} if the opponent activates it too late. | | A slow, long-range advancing poke with great hitbox priority, making it an excellent spacing trap tool. It is plus on block without {{clr|DR|Drive Rush}}, and gains additional frame advantage when spaced at max range. While susceptible to a predictive {{clr|DR|Drive Impact}}, it can be canceled into a {{clr|SA|Super}} on reaction; it also has low enough recovery to counter-{{clr|DR|DI}} if the opponent activates it within the last 4 frames of startup. |
|
| |
|
| The {{clr|PC|Punish Counter}} properties allow Bison to convert {{clr|H|5HP}} into high damage, which dissuades opponents from throwing out quick lights/mediums to counterpoke Scissor Kick. It can also be an effective punish against very unsafe moves (like reversals), though the damage scaling causes Bison to lose some damage. | | The {{clr|PC|Punish Counter}} properties allow Bison to convert {{clr|H|5HP}} into high damage, which dissuades opponents from throwing out quick lights/mediums to counterpoke Scissor Kick. It can also be an effective punish against very unsafe moves (like reversals), though the damage scaling causes Bison to lose some damage. |
| Line 97: |
Line 98: |
| | info = | | | info = |
| {{AttackDataCargo-SF6/Query|m.bison_5mk}} | | {{AttackDataCargo-SF6/Query|m.bison_5mk}} |
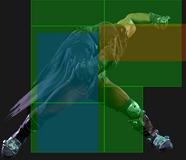
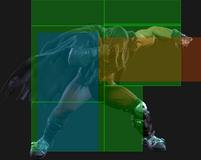
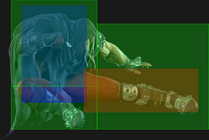
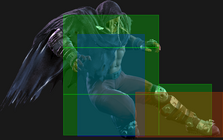
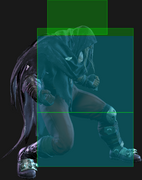
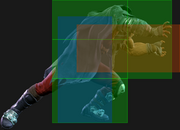
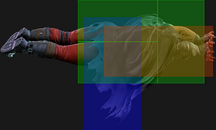
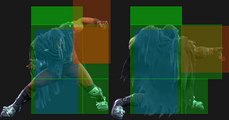
| A strong poke due to its range and slightly disjointed hitbox. The lower body hurtbox does not extend much, making it useful against opponents with shorter-ranged {{clr|M|2MKs}}. Useful for keeping the opponent at Bison's preferred range where the threat of Scissor Kick or {{clr|DR|Drive Rush}} starters are hard to deal with. | | * Extends a wider hurtbox on whiff until the end of recovery |
| | A strong poke due to its range and slightly disjointed hitbox. Useful for keeping the opponent at Bison's preferred range where the threat of Scissor Kick or {{clr|DR|Drive Rush}} starters are hard to deal with. |
| }} | | }} |
|
| |
|
| Line 195: |
Line 197: |
| | info = | | | info = |
| {{AttackDataCargo-SF6/Query|m.bison_2lk}} | | {{AttackDataCargo-SF6/Query|m.bison_2lk}} |
| * Chains into {{clr|L|5LP}}/{{clr|L|2LP}}/{{clr|L|2LK}} (4f gap when chained to {{clr|L|5LP}}/{{clr|L|2LK}}) | | * Chains into {{clr|L|5LP}}/{{clr|L|2LP}}/{{clr|L|2LK}} |
| * Applies 20% damage scaling to next hit when beginning a combo (100/80/70...) | | * Applies 20% damage scaling to next hit when beginning a combo (100/80/70...) |
| <br> | | <br> |
| Line 234: |
Line 236: |
| | info = | | | info = |
| {{AttackDataCargo-SF6/Query|m.bison_2hk}} | | {{AttackDataCargo-SF6/Query|m.bison_2hk}} |
| * {{clr|PC|Counter-Hit/Punish Counter}}: HKD +45 | | * {{clr|PC|Punish Counter}}: HKD +45 |
| * Has juggle potential; not a Hard Knockdown when juggled into | | * Has juggle potential |
| * Puts airborne opponents into {{sf6-jug|limited juggle}} state (can combo with Psycho Mine detonation) | | * Puts airborne opponents into {{sf6-jug|limited juggle}} state (can combo with Psycho Mine detonation) |
| <br> | | <br> |
| Line 365: |
Line 367: |
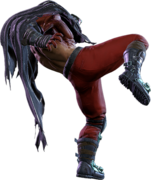
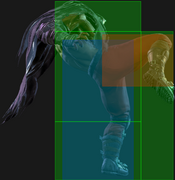
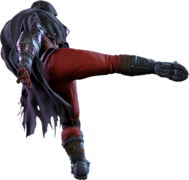
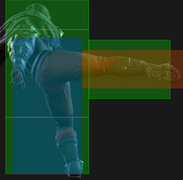
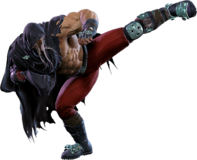
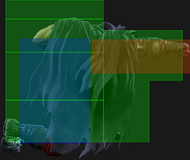
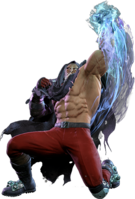
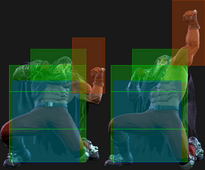
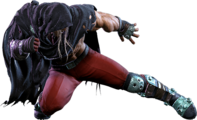
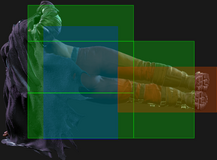
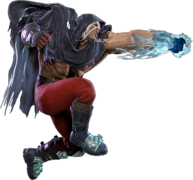
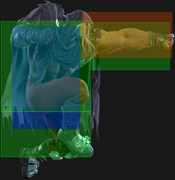
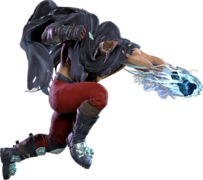
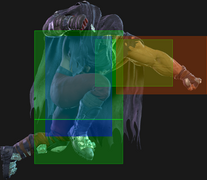
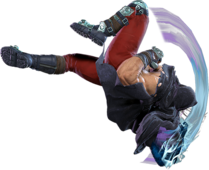
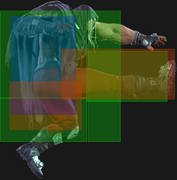
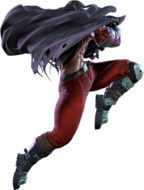
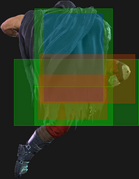
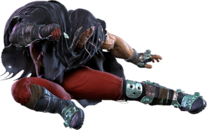
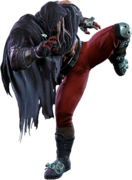
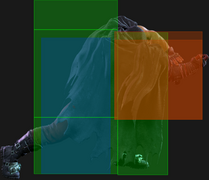
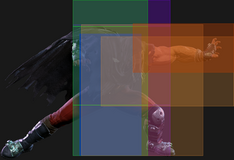
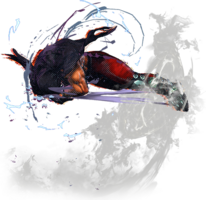
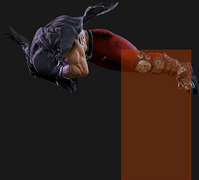
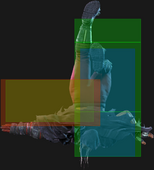
| | input = {{Classic_sf6}} 4HK<br>{{Modern_sf6}} 4H | | | input = {{Classic_sf6}} 4HK<br>{{Modern_sf6}} 4H |
| | images = | | | images = |
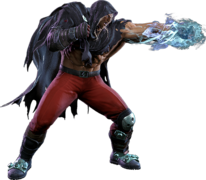
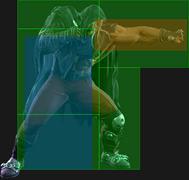
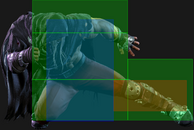
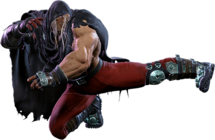
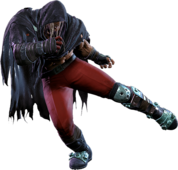
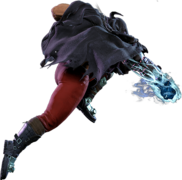
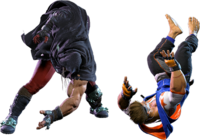
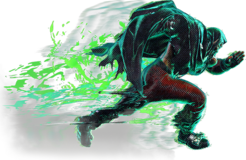
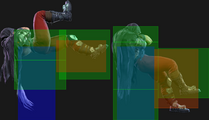
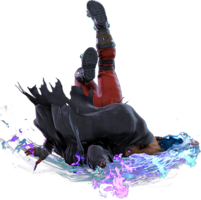
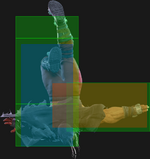
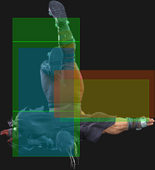
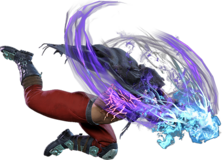
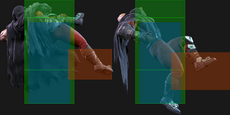
| {{MoveDataCargoImage|imageHeight=180px|m.bison_4hk|caption=}} | | {{MoveDataCargoImage|imageHeight=180px|m.bison_4hk|caption= ''Evil Plus Frames''}} |
| | hitboxes = | | | hitboxes = |
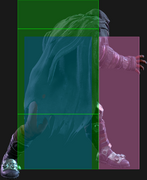
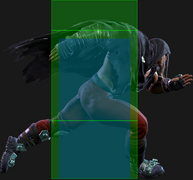
| {{MoveDataCargoImage|hitbox=yes|imageHeight=180px|m.bison_4hk|caption=}} | | {{MoveDataCargoImage|hitbox=yes|imageHeight=180px|m.bison_4hk|caption=}} |
| Line 471: |
Line 473: |
| * {{clr|PC|Punish Counter}}: HKD +21 | | * {{clr|PC|Punish Counter}}: HKD +21 |
| * Applies 20% immediate damage scaling when comboed into (e.g. after Crumple) | | * Applies 20% immediate damage scaling when comboed into (e.g. after Crumple) |
| | * Successful Throw Escape builds {{clr|DR|1 Drive Gauge}} and {{clr|SA|10% Super Gauge}} for defender |
| | ** Awarded to random player if Throws are input simultaneously |
| <br> | | <br> |
| After landing a corner throw, Bison can dash forward for an auto-timed {{sf6-adv|P|+2}} throw loop that beats any non-invincible reversal option. He also has enough advantage to walk forward for a manually timed throw loop; this has the advantage of allowing Bison to walk back out of the opponent's throw range for a shimmy, leading to much higher damage. | | After landing a corner throw, Bison can dash forward for an auto-timed {{sf6-adv|P|+2}} throw loop that beats any non-invincible reversal option. He also has enough advantage to walk forward for a manually timed throw loop; this has the advantage of allowing Bison to walk back out of the opponent's throw range for a shimmy, leading to much higher damage. |
| Line 493: |
Line 497: |
| * {{clr|PC|Punish Counter}}: HKD +18 | | * {{clr|PC|Punish Counter}}: HKD +18 |
| * Applies 20% immediate damage scaling when comboed into (e.g. after Crumple) | | * Applies 20% immediate damage scaling when comboed into (e.g. after Crumple) |
| | * Successful Throw Escape builds {{clr|DR|1 Drive Gauge}} and {{clr|SA|10% Super Gauge}} for defender |
| | ** Awarded to random player if Throws are input simultaneously |
| <br> | | <br> |
| After throwing the opponent back into the corner, Bison can pressure with ranged meaty normals like {{clr|H|5HP}} or {{clr|M|5MK}} to chip away at the opponent's Drive gauge. For real oki, {{clr|DR|Drive Rush}} is required. Two of the best routes are: | | After throwing the opponent back into the corner, Bison can pressure with ranged meaty normals like {{clr|H|5HP}} or {{clr|M|5MK}} to chip away at the opponent's Drive gauge. For real oki, {{clr|DR|Drive Rush}} is required. Two of the best routes are: |
| Line 825: |
Line 831: |
| | info = | | | info = |
| {{AttackDataCargo-SF6/Query|m.bison_214lp}} | | {{AttackDataCargo-SF6/Query|m.bison_214lp}} |
| * Plants a [[#Psycho_Mine_Detonation|Psycho Mine]] on 2nd hit | | * Plants a [[#Psycho_Mine_Detonation|Psycho Mine]] on 2nd hit; 3f extra recovery on hit |
| * '''Cancel Hitconfirm Window:''' 49f (Super) | | * '''Cancel Hitconfirm Window:''' 49f (Super) |
| {{AttackDataCargo-SF6/Query|m.bison_214mp}} | | {{AttackDataCargo-SF6/Query|m.bison_214mp}} |
| * Plants a [[#Psycho_Mine_Detonation|Psycho Mine]] on 2nd hit | | * Plants a [[#Psycho_Mine_Detonation|Psycho Mine]] on 2nd hit; 3f extra recovery on hit |
| * '''Cancel Hitconfirm Window:''' 49f (Super) | | * '''Cancel Hitconfirm Window:''' 49f (Super) |
| {{AttackDataCargo-SF6/Query|m.bison_214hp}} | | {{AttackDataCargo-SF6/Query|m.bison_214hp}} |
| Line 840: |
Line 846: |
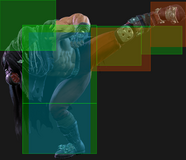
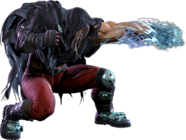
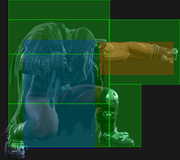
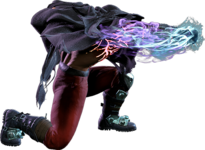
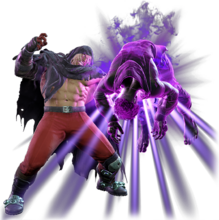
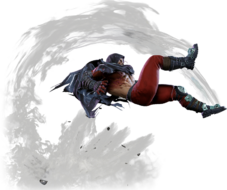
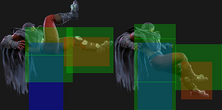
| A 2-hit punch used as a combo/juggle ender to plant a Psycho Mine onto the opponent. Higher strength versions are slower to start up, but gain extra range and damage. While the damage and midscreen oki is mediocre, Psycho Mine is the core of Bison's offense, so it should be prioritized unless he can secure a kill with alternate combo routes. Backfist Combo is also a decent option for {{clr|SA|SA3}} cancels when you are unable to build charge for Psycho Crusher. | | A 2-hit punch used as a combo/juggle ender to plant a Psycho Mine onto the opponent. Higher strength versions are slower to start up, but gain extra range and damage. While the damage and midscreen oki is mediocre, Psycho Mine is the core of Bison's offense, so it should be prioritized unless he can secure a kill with alternate combo routes. Backfist Combo is also a decent option for {{clr|SA|SA3}} cancels when you are unable to build charge for Psycho Crusher. |
|
| |
|
| All versions lead to great oki in the corner. {{clr|L|LP}} and {{clr|M|MP}} Backfist set up an auto-timed dash into a strike/throw mixup, and {{clr|M|MP Backfist}} also allows for a perfectly meaty {{clr|H|6HP}} overhead that becomes {{sf6-adv|VP|+5 oH}} / {{sf6-adv|M|-1 oB}}. {{clr|H|HP Backfist}} can lead to dash + meaty {{clr|H|4HK}} ({{sf6-adv|VP|+7}}/{{sf6-adv|VP|+4}}), but a throw must be manually delayed. If Backfist Combo is juggled into, the knockdown advantage may be slightly higher depending on how high it connects. | | All versions lead to oki in the corner. {{clr|L|LP}} and {{clr|M|MP}} Backfist both leave you slightly plus after a corner dash, but manually timed oki with a forward walk or {{clr|DR|Drive Rush}} is stronger. {{clr|H|HP Backfist}} can lead to dash + meaty {{clr|H|4HK}} ({{sf6-adv|VP|+7}}/{{sf6-adv|VP|+4}}), but a throw must be manually delayed. If Backfist Combo is juggled into, the knockdown advantage may be slightly higher depending on how high it connects. |
|
| |
|
| {{clr|OD|OD Backfist}} gains an extra hit, increasing the damage and providing the same knockdown advantage as {{clr|L|LP Backfist}}. Bison recovers much closer to the opponent, vastly improving his midscreen oki. Because the Psycho Mine is planted on the 2nd hit, the 300-frame timer is actually counting down during this part of the animation; as a result, any mixups involving the timer-based explosion must be changed to account for this. For example, an immediate Throw into meaty {{clr|H|6HP}} will combo into the explosion; after meterless Backfist, Bison would have to use {{clr|M|5MP}}~{{clr|H|6HP}}, which is far more reactable. | | {{clr|OD|OD Backfist}} gains an extra hit, increasing the damage and providing the same knockdown advantage as {{clr|L|LP Backfist}}. Bison recovers much closer to the opponent, vastly improving his midscreen oki. Because the Psycho Mine is planted on the 2nd hit, the 300-frame timer is actually counting down during this part of the animation; as a result, any mixups involving the timer-based explosion must be changed to account for this. For example, an immediate Throw into meaty {{clr|H|6HP}} will combo into the explosion; after meterless Backfist, Bison would have to use {{clr|M|5MP}}~{{clr|H|6HP}}, which is far more reactable. |

