|
|
| (6 intermediate revisions by 2 users not shown) |
| Line 134: |
Line 134: |
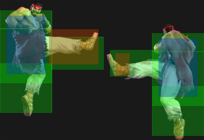
| | title = Crouching Light Punch | | | title = Crouching Light Punch |
| | subtitle = | | | subtitle = |
| | input = {{Classic_sf6}} 2LP<br>{{Modern_sf6}} 2L~L | | | input = {{Classic_sf6}} 2LP<br>{{Modern_sf6}} 5/2L~2L |
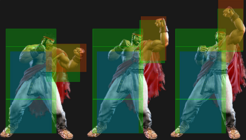
| | images = | | | images = |
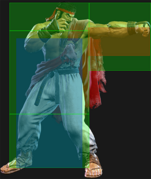
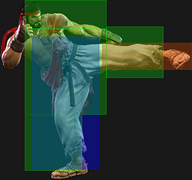
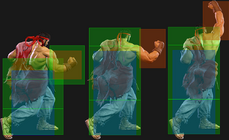
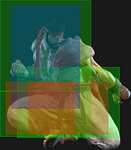
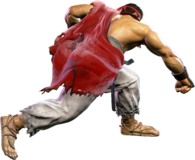
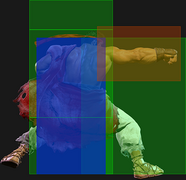
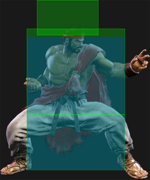
| {{MoveDataCargoImage|imageHeight=140px|ryu_2lp|caption=}} | | {{MoveDataCargoImage|imageHeight=140px|ryu_2lp|caption=}} |
| Line 404: |
Line 404: |
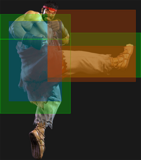
| | input = {{Classic_sf6}} 4HP<br>{{Modern_sf6}} -- | | | input = {{Classic_sf6}} 4HP<br>{{Modern_sf6}} -- |
| | images = | | | images = |
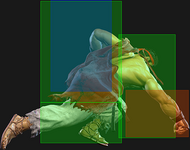
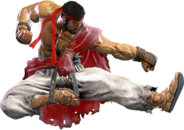
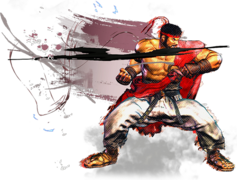
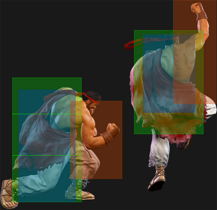
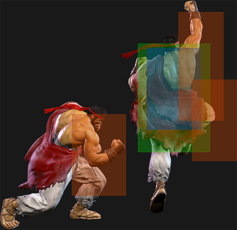
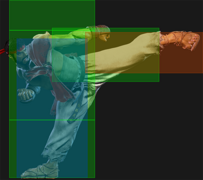
| {{MoveDataCargoImage|imageHeight=180px|ryu_4hp|caption=Your key to corner damage.}} | | {{MoveDataCargoImage|imageHeight=180px|ryu_4hp|caption=Your key to corner damage}} |
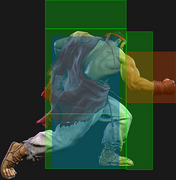
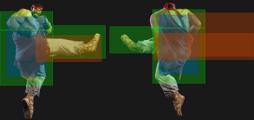
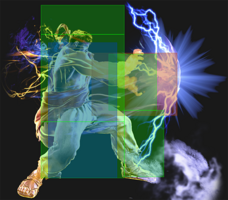
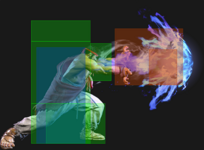
| | hitboxes = | | | hitboxes = |
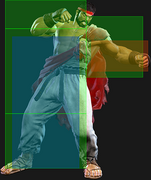
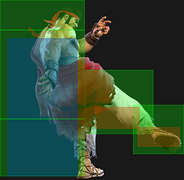
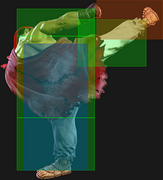
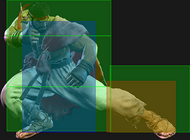
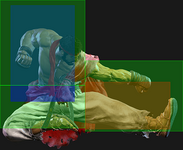
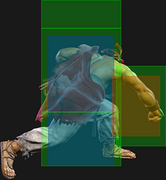
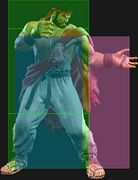
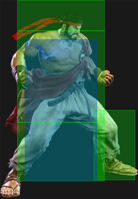
| {{MoveDataCargoImage|hitbox=yes|imageHeight=140px|ryu_4hp|caption=}} | | {{MoveDataCargoImage|hitbox=yes|imageHeight=140px|ryu_4hp|caption=}} |
| Line 472: |
Line 472: |
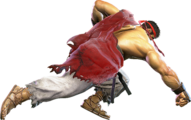
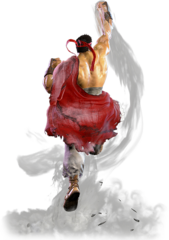
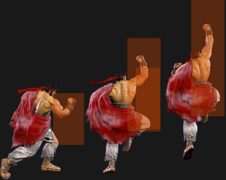
| | input = {{Classic_sf6}} 6HK~214K<br>{{Modern_sf6}} 6H~S | | | input = {{Classic_sf6}} 6HK~214K<br>{{Modern_sf6}} 6H~S |
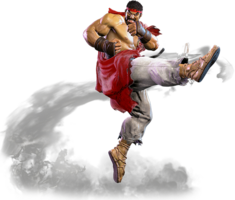
| | images = | | | images = |
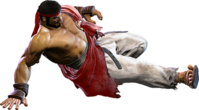
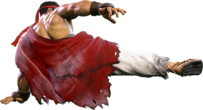
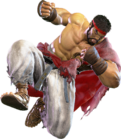
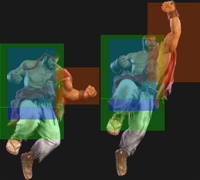
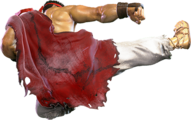
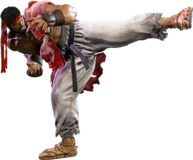
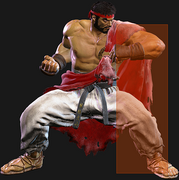
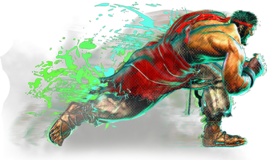
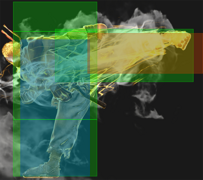
| {{MoveDataCargoImage|imageHeight=200px|ryu_214lk|caption=Shades of Evil Ryu.}} | | {{MoveDataCargoImage|imageHeight=200px|ryu_214lk|caption=Shades of Evil Ryu}} |
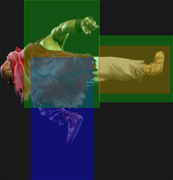
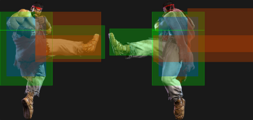
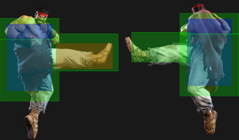
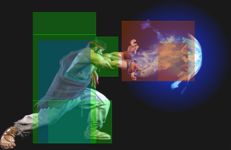
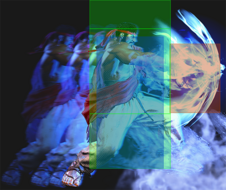
| | hitboxes = | | | hitboxes = |
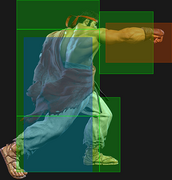
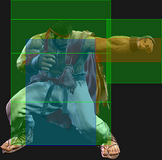
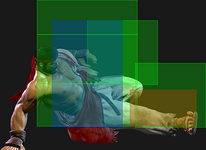
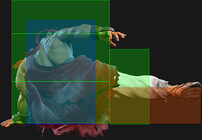
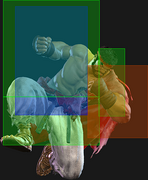
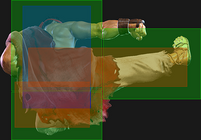
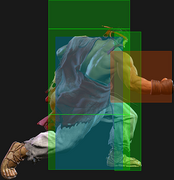
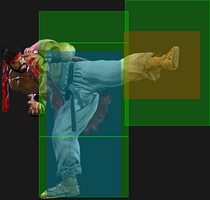
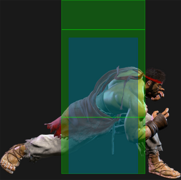
| {{MoveDataCargoImage|hitbox=yes|imageHeight=140px|ryu_j214k|caption=}} | | {{MoveDataCargoImage|hitbox=yes|imageHeight=140px|ryu_j214k|caption=}} |
| Line 720: |
Line 720: |
| {{MoveDataCargo | | {{MoveDataCargo |
| | title = Hadoken | | | title = Hadoken |
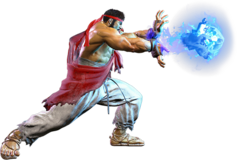
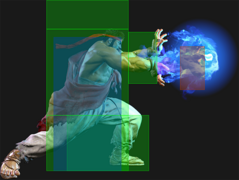
| | subtitle = | | | subtitle = Fireball |
| | input = {{Classic_sf6}} 236P<br>{{Modern_sf6}} 236X or 5S (H) | | | input = {{Classic_sf6}} 236P<br>{{Modern_sf6}} 236X or 5S (H) |
| | images = | | | images = |
| Line 762: |
Line 762: |
| {{MoveDataCargo | | {{MoveDataCargo |
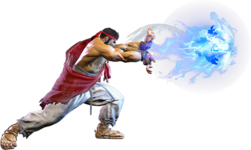
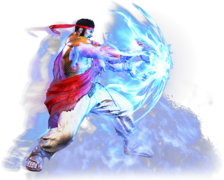
| | title = Denjin Charge Hadoken | | | title = Denjin Charge Hadoken |
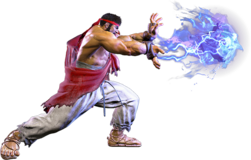
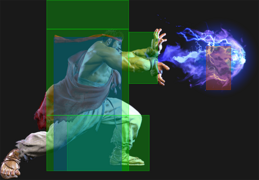
| | subtitle = | | | subtitle = Denjin Fireball |
| | input = {{Classic_sf6}} 236{{clr|H|HP}}<br>{{Modern_sf6}} 236X or 5S | | | input = {{Classic_sf6}} 236{{clr|H|HP}}<br>{{Modern_sf6}} 236{{clr|H|H}} or 5S |
| | images = | | | images = |
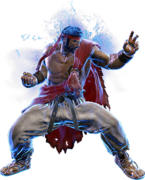
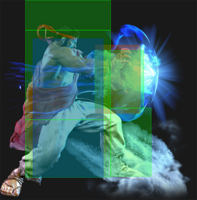
| {{MoveDataCargoImage|imageHeight=160px|ryu_236p(charged)|caption=}} | | {{MoveDataCargoImage|imageHeight=160px|ryu_236p(charged)|caption=}} |
| Line 788: |
Line 788: |
| {{MoveDataCargo | | {{MoveDataCargo |
| | title = Shoryuken | | | title = Shoryuken |
| | subtitle = | | | subtitle = Dragon Punch |
| | input = {{Classic_sf6}} 623P<br>{{Modern_sf6}} 623X or 6S (H) | | | input = {{Classic_sf6}} 623P<br>{{Modern_sf6}} 623X or 6S (H) |
| | images = | | | images = |
| Line 870: |
Line 870: |
| {{MoveDataCargo | | {{MoveDataCargo |
| | title = Aerial Tatsumaki Senpu-kyaku | | | title = Aerial Tatsumaki Senpu-kyaku |
| | subtitle = | | | subtitle = Air Tatsu |
| | input = {{Classic_sf6}} j.214K<br>{{Modern_sf6}} j.214X or j.S | | | input = {{Classic_sf6}} j.214K<br>{{Modern_sf6}} j.214X or j.S |
| | images = | | | images = |
| Line 948: |
Line 948: |
| {{MoveDataCargo | | {{MoveDataCargo |
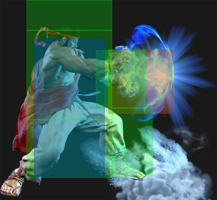
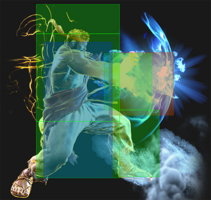
| | title = Hashogeki | | | title = Hashogeki |
| | subtitle = | | | subtitle = Hado Palm |
| | input = {{Classic_sf6}} 214P<br>{{Modern_sf6}} 214X | | | input = {{Classic_sf6}} 214P<br>{{Modern_sf6}} 214X |
| | images = | | | images = |
| Line 985: |
Line 985: |
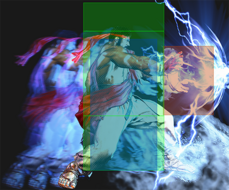
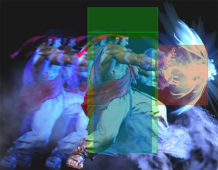
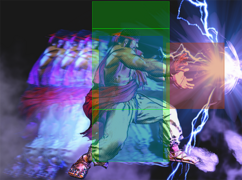
| {{clr|H|HP Hashogeki}} gives Ryu frame advantage on block and keeps them inside throw range, but canceling into it leaves him vulnerable during its long startup. If you condition the opponent to expect a {{clr|H|214HP}} cancel, you can punish their light normal mash by ending with the {{clr|L|LP}} or {{clr|M|MP}} versions instead, creating an intentional gap of 1-4 frames; this allows you to use the aforementioned {{clr|PC|Counter-hit}} launch juggle routes, even if he trades with the opponent's normal. | | {{clr|H|HP Hashogeki}} gives Ryu frame advantage on block and keeps them inside throw range, but canceling into it leaves him vulnerable during its long startup. If you condition the opponent to expect a {{clr|H|214HP}} cancel, you can punish their light normal mash by ending with the {{clr|L|LP}} or {{clr|M|MP}} versions instead, creating an intentional gap of 1-4 frames; this allows you to use the aforementioned {{clr|PC|Counter-hit}} launch juggle routes, even if he trades with the opponent's normal. |
|
| |
|
| {{clr|OD|OD Hashogeki}} is also plus on block, but has little reward on hit without a Denjin stock. Due to it's high damage and ability to be linked out of, using it as a {{clr|PC|PC}} starter is great; the damage scaling only kicks in when comboing '''into''' the {{clr|OD|214PP}}. It's serviceable as a round closer or to keep certain buttons safe for punishment. | | {{clr|OD|OD Hashogeki}} is also plus on block, but has little reward on hit without a counter hit or Denjin stock. Due to it's high damage and ability to be linked out of, using it as a {{clr|PC|PC}} starter is great; the damage scaling only kicks in when comboing '''into''' the {{clr|OD|214PP}}. It's serviceable as a round closer or to keep certain buttons safe for punishment. |
|
| |
|
| All versions of Hashogeki can be juggled into in some capacity. The {{clr|L|LP}} and {{clr|M|MP}} versions are used in some high-damage corner juggle routes, usually by using {{clr|DR|Drive Rush}} buttons after {{clr|OD|OD Tatsu}} or {{clr|H|HP Hashogeki}}. See the [[Street_Fighter_6/Ryu/Combos|Combos page]] for details about specific routes with their damage and resource cost. | | All versions of Hashogeki can be juggled into in some capacity. The {{clr|L|LP}} and {{clr|M|MP}} versions are used in some high-damage corner juggle routes, usually by using {{clr|DR|Drive Rush}} buttons after {{clr|OD|OD Tatsu}} or {{clr|H|HP Hashogeki}}. See the [[Street_Fighter_6/Ryu/Combos|Combos page]] for details about specific routes with their damage and resource cost. |
| Line 1,001: |
Line 1,001: |
| {{MoveDataCargo | | {{MoveDataCargo |
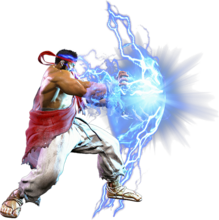
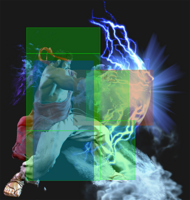
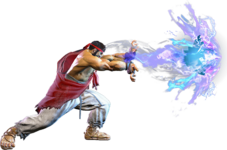
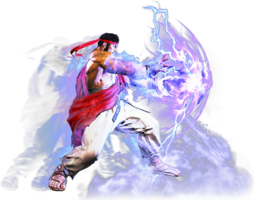
| | title = Denjin Charge Hashogeki | | | title = Denjin Charge Hashogeki |
| | subtitle = | | | subtitle = Denjin Hado Palm |
| | input = {{Classic_sf6}} 214{{clr|H|HP}}<br>{{Modern_sf6}} 214X | | | input = {{Classic_sf6}} 214{{clr|H|HP}}<br>{{Modern_sf6}} 214{{clr|H|H}} |
| | images = | | | images = |
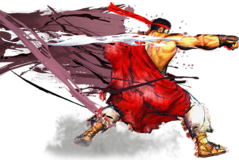
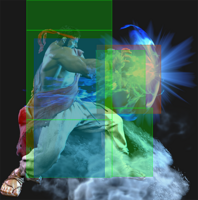
| {{MoveDataCargoImage|imageHeight=220px|ryu_214p(charged)|caption=}} | | {{MoveDataCargoImage|imageHeight=220px|ryu_214p(charged)|caption=}} |
| Line 1,086: |
Line 1,086: |
| The Denjin Charge version of each level consumes 1 stock and deals 400 extra damage on hit (but again, no extra Chip). There is no way to preserve the Denjin stock while using this Super, unlike with regular Hashogeki. | | The Denjin Charge version of each level consumes 1 stock and deals 400 extra damage on hit (but again, no extra Chip). There is no way to preserve the Denjin stock while using this Super, unlike with regular Hashogeki. |
|
| |
|
| While this Super has some invincibility, the slower startup makes it a poor option compared to {{clr|SA|SA1}} or {{clr|SA|SA3}}. If attempting this, be aware that holding the button results in 3f less invincibility. | | While this Super has some invincibility, the slower startup makes it a poor reversal compared to {{clr|SA|SA1}} or {{clr|SA|SA3}}. If attempting this, be aware that holding the button results in 3f less invincibility. However, the motion of the super does make it a bit easier to use when reacting to drive impact. |
| }} | | }} |
| |-| | | |-| |


