|
|
| (3 intermediate revisions by the same user not shown) |
| Line 41: |
Line 41: |
| <br> | | <br> |
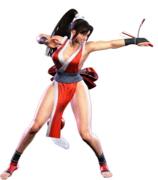
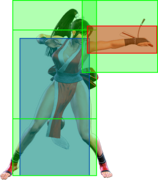
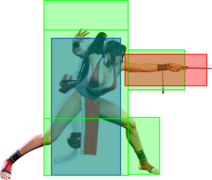
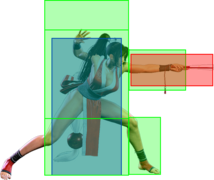
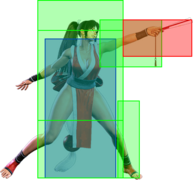
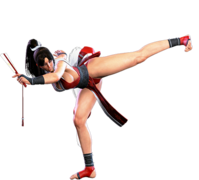
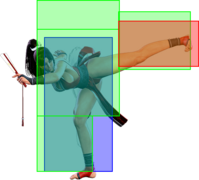
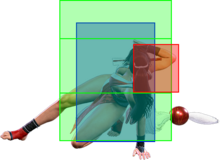
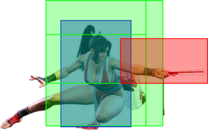
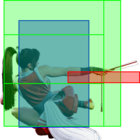
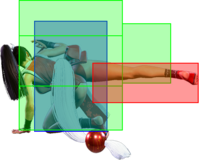
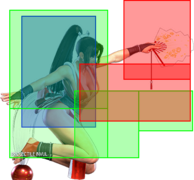
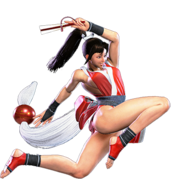
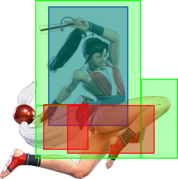
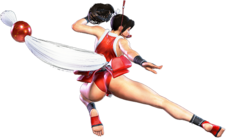
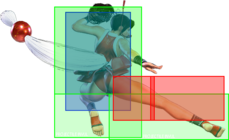
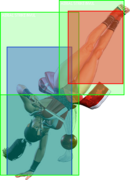
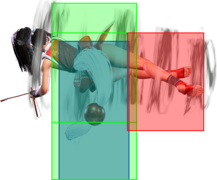
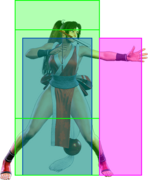
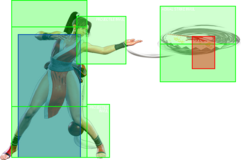
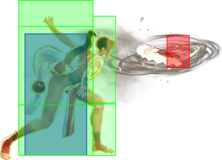
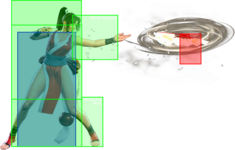
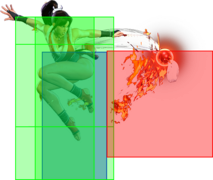
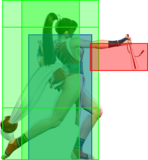
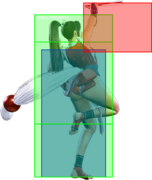
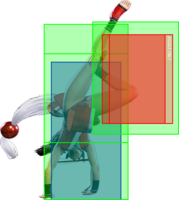
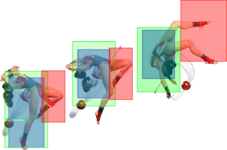
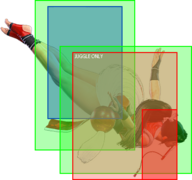
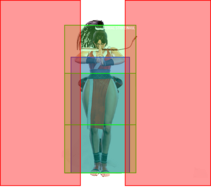
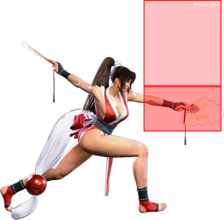
| A special cancelable poke with excellent range. Has a disjointed hitbox, but the extended hurtbox during recovery makes it fairly whiff punishable. Important combo tool after a max range {{clr|PC|Punish Counter}} {{clr|L|2LP}}, canceling into {{clr|M|214MP}}, {{clr|H|236HK}}, or {{clr|OD|236KK}}. | | A special cancelable poke with excellent range. Has a disjointed hitbox, but the extended hurtbox during recovery makes it fairly whiff punishable. Important combo tool after a max range {{clr|PC|Punish Counter}} {{clr|L|2LP}}, canceling into {{clr|M|214MP}}, {{clr|H|236HK}}, or {{clr|OD|236KK}}. |
| | |
| | On block, a max range cancel into {{clr|L|LP Ryuuenbu}} is safe against characters without great 4f jab range. Delaying the cancel also creates a small frame gap that can punish opponents trying to walk or hit a button. |
| }} | | }} |
|
| |
|
| Line 226: |
Line 228: |
|
| |
|
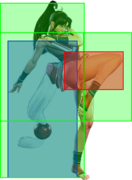
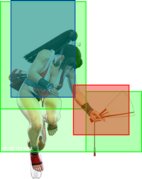
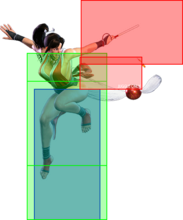
| Canceling {{clr|M|2MK}} into {{clr|DR|Drive Rush}}, as with many characters, is a great way to begin her offense. On block, you can form a true blockstring into {{clr|L|2LP}} for solid pressure while avoiding {{clr|OD|OD reversals}}. On hit, you can instead link to {{clr|H|4HK}}, {{clr|M|2MP}} > {{clr|H|214HP}} as a hitconfirm that conveniently forces stand if necessary. | | Canceling {{clr|M|2MK}} into {{clr|DR|Drive Rush}}, as with many characters, is a great way to begin her offense. On block, you can form a true blockstring into {{clr|L|2LP}} for solid pressure while avoiding {{clr|OD|OD reversals}}. On hit, you can instead link to {{clr|H|4HK}}, {{clr|M|2MP}} > {{clr|H|214HP}} as a hitconfirm that conveniently forces stand if necessary. |
| | |
| | On block, a max range cancel into {{clr|L|LP Ryuuenbu}} is safe, even against characters with good 4f jab range. Delaying the cancel also creates a small frame gap that can punish opponents trying to walk or hit a button. |
| }} | | }} |
|
| |
|
| Line 474: |
Line 478: |
| * Applies 20% immediate damage scaling when comboed into (e.g. after Crumple) | | * Applies 20% immediate damage scaling when comboed into (e.g. after Crumple) |
| <br> | | <br> |
| After a corner side switch, Mai can only pressure with a spaced meaty normal or a {{clr|DR|Drive Rush}}. Attempting a {{clr|DR|DR~}}Throw requires strict timing to beat reversal normals, and allows the opponent to react with an invincible reversal that Mai cannot block.
| | Midscreen, Mai's oki is very limited; {{clr|DR|DR~}}{{clr|H|5HP}} can be hitconfirmed while {{clr|DR|DR~}}{{clr|M|5MK}} links to {{clr|SA|SA2}} on hit. Neither option is very powerful on block, and runs the risk of being Perfect Parried. |
|
| |
|
| {{clr|DR|DR~}}{{clr|L|2LK}} is probably Mai's strongest option for oki, as it leaves her {{sf6-adv|VP|+8 oH}} / {{sf6-adv|VP|+4 oB}}; Mai has several options afterward, including {{clr|H|4HK}} which sets up a TC corner juggle on hit, and a strong trade combo if the opponent mashes a 4f on block. {{clr|DR|DR~}}{{clr|L|2LK}} is also an auto-timed safejab setup vs. 10f or slower reversals, making it very hard to deal with for some characters. | | After a corner side switch, Mai's only meterless options are spaced-out pokes or {{clr|L|LP Ryuuenbu}}. {{clr|DR|Drive Rush}} can give better pressure, but allows the opponent to react with an {{clr|OD|OD}} reversal for a punish. The following are Mai's most common oki tools after a corner side switch: |
| | * {{clr|DR|DR~}}Throw: requires strict timing to beat 4f jabs |
| | * {{clr|DR|DR~}}{{clr|L|2LK}} ({{sf6-adv|VP|+8 oH}} / {{sf6-adv|VP|+4 oB}}): links to {{clr|H|4HK}} on hit, setting up a strong corner juggle |
| | ** Auto-timed safejab vs. 10f or slower reversals |
| | ** On block, hit {{clr|H|4HK}} anyway; single-hit confirmable and will link into itself if it trades with a 4f jab |
| | ** Only {{sf6-adv|VM|-7}} vs. wakeup Perfect Parry, potentially resulting in a weaker punish |
| | * {{clr|DR|DR~}}{{clr|H|4HK}} ({{sf6-adv|VP|+7 oH}} / {{sf6-adv|P|+3 oB}}): links to {{clr|M|2MP}} on hit and guarantees a {{clr|H|214HP}} juggle |
| | ** Hits slightly later, making it less likely to be Perfect Parried; leaves Mai in Throw range |
| | * {{clr|DR|DR~}}{{clr|M|2MP}} ({{sf6-adv|VP|+10 oH}} / {{sf6-adv|P|+2 oB}}): links to {{clr|H|5HP}} on hit |
| | ** Mai is left outside her Throw range and has generally weaker frame trap options |
| | * {{clr|L|LP Ryuuenbu}} ({{sf6-adv|VP|+7 oB}} / {{sf6-adv|E|0 oB}}): high pushback and safe, but can only link to {{clr|SA|SA2}} on hit |
| | ** Flame Stock version can juggle into {{clr|OD|623KK}} or {{clr|3|F.}}{{clr|SA|SA1}} instead |
| }} | | }} |
|
| |
|
| Line 492: |
Line 507: |
| * {{clr|PC|Punish Counter}}: HKD +20 | | * {{clr|PC|Punish Counter}}: HKD +20 |
| <br> | | <br> |
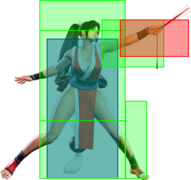
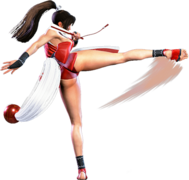
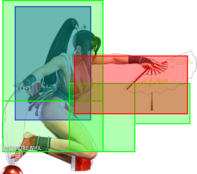
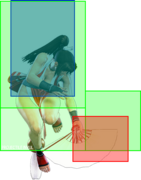
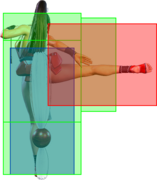
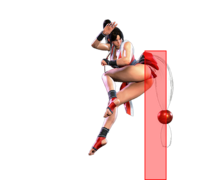
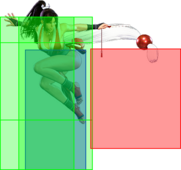
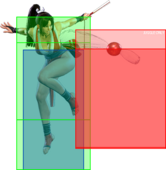
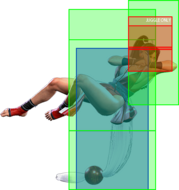
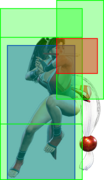
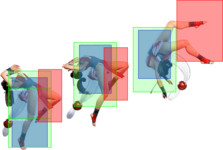
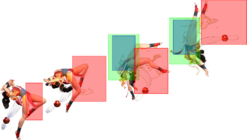
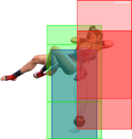
| A great air-to-air option against close range jumps, especially attempted corner escapes. Mai does not get any meaningful oki midscreen, but in the corner she can dash to become {{sf6-adv|P|+2}} or {{clr|DR|Drive Rush}} for stronger pressure options. | | A great air-to-air option against close range jumps, especially attempted corner escapes. Mai can pressure with {{clr|DR|DR~}}{{clr|H|4HK}}, which just barely reaches midscreen leaving her {{sf6-adv|VP|+9}}/{{sf6-adv|VP|+5}}. On hit, this links to {{clr|H|5HP}}, while on block you can frame trap with another {{clr|H|4HK}} (or stick with {{clr|H|5HP}} for a potential trade combo). In the corner, Mai can forward dash to become {{sf6-adv|P|+2}} for simple strike/throw oki. |
| }} | | }} |
| <br> | | <br> |
| Line 823: |
Line 838: |
| * '''Cancel Hitconfirm Window:''' 17f (Super) | | * '''Cancel Hitconfirm Window:''' 17f (Super) |
| * Applies 20% damage scaling to next hit when beginning a combo; counts as 2 hits for damage scaling when comboed into (applies to next hit) | | * Applies 20% damage scaling to next hit when beginning a combo; counts as 2 hits for damage scaling when comboed into (applies to next hit) |
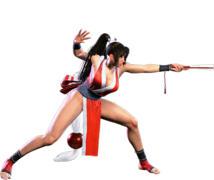
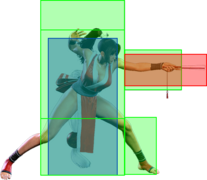
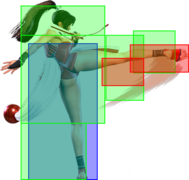
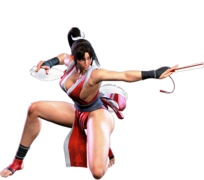
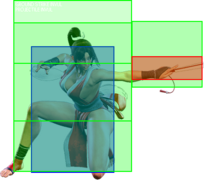
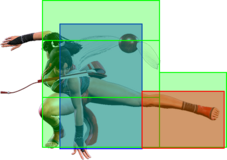
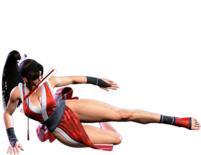
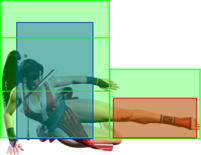
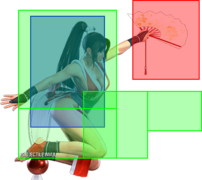
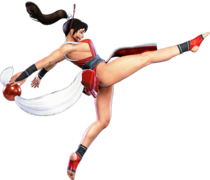
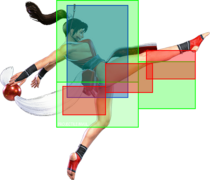
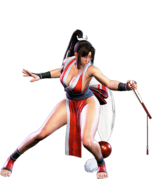
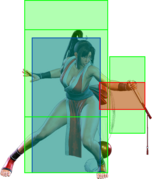
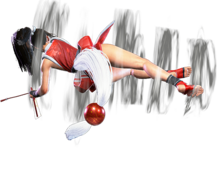
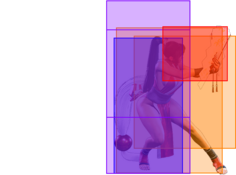
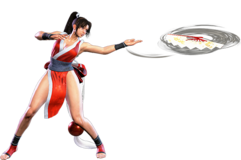
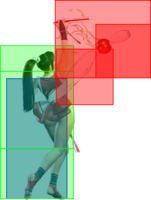
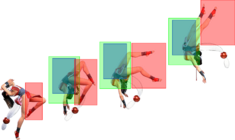
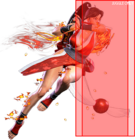
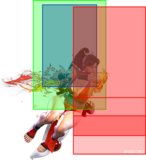
| An incredibly disjointed poke that leaves Mai safe when spaced in neutral. While it can clash with fireballs, this is usually impractical due to its startup and forward movement. A blocked cancel into {{clr|L|LP Ryuuenbu}} is punishable by most characters unless it's very well spaced; a max-range {{clr|M|2MK}} is the best option due to its pushback and lack of forward movement. For characters with [[Street_Fighter_6/Game_Data#4f_Normals-1|short range 4-frame normals]], you may be able to abuse this more often in pressure strings. | | An incredibly disjointed poke that leaves Mai safe when spaced in neutral. While it can clash with fireballs, this is usually impractical due to its startup and forward movement. A blocked cancel into {{clr|L|LP Ryuuenbu}} is punishable by most characters unless it's very well spaced; a max-range {{clr|M|2MK}} is the best option due to its pushback and lack of forward movement; this also creates a small frame trap if the cancel is delayed. For characters with [[Street_Fighter_6/Game_Data#4f_Normals-1|short range 4-frame normals]], you may be able to abuse this more often in pressure strings. |
|
| |
|
| As a combo tool, {{clr|L|LP Ryuuenbu}} leaves Mai {{sf6-adv|P|+3}} just outside of throw range, forcing her to walk at least 1-2 frames for throw pressure. It can only combo from {{clr|L|5LP}} in light strings, though you would usually rather have {{clr|M|214MP}} or {{clr|L|236LK}} instead. In long range cancels (particularly whiff punishes), the {{clr|L|214LP}} is the safest version, as other strengths can whiff the first hit and drop the combo. | | As a combo tool, {{clr|L|LP Ryuuenbu}} leaves Mai {{sf6-adv|P|+3}} just outside of throw range, forcing her to walk at least 1-2 frames for throw pressure. It can only combo from {{clr|L|5LP}} in light strings, though you would usually rather have {{clr|M|214MP}} or {{clr|L|236LK}} instead. In long range cancels (particularly whiff punishes), the {{clr|L|214LP}} is the safest version, as other strengths can whiff the first hit and drop the combo. |


