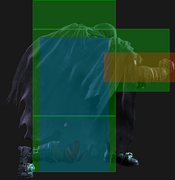
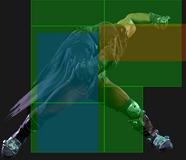
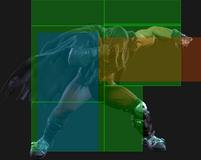
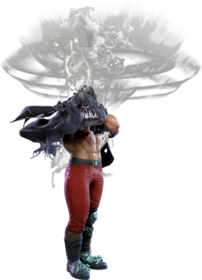
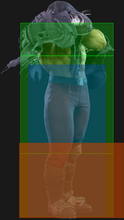
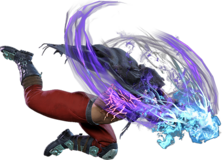
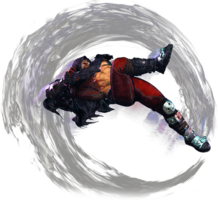
|
|
| (6 intermediate revisions by the same user not shown) |
| Line 70: |
Line 70: |
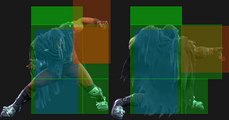
| | title = Standing Light Kick | | | title = Standing Light Kick |
| | subtitle = | | | subtitle = |
| | input = 5LK | | | input = {{classic_sf6}} 5LK<br>{{modern_sf6}} -- |
| | images = | | | images = |
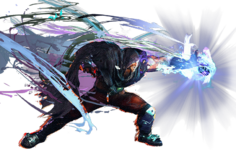
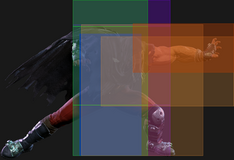
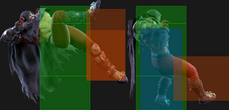
| {{MoveDataCargoImage|imageHeight=180px|m.bison_5lk|caption=}} | | {{MoveDataCargoImage|imageHeight=180px|m.bison_5lk|caption=}} |
| Line 104: |
Line 104: |
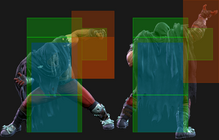
| | title = Standing Heavy Kick | | | title = Standing Heavy Kick |
| | subtitle = | | | subtitle = |
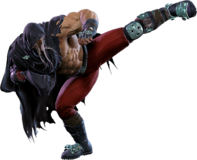
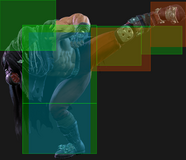
| | input = 5HK | | | input = {{classic_sf6}} 5HK<br>{{modern_sf6}} -- |
| | images = | | | images = |
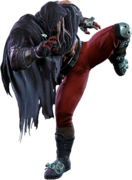
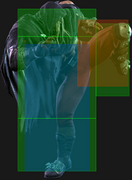
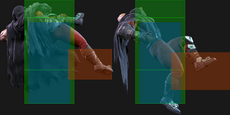
| {{MoveDataCargoImage|imageHeight=160px|m.bison_5hk|caption=}} | | {{MoveDataCargoImage|imageHeight=160px|m.bison_5hk|caption=}} |
| Line 247: |
Line 247: |
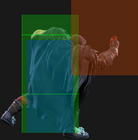
| | title = Jumping Light Punch | | | title = Jumping Light Punch |
| | subtitle = | | | subtitle = |
| | input = j.LP | | | input = {{classic_sf6}} j.LP<br>{{modern_sf6}} -- |
| | images = | | | images = |
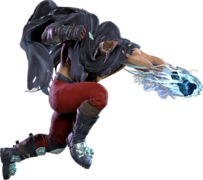
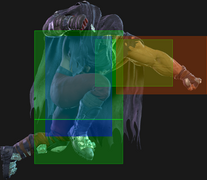
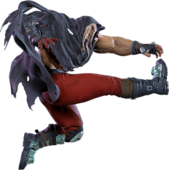
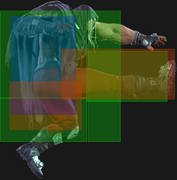
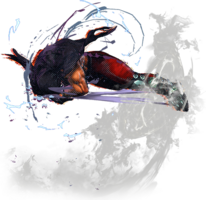
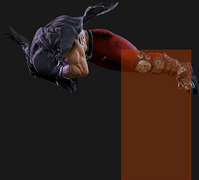
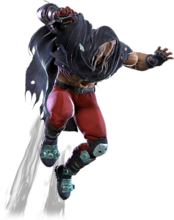
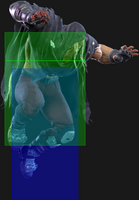
| {{MoveDataCargoImage|imageHeight=180px|m.bison_jlp|caption=}} | | {{MoveDataCargoImage|imageHeight=180px|m.bison_jlp|caption=}} |
| Line 278: |
Line 278: |
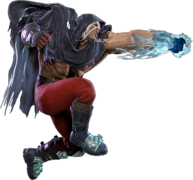
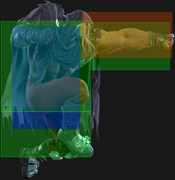
| | title = Jumping Heavy Punch | | | title = Jumping Heavy Punch |
| | subtitle = | | | subtitle = |
| | input = j.HP | | | input = {{classic_sf6}} j.HP<br>{{modern_sf6}} -- |
| | images = | | | images = |
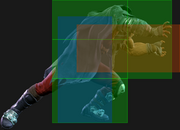
| {{MoveDataCargoImage|imageHeight=170px|m.bison_jhp|caption=}} | | {{MoveDataCargoImage|imageHeight=170px|m.bison_jhp|caption=}} |
| Line 310: |
Line 310: |
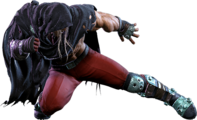
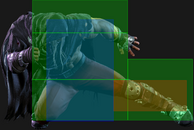
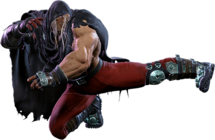
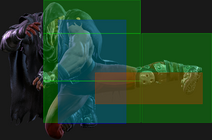
| | title = Jumping Medium Kick | | | title = Jumping Medium Kick |
| | subtitle = | | | subtitle = |
| | input = j.MK | | | input = {{classic_sf6}} j.MK<br>{{modern_sf6}} -- |
| | images = | | | images = |
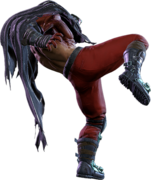
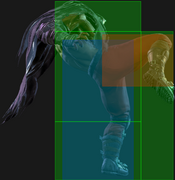
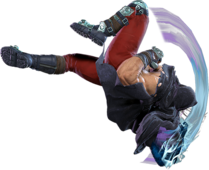
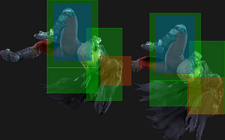
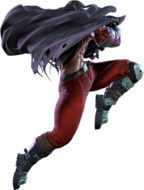
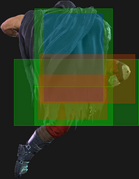
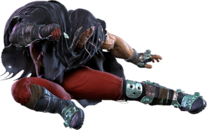
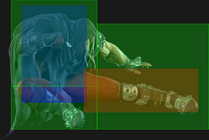
| {{MoveDataCargoImage|imageHeight=190px|m.bison_jmk|caption=}} | | {{MoveDataCargoImage|imageHeight=190px|m.bison_jmk|caption=}} |
| Line 383: |
Line 383: |
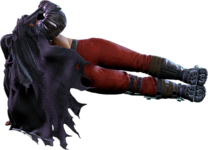
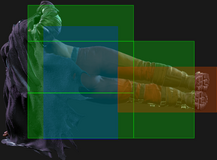
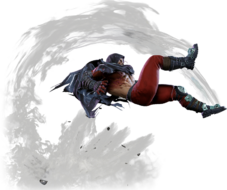
| | title = Hover Kick | | | title = Hover Kick |
| | subtitle = Slide | | | subtitle = Slide |
| | input = 3HK | | | input = {{classic_sf6}} 3HK<br>{{modern_sf6}} -- |
| | images = | | | images = |
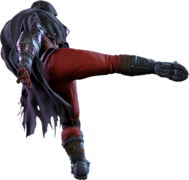
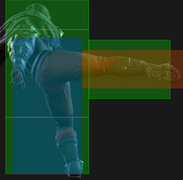
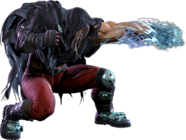
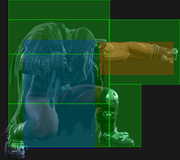
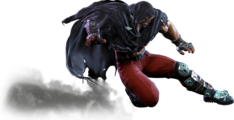
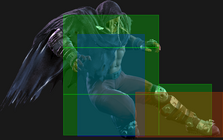
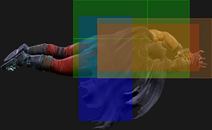
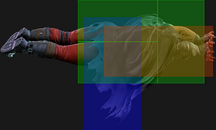
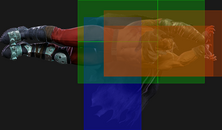
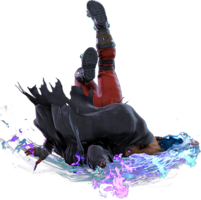
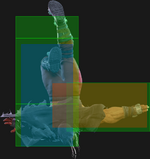
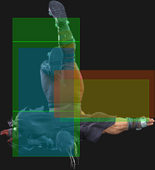
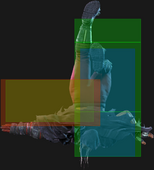
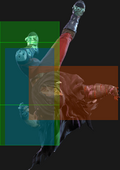
| {{MoveDataCargoImage|imageHeight=120px|m.bison_3hk|caption=}} | | {{MoveDataCargoImage|imageHeight=120px|m.bison_3hk|caption=}} |
| Line 462: |
Line 462: |
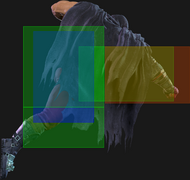
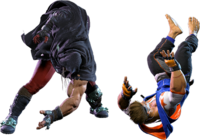
| | title = Forward Throw | | | title = Forward Throw |
| | subtitle = | | | subtitle = |
| | input = LPLK | | | input = {{classic_sf6}} LPLK<br>{{modern_sf6}} LM |
| | images = | | | images = |
| {{MoveDataCargoImage|imageHeight=140px|m.bison_lplk|caption=}} | | {{MoveDataCargoImage|imageHeight=140px|m.bison_lplk|caption=}} |
| Line 483: |
Line 483: |
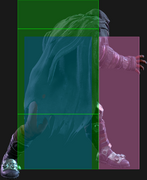
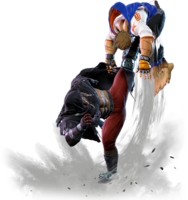
| | title = Back Throw | | | title = Back Throw |
| | subtitle = | | | subtitle = |
| | input = 4LPLK | | | input = {{classic_sf6}} 4LPLK<br>{{modern_sf6}} 4LM |
| | images = | | | images = |
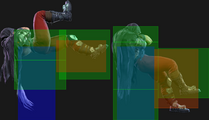
| {{MoveDataCargoImage|imageHeight=200px|m.bison_4lplk|caption=}} | | {{MoveDataCargoImage|imageHeight=200px|m.bison_4lplk|caption=}} |
| Line 511: |
Line 511: |
| | title = Drive Impact | | | title = Drive Impact |
| | subtitle = | | | subtitle = |
| | input = HPHK | | | input = {{classic_sf6}} HPHK<br>{{modern_sf6}} DI |
| | images = | | | images = |
| {{MoveDataCargoImage|imageHeight=150px|m.bison_hphk|caption=}} | | {{MoveDataCargoImage|imageHeight=150px|m.bison_hphk|caption=}} |
| Line 521: |
Line 521: |
| * On Hit/PC: Applies 20% damage scaling to next hit when beginning a combo | | * On Hit/PC: Applies 20% damage scaling to next hit when beginning a combo |
| * On Block: Applies 20% scaling multiplier to all follow-up hits after Wall Splat; the next attack can incur additional Starter Scaling | | * On Block: Applies 20% scaling multiplier to all follow-up hits after Wall Splat; the next attack can incur additional Starter Scaling |
| * Combos when canceled from {{clr|H|2HP}} or Punish Counter {{clr|H|4HK}}/{{clr|M|5MP}} (no corner wallsplat; useful for depleting Drive gauge, especially after Perfect Parry) | | * Combos when canceled from {{clr|H|2HP}} or {{clr|PC|Punish Counter}} {{clr|H|4HK}}/{{clr|M|5MP}} (no corner wallsplat; useful for depleting Drive gauge, especially after Perfect Parry) |
| * A blocked {{clr|DR|DI}} can combo into another {{clr|DR|DI}} if opponent is not fully cornered (Stuns if opponent has less than 1.5 Drive bars) | | * A blocked {{clr|DR|DI}} can combo into another {{clr|DR|DI}} if opponent is not fully cornered (Stuns if opponent has less than 1.5 Drive bars) |
| ** This happens because a blocked {{clr|DR|DI}} is not considered a "hit" for combo purposes | | ** This happens because a blocked {{clr|DR|DI}} is not considered a "hit" for combo purposes |
| Line 538: |
Line 538: |
| * '''Zangief ({{clr|H|5[HP]}})''', frame 4 armor | | * '''Zangief ({{clr|H|5[HP]}})''', frame 4 armor |
|
| |
|
| It's important to use a blockstring that cannot be absorbed by their armor/counter moves. Ideally, the string should also not be a true combo, or it will cause a Lock and prevent Stun.<br>{{clr|OD|*}} Denotes a move that causes Lock on Counter-hit, allowing the opponent to escape a Stun by mashing on wakeup. | | It's important to use a blockstring that cannot be absorbed by their armor/counter moves. Ideally, the string should also not be a true combo, or it will cause a Lock and prevent Stun.<br>{{clr|OD|*}} Denotes a move that causes Lock on {{clr|PC|Counter-Hit}}, allowing the opponent to escape a Stun by mashing on wakeup. |
| * {{clr|H|4HK}}{{clr|OD|*}} > {{clr|DR|DI}}: 1f blockstring gap prevents opponent from absorbing the hit | | * {{clr|H|4HK}}{{clr|OD|*}} > {{clr|DR|DI}}: 1f blockstring gap prevents opponent from absorbing the hit |
| * {{clr|DR|DR~}}{{clr|H|2HP}}{{clr|OD|*}} > {{clr|DR|DI}}: 1f blockstring gap prevents opponent from absorbing the hit | | * {{clr|DR|DR~}}{{clr|H|2HP}}{{clr|OD|*}} > {{clr|DR|DI}}: 1f blockstring gap prevents opponent from absorbing the hit |
| Line 569: |
Line 569: |
| | title = Drive Parry | | | title = Drive Parry |
| | subtitle = | | | subtitle = |
| | input = MPMK | | | input = {{classic_sf6}} MPMK<br>{{modern_sf6}} DP |
| | images = | | | images = |
| {{MoveDataCargoImage|imageHeight=180px|m.bison_mpmk|caption=}} | | {{MoveDataCargoImage|imageHeight=180px|m.bison_mpmk|caption=}} |
| Line 650: |
Line 650: |
| {{MoveDataCargo | | {{MoveDataCargo |
| | title = Psycho Crusher Attack | | | title = Psycho Crusher Attack |
| | subtitle = | | | subtitle = Crusher |
| | input = {{Classic_sf6}} [4]6P<br>{{Modern_sf6}} [4]6X | | | input = {{Classic_sf6}} [4]6P<br>{{Modern_sf6}} [4]6X or [4]S (L) |
| | images = | | | images = |
| {{MoveDataCargoImage|imageHeight=130px|m.bison_46lp|caption=}} | | {{MoveDataCargoImage|imageHeight=130px|m.bison_46lp|caption=}} |
| Line 703: |
Line 703: |
| {{MoveDataCargo | | {{MoveDataCargo |
| | title = Psycho Crusher (Mine) | | | title = Psycho Crusher (Mine) |
| | subtitle = | | | subtitle = Crusher |
| | input = {{Classic_sf6}} [4]6P<br>{{Modern_sf6}} [4]6X | | | input = {{Classic_sf6}} [4]6P<br>{{Modern_sf6}} [4]6X or [4]S (L) |
| | images = | | | images = |
| {{MoveDataCargoImage|imageHeight=130px|m.bison_46lp|caption=}} | | {{MoveDataCargoImage|imageHeight=130px|m.bison_46lp|caption=}} |
| Line 1,008: |
Line 1,008: |
| {{MoveDataCargo | | {{MoveDataCargo |
| | title = Head Press | | | title = Head Press |
| | subtitle = | | | subtitle = Headstomp |
| | input = {{Classic_sf6}} [2]8K~K<br>{{Modern_sf6}} [2]8X~X or [2]S~X | | | input = {{Classic_sf6}} [2]8K~K<br>{{Modern_sf6}} [2]8X~X or [2]S~X |
| | images = | | | images = |
| Line 1,041: |
Line 1,041: |
| {{MoveDataCargo | | {{MoveDataCargo |
| | title = Somersault Skull Diver | | | title = Somersault Skull Diver |
| | subtitle = | | | subtitle = Headstomp Follow-up |
| | input = {{Classic_sf6}} [2]8K~K~P<br>{{Modern_sf6}} [2]8X~X~X or [2]S~X~X | | | input = {{Classic_sf6}} [2]8K~K~P<br>{{Modern_sf6}} [2]8X~X~X or [2]S~X~X |
| | images = | | | images = |
| Line 1,160: |
Line 1,160: |
| | title = Neutral Taunt | | | title = Neutral Taunt |
| | subtitle = | | | subtitle = |
| | input = 5PPPKKK | | | input = {{classic_sf6}} 5PPPKKK<br>{{Modern_sf6}} 5LMHS+DP+A |
| | images = | | | images = |
| {{MoveDataCargoImage|imageHeight=160px|m.bison_5pppkkk|caption= '' "A gnat like you will be buried here." ''}} | | {{MoveDataCargoImage|imageHeight=160px|m.bison_5pppkkk|caption= '' "A gnat like you will be buried here." ''}} |
| Line 1,179: |
Line 1,179: |
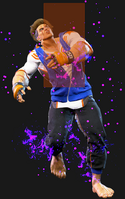
| | title = Forward Taunt | | | title = Forward Taunt |
| | subtitle = | | | subtitle = |
| | input = 6PPPKKK | | | input = {{classic_sf6}} 6PPPKKK<br>{{Modern_sf6}} 6LMHS+DP+A |
| | images = | | | images = |
| {{MoveDataCargoImage|imageHeight=160px|m.bison_6pppkkk|caption= '' "Hmph. Do you fear me?" ''}} | | {{MoveDataCargoImage|imageHeight=160px|m.bison_6pppkkk|caption= '' "Hmph. Do you fear me?" ''}} |
| Line 1,189: |
Line 1,189: |
| * Detonates a planted Psycho Mine at the end of the countdown | | * Detonates a planted Psycho Mine at the end of the countdown |
| * Activating the taunt can overwrite the previous Psycho Mine timer, extending its total time | | * Activating the taunt can overwrite the previous Psycho Mine timer, extending its total time |
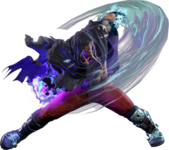
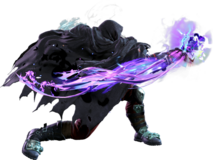
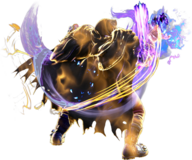
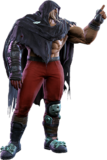
| * Once the taunt is completed, Bison gains access to new boss-style techniques | | * After detonating a Psycho Mine, transforms into Shin Bison and gains new [[#Hidden_Arts|hidden boss techniques]] |
| }} | | }} |
|
| |
|
| Line 1,196: |
Line 1,196: |
| | title = Back Taunt | | | title = Back Taunt |
| | subtitle = | | | subtitle = |
| | input = 4PPPKKK | | | input = {{classic_sf6}} 4PPPKKK<br>{{Modern_sf6}} 4LMHS+DP+A |
| | images = | | | images = |
| {{MoveDataCargoImage|imageHeight=160px|m.bison_4pppkkk|caption= '' "My power howls. Face me!" ''}} | | {{MoveDataCargoImage|imageHeight=160px|m.bison_4pppkkk|caption= '' "My power howls. Face me!" ''}} |
| Line 1,216: |
Line 1,216: |
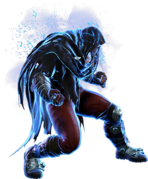
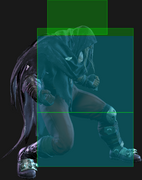
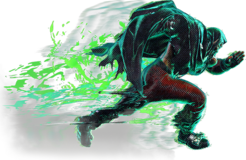
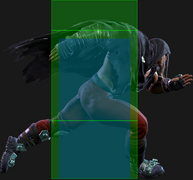
| | title = Bison Warp | | | title = Bison Warp |
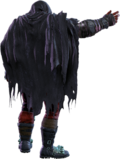
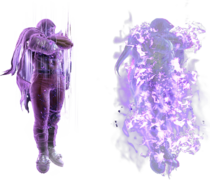
| | subtitle = Hidden Special Move | | | subtitle = Hidden Special Move |
| | input = 6 or 4 + PPP/KKK | | | input = {{classic_sf6}} 6 or 4 + PPP/KKK<br>{{modern_sf6}} 6 or 4 + LMH (PPP ver.) |
| | images = | | | images = |
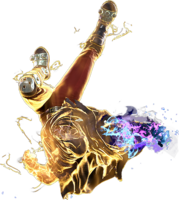
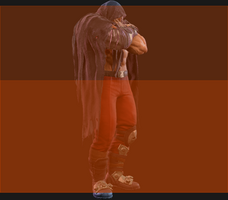
| {{MoveDataCargoImage|imageHeight=180px|m.bison_4ppp|caption=}} | | {{MoveDataCargoImage|imageHeight=180px|m.bison_4ppp|caption=}} |
| Line 1,222: |
Line 1,222: |
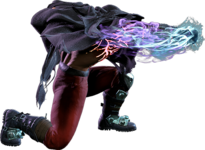
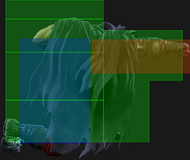
| {{AttackDataCargo-SF6/Query|m.bison_4ppp}} | | {{AttackDataCargo-SF6/Query|m.bison_4ppp}} |
| * Only accessible as Shin Bison after [[#Forward_Taunt_(6PPPKKK)|Mine Taunt]] | | * Only accessible as Shin Bison after [[#Forward_Taunt_(6PPPKKK)|Mine Taunt]] |
| * Can be performed with 6 or 4 + PPP/KKK | | * '''Full Invuln:''' 1-16f; disappears frame 15 and reappears frame 17 |
| * 6PPP will always appear behind the opponent, 6KKK will always appear in front of the opponent. 4PPP travels about 2 backdashes backwards, 4KKK travels about 3 backdashes backwards. | | * Forward versions: 6PPP appears behind opponent unless fully cornered; 6KKK appears in front of opponent |
| | ** Both recover near the edge of Bison's throw range, or close enough to confirm 2 light normals |
| | * Back versions: 4PPP is shorter (Distance 1.50), 4KKK is longer (Distance 2.50) |
| | <br> |
| | A fully invincible teleport that makes Shin Bison a slippery target at midscreen. It can also be used to prevent a {{clr|DR|Drive Impact}} stun while in Burnout (or cancel a normal to prevent being crumpled), though he is often left slightly punishable afterwards. It can also evade other less common situations, like an attempted chip-out with a fast invincible move. |
| | |
| | Shin Bison can bait out the opponent's {{clr|DR|Drive Reversal}} even from a heavy normal like {{clr|H|4HK}} to dodge it entirely instead of getting knocked back. Bison will be at worst {{sf6-adv|VP|+5}} in this scenario, but the distance will depend on the opponent. For example, Blanka's {{clr|DR|Drive Reversal}} has a ton of forward movement, so Bison will need to use the 4KKK version, since 6PPP leaves him too far. |
| }} | | }} |
|
| |
|
| Line 1,230: |
Line 1,236: |
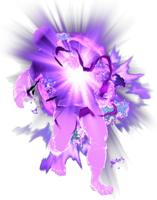
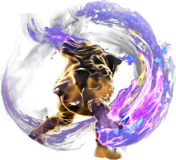
| | title = Psycho Burst | | | title = Psycho Burst |
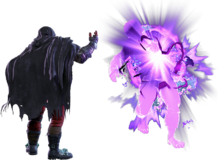
| | subtitle = Hidden Special Move | | | subtitle = Hidden Special Move |
| | input = 623PP | | | input = {{classic_sf6}} 623PP<br>{{modern_sf6}} 623XX |
| | images = | | | images = |
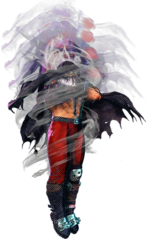
| {{MoveDataCargoImage|imageHeight=180px|m.bison_623pp|caption=}} | | {{MoveDataCargoImage|imageHeight=180px|m.bison_623pp|caption=}} |
| Line 1,238: |
Line 1,244: |
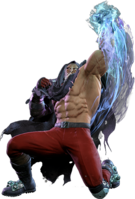
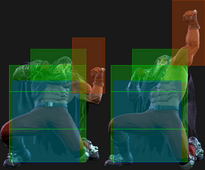
| {{AttackDataCargo-SF6/Query|m.bison_623pp}} | | {{AttackDataCargo-SF6/Query|m.bison_623pp}} |
| * Only accessible as Shin Bison after [[#Forward_Taunt_(6PPPKKK)|Mine Taunt]] | | * Only accessible as Shin Bison after [[#Forward_Taunt_(6PPPKKK)|Mine Taunt]] |
| | * '''Full Invuln:''' 1-18f; cannot hit cross-up |
| <br> | | <br> |
| | | A very slow but invincible reversal and anti-air. Although Shin Bison appears to hit in a sphere around his entire body, it will whiff entirely if the opponent gets behind him. This makes it a poor close range anti-air. As a reversal, opponents can easily bait it on wakeup with lights or even some mediums, leading to a huge punish on block. Its biggest advantage is that it requires no Drive meter, allowing Shin Bison to thwart Burnout pressure in unique ways. |
| }} | | }} |
|
| |
|
| Line 1,246: |
Line 1,253: |
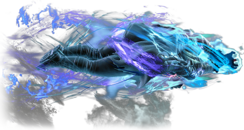
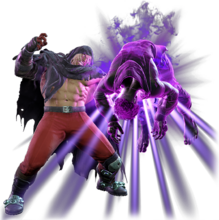
| | title = Final Psycho Crusher | | | title = Final Psycho Crusher |
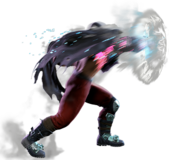
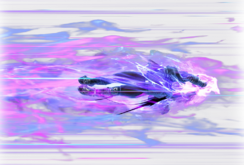
| | subtitle = Hidden Super Art | | | subtitle = Hidden Super Art |
| | input = 214214P | | | input = {{classic_sf6}} 214214P<br>{{modern_sf6}} 22LMH |
| | images = | | | images = |
| {{MoveDataCargoImage|imageHeight=165px|m.bison_214214p|caption=}} | | {{MoveDataCargoImage|imageHeight=165px|m.bison_214214p|caption=}} |
| Line 1,254: |
Line 1,261: |
| {{AttackDataCargo-SF6/Query|m.bison_214214p}} | | {{AttackDataCargo-SF6/Query|m.bison_214214p}} |
| * 2-bar Super Art; Only accessible as Shin Bison after [[#Forward_Taunt_(6PPPKKK)|Mine Taunt]] | | * 2-bar Super Art; Only accessible as Shin Bison after [[#Forward_Taunt_(6PPPKKK)|Mine Taunt]] |
| * Appears behind the opponent during recovery. | | * '''Full Invuln:''' 1-69f; '''Airborne''' 2-69f; Armor Break |
| | * Fullscreen anti-air and projectile punish; cannot hit cross-up |
| | * 1st active frame only connects if Bison is cornered (functional startup is usually 15f) |
| | * '''Drive Gauge Depletion:''' 1 bar (hit) / 0.8 bars (block) |
| | * 40% minimum damage scaling |
| | * Recovers on the opposite side of opponent (except on a fully cornered hit) |
| <br> | | <br> |
| | Shin Bison flies across the screen with a massive invincible hitbox. It can be baited with a preemptive jump before the Super freeze, but not after. Final Psycho Crusher acts like any other {{clr|SA|SA2}}, canceling from {{clr|OD|OD}} moves for solid damage. When Shin Bison has 2 Super bars stocked, it essentially becomes impossible to throw projectiles or jump outside cross-up range. |
|
| |
|
| | Because of the way Shin Bison travels across the screen, it is a 9f reversal while cornered but a 15f reversal anywhere else. This makes it more useful in corner pressure situations than his much slower Psycho Burst. |
| }} | | }} |
|
| |
|
