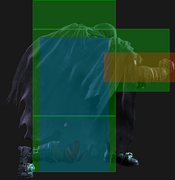
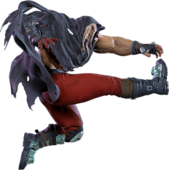
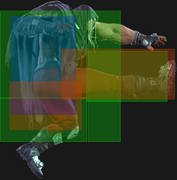
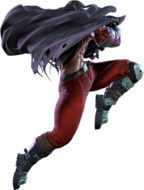
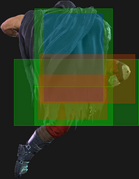
| Startup | Active | Recovery | Cancel | Damage | Guard | On Hit | On Block |
|---|---|---|---|---|---|---|---|
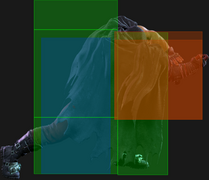
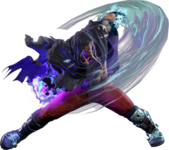
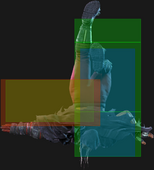
| 16 | 16 | 24 | SA3 | 1200 | LH | KD +20(+35) | -20(-5) |
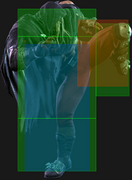
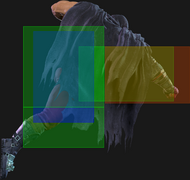
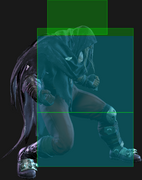
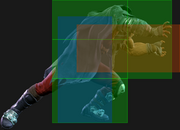
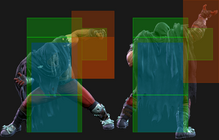
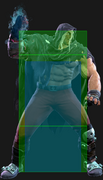
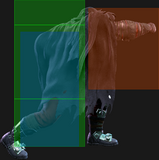
- Anti-Air Invuln: 6-17f; Airborne 22-31f (Forced Knockdown state)
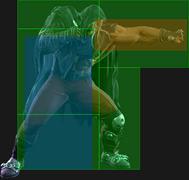
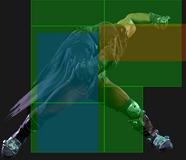
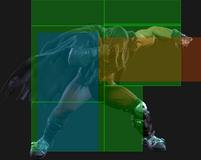
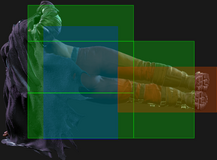
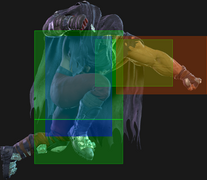
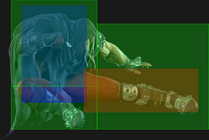
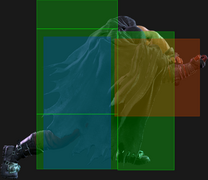
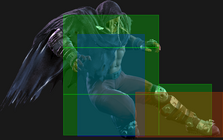
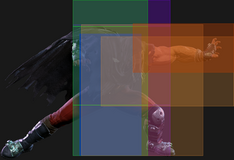
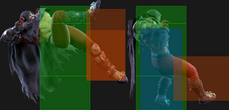
- Projectile Clash 16-31f (1-hit, meterless priority); forward hurtbox is Projectile Invuln 17-31f
- 45f charge time; charge lasts up to 8f after releasing back direction; must be holding forward when LP is input
- Cancel Hitconfirm Window: 17f (Super); 1f later active frame gives 1f less hitconfirm time
- Applies 30% damage scaling to next hit when beginning a combo (100/70/60...)
| Startup | Active | Recovery | Cancel | Damage | Guard | On Hit | On Block |
|---|---|---|---|---|---|---|---|
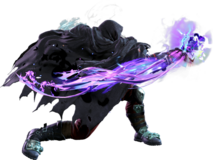
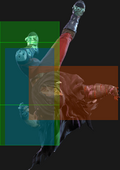
| 20 | 16 | 24 | SA3 | 1400 | LH | KD +20(+35) | -20(-5) |
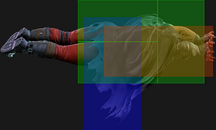
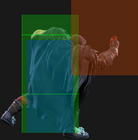
- Anti-Air Invuln: 6-21f; Airborne 26-35f (Forced Knockdown state)
- Projectile Clash 20-35f (1-hit, meterless priority); forward hurtbox is Projectile Invuln 21-35f
- 45f charge time; charge lasts up to 8f after releasing back direction; must be holding forward when MP is input
- Cancel Hitconfirm Window: 15f (Super); 1f later active frame gives 1f less hitconfirm time
- Applies 30% damage scaling to next hit when beginning a combo (100/70/60...)
| Startup | Active | Recovery | Cancel | Damage | Guard | On Hit | On Block |
|---|---|---|---|---|---|---|---|
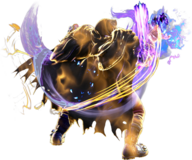
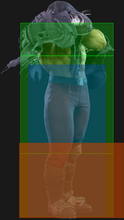
| 24 | 26 | 24 | SA3 | 1600 | LH | KD +14(+39) | -23(+2) |
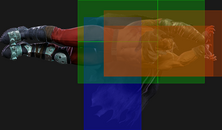
- Anti-Air Invuln: 6-25f; Airborne 30-49f (Forced Knockdown state)
- Projectile Clash 24-49f (1-hit, meterless priority); forward hurtbox is Projectile Invuln 23-49f
- 45f charge time; charge lasts up to 8f after releasing back direction; must be holding forward when HP is input
- Cancel Hitconfirm Window: 15f (Super); 1f later active frame gives 1f less hitconfirm time
- Applies 30% damage scaling to next hit when beginning a combo (100/70/60...)
| Startup | Active | Recovery | Cancel | Damage | Guard | On Hit | On Block |
|---|---|---|---|---|---|---|---|
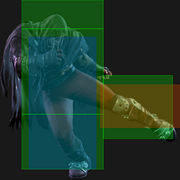
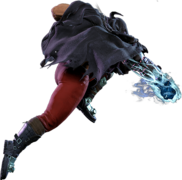
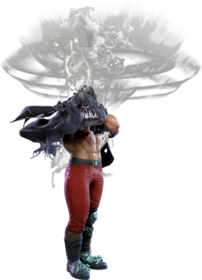
| 16 | 7,6,3 | 20 | SA2* SA3 | 400x2,500 (1300) | LH | KD +35(+37) | -3(-1) |
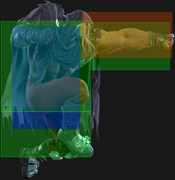
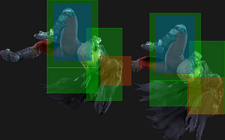
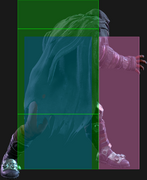
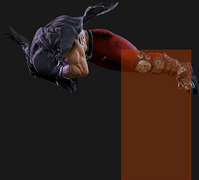
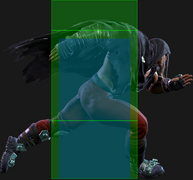
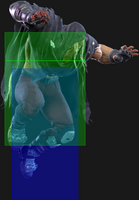
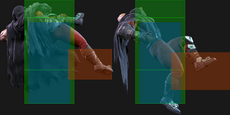
- Anti-Air Invuln: 6-17f; Projectile Invuln: 13-31f; Airborne 20-31f (Forced Knockdown state)
- 45f charge time; charge lasts up to 8f after releasing back direction; must be holding forward when PP is input
- Cancel Hitconfirm Window: 47f/35f/24f (Super); less hitconfirm time on later hits/active frames
- Cancel into SA2 does not combo
- Applies 30% damage scaling to next hit when beginning a combo (100/70/60...)
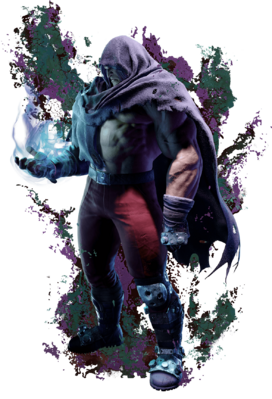
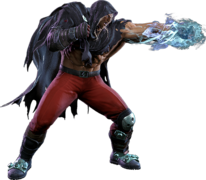
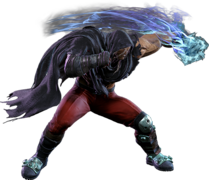
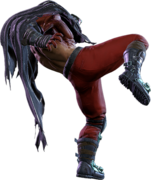
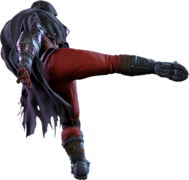
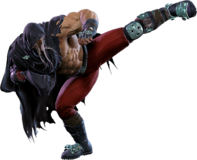
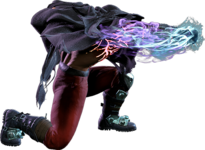
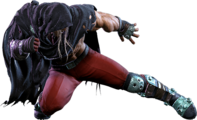
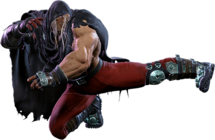
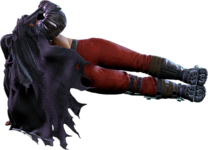
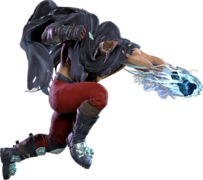
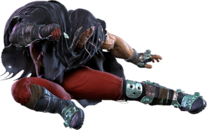
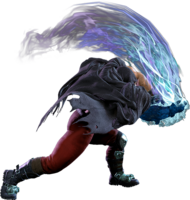
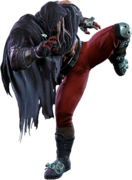
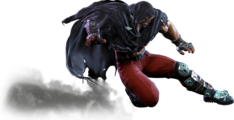
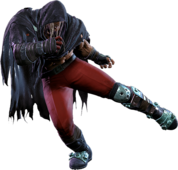
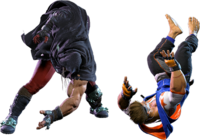
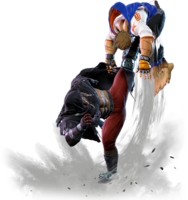
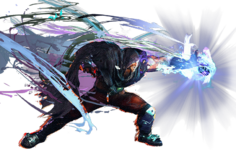
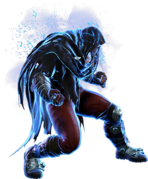
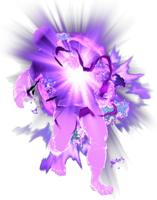
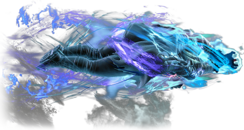
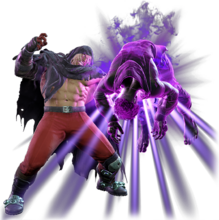
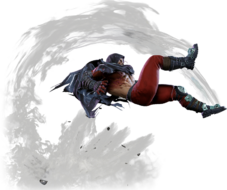
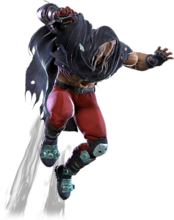
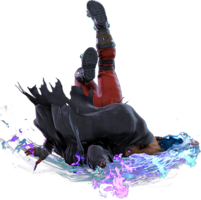
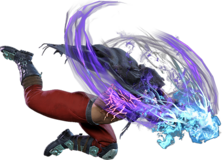
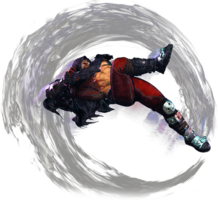
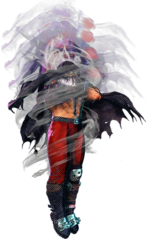
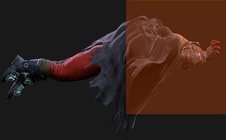
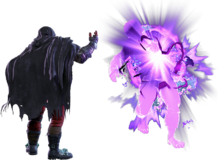
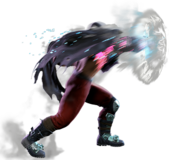
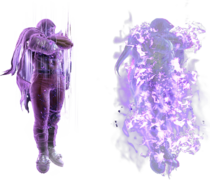
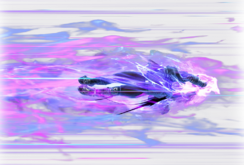
Psycho Crusher is a high damage combo ender, anti-air, and anti-projectile special that can quickly close the gap from mid to long range. The meterless version is very unsafe on block without a planted Psycho Mine; only a deep meaty HP Crusher can be advantageous on block, but even a fullscreen activation will connect too early.
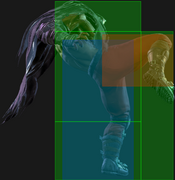
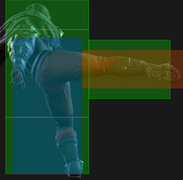
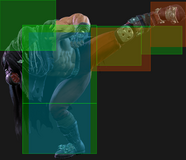
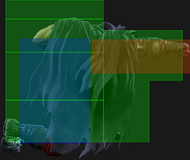
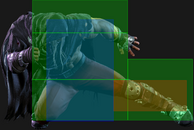
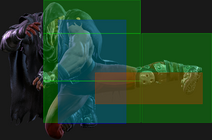
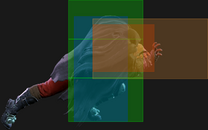
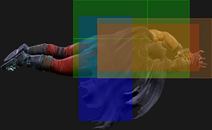
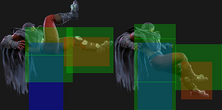
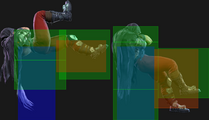
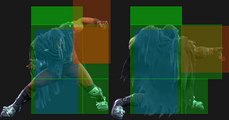
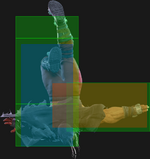
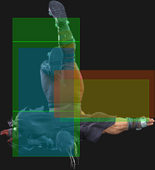
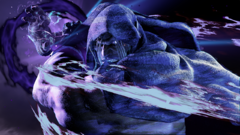
Bison's strike hitbox is surrounded by a larger projectile clash hitbox as he flies forward, letting him tank 1 hit of a meterless projectile. This makes it an effective, albeit slow, answer to most fireballs. The slow startup speed, charge requirement, and travel time to reach long-range opponents all serve to limit Psycho Crusher's effectiveness against zoners. Consider using alternate approaches like Shadow Rise~Devil Reverse to keep the opponent on their toes.
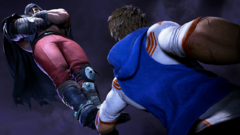
Psycho Crusher is one of Bison's primary anti-airs, gaining air invincibility on frame 6 that lasts well into the active frames. It must be input earlier than most anti-air specials, but the long range and high active frame count makes it effective at dealing with divekicks or air fireballs that can alter a character's jump trajectory. It can also cancel into SA3 for solid damage even with its high damage scaling. Due to its charge requirement, it's important to have other anti-air options in mind like 2HP or j.MP~j.MP.
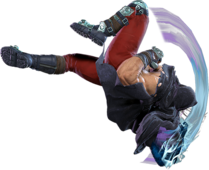
Bison is airborne throughout most of the attack's duration. This means that anti-air specials like Shoryuken can be used on reaction, making it much weaker as a meaty option when not canceled into. On the plus side, the airborne state can mess with the opponents Perfect Parry punish options (especially on the OD version, which requires the opponent to start their punish immediately).
Psycho Crusher takes 5f longer to charge compared to similar moves like Sumo Headbutt, and its input is a bit more strict; you have less time to input the button after letting go of back charge, and the button must be input while still holding forward. It's important to practice proper charge timing for Bison's main hitconfirm strings to ensure you aren't leaving damage on the table. A route like 5HK, 2MP requires you to start charging immediately after the 5HK input, since you can't link it after 4HK. Meanwhile 5MP, 2MP can start its charge before the first button is pressed (input as 4MP, 1MP). The easiest way to build charge is to use a Drive Rush route ending in 4HK, 5MP, 2MP, which allows you to hold back the entire time.
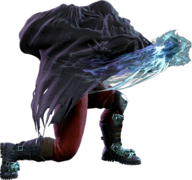
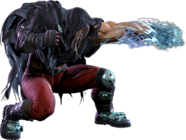
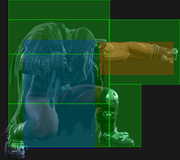
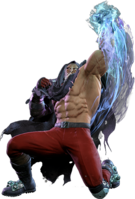
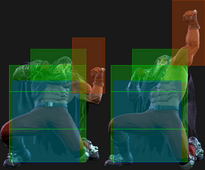
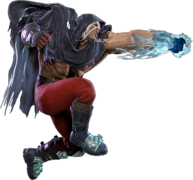
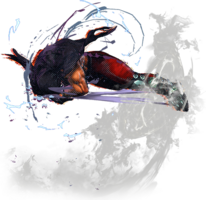
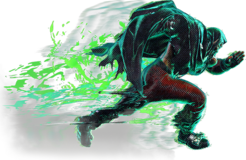
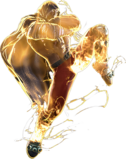
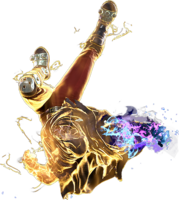
OD Psycho Crusher is safe on block and can cover ground more quickly, giving Bison a low-risk approach tool that can quickly force the opponent into the corner. The pushback on block keeps Bison just out of throw range (except vs. Marisa, Blanka, E. Honda, or Zangief). It blows right through projectiles rather than clashing with them, making it much more effective against zoners that can threaten with OD projectiles. It does a bit less damage than MP Crusher, so unless the opponent has a Psycho Mine planted, OD Crusher should only be used in combos when the faster startup is required.
