|
|
| Line 692: |
Line 692: |
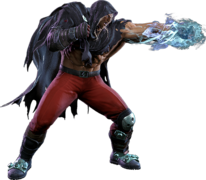
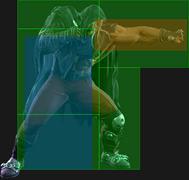
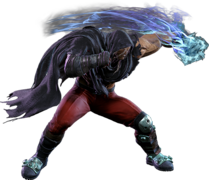
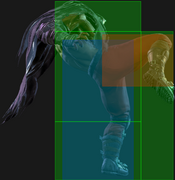
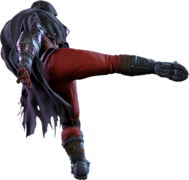
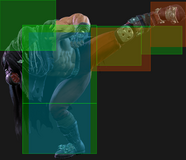
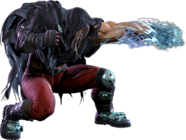
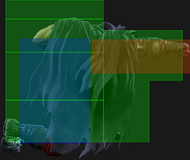
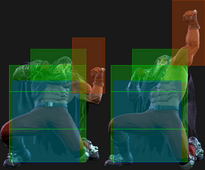
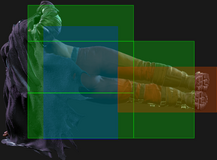
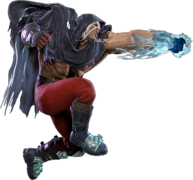
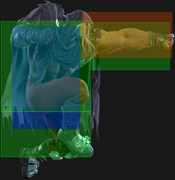
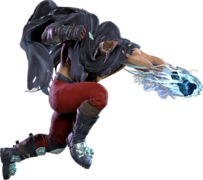
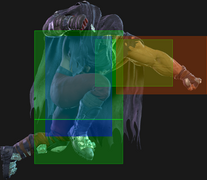
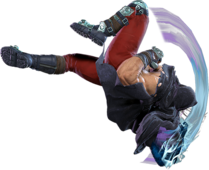
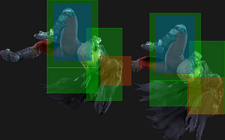
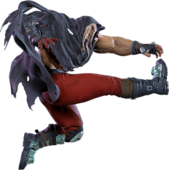
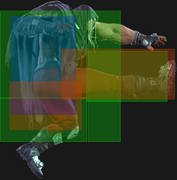
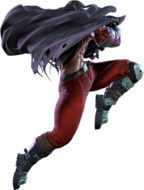
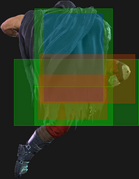
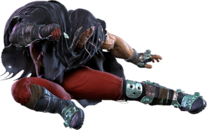
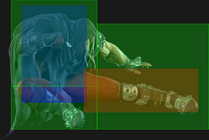
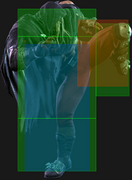
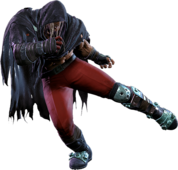
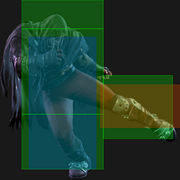
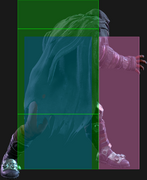
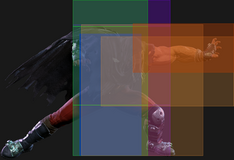
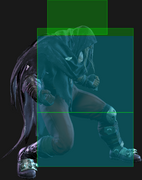
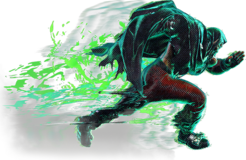
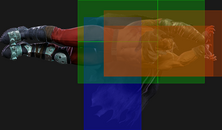
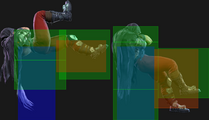
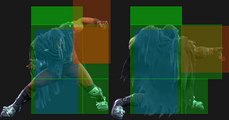
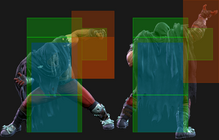
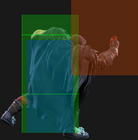
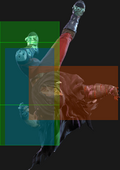
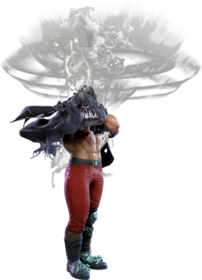
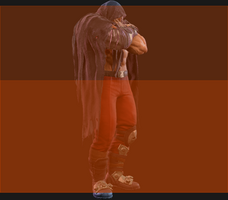
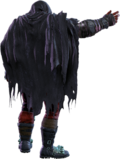
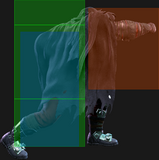
| Psycho Crusher takes 5f longer to charge compared to similar moves like Sumo Headbutt, and its input is a bit more strict; you have less time to input the button after letting go of back charge, and the button must be input while still holding forward. It's important to practice proper charge timing for Bison's main hitconfirm strings to ensure you aren't leaving damage on the table. A route like {{clr|H|5HK}}, {{clr|M|2MP}} requires you to start charging immediately after the {{clr|H|5HK}} input, since you can't link it after {{clr|H|4HK}}. Meanwhile {{clr|M|5MP}}, {{clr|M|2MP}} can start its charge before the first button is pressed (input as {{clr|M|4MP}}, {{clr|M|1MP}}). The easiest way to build charge is to use a {{clr|DR|Drive Rush}} route ending in {{clr|H|4HK}}, {{clr|M|5MP}}, {{clr|M|2MP}}, which allows you to hold back the entire time. | | Psycho Crusher takes 5f longer to charge compared to similar moves like Sumo Headbutt, and its input is a bit more strict; you have less time to input the button after letting go of back charge, and the button must be input while still holding forward. It's important to practice proper charge timing for Bison's main hitconfirm strings to ensure you aren't leaving damage on the table. A route like {{clr|H|5HK}}, {{clr|M|2MP}} requires you to start charging immediately after the {{clr|H|5HK}} input, since you can't link it after {{clr|H|4HK}}. Meanwhile {{clr|M|5MP}}, {{clr|M|2MP}} can start its charge before the first button is pressed (input as {{clr|M|4MP}}, {{clr|M|1MP}}). The easiest way to build charge is to use a {{clr|DR|Drive Rush}} route ending in {{clr|H|4HK}}, {{clr|M|5MP}}, {{clr|M|2MP}}, which allows you to hold back the entire time. |
|
| |
|
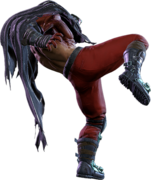
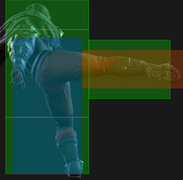
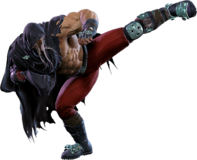
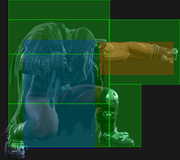
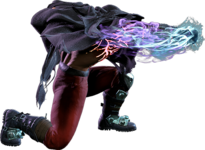
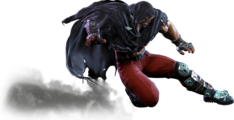
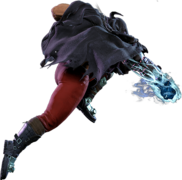
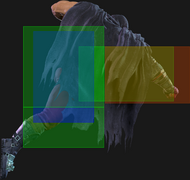
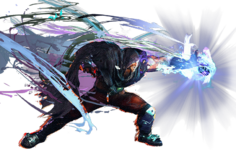
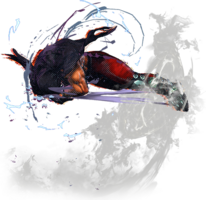
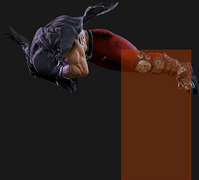
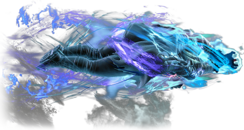
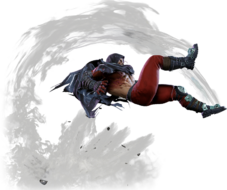
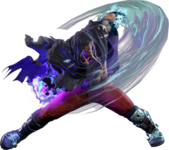
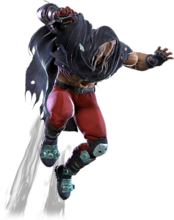
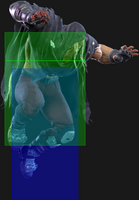
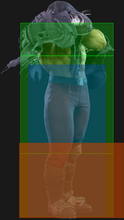
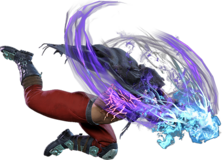
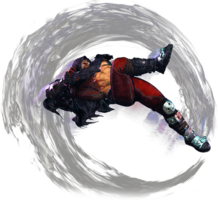
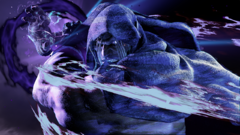
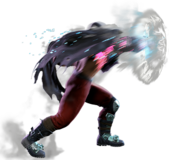
| {{clr|OD|OD Psycho Crusher}} is safe on block and can cover ground more quickly, giving Bison a low-risk approach tool that can quickly force the opponent into the corner. It blows right through projectiles rather than clashing with them, making it much more effective against zoners that can threaten with {{clr|OD|OD}} projectiles. It does a bit less damage than {{clr|M|MP Crusher}}, so unless the opponent has a Psycho Mine planted, {{clr|OD|OD Crusher}} should only be used in combos when the faster startup is required. | | {{clr|OD|OD Psycho Crusher}} is safe on block and can cover ground more quickly, giving Bison a low-risk approach tool that can quickly force the opponent into the corner. The pushback on block keeps Bison just out of throw range (except vs. Marisa, Blanka, E. Honda, or Zangief). It blows right through projectiles rather than clashing with them, making it much more effective against zoners that can threaten with {{clr|OD|OD}} projectiles. It does a bit less damage than {{clr|M|MP Crusher}}, so unless the opponent has a Psycho Mine planted, {{clr|OD|OD Crusher}} should only be used in combos when the faster startup is required. |
| }} | | }} |
| |-| | | |-| |
| Line 713: |
Line 713: |
| | info = | | | info = |
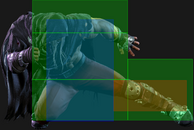
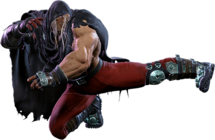
| {{AttackDataCargo-SF6/Query|m.bison_46lp_mine}} | | {{AttackDataCargo-SF6/Query|m.bison_46lp_mine}} |
| * Detonates Psycho Mine on hit/block (but not Perfect Parry) | | * Detonates Psycho Mine on hit/block (but not Perfect Parry or Armor) |
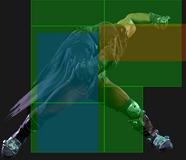
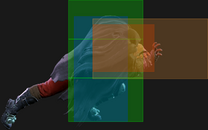
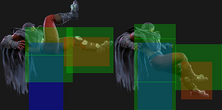
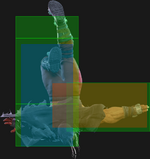
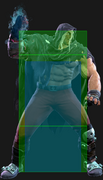
| * '''Anti-Air Invuln:''' 6-17f; '''Airborne''' 22-31f ({{FKD}} state) | | * '''Anti-Air Invuln:''' 6-17f; '''Airborne''' 22-31f ({{FKD}} state) |
| * '''Projectile Clash''' 16-31f (1-hit, meterless priority); forward hurtbox is '''Projectile Invuln''' 17-31f | | * '''Projectile Clash''' 16-31f (1-hit, meterless priority); forward hurtbox is '''Projectile Invuln''' 17-31f |
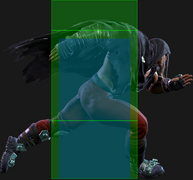
| * 45f charge time; charge lasts up to 8f after releasing back direction; must be holding forward when {{clr|L|LP}} is input | | * 45f charge time; charge lasts up to 8f after releasing back direction; must be holding forward when {{clr|L|LP}} is input |
| | * Puts opponent into {{sf6-jug|limited juggle}} state ({{clr|SA|SA3}} cancel connects before Mine explodes) |
| * '''Cancel Hitconfirm Window:''' 17f (Super); 1f later active frame gives 1f less hitconfirm time | | * '''Cancel Hitconfirm Window:''' 17f (Super); 1f later active frame gives 1f less hitconfirm time |
| * Applies 30% damage scaling to next hit when beginning a combo (100/70/60...) | | * Applies 30% damage scaling to next hit when beginning a combo (100/70/60...) |
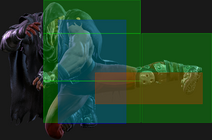
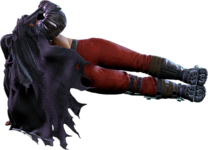
| {{AttackDataCargo-SF6/Query|m.bison_46mp_mine}} | | {{AttackDataCargo-SF6/Query|m.bison_46mp_mine}} |
| * Detonates Psycho Mine on hit/block (but not Perfect Parry) | | * Detonates Psycho Mine on hit/block (but not Perfect Parry or Armor) |
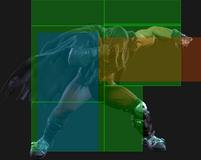
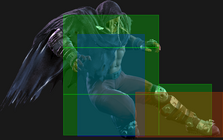
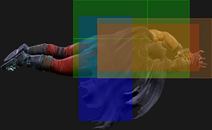
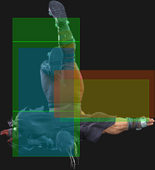
| * '''Anti-Air Invuln:''' 6-21f; '''Airborne''' 26-35f ({{FKD}} state) | | * '''Anti-Air Invuln:''' 6-21f; '''Airborne''' 26-35f ({{FKD}} state) |
| * '''Projectile Clash''' 20-35f (1-hit, meterless priority); forward hurtbox is '''Projectile Invuln''' 21-35f | | * '''Projectile Clash''' 20-35f (1-hit, meterless priority); forward hurtbox is '''Projectile Invuln''' 21-35f |
| * 45f charge time; charge lasts up to 8f after releasing back direction; must be holding forward when {{clr|M|MP}} is input | | * 45f charge time; charge lasts up to 8f after releasing back direction; must be holding forward when {{clr|M|MP}} is input |
| | * Puts opponent into {{sf6-jug|limited juggle}} state ({{clr|SA|SA3}} cancel connects before Mine explodes) |
| * '''Cancel Hitconfirm Window:''' 15f (Super); 1f later active frame gives 1f less hitconfirm time | | * '''Cancel Hitconfirm Window:''' 15f (Super); 1f later active frame gives 1f less hitconfirm time |
| * Applies 30% damage scaling to next hit when beginning a combo (100/70/60...) | | * Applies 30% damage scaling to next hit when beginning a combo (100/70/60...) |
| {{AttackDataCargo-SF6/Query|m.bison_46hp_mine}} | | {{AttackDataCargo-SF6/Query|m.bison_46hp_mine}} |
| * Detonates Psycho Mine on hit/block (but not Perfect Parry) | | * Detonates Psycho Mine on hit/block (but not Perfect Parry or Armor) |
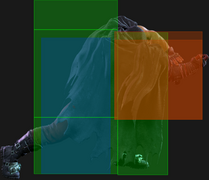
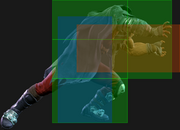
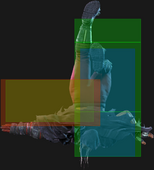
| * '''Anti-Air Invuln:''' 6-25f; '''Airborne''' 30-49f ({{FKD}} state) | | * '''Anti-Air Invuln:''' 6-25f; '''Airborne''' 30-49f ({{FKD}} state) |
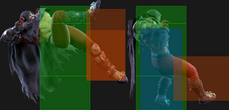
| * '''Projectile Clash''' 24-49f (1-hit, meterless priority); forward hurtbox is '''Projectile Invuln''' 23-49f | | * '''Projectile Clash''' 24-49f (1-hit, meterless priority); forward hurtbox is '''Projectile Invuln''' 23-49f |
| * 45f charge time; charge lasts up to 8f after releasing back direction; must be holding forward when {{clr|H|HP}} is input | | * 45f charge time; charge lasts up to 8f after releasing back direction; must be holding forward when {{clr|H|HP}} is input |
| | * Puts opponent into {{sf6-jug|limited juggle}} state (allows follow-up juggles) |
| * '''Cancel Hitconfirm Window:''' 15f (Super); 1f later active frame gives 1f less hitconfirm time | | * '''Cancel Hitconfirm Window:''' 15f (Super); 1f later active frame gives 1f less hitconfirm time |
| * Applies 30% damage scaling to next hit when beginning a combo (100/70/60...) | | * Applies 30% damage scaling to next hit when beginning a combo (100/70/60...) |
| {{AttackDataCargo-SF6/Query|m.bison_46pp_mine}} | | {{AttackDataCargo-SF6/Query|m.bison_46pp_mine}} |
| * Detonates Psycho Mine on hit/block (but not Perfect Parry) | | * Detonates Psycho Mine on hit/block (but not Perfect Parry or Armor) |
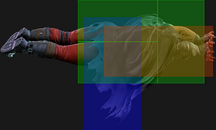
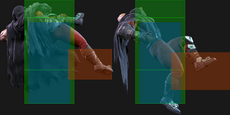
| * '''Anti-Air Invuln:''' 6-17f; '''Projectile Invuln:''' 13-31f; '''Airborne''' 20-31f ({{FKD}} state) | | * '''Anti-Air Invuln:''' 6-17f; '''Projectile Invuln:''' 13-31f; '''Airborne''' 20-31f ({{FKD}} state) |
| * 45f charge time; charge lasts up to 8f after releasing back direction; must be holding forward when {{clr|OD|PP}} is input | | * 45f charge time; charge lasts up to 8f after releasing back direction; must be holding forward when {{clr|OD|PP}} is input |
| | * Puts opponent into {{sf6-jug|limited juggle}} state, followed by OTG bounce |
| * Applies 30% damage scaling to next hit when beginning a combo (100/70/60...) | | * Applies 30% damage scaling to next hit when beginning a combo (100/70/60...) |
| ** After OTG bounce, a late follow-up juggle also has 10% immediate scaling applied | | ** After OTG bounce, a late follow-up juggle also has 10% immediate scaling applied |
| <br> | | <br> |
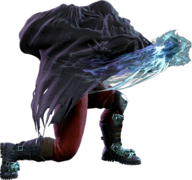
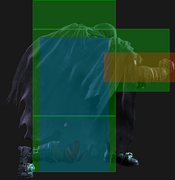
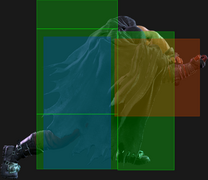
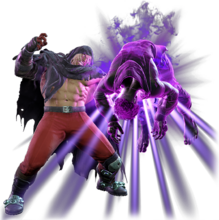
| With a mine on the opponent, Psycho Crusher goes from risky to advantageous. The mine explosion ensures it will be Bison's turn on block and turns the OD version into a terrifying juggle starter.
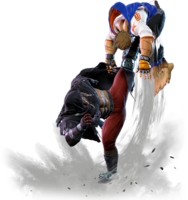
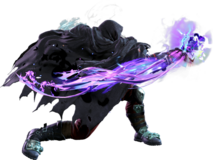
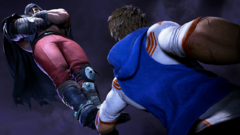
| | When a Psycho Mine is planted onto the opponent, Psycho Crusher automatically detonates it, becoming extremely advantageous on hit or block. After a Backfist Combo knockdown, Psycho Crusher can be used as a meaty pressure starter that decimates the opponent's Drive gauge. This can beat any wakeup attack without Full or Anti-Air invincibility, but loses to Perfect Parry. To remain safe against reversal {{clr|DR|Drive Impact}}, use {{clr|L|LP Crusher}} after {{clr|L|LP}}/{{clr|M|MP}}/{{clr|OD|OD}} Backfist, and {{clr|M|MP Crusher}} after {{clr|H|HP Backfist}}; also be aware that some characters can backdash this setup midscreen when using {{clr|L|LP Crusher}}. |
|
| |
|
| Most versions of Psycho Crusher will leave Bison at +5 or 6 if timed correctly, giving him a perfect opportunity for whatever mixup he wants. Notably, Backfist Combo > Meaty Psycho Crusher is incontestable outside of invulnerable moves or Perfect Parry, allowing Bison meterless okizeme if he chooses it.
| | On hit, the Mine-enhanced Psycho Crusher gives Bison more damage and better frame advantage. The {{clr|L|LP}}/{{clr|M|MP}} versions give a +41 knockdown at point blank, or +42 at most other ranges; +41 sets up a safe jump vs. 6f reversals, while +42 works against 5f specials (like most anti-air {{clr|L|LP}}/{{clr|L|LK}} uppercuts). These safe jumps can work midscreen with {{clr|H|j.HK}}, though it can be inconsistent. The {{clr|H|HP Crusher}} detonation gives a higher launch on hit, sacrificing the safe jump but gaining a juggle into {{clr|SA|SA1}} anywhere, or {{clr|L|LP Backfist}}/{{clr|SA|SA3}} in the corner. |
|
| |
|
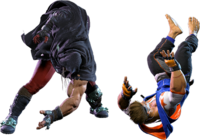
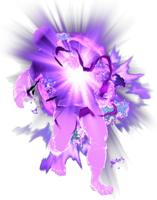
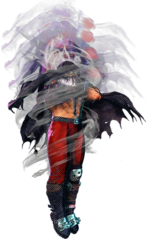
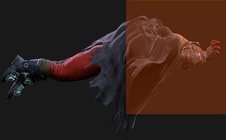
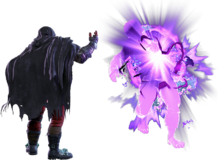
| On hit, Psycho Crusher detonates the mine for better damage and frame advantage. Where the real carnage starts is with OD Crusher, which puts the opponent in a unique cinematic juggle on hit. This juggle has incredible scaling and leads into full meter dumps for Bison. When optimized, an OD Crusher meter dump can deal close to 8k damage, easily putting an opponent in their place and potentially winning you the round. Even without the full meter dump, the juggle state is so advantageous that Bison can follow up with whatever he wants, ensuring high damage returns no matter the amount of Drive or super meter invested. | | {{clr|OD|OD Crusher}} has the most to gain when combined with Psycho Mine. On block, it is a whopping {{sf6-adv|VP|+10}}, enough for a true blockstring into {{clr|H|4HK}}. On hit, Bison transitions to a cinematic launcher that ends with a ground bounce. This allows nearly anything to juggle afterward, most notably {{clr|H|HK Shadow Rise}}~{{clr|OD|OD Head Press}} for a second ground bounce. With a full meter dump, this can deal [https://www.youtube.com/watch?v=RliVpjLjim8 over 8000 damage] as an optimal punish combo, winning the round almost single-handedly. Even without this full meter dump, the damage and setup potential makes it worth going for. |
| | |
| | ''Bug: {{clr|OD|OD Crusher + Mine}} on a high airborne connect can fail to trigger the cinematic follow-up, but the explosion still occurs. However, the opponent is still considered to be inflicted with a Psycho Mine, which can be detonated a second time.'' |
| }} | | }} |
| </tabber> | | </tabber> |

