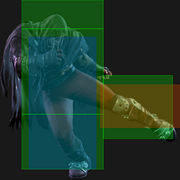
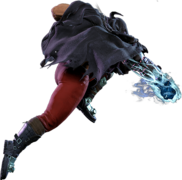
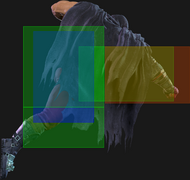
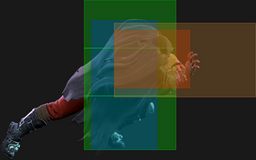
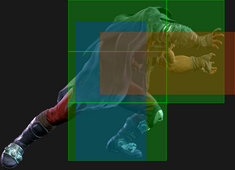
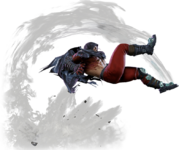
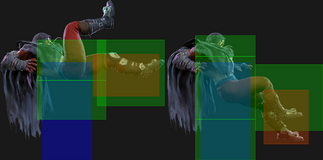
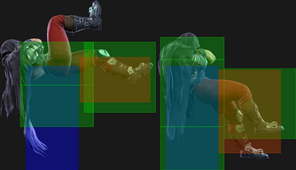
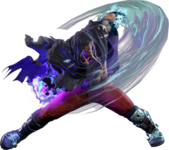
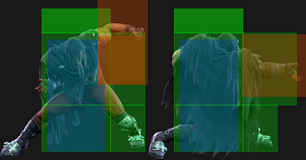
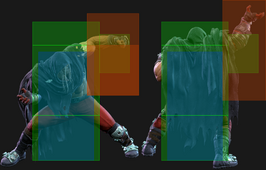
| Line 730: | Line 730: | ||
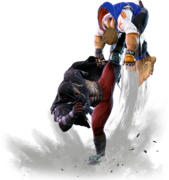
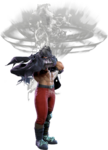
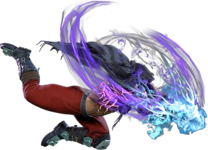
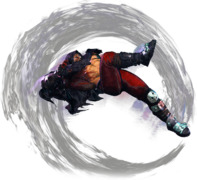
| images = | | images = | ||
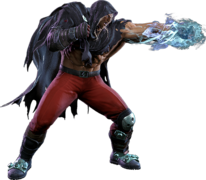
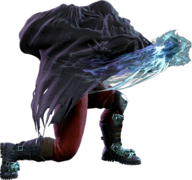
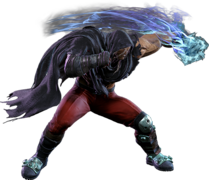
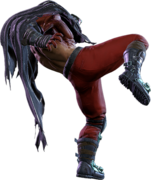
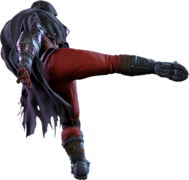
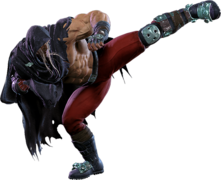
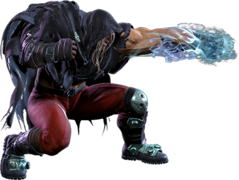
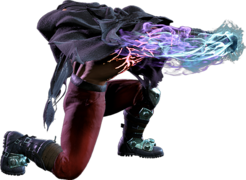
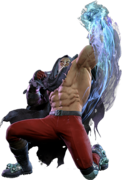
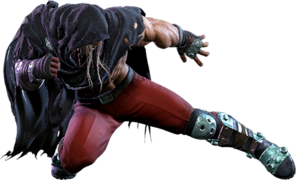
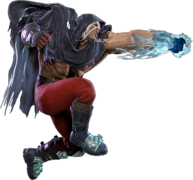
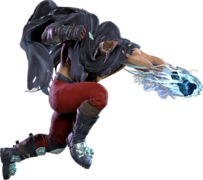
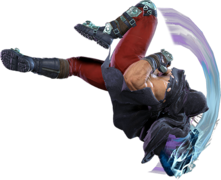
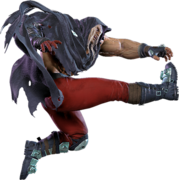
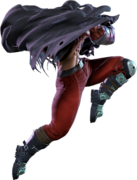
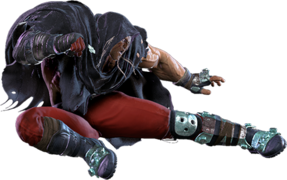
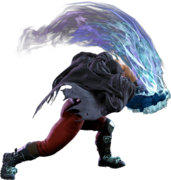
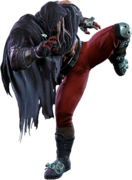
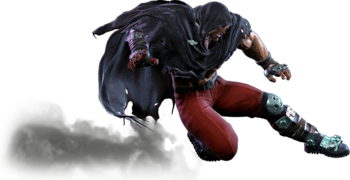
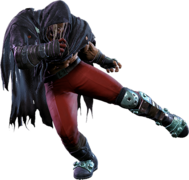
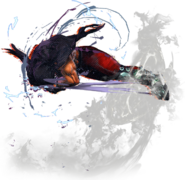
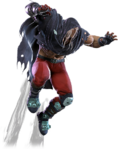
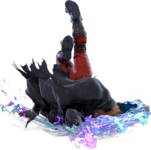
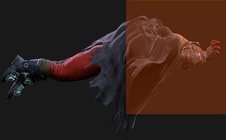
{{MoveDataCargoImage|imageHeight=150px|m.bison_28k_k_p|caption=}} | {{MoveDataCargoImage|imageHeight=150px|m.bison_28k_k_p|caption=}} | ||
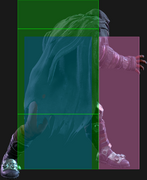
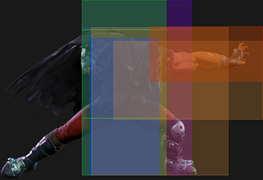
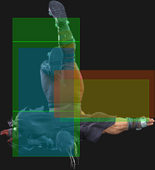
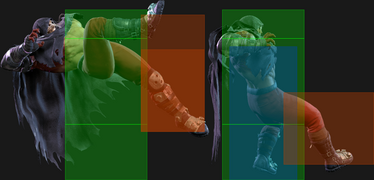
| hitboxes = | | hitboxes = | ||
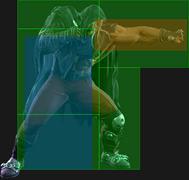
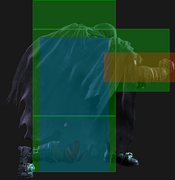
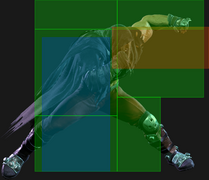
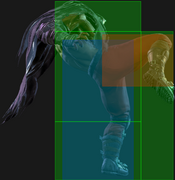
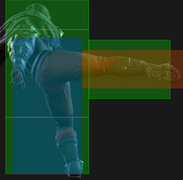
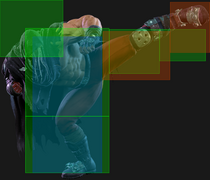
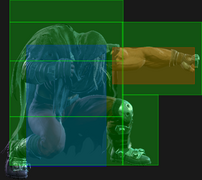
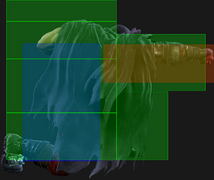
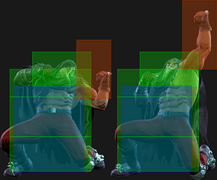
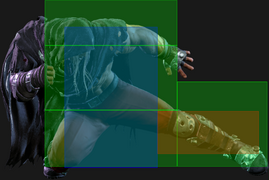
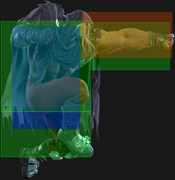
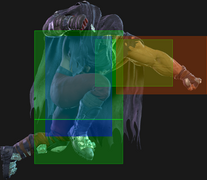
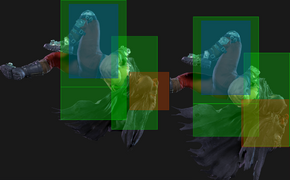
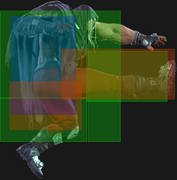
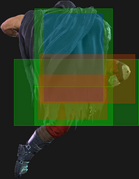
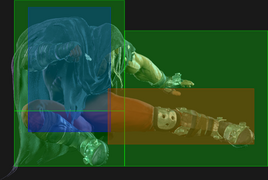
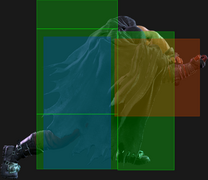
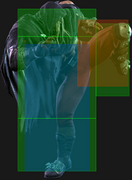
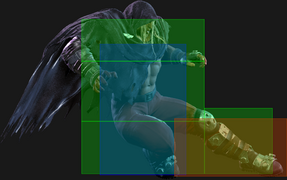
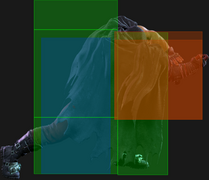
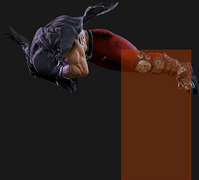
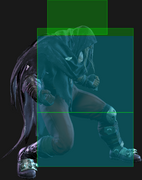
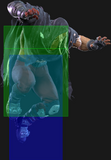
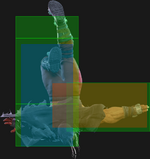
{{MoveDataCargoImage|hitbox=yes|imageHeight=160px|m.bison_28k_k_p|caption=}} | {{MoveDataCargoImage|hitbox=yes|imageHeight=160px|m.bison_28k_k_p|caption=}} | ||
| info = | | info = | ||
{{AttackDataCargo-SF6/Query|m.bison_28k_k_p}} | {{AttackDataCargo-SF6/Query|m.bison_28k_k_p}} | ||
Revision as of 21:42, 11 June 2024
| Character breakdown in progress
M.Bison is a new character! This page is currently under construction and information might be inaccurate, incomplete, or missing entirely. 🤝 Want to help us out? Join the SF6 Resource Hub for more info on editing and other ways you can potentially help with this resource. |
Introduction
A man who resembles M. Bison, the leader of Shadaloo, who was believed to be dead. He has lost his memories, but has violent tendencies. He appears in locations related to Shadaloo, guided by Psycho Power.
M. Bison is a bully style character with oppressive special moves that can dominate the neutral, and powerful normals that make opponents think twice about contesting. He benefits from the system mechanics of SF6 more than most other characters - his iconic Double Knee Press (or Scissor Kick) is no longer a charge motion, and its strong frame data makes it a safe tool to pester opponents with when properly spaced. Drive Rush allows him to turn many of his errant hits into devastating combos, and OD Psycho Crusher is a fantastic anti-fireball tool that can beat many projectiles on reaction. His Hell Attack target combo (j.MP~j.MP) can punish poor jumps and leads to very high juggle damage on a successful callout.
Once he's in, Bison has excellent pressure normals such as 5HP or 4HK that let him maintain advantage and whittle down the opponent's Drive Gauge until they crack. A key skill for playing Bison is gauging your opponent's temperament; waiting for the moment they run out of patience, then swatting them down for daring to press a button.
While many of these strengths existed in previous iterations of the character, SF6 Bison has plenty of unique tools that bring him to another level. 6HP is an overhead that's on the slow side, but can easily catch opponents who've been conditioned to guard his plus-on-block normals. It even leads into a full combo when used from Drive Rush, giving Bison another layer of mixup beyond his usual repertoire.
Last but certainly not least is his new special, Backfist Combo, which implements the Psycho Mine from his SFV V-Trigger 2 into his moveset. Finishing combos with this attack leaves your opponent in a very dangerous position, as the mine explosion can either make certain moves safe (such as Psycho Crusher) or dramatically increase the combo damage off his more common starters. If his opponent makes the wrong guess, optimised Bison combos can absolutely shred their lifebar in one violent swing.
Bison's main weakness is that, like most dictators, he is much weaker when he isn't in control. He lacks an invincible OD reversal, and while his supers have some invulnerability a savvy opponent can thwart your escape with a meaty jab. If you find yourself on the back foot as Bison, you'll have to rely on patient defense and the system mechanics until you find another opening to exert your dominance.
If you want to control the pace of a match and make your opponent second guess every decision they make, give in to the Psycho Power and let M. Bison take the reins.
| Pick if you like: | Avoid if you dislike: |
|---|---|
|
|
Classic & Modern Versions Comparison
| Missing Normals |
|
|---|---|
| Missing Command Normals |
|
| Shortcut-Only Specials |
|
| Assist Combos |
|
| Miscellaneous Changes |
|
| M.Bison | |
|---|---|
| Vitals | |
| Life Points | 10000 |
| Ground Movement | |
| Forward Walk Speed | 0.048 |
| Backward Walk Speed | 0.0312 |
| Forward Dash Speed | 19 |
| Backward Dash Speed | 23 |
| Forward Dash Distance | 1.54 |
| Backward Dash Distance | 0.754 |
| Drive Rush Min. Distance (Throw) | 0.593 |
| Drive Rush Min. Distance (Block) | 2.650 |
| Drive Rush Max Distance | 4.425 |
| Jumping | |
| Jump Speed | 4+38+3 |
| Jump Apex | 2.115 |
| Forward Jump Distance | 1.90 |
| Backward Jump Distance | 1.52 |
| Throws | |
| Throw Range | 0.8 |
| Throw Hurtbox | 0.33 |
| Frame Data Glossary - SF6 | |
|---|---|
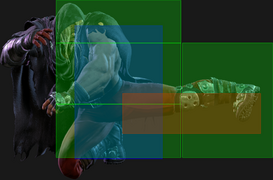
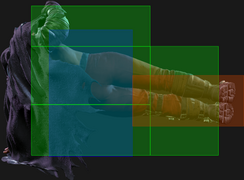
| Hitbox Images |
🟥 (Red): Attack hitbox
🟩 (Green): Vulnerable hurtbox that can be hit by strikes/projectiles
🟦 (Blue): Vulnerable throw hurtbox
|
| Active |
How many frames a move remains active (can hurt opponents) for. For projectiles with a maximum active period, a value may be listed in [brackets], but this number is not factored into the move's total frame count.
|
| Cancel |
Available options for canceling one move into another move.
|
| Cancel Hitconfirm Windows |
Hitconfirm reaction windows into Special Moves, Target Combos, and Super Arts.
|
| Damage |
Attack damage on hit. Multi-hit moves may have the damage listed for individual hits as X,Y (or sometimes X*Y). Sometimes a move's damage changes depending on which active frame connects, or on cinematic vs. non-cinematic hits; in this case, multiple values may be listed, and it will be clarified in the move description.
|
| Damage Scaling |
Some moves cause additional damage scaling in combos. Refer to Game Data page for a more detailed breakdown. Scaling Types:
|
| Drive Rush Cancel Advantage |
Refers to the frame advantage when canceling a normal, command normal, or Target Combo into Drive Rush on hit or block (abbreviated as DRC for Drive Rush Cancel). This is calculated at the moment a follow-up attack can be input, not at the moment the character can block or perform movement options. An attack that with DRC +8 on Hit can link into an 8-frame attack, and DRC +4 on Block can create a true blockstring into a 4-frame attack. Note that any DRC on Block worse than +4 cannot form a true blockstring, allowing the opponent to interrupt with an invincible reversal. Most light normals are slightly negative after a DRC on block, meaning the opponent can mash their fastest normal to guarantee a counter-hit (though this requires fast reactions). The attacking character could punish this with Light > DRC into an immediate invincible attack, but this would be an incredibly expensive and high-risk gambit.
|
| Forced Knockdown |
Most airborne command normals, special moves, and Super Arts put the user in a "Forced Knockdown" state. While in this state, an air knockdown will occur when being hit by any attack, even if it would otherwise cause an air reset. As an example, Ryu's 2HP causes an air reset when used as an anti-air. Against a move like Cammy's Hooligan Combination, however, the 2HP puts her into an air knockdown state. This allows Ryu to successfully cancel 2HP into Shoryuken for a juggle, similar to how a Drive Impact wall splat works. Taking advantage of Forced Knockdown juggles is important for dealing with moves like Ken's Dragonlash, Dhalsim's Air Teleport, or Kimberly's 6HK~Hop sequence. Moves that already cause an air knockdown, like most j.MP air-to-airs, will not display the "Forced Knockdown" message.
|
| Guard |
Refers to the direction an attack must be blocked. L is for Low attacks (must be blocked crouching), H is for High attacks/overheads (must be blocked standing), LH is for attacks that can be blocked crouching or standing. T is for Throw attacks which cannot be blocked.
|
| Juggles |
When a character is put into an Air Knockdown state, it is often possible to follow up with a Juggle attack before they hit the ground. In the simplest terms, there are 2 main juggle states:
The following is a more detailed overview of the SF6 juggle system:
Juggle Start (JS): When starting a juggle, the opponent's JC will be set to this value. May be different vs. standing and airborne opponents.
Juggle Increase (JI): When opponent is already in a juggle state, attacks will increase the opponent's JC by this amount.
Juggle Limit (JL): Property of an attack hitbox that determines whether it connects on a juggled opponent. The JL must be ≥ the opponent's JC to hit successfully.
An example to tie everything together:
Drive Rush notes:
More recently, the official definitions used by Capcom are slightly different than these community-designated terms. When reading official patch notes, the following terms are used instead:
|
| On Hit/Block |
These are frame advantage values when the attack hits or is blocked. If the number is positive, then the move will recover before the defender can act again. If the number is negative, the defender will be able to act before the attacker and maybe even punish. KD refers to knockdown on hit, and the listed KD Advantage refers to how many frames the attacker can act before the defender finishes their wakeup animation.
|
| Recovery |
How many frames it takes for a move to finish after the active frames have finished. For projectiles, recovery is considered to begin after the first active frame.
|
| Startup |
How many frames it takes before the move becomes 'active' or have a hit box. The last startup frame and the first active frame are the same frame, meaning all values are written as Startup + 1.
|
| IASA / Actionable Recovery |
Some moves play out an extended recovery animation when no other button/direction is input (for crouching moves, it applies when holding any down direction). These are often referred to as "actionable recovery" frames; in some games, the term IASA (Interruptible As Soon As) refers to the frame that Actionable Recovery begins. Letting the Actionable Recovery frames play out can change the character's position, potentially setting up spacing traps by recovering farther away. For example, Manon 5HP will recover much farther away from the opponent if no input is performed immediately after her recovery; holding back or down-back to block will keep her much closer to the opponent.
|
Normals
Standing Normals
5LP
| Startup | Active | Recovery | Cancel | Damage | Guard | On Hit | On Block |
|---|---|---|---|---|---|---|---|
| 5 | 3 | 9 | Chn Sp SA | 300 | LH | +4 | -2 |
- Chains into 5LP/2LP/2LK
- Cancel Hitconfirm Window: ?f
- Drive Rush cancel advantage: +? oH / -? oB
- Applies 20% damage scaling to next hit when beginning a combo (100/80/70...)
5MP
| Startup | Active | Recovery | Cancel | Damage | Guard | On Hit | On Block |
|---|---|---|---|---|---|---|---|
| 8 | 3 | 15 | Sp SA TC | 600 | LH | +6 | 0 |
- Cancel Hitconfirm Window: ?f
- Drive Rush cancel advantage: +? oH / +? oB
5HP
| Startup | Active | Recovery | Cancel | Damage | Guard | On Hit | On Block |
|---|---|---|---|---|---|---|---|
| 19 | 3 | 17 | SA | 1000 | LH | +4(+6) | +1(+3) |
5LK
| Startup | Active | Recovery | Cancel | Damage | Guard | On Hit | On Block |
|---|---|---|---|---|---|---|---|
| 4 | 2 | 10 | Sp SA | 300 | LH | +3 | -1 |
- Cancel Hitconfirm Window: ?f
- Drive Rush cancel advantage: +? oH / -? oB
- Applies 20% damage scaling to next hit when beginning a combo (100/80/70...)
5MK
| Startup | Active | Recovery | Cancel | Damage | Guard | On Hit | On Block |
|---|---|---|---|---|---|---|---|
| 10 | 4 | 16 | - | 700 | LH | +2 | -3 |
5HK
| Startup | Active | Recovery | Cancel | Damage | Guard | On Hit | On Block |
|---|---|---|---|---|---|---|---|
| 13 | 4 | 19 | - | 900 | LH | +6 | -2 |
Crouching Normals
2LP
| Startup | Active | Recovery | Cancel | Damage | Guard | On Hit | On Block |
|---|---|---|---|---|---|---|---|
| 4 | 2 | 10 | Chn Sp SA | 300 | LH | +4 | -2 |
- Chains into 5LP/2LP/2LK
- Cancel Hitconfirm Window: ?f
- Drive Rush cancel advantage: +? oH / -? oB
- Applies 20% damage scaling to next hit when beginning a combo (100/80/70...)
2MP
| Startup | Active | Recovery | Cancel | Damage | Guard | On Hit | On Block |
|---|---|---|---|---|---|---|---|
| 6 | 3 | 14(17) | Sp SA | 600 | LH | +5 | -1 |
- Cancel Hitconfirm Window: ?f
- Drive Rush cancel advantage: +? oH / +? oB
2HP
| Startup | Active | Recovery | Cancel | Damage | Guard | On Hit | On Block |
|---|---|---|---|---|---|---|---|
| 10 | 6 | 21 | Sp SA | 900 | LH | 0 | -9 |
- Cancel Hitconfirm Window: ?f
- Drive Rush cancel advantage: +? oH / +? oB
2LK
| Startup | Active | Recovery | Cancel | Damage | Guard | On Hit | On Block |
|---|---|---|---|---|---|---|---|
| 5 | 2 | 10 | Chn | 200 | L | +4 | -2 |
- Chains into 5LP/2LP/2LK
- Applies 20% damage scaling to next hit when beginning a combo (100/80/70...)
2MK
| Startup | Active | Recovery | Cancel | Damage | Guard | On Hit | On Block |
|---|---|---|---|---|---|---|---|
| 8 | 3 | 19 | Sp SA | 500 | L | -2 | -6 |
- Cancel Hitconfirm Window: ?f
- Drive Rush cancel advantage: +? oH / +? oB
- Applies 20% damage scaling to next hit when beginning a combo (100/80/70...)
2HK
| Startup | Active | Recovery | Cancel | Damage | Guard | On Hit | On Block |
|---|---|---|---|---|---|---|---|
| 11 | 3 | 26 | - | 900 | L | HKD +29 | -12 |
- Counter-hit/Punish Counter: HKD +?
Jumping Normals
j.LP
| Startup | Active | Recovery | Cancel | Damage | Guard | On Hit | On Block |
|---|---|---|---|---|---|---|---|
| 5 | 4 | 3 land | - | 300 | H | +8(+9) | +4(+5) |
j.MP
| Startup | Active | Recovery | Cancel | Damage | Guard | On Hit | On Block |
|---|---|---|---|---|---|---|---|
| 8 | 4 | 3 land | TC | 700 | H | +9(+11) | +5(+7) |
- Puts airborne opponents into limited juggle state
j.HP
| Startup | Active | Recovery | Cancel | Damage | Guard | On Hit | On Block |
|---|---|---|---|---|---|---|---|
| 9 | 6 | 3 land | - | 800 | H | +7(+15) | +3(+11) |
j.LK
| Startup | Active | Recovery | Cancel | Damage | Guard | On Hit | On Block |
|---|---|---|---|---|---|---|---|
| 5 | 7 | 3 land | - | 300 | H | +5(+10) | +1(+6) |
j.MK
| Startup | Active | Recovery | Cancel | Damage | Guard | On Hit | On Block |
|---|---|---|---|---|---|---|---|
| 7 | 7 | 3 land | - | 500 | H | +8(+13) | +4(+9) |
j.HK
| Startup | Active | Recovery | Cancel | Damage | Guard | On Hit | On Block |
|---|---|---|---|---|---|---|---|
| 10 | 6 | 3 land | - | 800 | H | +11(+15) | +7(+11) |
Command Normals
6HP
| Startup | Active | Recovery | Cancel | Damage | Guard | On Hit | On Block |
|---|---|---|---|---|---|---|---|
| 22 | 3 | 20 | - | 800 | H | +3 | -3 |
4HK
| Startup | Active | Recovery | Cancel | Damage | Guard | On Hit | On Block |
|---|---|---|---|---|---|---|---|
| 10 | 4 | 17 | Sp SA | 800 | LH | +4 | +1 |
- Cancel Hitconfirm Window: ?f
- Drive Rush cancel advantage: +? oH / +? oB
3HK
| Startup | Active | Recovery | Cancel | Damage | Guard | On Hit | On Block |
|---|---|---|---|---|---|---|---|
| 15 | 10 | 23 | - | 900 | L | KD +25(+34) | -15(-6) |
- Counter-hit/Punish Counter: HKD +?
Target Combos
5MP~6HP
| Startup | Active | Recovery | Cancel | Damage | Guard | On Hit | On Block |
|---|---|---|---|---|---|---|---|
| 22 | 3 | 20 | - | 800 | H | +3 | -3 |
5MP~2HK
| Startup | Active | Recovery | Cancel | Damage | Guard | On Hit | On Block |
|---|---|---|---|---|---|---|---|
| 16 | 4 | 20 | - | 700 | L | +3 | -3 |
j.MP~j.MP
| Startup | Active | Recovery | Cancel | Damage | Guard | On Hit | On Block |
|---|---|---|---|---|---|---|---|
| 7 | 4 | 3 land | - | 700 | LH | - | - |
Throws
Forward Throw (LPLK)
| Startup | Active | Recovery | Cancel | Damage | Guard | On Hit | On Block |
|---|---|---|---|---|---|---|---|
| 5 | 3 | 23 | - | 1200 (2040) | T | KD +21 | - |
- Punish Counter: HKD +?
- Applies 20% immediate damage scaling when comboed into (e.g. after Crumple)
Back Throw (4LPLK)
| Startup | Active | Recovery | Cancel | Damage | Guard | On Hit | On Block |
|---|---|---|---|---|---|---|---|
| 5 | 3 | 23 | - | 1200 (2040) | T | KD +18 | - |
- Side switches
- Punish Counter: HKD +?
- Applies 20% immediate damage scaling when comboed into (e.g. after Crumple)
Drive System
Drive Impact (HPHK)
| Startup | Active | Recovery | Cancel | Damage | Guard | On Hit | On Block |
|---|---|---|---|---|---|---|---|
| 26 | 2 | 35 | - | 800 | LH | KD +35 / Wall Splat KD +65 | -3 / Wall Splat HKD +72 |
- Armor (2-hit): 1-27f
- Applies 20% damage scaling to next hit when beginning a combo (including Wall Splat on block)
- Combos when canceled from -- (no corner wallsplat)
- Useful for draining opponent's Drive gauge, especially after Perfect Parry
See Drive Impact on the Gauges page for more details.
When canceled from a normal, these are the important blockstring gaps; a gap of N will trade with an N-frame startup attack; [] = Burnout
- -
- Note: A gap ≥ 6f can be thrown, and a gap ≥ 9f can be jumped out of by most characters
Against the following characters in Burnout:
- JP (22K), frame 3 counter
- Marisa (214K), frame 3 armor
- Zangief (5[HP]), frame 4 armor
It's important to use a blockstring that cannot be absorbed by their armor/counter moves. Ideally, the string should also not be a true combo, or it will cause a Lock and prevent Stun. Note that if the opponent mashes buttons on wakeup, the counter-hit will cause DI to Lock.
Drive Reversal (6HPHK)
| Startup | Active | Recovery | Cancel | Damage | Guard | On Hit | On Block |
|---|---|---|---|---|---|---|---|
| 20 | 3 | 26(31) | - | 500 recoverable | LH | KD +23 | -6 |
- Full Invuln: 1-22f; Armor Break
- 5f extra recovery on hit
See Drive Reversal on the Gauges page for more details.
Drive Parry (MPMK)
| Startup | Active | Recovery | Cancel | Damage | Guard | On Hit | On Block |
|---|---|---|---|---|---|---|---|
| 1 | 12 or until released | 33(1)(11) | - | - | - | - | - |
See Drive Parry on the Gauges page for more details.
- Perfect Parry:
- Applies a 50% damage scaling multiplier to any punish afterwards
- vs. strikes, has only 1f recovery and prevents the opponent from canceling their attack
- vs. projectiles, puts you into a fixed 11f recovery
Drive Rush (66)
No results
- Applies 15% damage scaling multiplier to any follow-up hits when used mid-combo
- Only applies scaling once per combo; does not apply when an enhanced Drive Rush attack starts the combo
See Drive Rush on the Gauges page for more details. Frame data shown in (parentheses) refers to Parry Drive Rush.
- Distance:
- ? (min, cancel into immediate Throw)
- ? (min, earliest blocking/movement frame)
- ? (max, final DR frame)
- See Strategy page for Blockstring Gaps and Combo Routes
Special Moves
Psycho Crusher Attack ([4]6P)
| Startup | Active | Recovery | Cancel | Damage | Guard | On Hit | On Block |
|---|---|---|---|---|---|---|---|
| 16 | 16 | 24 | SA3 | 1200 | LH | KD +20(+35) | -20(-5) |
| Startup | Active | Recovery | Cancel | Damage | Guard | On Hit | On Block |
|---|---|---|---|---|---|---|---|
| 20 | 16 | 24 | SA3 | 1400 | LH | KD +20(+35) | -20(-5) |
| Startup | Active | Recovery | Cancel | Damage | Guard | On Hit | On Block |
|---|---|---|---|---|---|---|---|
| 24 | 26 | 24 | SA3 | 1600 | LH | KD +14(+39) | -23(+2) |
| Startup | Active | Recovery | Cancel | Damage | Guard | On Hit | On Block |
|---|---|---|---|---|---|---|---|
| 16 | 7,6,3 | 20 | SA2* SA3 | 400x2,500 (1300) | LH | KD +35(+37) | -3(-1) |
Psycho Crusher (Bomb) ([4]6P)
No results
No results
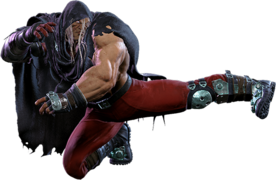
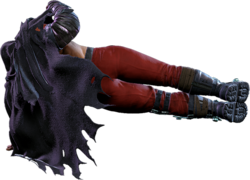
Double Knee Press (236K)
| Startup | Active | Recovery | Cancel | Damage | Guard | On Hit | On Block |
|---|---|---|---|---|---|---|---|
| 13 | 2(1)2 | 20(25) | SA3 (1st) | 300,500 (800) | LH | +2(+3) | -5(-4) |
| Startup | Active | Recovery | Cancel | Damage | Guard | On Hit | On Block |
|---|---|---|---|---|---|---|---|
| 17 | 2(1)2 | 20(25) | SA3 (1st) | 300,600 (900) | LH | +3(+4) | -5(-4) |
| Startup | Active | Recovery | Cancel | Damage | Guard | On Hit | On Block |
|---|---|---|---|---|---|---|---|
| 22 | 2(1)2 | 20(25) | SA3 (1st) | 500,700 (1200) | LH | +3(+4) | -4(-3) |
| Startup | Active | Recovery | Cancel | Damage | Guard | On Hit | On Block |
|---|---|---|---|---|---|---|---|
| 17 | 2(1)2(17)3 | 28 | SA2 SA3 (2nd) | 250x2,300 (800) | LH | KD +55 | -15 |
Backfist Combo (214P)
| Startup | Active | Recovery | Cancel | Damage | Guard | On Hit | On Block |
|---|---|---|---|---|---|---|---|
| 13 | 2(10)5 | 25 | SA3 (2nd) | 300,400 (700) | LH | KD +24 | -14 |
| Startup | Active | Recovery | Cancel | Damage | Guard | On Hit | On Block |
|---|---|---|---|---|---|---|---|
| 17 | 2(10)5 | 26 | SA3 (2nd) | 300,500 (800) | LH | KD +23 | -15 |
| Startup | Active | Recovery | Cancel | Damage | Guard | On Hit | On Block |
|---|---|---|---|---|---|---|---|
| 22 | 3(10)5 | 26 | SA3 (2nd) | 300,600 (900) | LH | KD +31 | -15 |
| Startup | Active | Recovery | Cancel | Damage | Guard | On Hit | On Block |
|---|---|---|---|---|---|---|---|
| 14 | 2(19)3(23)3 | 44 | SA2 SA3 (3rd) | 400x3 (1200) | LH | KD +24 | -25 |
Backfist Combo (Bomb) (214P)
No results
No results
Shadow Rise ([2]8K)
| Startup | Active | Recovery | Cancel | Damage | Guard | On Hit | On Block |
|---|---|---|---|---|---|---|---|
| 18~46 | - | 4/9/13 land | - | - | - | - | - |
| Startup | Active | Recovery | Cancel | Damage | Guard | On Hit | On Block |
|---|---|---|---|---|---|---|---|
| 16~42 | - | 5 land | - | - | - | - | - |
Devil Reverse ([2]8K~P)
| Startup | Active | Recovery | Cancel | Damage | Guard | On Hit | On Block |
|---|---|---|---|---|---|---|---|
| 18+16 | until land | 10 land | - | 800 | H | KD +35(+43) | +1(+9) |
| Startup | Active | Recovery | Cancel | Damage | Guard | On Hit | On Block |
|---|---|---|---|---|---|---|---|
| 16+21 | until land | 5(10) land | - | 700x2 (1400) | H | KD +35(+43) | +4(+10) |
Devil Reverse (Bomb) ([2]8K~P)
No results
No results
Head Press ([2]8K~K)
| Startup | Active | Recovery | Cancel | Damage | Guard | On Hit | On Block |
|---|---|---|---|---|---|---|---|
| 18+15 | until land | 26 land | - | 800 | H | -29(-23) | -39(-38) |
| Startup | Active | Recovery | Cancel | Damage | Guard | On Hit | On Block |
|---|---|---|---|---|---|---|---|
| 16+15 | until land | 12 land | - | 2000(1200) | H | HKD +27 | +4(+7) |
Somersault Skull Diver ([2]8K~K~P)
| Startup | Active | Recovery | Cancel | Damage | Guard | On Hit | On Block |
|---|---|---|---|---|---|---|---|
| 12 | 10 | 10 land | - | 800 | H | +8(+14) | +3(+9) |
Super Arts
Level 1 Super (236236K)
| Startup | Active | Recovery | Cancel | Damage | Guard | On Hit | On Block |
|---|---|---|---|---|---|---|---|
| 10 | 2(1)3(31)2(1)2 | 62 | - | 2000 (600~1200) | LH | KD +11 (KD +2) |
-41 |
- Strike/Throw Invuln: 1-?f; Armor Break
- Drive Gauge Depletion: 0.5 bars (hit) / 0.25 bars (block)
- 30% minimum damage scaling
Level 2 Super (214214K)
| Startup | Active | Recovery | Cancel | Damage | Guard | On Hit | On Block |
|---|---|---|---|---|---|---|---|
| 26 | 7 | 52 | - | 3000 | LH | HKD +23 | -34 |
- Armor Break
- Drive Gauge Depletion: 1 bar (hit) / 0.5 bars (block)
- 40% minimum damage scaling
Level 3 Super (236236P)
| Startup | Active | Recovery | Cancel | Damage | Guard | On Hit | On Block |
|---|---|---|---|---|---|---|---|
| 10(5) | 6 | 65 | - | 4000 | LH | HKD +15 | -46 |
- Full Invuln: 1-?f; Armor Break
- Drive Gauge Depletion: 1.5 bars (hit) / 0.75 bars (block)
- Cinematic time regenerates ~? Drive bars for M. Bison
- 50% minimum damage scaling; applies a 10% damage scaling penalty when canceled from special moves
| Startup | Active | Recovery | Cancel | Damage | Guard | On Hit | On Block |
|---|---|---|---|---|---|---|---|
| 10(5) | 6 | 65 | - | 4500 | LH | HKD +15 | -46 |
- Full Invuln: 1-?f; Armor Break
- Available at 25% HP or below
- Drive Gauge Depletion: 2 bars (hit) / 1 bar (block)
- Cinematic time regenerates ~? Drive bars for M. Bison
- 50% minimum damage scaling; applies 10% immediate damage scaling when canceled from special moves
Taunts
Neutral Taunt (5PPPKKK)
| Startup | Active | Recovery | Cancel | Damage | Guard | On Hit | On Block |
|---|---|---|---|---|---|---|---|
| 544 (total) | - | - | - | - | - | - | - |
Forward Taunt (6PPPKKK)
| Startup | Active | Recovery | Cancel | Damage | Guard | On Hit | On Block |
|---|---|---|---|---|---|---|---|
| 411 (total) | - | - | - | - | - | - | - |
Back Taunt (4PPPKKK)
| Startup | Active | Recovery | Cancel | Damage | Guard | On Hit | On Block |
|---|---|---|---|---|---|---|---|
| 400+42 (792 total) | 4 | 202 | - | 0 | - | KD -96 | - |

