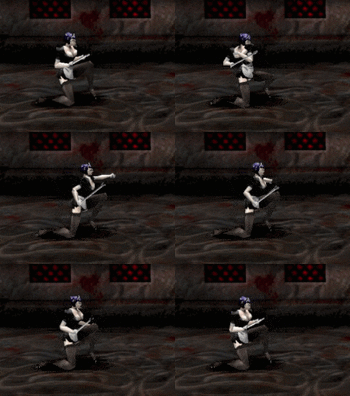
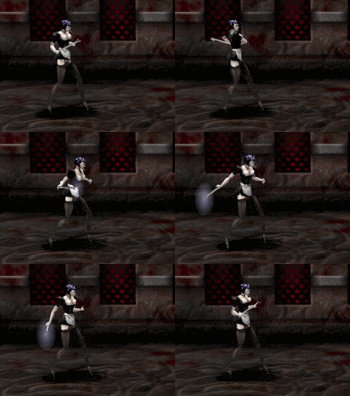
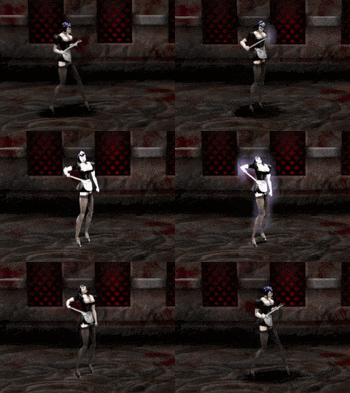
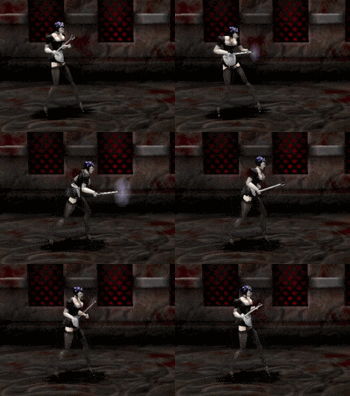
Thrill Kill/Belladonna

From SuperCombo Wiki


Overview

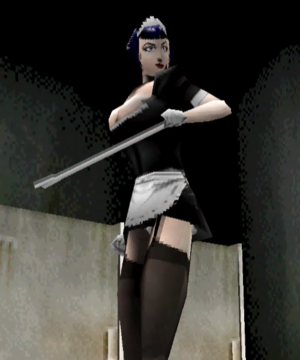
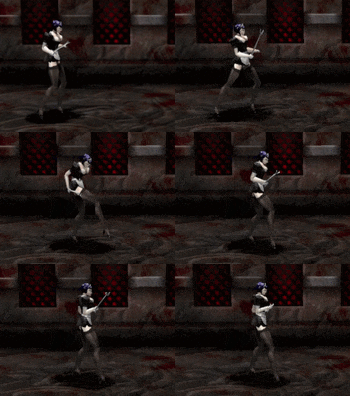
 Belladonna is an excellent choice to learn Thrill Kill with. She has everything you need to plays the main meta perfectly: a string that attacks and launches a crouching player, safe strings to counter-hit with, and a few mix-up strings to get around blocks. Belladonna can reliably 3-touch her opponents with her high-damage mid-stage BnB juggles, and her damage in the corner is only rivaled by Dr. Faustus. With her long-reaching dash, she can utilize r-canceling to fly in at moment's notice with a string and convert it into a launcher for tons of damage.

 Where Belladonna struggles the most is her very poor wake-up game. Both her Rising Cattle Prod and Splits Kick wake-up attacks have extremely poor recovery, neither hard knockdown allowing you space to breathe, and neither lead to much damage. If you get on the ropes, it can be a nightmare to get back into the game against a skilled opponent.

At a glance:
Pros Cons
  • Longest dash in the game: While her dash cooldown isn't great, the distance she can close at a moment's notice makes her dangerous at any range.
  • Great strings: Her safe punish string, mixup strings, and her crouch killer string are all solid.
  • Great damage output: Most of her strings lead to juggles, and she can take about a third of a life bar anywhere on the stage. The Rising Prod Spin corner juggle takes almost two-thirds of a life bar if you're able to launch a cornered opponent.
  • Large diameter hurtbox: She has the second largest hurtbox in the game when standing.
  • Lacks variety: While the strings she does have are very good, they offer no branching paths to mix up your opponent's block/counter timing.
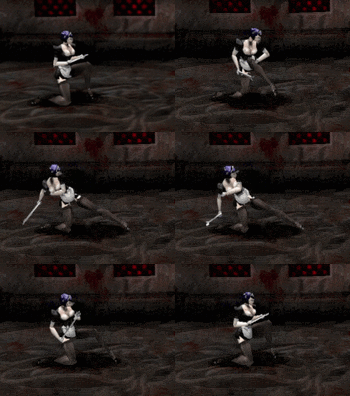
  • Terrible wakeup attacks: It can be a real struggle to get back into the game after you suffer a knockdown since both of your wakeup attacks have long recovery times, neither of them hard knockdown, and neither lead into to much damage.


Belladonna
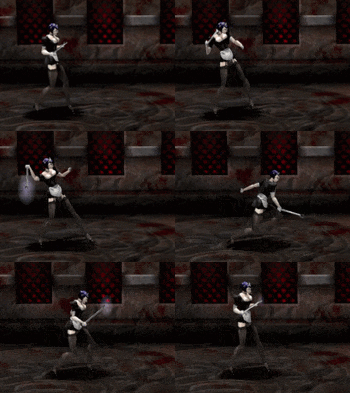
TK Belladonna Ingame.png
Hitbox Diameter 5.0u⌀ (Large)
Movement Speed 6.0u/s (4th fastest)
Dash Distance 10.6u (Fastest in the game)

Move List

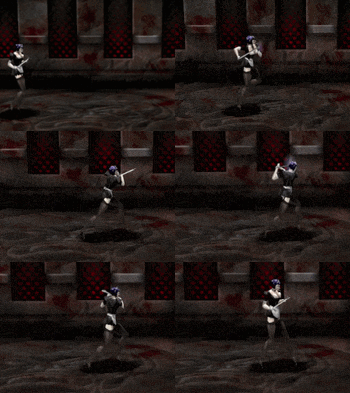
Square Front Punch
Straight Jab
Square
TK-Bel-1.gif
Hit Startup Active Recovery Adv. (Block / Hit) Damage Range Property Stance
High.png 5f 1f 9f -3 / +4 3 2.0u - -


Description needed.


Backslap
ForwardTK-input-comma.pngSquare
TK-Bel-f1.gif
Hit Startup Active Recovery Adv. (Block / Hit) Damage Range Property Stance
High.png 6f 2f 13f -8 / -2 4 3.3u - -


Description needed.


Bitch Slap
Quarter CircleTK-input-comma.pngSquare
TK-Bel-qc1.gif
Hit Startup Active Recovery Adv. (Block / Hit) Damage Range Property Stance
Mid.png 10f 1f 15f -9 / +18 10 6.6u Knockdown.png -


Very good range and advantage on hit, but you're more than likely striking with something else when you counter-hit.


Low Slap From Crouch
L2PlusSquare
TK-Bel-l21.gif
Hit Startup Active Recovery Adv. (Block / Hit) Damage Range Property Stance
Low.png 5f 2f 14f -9 / -2 2 2.0u - -


Terrible recovery for a crouch attack.


Triangle Back Punch
Prod Slash
Triangle
TK-Bel-2.gif
Hit Startup Active Recovery Adv. (Block / Hit) Damage Range Property Stance
High.png 7f 3f 16f -11 / +3 3 3.7u - -


Not great recovery, but great range and active frames.


Self Body Shock
[Triangle] ... ]Triangle[
TK-Bel-hold2.gif
Hit Startup Active Recovery Adv. (Block / Hit) Damage Range Property Stance
High.png 23f 36f 6f -9 / +14 10 3.8u Knockdown.png -


After charging Triangle for 32f, Belladonna becomes a shining hitbox for over a full second, zapping anyone who gets near. You cannot charge an additional Self Body Shock while you're already performing one.


Prod Poke
ForwardTK-input-comma.pngTriangle
TK-Bel-f2.gif
Hit Startup Active Recovery Adv. (Block / Hit) Damage Range Property Stance
High.png 8f 1f 17f -11 / +44 (+2) 4 2.1u Dzzy.png -


Description needed.


Overhead Prod Slam
BackTK-input-comma.pngForwardTK-input-comma.pngTriangle
TK-Bel-bf2.gif
Hit Startup Active Recovery Adv. (Block / Hit) Damage Range Property Stance
Mid.png 16f 3f 17f -13 / -5 7 6.0u Knockdown.png -


Way too slow to use on its own. Mostly comes up as a string ender.


Prod Swing
Quarter CircleTK-input-comma.pngTriangle
TK-Bel-qc2.gif
Hit Startup Active Recovery Adv. (Block / Hit) Damage Range Property Stance
High.png 10f 2f 14f -8 / +28 6 2.6u Hardknockdown.png -


Description needed.


Prod Slash From Crouch
L2PlusTriangle
TK-Bel-l22.gif
Hit Startup Active Recovery Adv. (Block / Hit) Damage Range Property Stance
Low.png 11f 1f 15f -9 / 0 4 2.7u - -


No combo strings, bad range, and terrible advantage. Avoid using.


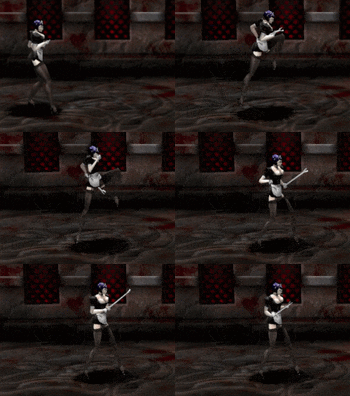
Rising Prod Spin
Half CircleTK-input-comma.pngSquare/Triangle
TK-Bel-hc2.gif
Hit Startup Active Recovery Adv. (Block / Hit) Damage Range Property Stance
High.png 12f 13f 35f -30 / -7 9/hit 5.5u Knockdown.png -


Your go-to string ender. It's minus on hit, but no other move matches its damage in the corner when every hit lands.


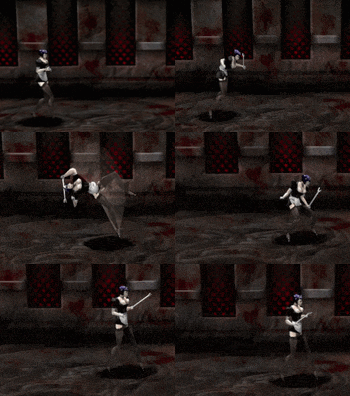
Running Prod Swing
ForwardTK-input-comma.pngForwardTK-input-comma.pngSquare/Triangle
TK-Bel-ff2.gif
Hit Startup Active Recovery Adv. (Block / Hit) Damage Range Property Stance
Mid.png 15f 2f 26f -21 / +15 9 11.3u Hardknockdown.png -


Mediocre startup, range, and recovery for a dash attack. An assured death for you if it gets blocked.


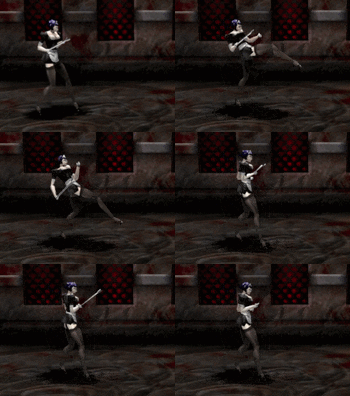
Cross Front Kick
Quick Thrust
Cross
TK-Bel-3.gif
Hit Startup Active Recovery Adv. (Block / Hit) Damage Range Property Stance
Mid.png 5f 1f 10f -4 / +4 3 4.7u - Switch


An excellent button. Great startup, range, startup, hits mid, and its advantage is very good for this game.


Knee Thrust
ForwardTK-input-comma.pngCross
TK-Bel-f3.gif
Hit Startup Active Recovery Adv. (Block / Hit) Damage Range Property Stance
Mid.png 5f 1f 15f -9 / +24 4 3.9u Launch.png Switch


Stupidly fast startup and good range for a launcher. It also has a lot of travel to it which helps get closer to the corner during juggles.


Forward Heel Flip
BackTK-input-comma.pngForwardTK-input-comma.pngCross
TK-Bel-bf3.gif
Hit Startup Active Recovery Adv. (Block / Hit) Damage Range Property Stance
File:.png 16f 4f 18f -15 / -7 9 8.4u Knockdown.png Switch


Very bleh move. Long range, but very minus on hit. Avoid using.


Ball Kick
Quarter CircleTK-input-comma.pngCross
TK-Bel-qc3.gif
Hit Startup Active Recovery Adv. (Block / Hit) Damage Range Property Stance
Mid.png 10f 1f 15f -9 / +46 5 4.2u Dzzy.png Switch


Decent range as far as stuns go. For the most part you'll mostly use this in juggles to cancel into Rising Prod Spin as an ender.


Forward Cartwheel
Half CircleTK-input-comma.pngCross
TK-Bel-hc3.gif
Hit Startup Active Recovery Adv. (Block / Hit) Damage Range Property Stance
File:.png 19f 3f 9f -3 / +4 5/hit 10.9u - -


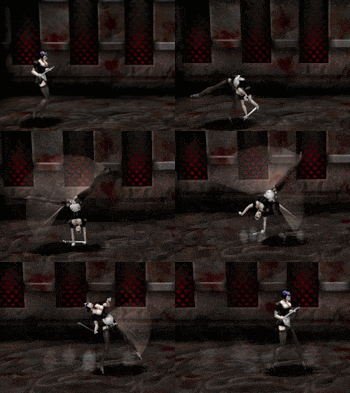
One of Belledonna's best stand-alone specials. Very slow startup, but you get superb range and low enough disadvantage that it's virtually safe on block (unless your opponent throws you on reaction, but even then you may be far enough away that they'll whiff the attempt).


Low Leg Jab From Crouch
L2PlusCross
TK-Bel-l23.gif
Hit Startup Active Recovery Adv. (Block / Hit) Damage Range Property Stance
File:.png 5f 1f 15f -9 / -2 2 3.5u - -


Bad advantage, less range than it looks, but it strings into a mid launcher.


Circle Back Kick
Circle
Hit Startup Active Recovery Adv. (Block / Hit) Damage Range Property Stance
File:.png - - - - - - - -


Description needed.


ForwardTK-input-comma.pngCircle
Hit Startup Active Recovery Adv. (Block / Hit) Damage Range Property Stance
File:.png - - - - - - - -


Description needed.


BackTK-input-comma.pngForwardTK-input-comma.pngCircle
Hit Startup Active Recovery Adv. (Block / Hit) Damage Range Property Stance
File:.png - - - - - - - -


Description needed.


Quarter CircleTK-input-comma.pngCircle
Hit Startup Active Recovery Adv. (Block / Hit) Damage Range Property Stance
File:.png - - - - - - - -


Description needed.


Half CircleTK-input-comma.pngCircle
Hit Startup Active Recovery Adv. (Block / Hit) Damage Range Property Stance
File:.png - - - - - - - -


Description needed.


L2PlusCircle
Hit Startup Active Recovery Adv. (Block / Hit) Damage Range Property Stance
File:.png - - - - - - - -


Description needed.


ForwardTK-input-comma.pngForwardTK-input-comma.pngCross/Circle
Hit Startup Active Recovery Adv. (Block / Hit) Damage Range Property Stance
File:.png - - - - - - - -


Description needed.


Grabs / Misc Moves
CrossPlusSquare
Hit Startup Active Recovery Adv. (Block / Hit) Damage Range Property Stance
File:.png - - - - - - - -


Description needed.


CirclePlusTriangle
Hit Startup Active Recovery Adv. (Block / Hit) Damage Range Property Stance
File:.png - - - - - - - -


Description needed.


CrossPlusSquare
Hit Startup Active Recovery Adv. (Block / Hit) Damage Range Property Stance
File:.png - - - - - - - -


Description needed.


CirclePlusSquare
Hit Startup Active Recovery Adv. (Block / Hit) Damage Range Property Stance
File:.png - - - - - - - -


Description needed.


CrossPlusTriangle
Hit Startup Active Recovery Adv. (Block / Hit) Damage Range Property Stance
File:.png - - - - - - - -


Description needed.


TK Navigation

General
Controls and Notation
System
Tier List
FAQ
Characters
TormentorOddballBelladonnaDr. FaustusThe ImpVioletMammothCleetusCainJudasMarukka