Introduction
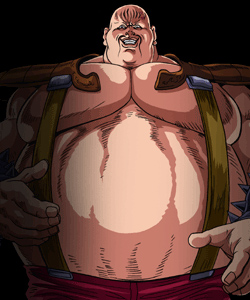
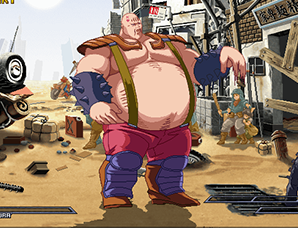
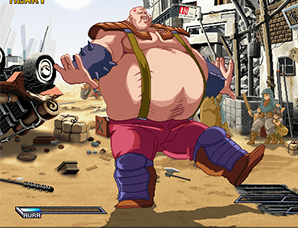
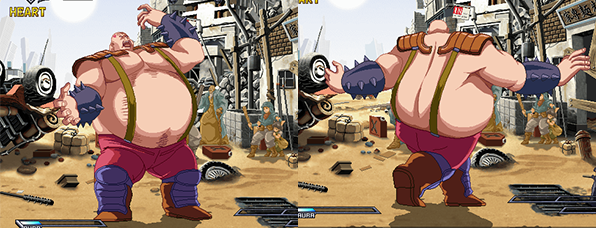
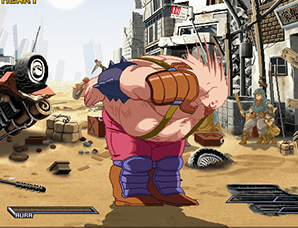
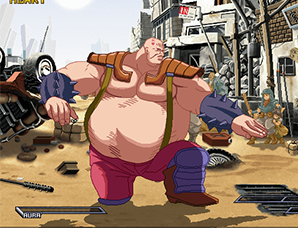
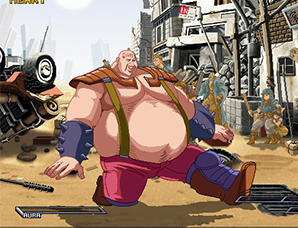
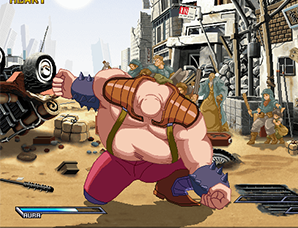
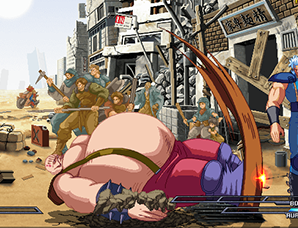
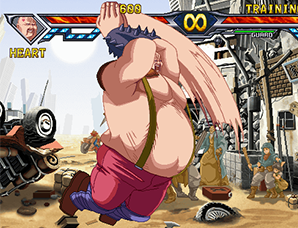
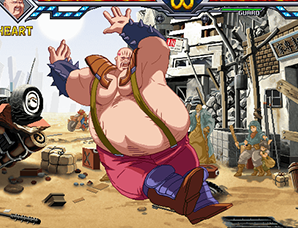
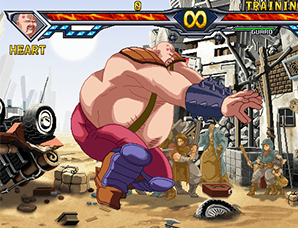
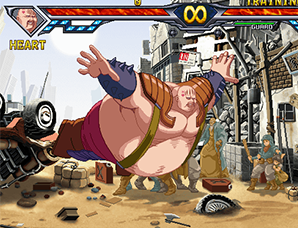
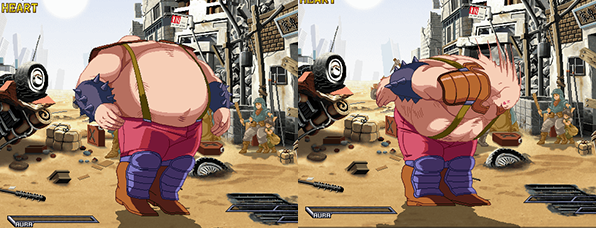
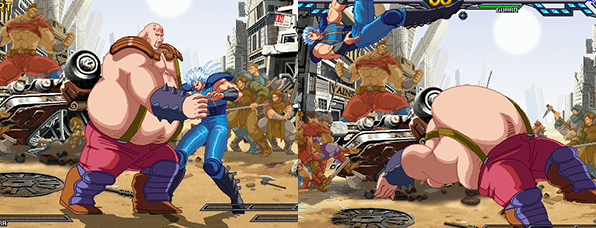
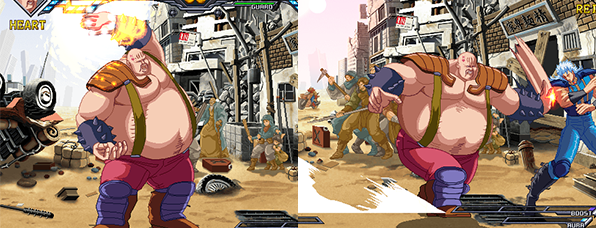
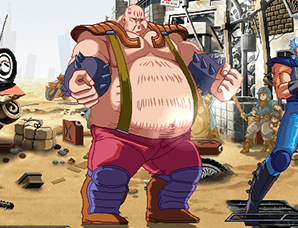
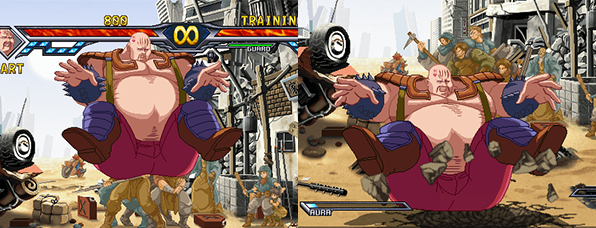
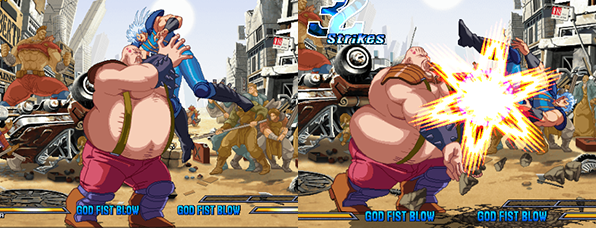
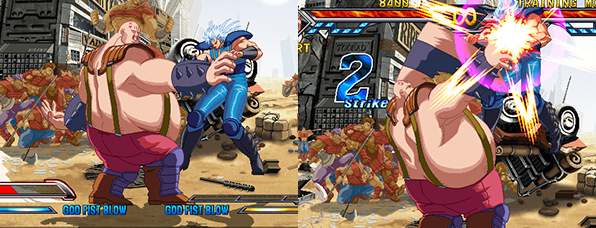
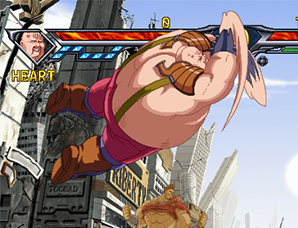
| Mr. Heart is a 'grappler' type character, and he plays similarly to the grappler characters in other ARC games. Specifically, he moves very slowly and has no forward dash. Mr. Heart also has no Boost gauge, but his Banishing Strike still functions identically to other character's in that he is able to do a follow-up wallbounce combo. He is also able to use his Aura to perform a special Guard Cancel that can be followed up with a combo. As you would expect of a grappler character, he has a large amount of grab type moves, including both a grab super move and grab Fatal KO(which is the only FKO in the game that cannot be comboed into). While fairly decent on both the offensive and defensive, his poor maneuverability is what causes Mr. Heart to be considered a weak character. Because of his slow speed Mr. Heart is often unable to get out of disadvantageous situations without taking a risk. That said, he has extremely high potential, and is quite capable of overcoming his bad matchups. |
Let's break it down:
Strengths:
- Is able to confirm into kill combos from his unique Guard Cancel (which functions like a Banishing Strike) on every character.
- Can gain super armor for free to setup favorable trades.
- Only has a guard bar in the mirror match.
- Doesn't have to manage boost, as he has none.
- Forces your opponent to play in a very different manner, as most conventional tactics will outright lose.
Weaknesses:
- No Boost and slow movement speed means Mr. Heart has trouble going anywhere without taking big risks or fishing for a stray hit.
- Bad matchups against a large amount of the cast, directly related to his inability to move around, some matchups are near unwinnable against a skilled opponent.
- Range is generally quite poor outside of Earthcrush.
- Overhead mostly useless leads to a weak mixup game.
- Because of the lack of Boost, Mr. Heart is overly dependent on Aura both for defense and offense.
Before diving right into the combos be sure to familiarize yourself with Mr. Heart's special/super moves and his unique normals.
Normal Moves
Standing
A
5F Startup, 4F Active on both hits, +3 on block
One of Mr. Hearts most important anti-air normals, it serves both as combo filler, anti-air and combo starter.
B
9F Startup, 4F Active, -5 on block
Not nearly as good as crouch B, but still occasionally useful. Is used in some combo enders to stuff some extra damage before a Heart's A.
Can combo into Earthcrush.
C
29F Startup (with no charge), 4F Active, -4 on block
This move should almost never be used. It has an incrediblity long startup time, which is only worth it if you can get the full charge damage wise. It is also neither special or normal cancelable.
D
10F Startup, 4f Active, -24 on block
A launcher that can be chained into from standing A. Is used heavily in combos and as a hit confirm. Can be jump cancelled allowing IAD pressure from strings such as 2B 5D/5A 5D. Not a very good button to press in neutral though.
Crouching
A
7F Startup, 4f Active, +7 on block
A quite fast and good reaching jab. Usually best used in conjunction with crouching B to hit confirm.
B
7F Startup, 4F active, +6 on block
Mr. Heart's most trusted companion and main poke, this baby not only has alright range, it also combos into Banishing Strike or Earthcrush (depending on range) on hit. Use it often.
C
17F Startup (with no charge), 4F Active, -4 on block
See Standing C.
Also doesn't hit low but launches on charged hit for an Earthcrush style combo. Not worth the risk though.
D
35F Startup, 4F Active, -22 on block
A slow sweep that hits high and can't be cancelled into anything. Punishable on block and low reward on hit. Try to avoid using this normal.
Air
A
10F Startup, 6F Active
A good air-to-air poke that can be special cancelled into AB air grab.
B
13F Startup, 6F Active
Can occasionally be used as an instant air-dash pressure tool, but is otherwise primarily used to adjust the height in wall bounce combos.
C
13F Startup (with no charge), 40F Active
Holding this button will make Mr. Heart float in the air, and if he lands without launching the attack, he will gain one hit of super armor that lasts until he gets hit, takes chip damage, or performs another armored move such as 5C or 623C.
In general an alright air button as well just for its range. Hitstuns for a very long time as well.
D
9F Startup, 40F Active
Mr. Heart's crossup tool, also an alright jump-in button, combo extender (in wall bounce combos) and suprisingly often win air-trades.
Other
6A
23F Startup, 4F Active, -20 on block
A medium speed overhead that will knockdown on hit but is not cancelable at all, can be chained into Heart's A on deep corner hit.
Throw
4F Startup, 4F Active
A regular throw that allows for combos when the opponent is thrown into the corner.
BD Throw
17F Startup (without movement), 9F Active
A running bear grab that can make for a scary mixup option on non-attentive opponents. Unique to Mr. Heart, this BD throw can grab crouching opponents. Can combo into itself during combos for an infinite
Heavy Strike
34F Startup, 4F Active
A regular Heavy Strike with extremely good range. But like all other Heavy Strikes it's quite risky to go for.
Banishing Strike
18-33F Startup, 4F Active, -8 on block
One of Mr. Heart's most important moves. Anytime it's possible try to confirm into Banishing Strike as the follow up boost is free. It is also an essential combo starter (just like his Guard Cancel) that can often lead to 50% without meter, or 100% with it.
Special Moves
No Escape
Mr. Heart vacuums the opponent in, gaining 1 hit of armor. This will pull in the opponent from anywhere, letting you extend wall combos, change their jump arc, pull them in from neutral, etc. Get creative!
Bring it on!
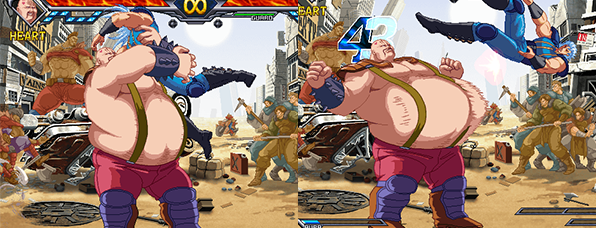
A special combo starting counter and projectile reflector, Mr. Heart puffs out his chest and sends the opponent away similar to a Banishing Strike. If 6 is held, Mr. Heart will follow the opponent. Cannot counter low attacks, and has a small amount of punishable recovery, making it a bit risky. Takes off 1 star on hit.
If done during blockstun, it functions as a unique Guard Cancel that takes half a bar of Aura, and applies a Banishing Strike effect, allowing for deadly combos. One of your most important tools.
Earthcrush
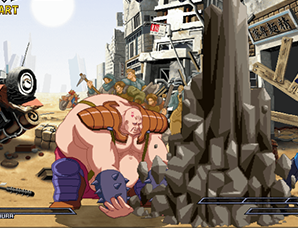
One of your most important moves, Earthcrush functions as Mr. Hearts primary long range tool and Grave Shoot. B version is right in front of Heart, and D version is full screen but has slower startup. Sadly it's hitbox isn't as large as the sprite would make it out to be, but it's still a key part of your neutral and combo game. B version takes 1 star on counter hit, D version takes 1 star on hit and 2 on counter hit.
Earthquake
A poor air move with very few uses. Sends out an unblockable shockwave along the ground that knocks down the opponent. Thanks to its long startup and poor recovery, you don't get much out of it even if it does manage to hit. At best, it can be used to stall your momentum on a jump.
Dunk Receive
An anti-air grab with extreme range. The A version has quick startup, while the C version has delayed startup, forward movement, and 1 hit of armor. Key part of your defense and combos, leading to an infinite on a few characters. Very strong move. Takes off 1 star on hit.
Kenpou Goroshi
The club super. Completely invincible after the super flash, Mr. Heart sends out 7 spinning clubs, each of which can hit multiple times. About a second after all clubs leave the screen, 3 will fall back down from offscreen, one landing in each corner and one landing midscreen. These falling clubs will hit overhead, and take off 1 star on normal hit and 2 on counter hit. The initial clubs will not take off any stars. If you can force the opponent to block this super point blank, it does an incredible amount of Guard Gauge damage, letting you set up a Guard Break if in the corner.
Heart's A
The #1 command grab. Huge range, catches prejump, will OTG for combo extensions, and can do nearly 50% by itself. Huge use of aura, but if it hits its well worth it. Takes off 1 star on hit.
It hurts!!
Activation
Like Dragon Install, but you've got diabetes.
Itteyo is the most important part of Mr. Heart's combo game, giving him access to a multitude of new options such as a wall jump, full horizontal air control, new special moves, altering the properties of BD throw and FKO allowing them to be combo'd into, and a constant single hit of armor. Unfortunately, in this state Heart both cannot block and is always running towards the opponent, making using it in neutral basically a death sentence and turning a dropped combo into a horrifying scramble situation, especially when coupled with its long recovery.
Big Hug
Launching command grab. Nothing too special, but can lead to some decent combos, along with being a key part in Typhoon loops.
Meat Cross
A wide aerial swing that knocks the opponent to the ground. Useful as part of Typhoon loop enders. Takes 1 star on regular hit, applies a Banishing Strike effect and takes 2 stars on counter hit.
Big Typhoon
MAWARI!
By far the best part of Itteyo. As the name implies, Heart becomes a spinning typhoon, bouncing the opponent up and around. Both versions are cancellable into other Itteyo moves, and the grounded version is jump cancellable. Applies a Banishing Strike effect and takes 1 star on counter hit.
Body Throwing
Aerial command grab. Relatively large range, and used most often in Typhoon enders. Takes off 1 star on counter hit.
Meat Dunk
Another aerial command grab. Has no whiff animation, and can be used as an OTG after jB. Takes off 1 star on hit.
It really hurts!!
236CD (Fatal KO)
8F startup (pre super flash), 0F Post flash
FKO command grab with almost nonexistent combo options. Sadly, it has slightly less range than Heart's A and cannot grab prejump, along with a short amount of startup before it goes active. Thankfully, after the super flash appears, the opponent cannot do anything to escape. Best to think of it as an extremely high risk/high reward BD throw.
Combos
Basic Combos
High Jump Combos
Since Mr.Heart does not have a Grave Shoot launcer he has to use 214+B (Earthcrush) to start high jump combos. Simply hold up and you'll super jump cancel it on hit. Note that Earthcrush will not launch airborne opponent. While you can cancel into Earthcrush from any lights, cr.B has the most range and is generally the best poke button, it is still worthwhile to simply throw out Earthcrush from mid-range as you will still get the full confirm.
Sidenote: It is not possible to combo from 214+D, but it is still a good poke that can be super jump cancelled and let you approach.
Earthcrush BnB
| ~214+B > jc > j.A > j.A+C > ((j.A+B) > 236236+A) |
5 Hits, 38 damage and alright meter build, but most importantly it puts the opponent full screen and closer to the corner. If you are already at the corner you can hit another j.A+B as your opponent hits the ground against certain characters like Raoh or Shin and follow up with a super grab (236236+A "Heart's A"). Going for the extra air grab is a bit of a risc though, as whiffing it means you cannot hit the super.
Alternate Earthcrush BnB
| ~214+B > jc > j.C > 5D > (j.C) |
Alternate confirm that takes advantage of the jump cancel on 5D to build a hit of armor. In the corner, this can be used for a high/low mixup; early airdash jC to land and then 2B, late airdash jC to hit them overhead and confirm into 2B Earthcrush.
If you have super meter and you're not near the corner, it is possible to do:
Midscreen Heart's A confirm
| ~214+B > jc > j.C > land > 236236+A ("Heart's A") |
As the opponent cannot tech at all if they are hit by j.C.
If you can hit cr.B it is advisable to go for a Banishing Strike combo instead, as they overall deal more damage, though it might not combo at certain ranges.
In short, try and hit Earthcrush (214+B) as much as possible, but keep in mind that the big damage is in Banishing Strike combos.
Banishing Strike Combos
Note that Mr. Heart's 214A Guard Cancel acts as a Banishing Strike, all of these combos can be performed off
Basic Banishing Strike Combo
| 2B > CD+6 > 5D > j.D > 5D > 623C > 5A(1) > 623A > (214B) |
Your basic Banishing Strike confirm. Used from midscreen to the corner, it gives decent damage and takes off 2 stars. The 214B can OTG for extra damage, but you sacrifice positioning.
Basic Metered Banishing Strike Combo
| 2B > CD+6 > 5D > j.D > 5D > j.D > 5D > 63214A > 236236A |
An easy way to cash out meter for big damage. Takes off 2 stars.
Fullscreen Banishing Strike Combo
| 2B > CD+6 > delay > 5D > 214D > (jC) |
Basic fullscreen combo. Sends them to the corner and allows you to set up your super armor. Takes off 2 stars.
Other Basic Combos
214A Counter/Corner Throw Combo
| 5A > 5D > 623C > 5A(1) > 623A |
Same basic ender as your basic Banishing Strike combo.
Metered 214A Counter/Corner Throw Combo
| 5A > 5D > 214B > jA > jAB > 236236A |
Itteyo! Combos
Typhoon Loop Combos
Note that ALL combos in this section have been tested and performed on P1 side; more or otherwise different routes are possible with P2, but the aim of this section is to show combos that can be performed regardless.
Most Typhoon Loops are very similar, differing mainly in their opener (Depending on screen position) and in their ender (Slight adjustments based on character). Mr. Heart effectively has "freestyle" confirms; as long as you can get them bouncing off the wall high enough, you can start and end a Typhoon Loop. The combos in this section are not to be taken as hard and fast rules, and serve more as example combos in very common situations.
All but Kenshiro
| 2B > CD+6 > 5D > 236236C > 5A(1) > 5D > 236C > j236C(6) > j236B > 5D > {236C > 236A}X8 > 623A > 236C > j236C(4) > j236D > jB > j236E |
Standard 1 bar route. Before the 623A ender, you should have about 29-30 hits.
Kenshiro
| 2B > CD+6 > 5D > 236236C > 5A(1) > 5D > 236C > j236C(6) > j236B > 5D > {236C > 236A}X8 > 623A > 236C > j236C(2) > j236D > jB > j236E > 236C |
For Kenshiro, the jump cancel on the ender 236C > j236C requires a slight delay to keep him from bouncing upwards. The final 236C hits OTG.
Corner Typhoon Loop Combos
Universal Corner Typhoon Loop
| 2B > CD+6 > 5B > 5B > 5D > 236236C > 236C > j236C(5) > j236B > 5D > {236C > 236A}X8 > 623A > 236C > j236C(4) > j236D > jB > j236E |
Universal combo, with the exception of Kenshiro's standard ender due to his hurtbox.
Corner To Corner Typhoon Loop Combos
Toki, Kenshiro
| 2B > CD+6 > delay > 5D > sjD > 5D > 236236C > 236C > j236C(6) > j236B > 5D > {236C > 236A}X8 > 623A > 236C > j236C(4) > j236D |
The slight delay needed on Kenshiro's basic Typhoon Loop is still required here.
Shin, Jagi, Raoh, Rei, Souther, Mamiya
| 2B > CD+6 > delay > 5D > sj, delay IAD jD > 236236C > 236C > j236C(6) > j236B > 5D > {236C > 236A}X8 > 623A > 236C > j236C(4) > j236D > jB > 236E |
Some characters need 236E and some only need jB.
Juda
| 2B > CD+6 > delay > 5D > sj, delay IAD jB > 236236C > 236C > j236C(6) > j236B > 5D > {236C > 236A}X8 > 623A > 236C > j236C(4) > j236D > jB |
Alternate Loops
BD Grab Loops
Basic BD Loop
| 2B > CD+6 > 5D > 236236C > BDxN |
Comedically easy kill combo that works on Rei, Shin, and Raoh. Also works in the corner.
Corner Throw/214A Counter BD Loop
| 5A > 5D > 236236C > BDxN |
623A Loop
On Rei and Jagi, 623A can be looped in the corner. Any corner combo that leads into 623A or 623C can be converted into this loop.
Throw Combos
Standard throw combo
| Back throw (into corner) > 5A > 5D > 623C > 5A(1) > 623A |
Standard combo.
Basic BD Loop
| Back throw (into corner) > 5A > 5D > 236236C > BDxN |
Simple yet threatening corner BD combo.
Fatal KO Combos
The Only One You Have
| (During Itteyo!) 5A(1)/5B > FKO |
Not too impressive, but it exists.
Other Important Combos
Matchups
Kenshiro
-After Kenshiro uses Musou Tensei, make sure to take caution when using Earthcrush, as he can parry even a fullscreen D Earthcrush to get in your face and punish you for huge damage.
-He can use Tenha Kassatsu to trade with Kenpou Goroshi from anywhere on screen, although you'll win in damage.
-Be mindful of when you charge jC in neutral, as a dashing 5D from Kenshiro can reach very far very fast, and most likely will result in you getting hit if the opponent is attentive.
A fairly difficult match. Ken has powerful pokes that easily contest you at B Earthcrush range, an extra tool to call out guard cancels should you get predictable, and a consistent way to punish fullscreen Earthcrushes. 5D can easily out-lame you if you attempt to play reactively, and Musou Tensei can easily let him ignore fullscreen harassment. Be wary of attempting to float at him after Kenpou Goroshi, as his 623A can easily anti air you and give him time to recover to block the clubs. Liberal use of 5A or guard cancel to scare him out of IAD pressure resets is a must, along with preemptive B Earthcrushes to stuff his grounded approaches.
His large hurtbox however allows BD grab loops on P2 side and some unique confirms via j.236D > j.236C routes in the corner and off of guard cancels, along with some slightly extended corner combos.
Raoh
-Musou Tensei, much like when fighting Kenshiro, is extremely dangerous and must be taken into account when trying to harass Raoh at mid or fullscreen, doubly so thanks to Raoh's kill potential.
-Raoh's j.236C is your main roadblock in this match; deflecting with 214A or trading with D Earthcrush to punish his landing recovery is a must here.
-Watch out for Raoh's charged jC, as when charged it will stall his momentum in the air, throwing off your anti air timings.
-If the Raoh player has a bar of aura and knows the matchup, consider Kenpou Goroshi sealed. Raoh can respond with Tenshou Honretsu from anywhere on the screen for massive damage and stars, and win the exchange every single time.
Probably your hardest matchup next to Toki. Raoh is an infamous brick wall for Heart, and is allowed a lot of freedom in this match. Watch out for him charging at fullscreen or attempting a grounded 236C and be prepared to snipe with D Earthcrush. After Raoh gets Musou Tensei, it only gets harder. Easy ways to negate Earthcrush, Kenpou Goroshi, or even punish super armor charging with boost, Raoh is practically a zoner after you lose the life lead.
On the bright side, Raoh is laughably easy to combo for Heart. Any guard cancel, normal throw, or banishing strike confirm can be easily turned into a BD grab infinite as P1 or P2, and P2 has access to the 623A infinite as well. Raoh also suffers from not being able to switch his guard as fast, buffing your own 5D IAD pressure a small bit. Get a hit, and make it count.
Toki
-Resist the urge to guard cancel 2D; teleports will easily make it whiff, wasting your meter and giving him a free chance to punish.
-Even at close range, Toukei Kohou actually has such little recovery that Toki can recover and send it back at you with his own reflector after you reflect it with 214A.
-Toki cannot be BD grab or 623A looped regardless of P1/P2 side differences.
You all knew it was coming.
Toki's long range and movement options completely out class yours, and are a large part of what makes this matchup so difficult. One minute he can dance around you like a fly, and the other he can be zoning you to hell and back. Practice IB'ing his blockstrings into 2D, as its plus otherwise. You can interrupt 2D > 623B > 2A on IB with 5A or BD throw, and possibly force a trade with 2B if you have super armor stocked. Watch charging armor, as Toki can easily teleport on top of you and either punish or start his oppressive pressure game. Even worse, his small and strange hitbox introduces combo issues; Toki can often fly over you or react strangely to the wall during Typhoon loops, and allows him to ignore both BD and 623A infinites. May your guard cancels be swift, blocks be instant, and nerves be steel.
Somehow, despite his small hurtbox, you can perform the same combo extensions with j.236D > 236C as Kenshiro.
Shin
X
Rei
-623A/C is one of the only moves that can directly beat Rei's Danko Sousaiken. Be on the ready when you see his charging animation as he might delay it to throw off your timing.
-Guard cancel is incredibly effective against Rei's common IAD flowchart, as is 5A.
-Both BD and 623A infinites are possible on Rei as both P1 and P2, giving you easy access to combo routes.
-Rei is one of the few characters without a particularly strong way to respond to Kenpou Goroshi. If you're not confident in your execution (or very confident in your 623A infinite execution) the super can be abused to great effect.
Somehow, this might be your best matchup. Heart is somewhat of an 'anti-Rei'. A large suite of anti airs, plentiful combo routes, multiple strong ways to call out his aerial pressure combined with Rei's relatively weak answers to many of Mr. Hearts tactics grant you a matchup that might actually feel even. Savor it folks, you won't get another one like this.
Rei's best tactic is to zone you with air fireballs and play runaway. 214A can help nullify this threat, but you have few ways of getting around them directly. His blockstrings have several good guard cancel points, as many of them involve him staying aerial, such as 2B 2D IAD, any blocked j.236D, etc. Without meter to guard cancel his mix is still dangerous, but IBing his buttons and using 5A to call out his airdash approaches is a powerful tactic thanks to its great hitbox.
X
Juda
X
Thouther
X
Jagi
X
Mr. Heart
If you're actually playing this matchup, put down the sticks and buy your fellow Mr. Heart main a beer. You've both earned it.
Mamiya
X
