| Line 328: | Line 328: | ||
<div style="border:1px groove {{#var:primarycolor}}; background-color:{{#var:secondarycolor}}; padding:10px;"> | <div style="border:1px groove {{#var:primarycolor}}; background-color:{{#var:secondarycolor}}; padding:10px;"> | ||
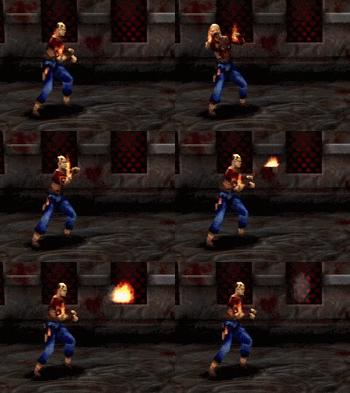
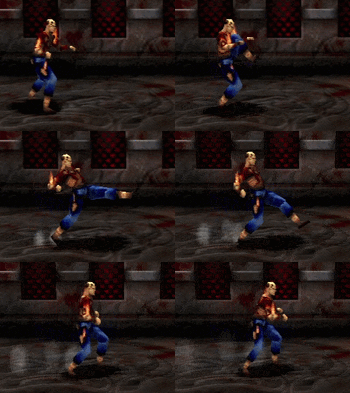
{{MoveData | {{MoveData | ||
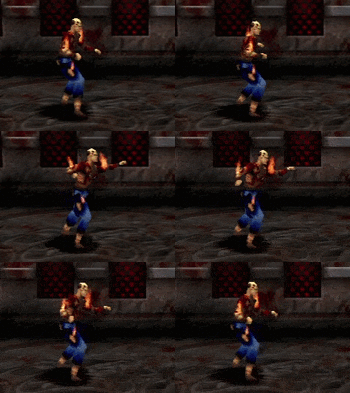
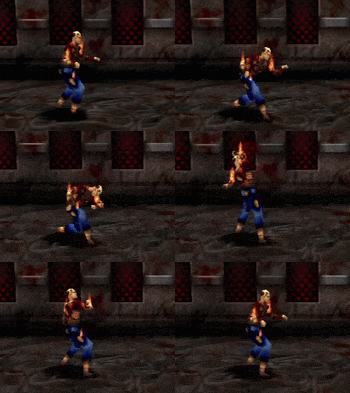
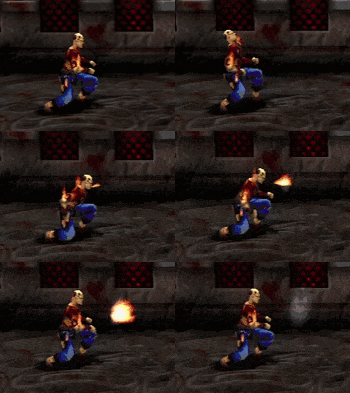
|image= | |image=TK-Cain-X.gif | ||
|caption= | |caption= | ||
|name=Front Kick | |name=Front Kick | ||
| Line 353: | Line 353: | ||
<div style="border:1px groove {{#var:primarycolor}}; background-color:{{#var:secondarycolor}}; padding:10px;"> | <div style="border:1px groove {{#var:primarycolor}}; background-color:{{#var:secondarycolor}}; padding:10px;"> | ||
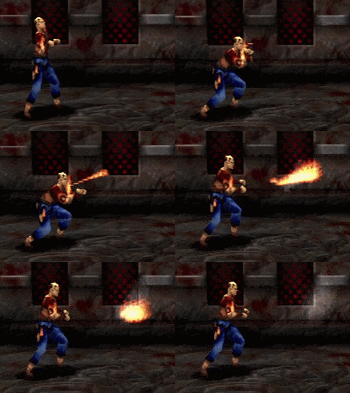
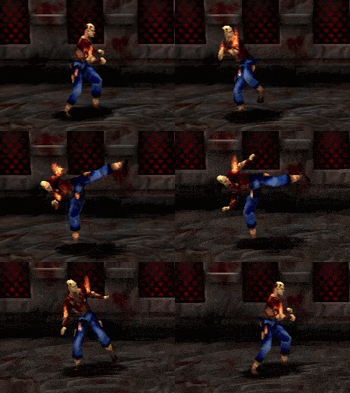
{{MoveData | {{MoveData | ||
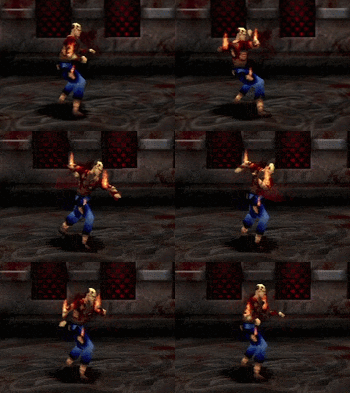
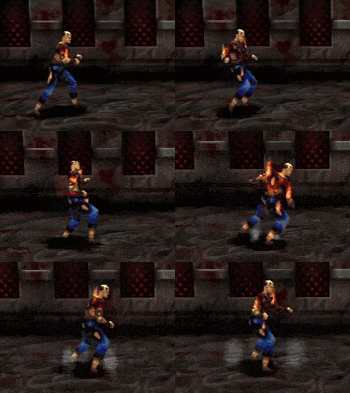
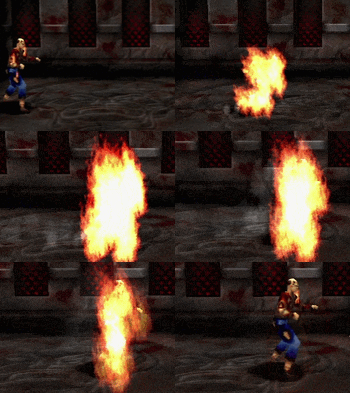
|image= | |image=TK-Cain-fX.gif | ||
|caption= | |caption= | ||
|name=Low Front Kick | |name=Low Front Kick | ||
| Line 378: | Line 378: | ||
<div style="border:1px groove {{#var:primarycolor}}; background-color:{{#var:secondarycolor}}; padding:10px;"> | <div style="border:1px groove {{#var:primarycolor}}; background-color:{{#var:secondarycolor}}; padding:10px;"> | ||
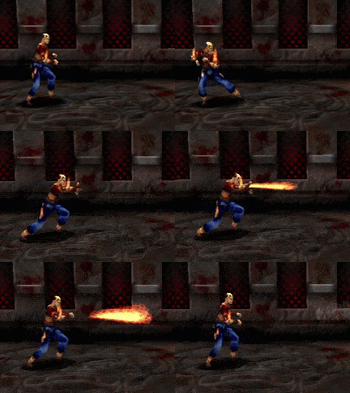
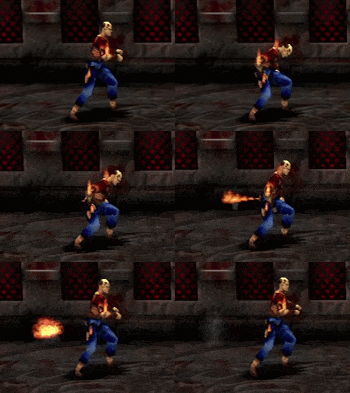
{{MoveData | {{MoveData | ||
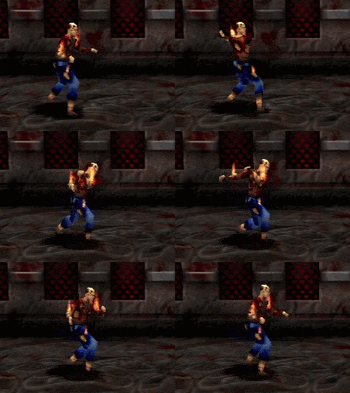
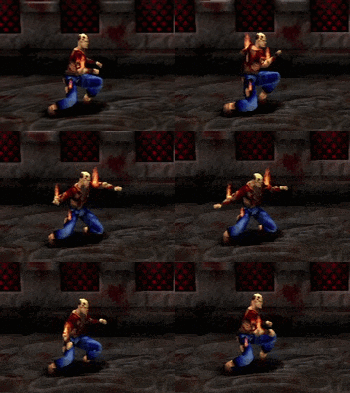
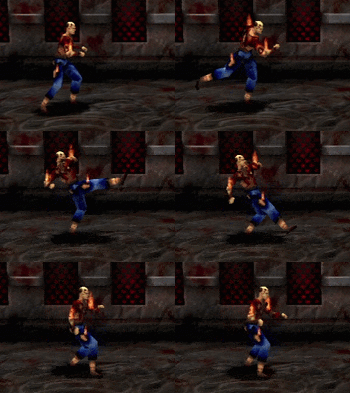
|image= | |image=TK-Cain-bfX.gif | ||
|caption= | |caption= | ||
|name=Power Thrust Kick | |name=Power Thrust Kick | ||
| Line 400: | Line 400: | ||
<div style="border:1px groove {{#var:primarycolor}}; background-color:{{#var:secondarycolor}}; padding:10px;"> | <div style="border:1px groove {{#var:primarycolor}}; background-color:{{#var:secondarycolor}}; padding:10px;"> | ||
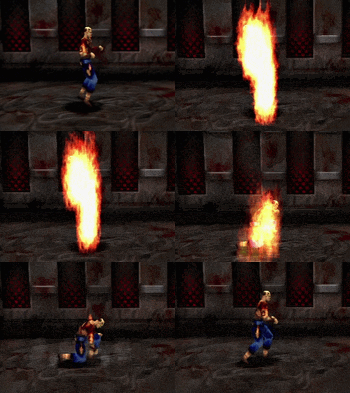
{{MoveData | {{MoveData | ||
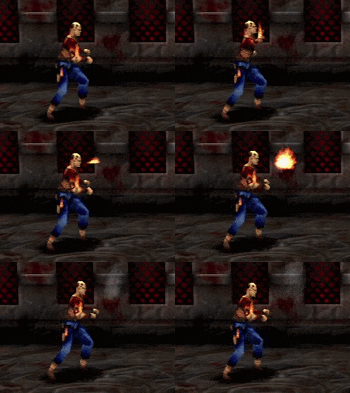
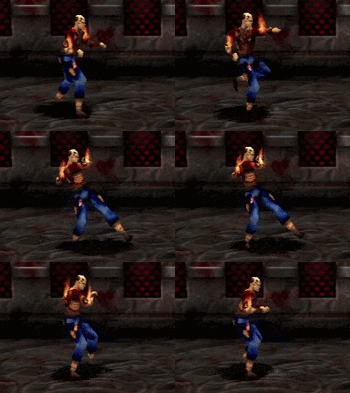
|image= | |image=TK-Cain-qcX.gif | ||
|caption= | |caption= | ||
|name=Uppercut Kick | |name=Uppercut Kick | ||
| Line 426: | Line 426: | ||
<div style="border:1px groove {{#var:primarycolor}}; background-color:{{#var:secondarycolor}}; padding:10px;"> | <div style="border:1px groove {{#var:primarycolor}}; background-color:{{#var:secondarycolor}}; padding:10px;"> | ||
{{MoveData | {{MoveData | ||
|image= | |image=TK-Cain-hcX.gif | ||
|caption= | |caption= | ||
|name=Backdraft | |name=Backdraft | ||
| Line 448: | Line 448: | ||
<div style="border:1px groove {{#var:primarycolor}}; background-color:{{#var:secondarycolor}}; padding:10px;"> | <div style="border:1px groove {{#var:primarycolor}}; background-color:{{#var:secondarycolor}}; padding:10px;"> | ||
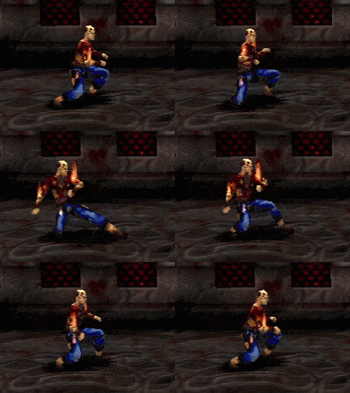
{{MoveData | {{MoveData | ||
|image= | |image=TK-Cain-l2X.gif | ||
|caption= | |caption= | ||
|name=Kick From Crouch | |name=Kick From Crouch | ||
Revision as of 19:35, 21 October 2023
Overview
Cain is the only zoner of the cast, with a lot of his ![]() attacks having extremely disjointed hurtboxes or are projectile attacks. Incinerator (
attacks having extremely disjointed hurtboxes or are projectile attacks. Incinerator (![]()
![]()
![]() ) in particular has such a long hitbox that even if opponents high counter it, they'll be too far away to actually hit you with their body slam.
) in particular has such a long hitbox that even if opponents high counter it, they'll be too far away to actually hit you with their body slam.
On top of his zoning game, Cain's juggles are unmatched for a character without access to a super juggle. Both your punish combos and your mixup-combos lead to a juggle, which can be optimized to bag over 50% damage without the aid of the corner.
His combos often consist of one special move after another, stringing together into massive damage. However stringing several special moves together (especially ones that require a lot of back-forward, quarter circle, and half circle inputs in a row) can be difficult and frustrating to time correctly.
| At a glance: | |
| Pros | Cons |
|
|
Move List
 Front Punch
 Back Punch
 Front Kick
 Back Kick
Grabs / Misc Moves
Cain's miss grab animation is 18f.
