m (→Frame Data) |
|||
| Line 406: | Line 406: | ||
=Attack Notes= | =Attack Notes= | ||
His dash is different from the rest of the cast, if you maintain forward (forward neutral forward+hold) his dash will travel more distance. | |||
You can alternate between rekka C and A, therefore it is recomended to always use the A version for the 3rd rekka as it is the safest one, and prefer the A version as well as 2nd since it hits low and has the best frame advantage. | |||
Also note that if you are out of range, you can whiff cancel rekkas (karacancel), for example 2C > rekka A(whiff) karacancel 2nd rekka A (will combo with the 2C). It is also a blockstring on block. | |||
A simple pressure string would be rekka A > rekka A > 2C > rekka A karacancel into rekka A. | |||
You can make your opponent guess by delaying your rekkas or doing something else (mainly after the 2nd rekka A). | |||
Other than his rekkas, his special moves are either unsafe or can be reacted to easily so it is not recommended to use them. | |||
His far C is an amazing poke as it covers the air very well. | |||
He is one of the few characters able to confirm his super via 3 lights midscreen : clB 2B stA Super (use the 2B 236AD 236A shortcut for easy execution). | |||
=Combos= | =Combos= | ||
Revision as of 09:07, 9 September 2016
Introduction
To come.
Character Colors
Gameplay Overview
To come.
Move List
Special Command Moves
Attributes
When a move can be canceled, it can either be canceled into a special/super/feint. Some moves that can't be canceled when they hit can be canceled when the opponent blocks while some moves that can be Special/Super canceled cannot be Feint Canceled.
Frame Data
Legend :
Command = the input for the attack.
Start Up = How many start up frames an attack has.
Hit = When the attack hits.
Block = When the attack is blocked.
+ signifies how many advantage frames the attacker has.
- signifies how many disadvantage frames the attacker has.
KD means the attack will knock the opponent down.
Data from Howard's Arena
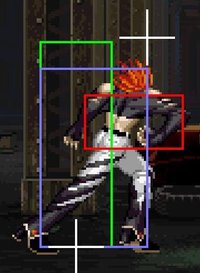
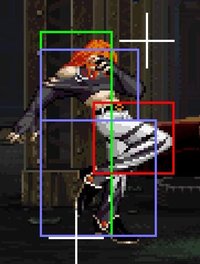
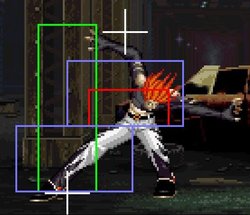
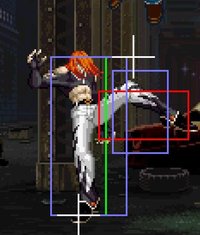
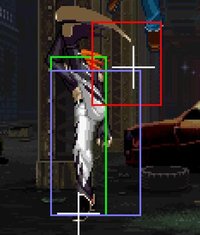
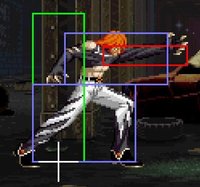
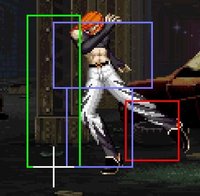
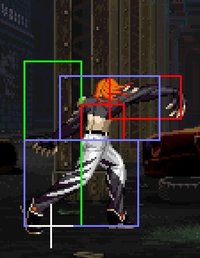
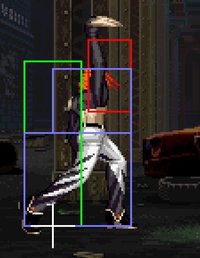
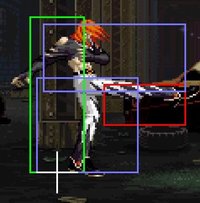
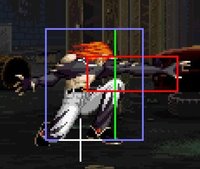
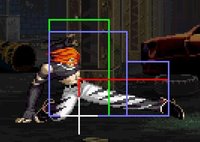
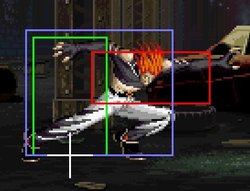
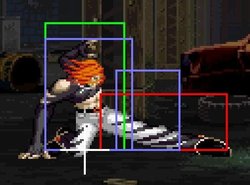
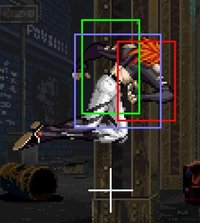
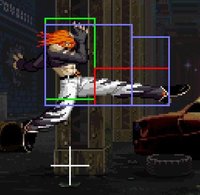
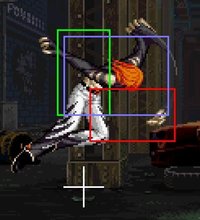
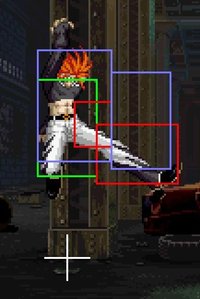
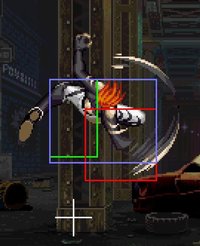
Hitboxes
| Command | Total Frames |
| Close |
- |
| Command | Total Frames |
| - |
| Command | Total Frames |
| - |
| Command | Start Up | Hit | Guard |
| Close |
4 | +6 | +6 |
| Command | Start Up | Hit | Guard |
| Close |
3 | +6 | +6 |
| Command | Start Up | Hit | Guard |
| Close |
7 | -7 | -7 |
| Command | Start Up | Hit | Guard |
| Close |
4 | -2 | -2 |
| Command | Start Up | Hit | Guard |
| Far |
4 | -1 | -1 |
| Command | Start Up | Hit | Guard |
| Far |
5 | -5 | -5 |
| Command | Start Up | Hit | Guard |
| Far |
9 | +1 | +1 |
| Command | Start Up | Hit | Guard |
| Far |
8 | -2 | -2 |
| Command | Start Up | Hit | Guard |
| 5 | +5 | +5 |
| Command | Start Up | Hit | Guard |
| 4 | +5 | +5 |
| Command | Start Up | Hit | Guard |
| 6 | +4 | +4 |
| Command | Start Up | Hit | Guard |
| 10 | KD | -10 |
| Command | Start Up | Hit | Guard |
| Jumping |
4 | ? | ? |
| Command | Start Up | Hit | Guard |
| Jumping |
5 | ? | ? |
| Command | Start Up | Hit | Guard |
| Jumping |
9 | ? | ? |
| Command | Start Up | Hit | Guard |
| Jumping |
10 | ? | ? |
| Command | Start Up | Hit | Guard |
| 21 | -1 | +5 |
Attack Notes
His dash is different from the rest of the cast, if you maintain forward (forward neutral forward+hold) his dash will travel more distance.
You can alternate between rekka C and A, therefore it is recomended to always use the A version for the 3rd rekka as it is the safest one, and prefer the A version as well as 2nd since it hits low and has the best frame advantage.
Also note that if you are out of range, you can whiff cancel rekkas (karacancel), for example 2C > rekka A(whiff) karacancel 2nd rekka A (will combo with the 2C). It is also a blockstring on block.
A simple pressure string would be rekka A > rekka A > 2C > rekka A karacancel into rekka A.
You can make your opponent guess by delaying your rekkas or doing something else (mainly after the 2nd rekka A).
Other than his rekkas, his special moves are either unsafe or can be reacted to easily so it is not recommended to use them.
His far C is an amazing poke as it covers the air very well.
He is one of the few characters able to confirm his super via 3 lights midscreen : clB 2B stA Super (use the 2B 236AD 236A shortcut for easy execution).
Combos
Anywhere:-
Jumping C or D-->Down+AB-->QCB+C (x3)
Jumping C or D-->Standing C-->QCF+A
Jumping C or D-->Standing C-->QCFx2+P
Jumping C or D-->Down+AB-Feint->Crouching C-->QCFx2+P (Better chance of working at the corner)
HCF+K, Break-->Standing C-Feint->Crouching C-->QCFx2+P
Crouching B 1~3 times (at least one if not at corner)-->QCB+A (x3)
Crouching B 1~3 times (at least one if not at corner)-->QCFx2+P
T.O.P. Notes
Freeman's TOP move is a barrier that surrounds his body. Recovery on the move is ok, but be cautious.
Overall Strategy
Freeman is a bit of an odd character. On paper, he looks fantastic, with decent speed, good damage behind his attacks, and invincibility frames on a lot of his specials. However, he suffers three crippling flaws: worst brake move in the game, terrible combo-ability, and lack of any sort of a jump-in stopper. The last one is the worst; he somewhat makes up for poor combo-ability with his powerful attacks, but since almost any character can jump in on him at will, there is little he can do on defense.
Matchup Notes
To come.
Advanced Tactics
To come.
