| (2 intermediate revisions by the same user not shown) | |||
| Line 332: | Line 332: | ||
|property= | |property= | ||
|stance= | |stance= | ||
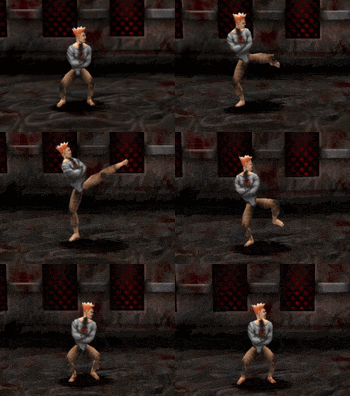
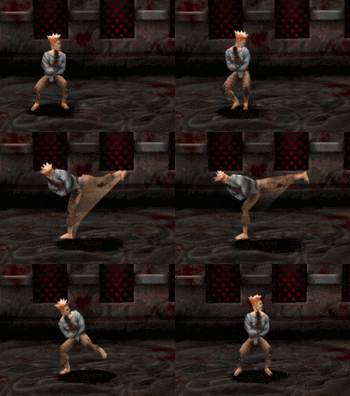
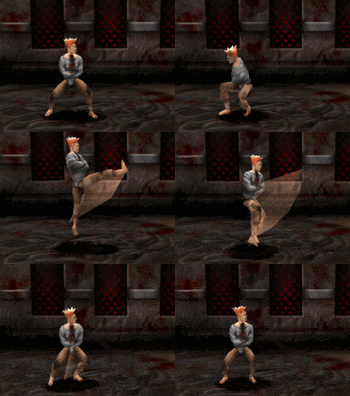
|description=You best poke button to get offense off of you. Short ranged.}} | |description=You best poke button to get offense off of you. Short ranged. | ||
---- | |||
<b>Cancels:</b></br> | |||
{{TKin|i=f|c=1}}{{TKin|i=3}} - Psycho Sidekick</br> | |||
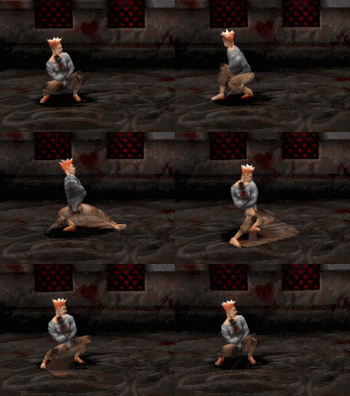
{{TKin|i=b|c=1}}{{TKin|i=f|c=1}}{{TKin|i=4}} - Psycho Spin}} | |||
}} | }} | ||
</div> | </div> | ||
| Line 354: | Line 358: | ||
|property= | |property= | ||
|stance= | |stance= | ||
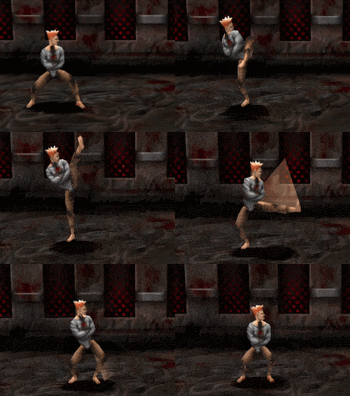
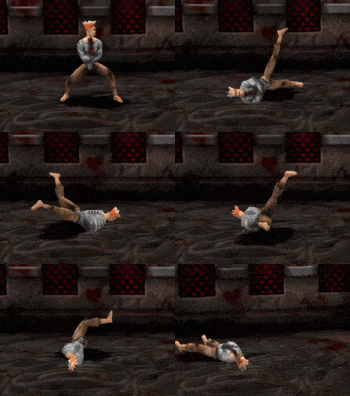
|description=Your poke with the most frame advantage, usually strung into after a ''Forward High Kick'' as your "get off me" combo.}} | |description=Your poke with the most frame advantage, usually strung into after a ''Forward High Kick'' as your "get off me" combo. | ||
---- | |||
<b>Cancels:</b></br> | |||
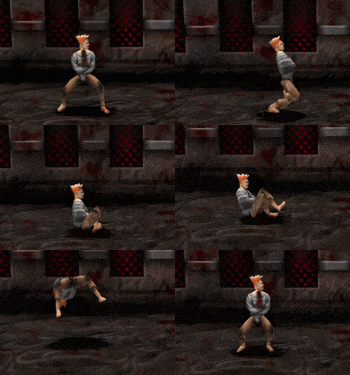
{{TKin|i=qc|c=1}}{{TKin|i=4}} - Flipped Out}} | |||
}} | }} | ||
</div> | </div> | ||
| Line 376: | Line 383: | ||
|property=[[File:Knockdown.png]] | |property=[[File:Knockdown.png]] | ||
|stance= | |stance= | ||
|description=Unlike most other slow knockdown moves that other characters have, Ax Kick has | |description=Unlike most other slow knockdown moves that other characters have, Ax Kick has good range and great damage, and its advantage is pretty good even on block.}} | ||
}} | }} | ||
</div> | </div> | ||
| Line 398: | Line 405: | ||
|property= | |property= | ||
|stance= | |stance= | ||
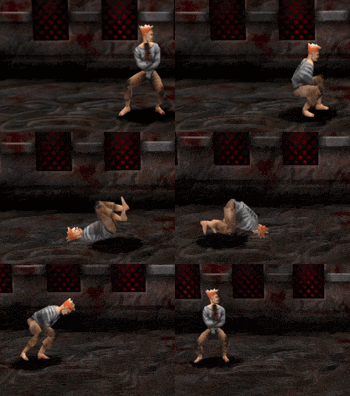
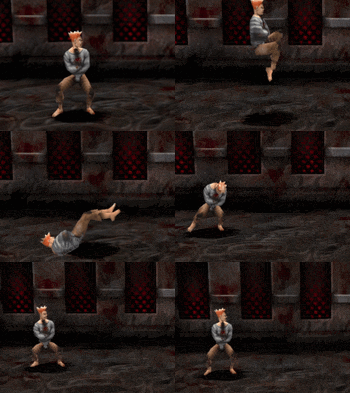
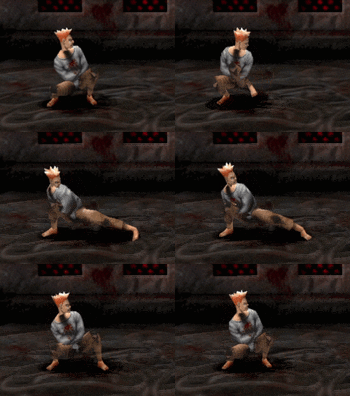
|description= | |description=One of your best utility moves for retreating, however it doesn't do very much damage. | ||
---- | |||
<b>Cancels:</b></br> | |||
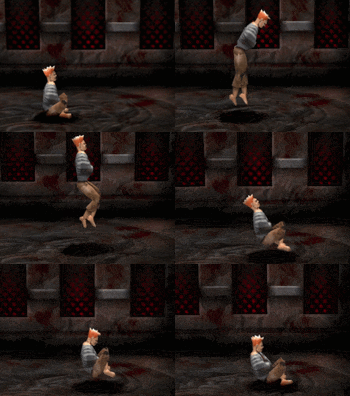
{{TKin|i=qc|c=1}}{{TKin|i=4}} - Flipped Out}} | |||
}} | }} | ||
</div> | </div> | ||
| Line 434: | Line 444: | ||
|property=- | |property=- | ||
|stance=Switch | |stance=Switch | ||
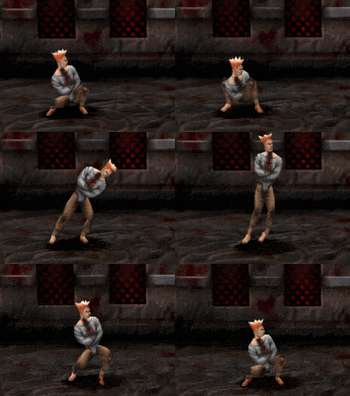
|description=Another terrible command move. Even though this grab hits low, you'll get a regular hit instead of the grab if they're blocking | |description=Another terrible command move. Even though this grab hits low, you'll get a regular hit instead of the grab if they're holding blocking.}} | ||
}} | }} | ||
</div> | </div> | ||
| Line 456: | Line 466: | ||
|property= | |property= | ||
|stance= | |stance= | ||
|description=This would be a good low | |description=This would be a good low if it had any combo strings. Mostly used as an OTG string to add 4 damage.}} | ||
}} | }} | ||
</div> | </div> | ||
| Line 524: | Line 534: | ||
|property= | |property= | ||
|stance= | |stance= | ||
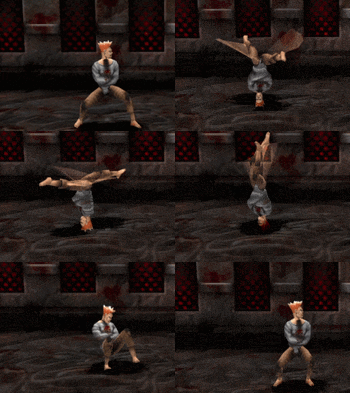
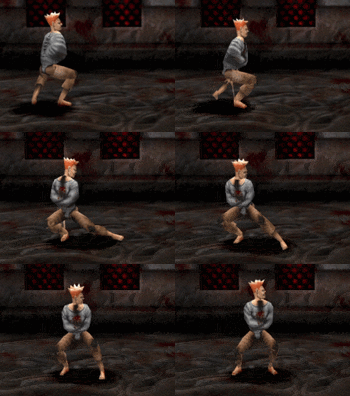
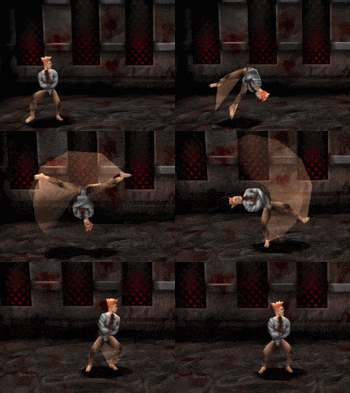
|description=Can string into ''Spinning Head Butt'' for good damage. Would be much more useful if there was a true way to string into it, so you'll probably not use it often.}} | |description=Can string into ''Spinning Head Butt'' for good damage. Would be much more useful if there was a true way to string into it, so you'll probably not use it often. | ||
---- | |||
<b>Cancels:</b></br> | |||
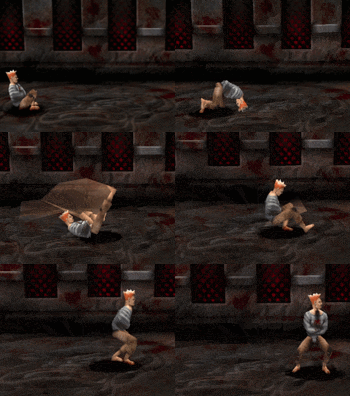
{{TKin|i=b|c=1}}{{TKin|i=f|c=1}}{{TKin|i=1}} - Spinning Head Butt}} | |||
}} | }} | ||
</div> | </div> | ||
Latest revision as of 16:55, 13 November 2023
Overview
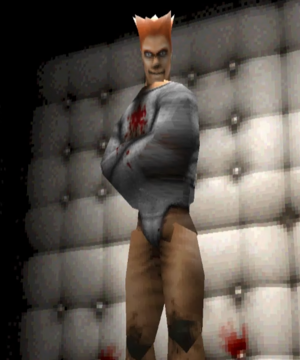
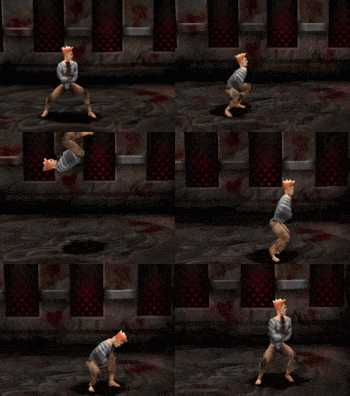
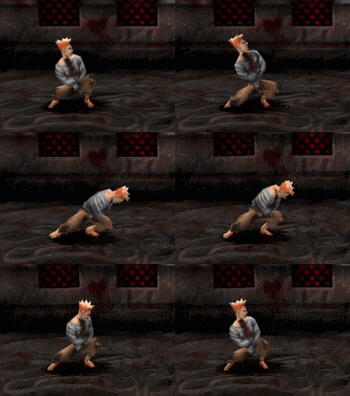
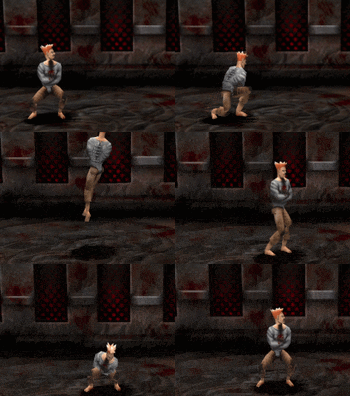
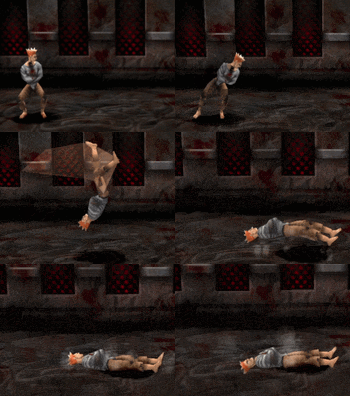
Oddball is one of the most dangerous characters in the game. His low dash cooldown allows him to dart around the stage rapidly, he has unique special attacks that double as mobility tools, and any string ending in a launcher can be converted into massive damage.
What Oddball really has going for him is that he is only one of two characters in the game that has access to a super launcher. Super Rising Shoulder sends whoever gets hit by it comically high into the air, and since Oddball possesses a palette of launching attacks both mid and low, learning how to convert stray hits into very high damaging super launcher strings (and learning the buffers to consistently land the hits) is a must when trying to master Oddball. Mastering him requires learning different routes and buffers to account for wall gravity messing with timings. Your reward for your hard work is a character that can convert 50%+ damage off of any mixup combo or punish string.
Oddball's biggest issue is his attack hitboxes. Even at point-blank range, they have a chance at missing your opponent completely if they're standing at an odd angle leaving open to a free combo.
| At a glance: | |
| Pros | Cons |
|
|
Move List
 Front Punch
 Back Punch
 Front Kick
 Back Kick
Grabs / Misc Moves
Oddball has 18f of recovery on a missed grab.
Oddball doesn't have a rear grapple. His side-swap grapple is used instead.
Thrill Kills
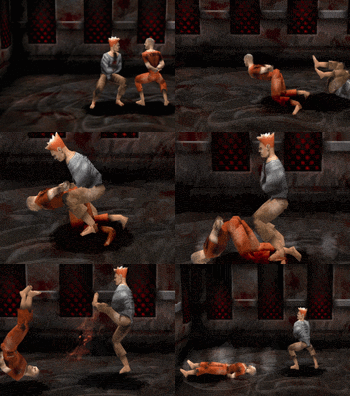
Thrill Kill 1 - No Inputs
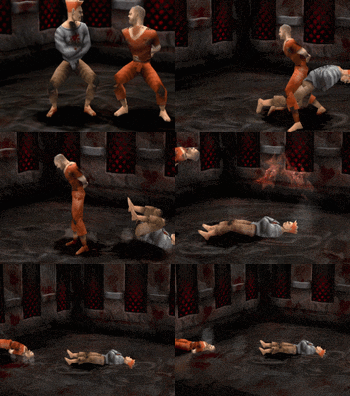
Thrill Kill 2 - L1 + ![]()
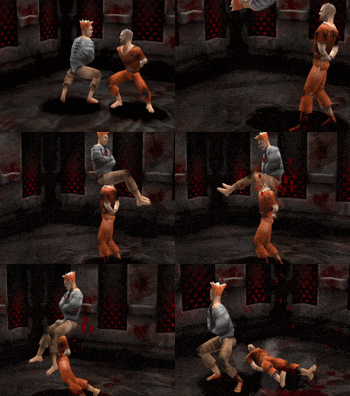
Thrill Kill 3 - ![]() +
+ ![]() +
+ ![]()
Combo Kill - ![]() +
+ ![]() + L1 +
+ L1 + ![]()
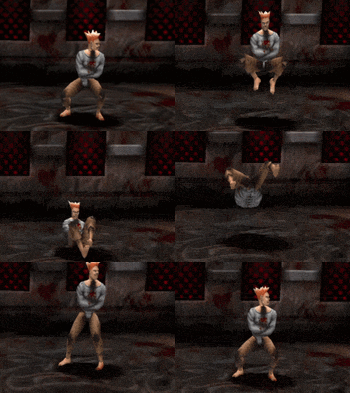
Dance - ![]() +
+ ![]() +
+ ![]() + L1 +
+ L1 + ![]()
