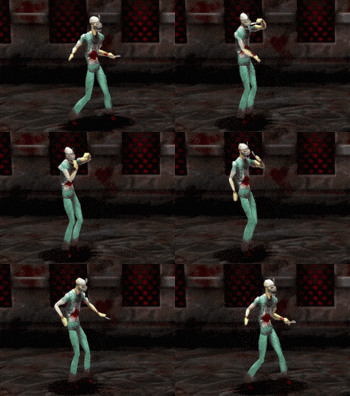
| (11 intermediate revisions by the same user not shown) | |||
| Line 28: | Line 28: | ||
|range=3.5 | |range=3.5 | ||
|property= | |property= | ||
|stance= | |stance= | ||
|description=Average startup and very poor recovery for a jab, but has good range.}} | |description=Average startup and very poor recovery for a jab, but has good range.}} | ||
}} | }} | ||
| Line 50: | Line 50: | ||
|range=1.5 | |range=1.5 | ||
|property=[[File:Launch.png]] | |property=[[File:Launch.png]] | ||
|stance= | |stance= | ||
|description=Terrible range and overshadowed by | |description=Terrible range and overshadowed by ''Scalpel Uppercut'' (although it is one frame faster and has slightly better recovery).}} | ||
}} | }} | ||
</div> | </div> | ||
| Line 73: | Line 73: | ||
|range=3.3 | |range=3.3 | ||
|property=[[File:Knockdown.png]] | |property=[[File:Knockdown.png]] | ||
|stance= | |stance= | ||
|description=}} | |description=}} | ||
{{AttackData-TK | {{AttackData-TK | ||
| Line 86: | Line 86: | ||
|range=4.4 | |range=4.4 | ||
|property=- | |property=- | ||
|stance= | |stance= | ||
|description=Not very good. Can be high blocked, has a very finicky range, and does noting against crouching players.}} | |description=Not very good. Can be high blocked, has a very finicky range, and does noting against crouching players.}} | ||
}} | }} | ||
| Line 108: | Line 108: | ||
|range=12.9 | |range=12.9 | ||
|property=[[File:Hardknockdown.png]] | |property=[[File:Hardknockdown.png]] | ||
|stance= | |stance= | ||
|description=Excellent move. Great damage, very large hitbox, and lots of active frames. Very common way to get your opponent to the corner.}} | |description=Excellent move. Great damage, very large hitbox, and lots of active frames. Very common way to get your opponent to the corner.}} | ||
}} | }} | ||
| Line 130: | Line 130: | ||
|range=2.2 | |range=2.2 | ||
|property= | |property= | ||
|stance= | |stance= | ||
|description=Good frame data, but ''terrible'' range.}} | |description=Good frame data, but ''terrible'' range.}} | ||
}} | }} | ||
| Line 154: | Line 154: | ||
|range=2.2 | |range=2.2 | ||
|property= | |property= | ||
|stance= | |stance= | ||
|description=Deceptively short ranged poke.}} | |description=Deceptively short ranged poke.}} | ||
}} | }} | ||
| Line 176: | Line 176: | ||
|range=3.3 | |range=3.3 | ||
|property=[[File:Launch.png]] | |property=[[File:Launch.png]] | ||
|stance= | |stance= | ||
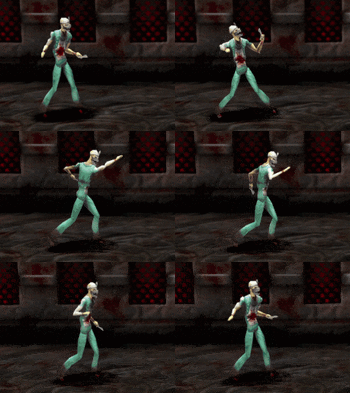
|description=Faustus' best launcher. Lots of ways to string into it, and its good on its own.}} | |description=Faustus' best launcher. Lots of ways to string into it, and its good on its own.}} | ||
}} | }} | ||
| Line 198: | Line 198: | ||
|range=2.0 | |range=2.0 | ||
|property=[[File:Dzzy.png]] | |property=[[File:Dzzy.png]] | ||
|stance= | |stance= | ||
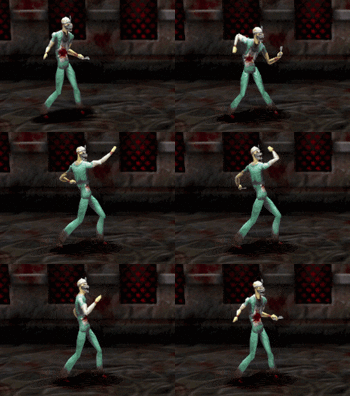
|description=Too slow and short-ranged to be used on its own, but it's amazing when strung into. Another key part of Faustus' kit.}} | |description=Too slow and short-ranged to be used on its own, but it's amazing when strung into. Another key part of Faustus' kit.}} | ||
}} | }} | ||
| Line 220: | Line 220: | ||
|range=1.7 | |range=1.7 | ||
|property=[[File:Dzzy.png]] | |property=[[File:Dzzy.png]] | ||
|stance= | |stance= | ||
|description=Even shorter range than | |description=Even shorter range than ''Low Incision'' has, but has fast frames. Used in juggle strings since its recovery time is ''drastically'' reduced (7<sup>f</sup>) when it strikes an airborne opponent.}} | ||
}} | }} | ||
</div> | </div> | ||
| Line 242: | Line 242: | ||
|range=3.5 | |range=3.5 | ||
|property=[[File:Knockdown.png]] | |property=[[File:Knockdown.png]] | ||
|stance= | |stance= | ||
|description=''The'' move, and what you'll be ending all of your juggle strings with. Lightning fast startup, and deals insane damage when strung into.<br/>You can press {{TKin|i=2}} to cancel the move early, which takes 22<sup>f</sup>. }} | |description=''The'' move, and what you'll be ending all of your juggle strings with. Lightning fast startup, and deals insane damage when strung into.<br/>You can press {{TKin|i=2}} to cancel the move early, which takes 22<sup>f</sup>. }} | ||
}} | }} | ||
| Line 261: | Line 261: | ||
|recovery=28 | |recovery=28 | ||
|advantage=-66 / -32 | |advantage=-66 / -32 | ||
|damage= | |damage=9/hit | ||
|range=1.9 | |range=1.9 | ||
|property= | |property= | ||
|stance= | |stance= | ||
|description=A free-for-all favourite. Great startup, and can be canceled in three different ways. Can sometimes be tricky for your opponent to attack into if they have bad low attacks.}} | |description=A free-for-all favourite. Great startup, has normal invincibility, and can be canceled in three different ways. Can sometimes be tricky for your opponent to attack into if they have bad low attacks.}} | ||
}} | }} | ||
</div> | </div> | ||
| Line 286: | Line 286: | ||
|range=2.7 | |range=2.7 | ||
|property=[[File:Launch.png]] | |property=[[File:Launch.png]] | ||
|stance= | |stance= | ||
|description=A very rare bird: a low hitting launcher with good range. Although it has really bad startup and low damage, this is one of Faustus' few good tools to use against crouching opponents parrying high.}} | |description=A very rare bird: a low hitting launcher with good range. Although it has really bad startup and low damage, this is one of Faustus' few good tools to use against crouching opponents parrying high.}} | ||
}} | }} | ||
| Line 308: | Line 308: | ||
|range=20.1 | |range=20.1 | ||
|property=[[File:Knockdown.png]] | |property=[[File:Knockdown.png]] | ||
|stance= | |stance=Grounded | ||
|description=Very far range but has poor startup, damage, and only results in a regular knockdown. Avoid using.}} | |description=Very far range but has poor startup, damage, and only results in a regular knockdown. Avoid using.}} | ||
}} | }} | ||
</div> | </div> | ||
---- | ---- | ||
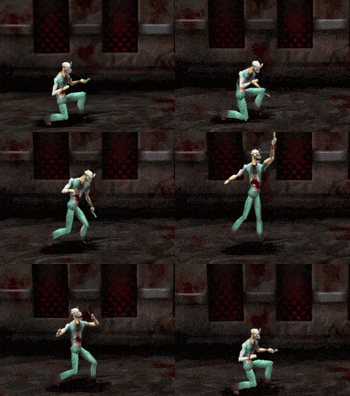
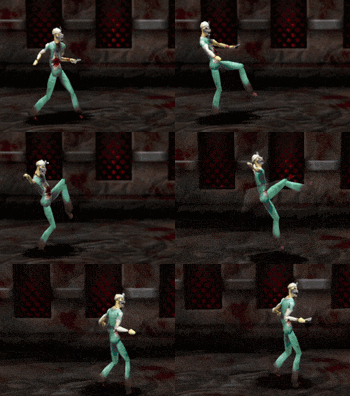
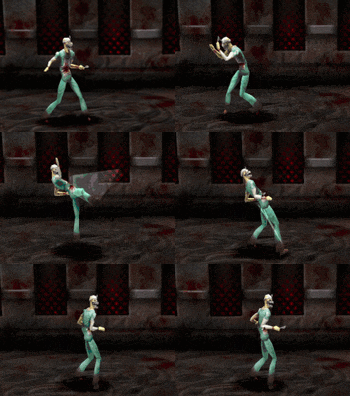
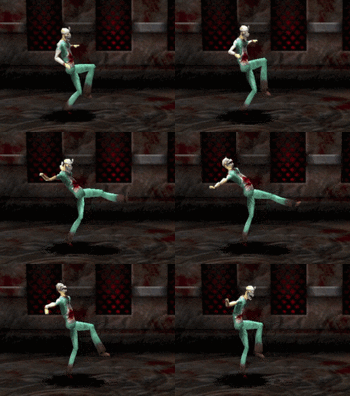
==={{TKin|i=3}} Front Kick=== | ==={{TKin|i=3}} Front Kick=== | ||
<div style="border:2px groove {{#var:primarycolor}}; background-color:{{#var:secondarycolor}}; padding:5px;"> | <div style="border:2px groove {{#var:primarycolor}}; background-color:{{#var:secondarycolor}}; padding:5px;"> | ||
| Line 331: | Line 332: | ||
|range=2.7 | |range=2.7 | ||
|property= | |property= | ||
|stance= | |stance= | ||
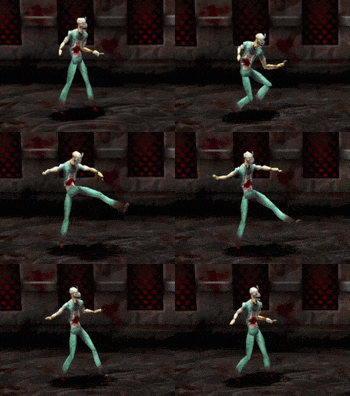
|description=The stanky leg. Very similar frames to | |description=''The'' stanky leg. Very similar frames to ''Straight Jab'', but worse range.}} | ||
}} | }} | ||
</div> | </div> | ||
| Line 339: | Line 340: | ||
{{MoveData | {{MoveData | ||
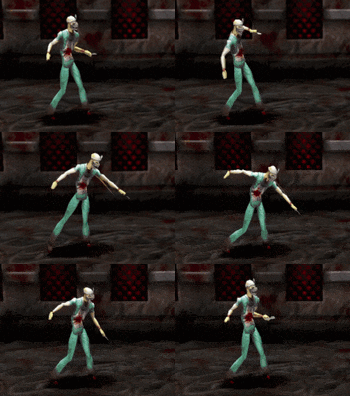
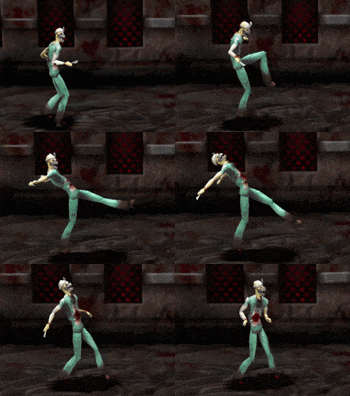
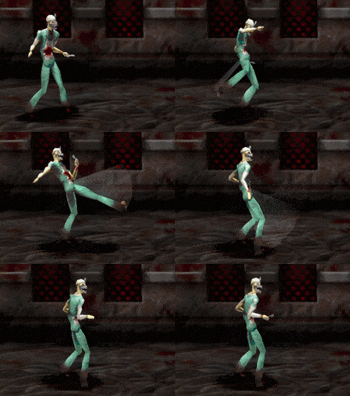
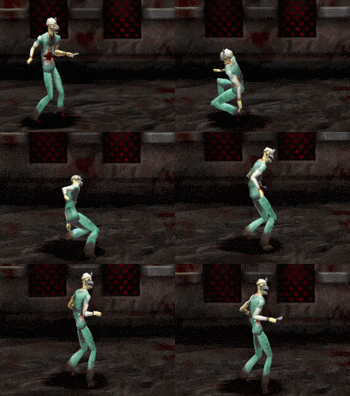
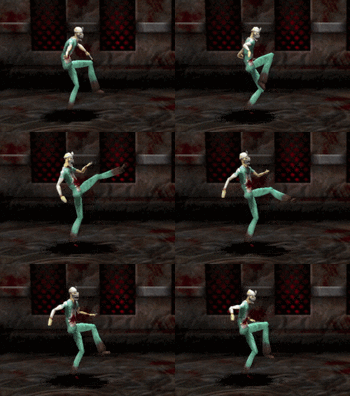
|image=TK-Dr-f3.gif | |image=TK-Dr-f3.gif | ||
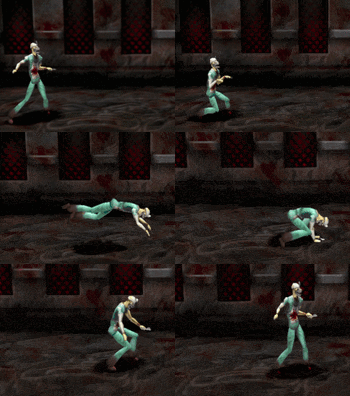
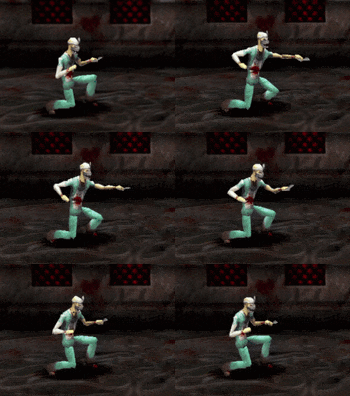
|caption= | |caption=Stanky Stance | ||
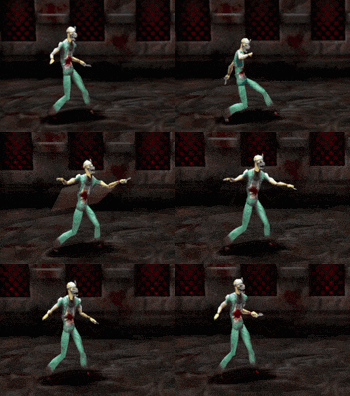
|image2=TK-Dr-f33.gif | |image2=TK-Dr-f33.gif | ||
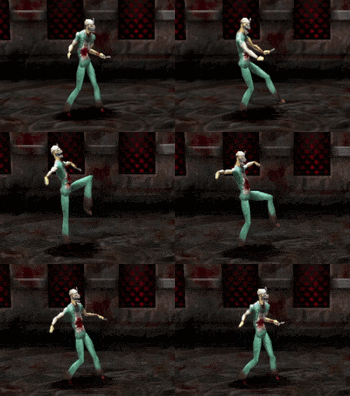
|caption2=Crane Kick | |caption2=Crane Kick | ||
| Line 356: | Line 357: | ||
|range= | |range= | ||
|property= | |property= | ||
|stance= | |stance= | ||
|description=}} | |description=}} | ||
{{AttackData-TK | {{AttackData-TK | ||
| Line 369: | Line 370: | ||
|range=4.6 | |range=4.6 | ||
|property=[[File:Hardknockdown.png]] | |property=[[File:Hardknockdown.png]] | ||
|stance= | |stance=Switch | ||
|description=This would be an amazing move to use against a stunned opponent if it wasn't for its really long startup. Great damage and range for your trouble.}} | |description=This would be an amazing move to use against a stunned opponent if it wasn't for its really long startup. Great damage and range for your trouble.}} | ||
}} | }} | ||
| Line 390: | Line 391: | ||
|range=5.1 | |range=5.1 | ||
|property= | |property= | ||
|stance= | |stance=Switch | ||
|description=A bit of an awkward move in Faustus' kit. Great range, but only one (relatively) unsafe combo string attached to it.}} | |description=A bit of an awkward move in Faustus' kit. Great range, but only one (relatively) unsafe combo string attached to it.}} | ||
}} | }} | ||
| Line 412: | Line 413: | ||
|range=2.9 | |range=2.9 | ||
|property= | |property= | ||
|stance= | |stance= | ||
|description=Great speed and frames for a crouch poke, however it doesn't string properly into any of its combos. | |description=Great speed and frames for a crouch poke, however it doesn't string properly into any of its combos. ''Spinning Sweep'' should be your low poking move.}} | ||
}} | }} | ||
</div> | </div> | ||
| Line 436: | Line 437: | ||
|range=4.5 | |range=4.5 | ||
|property= | |property= | ||
|stance= | |stance=Switch | ||
|description=A pretty good high button. You can be sneaky with this move to faint a combo string against a crouching player and string it into ''Scalpel Uppercut'' to hit mid and get [[Thrill Kill/System#Bonus Damage|bonus damage]].}} | |description=A pretty good high button. You can be sneaky with this move to faint a combo string against a crouching player and string it into ''Scalpel Uppercut'' to hit mid and get [[Thrill Kill/System#Bonus Damage|bonus damage]].}} | ||
}} | }} | ||
| Line 458: | Line 459: | ||
|range=3.4 | |range=3.4 | ||
|property= | |property= | ||
|stance= | |stance=Switch | ||
|description=Another odd attack that has very little use. Doesn't have any appealing combo strings.}} | |description=Another odd attack that has very little use. Doesn't have any appealing combo strings.}} | ||
}} | }} | ||
| Line 480: | Line 481: | ||
|range=5.6 | |range=5.6 | ||
|property= | |property= | ||
|stance= | |stance=Switch | ||
|description=Great range and it can string into ''Low Incision'', but Dr Faustus will trip when this move is low blocked.}} | |description=Great range and it can string into ''Low Incision'', but Dr Faustus will trip when this move is low blocked.}} | ||
}} | }} | ||
| Line 502: | Line 503: | ||
|range=4.5 | |range=4.5 | ||
|property=[[File:Knockdown.png]] | |property=[[File:Knockdown.png]] | ||
|stance= | |stance= | ||
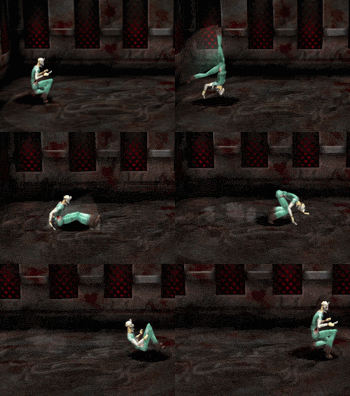
|description=A fun looking move and it offers some mobility after the hit, but you'll rarely use it.}} | |description=A fun looking move and it offers some mobility after the hit, but you'll rarely use it.}} | ||
}} | }} | ||
| Line 510: | Line 511: | ||
{{MoveData | {{MoveData | ||
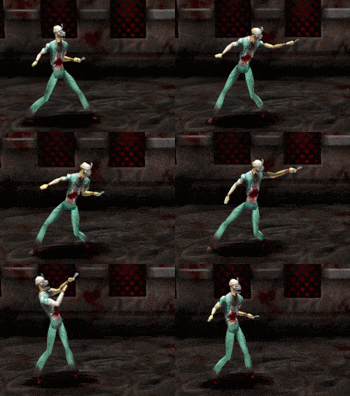
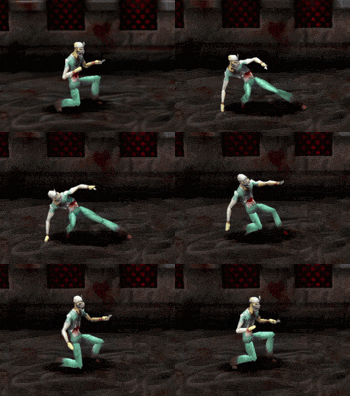
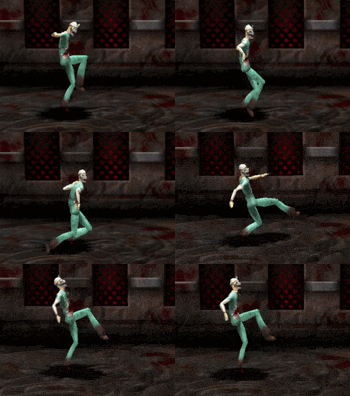
|image=TK-Dr-hc4.gif | |image=TK-Dr-hc4.gif | ||
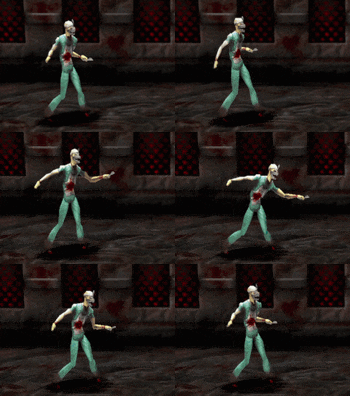
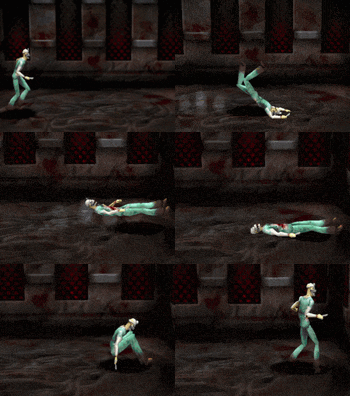
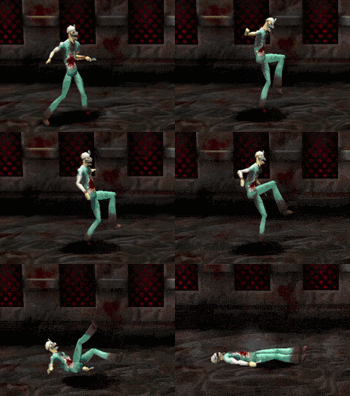
|caption= | |caption=Stanky Stance 2: The Fall | ||
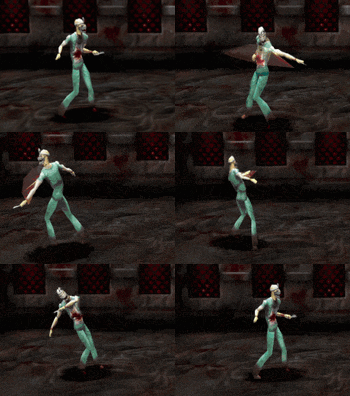
|image2=TK-Dr-hc41.gif | |image2=TK-Dr-hc41.gif | ||
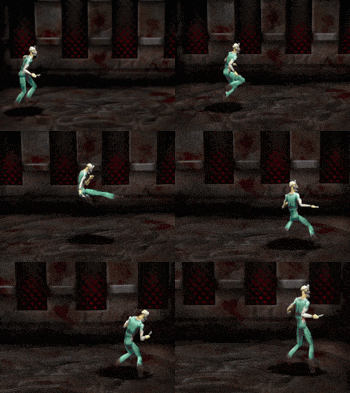
|caption2=Straight Kick | |caption2=Straight Kick | ||
| Line 531: | Line 532: | ||
|range= | |range= | ||
|property= | |property= | ||
|stance= | |stance= | ||
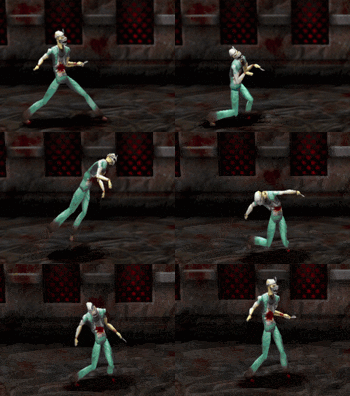
|description=Not to be confused with his other stance move ''Crane Stance'', ''Chambered Stance'' is a very silly and impractical addition to Faustus' toolkit. If you get hit or don't input a move, Dr. Faustus will fall over.}} | |description=Not to be confused with his other stance move ''Crane Stance'', ''Chambered Stance'' is a very silly and impractical addition to Faustus' toolkit. If you get hit or don't input a move, Dr. Faustus will fall over.}} | ||
{{AttackData-TK | {{AttackData-TK | ||
| Line 544: | Line 545: | ||
|range=5.5 | |range=5.5 | ||
|property= | |property= | ||
|stance= | |stance= | ||
|description=Very high damage and range for a single poke like this.}} | |description=Very high damage and range for a single poke like this.}} | ||
{{AttackData-TK | {{AttackData-TK | ||
| Line 557: | Line 558: | ||
|range=4.2 | |range=4.2 | ||
|property= | |property= | ||
|stance= | |stance= | ||
|description=Better advantage, but hits high and has less range.}} | |description=Better advantage, but hits high and has less range.}} | ||
{{AttackData-TK | {{AttackData-TK | ||
| Line 570: | Line 571: | ||
|range=4.2 | |range=4.2 | ||
|property=[[File:Knockdown.png]] | |property=[[File:Knockdown.png]] | ||
|stance= | |stance= | ||
|description=Great for when you want your opponent to get a free wake-up attack against you.}} | |description=Great for when you want your opponent to get a free wake-up attack against you.}} | ||
{{AttackData-TK | {{AttackData-TK | ||
| Line 583: | Line 584: | ||
|range= | |range= | ||
|property= | |property= | ||
|stance= | |stance= | ||
|description=For when you're done being silly.}} | |description=For when you're done being silly.}} | ||
}} | }} | ||
| Line 597: | Line 598: | ||
|data= | |data= | ||
{{AttackData-TK | {{AttackData-TK | ||
|hit=[[File:.png]] | |hit=[[File:High.png]] | ||
|startup=14 | |startup=14 | ||
|active=3 | |active=3 | ||
| Line 605: | Line 606: | ||
|range=14.4 | |range=14.4 | ||
|property=[[File:Hardknockdown.png]] | |property=[[File:Hardknockdown.png]] | ||
|stance= | |stance= | ||
|description=Description needed.}} | |description=Description needed.}} | ||
}} | }} | ||
| Line 630: | Line 631: | ||
|range=0.9 | |range=0.9 | ||
|property=[[File:Knockdown.png]] | |property=[[File:Knockdown.png]] | ||
|stance= | |stance=Switch | ||
|description=One of the worst grabs in the game. While its damage is fine, being -8 '''''on hit''''' means that most of the cast's wakeup attacks will hit you for free. That 18 damage better win you the round.}} | |description=One of the worst grabs in the game. While its damage is fine, being -8 '''''on hit''''' means that most of the cast's wakeup attacks will hit you for free. That 18 damage better win you the round.}} | ||
}} | }} | ||
| Line 648: | Line 649: | ||
|active= | |active= | ||
|recovery=31 | |recovery=31 | ||
|advantage=- / +10 | |||
|damage=6 | |damage=6 | ||
|range=0.9 | |range=0.9 | ||
|property= | |property=[[File:Dzzy.png]] | ||
|stance= | |stance= | ||
|description=A much better grab. You have a 2 frame window to get a rear grab on an opponent who isn't holding crouch after the stun frames. Note that on some smaller characters having their animation backwards in the air will cause ''1000 Stabs'' to whiff some hits.}} | |description=A much better grab. You have a 2 frame window to get a rear grab on an opponent who isn't holding crouch after the stun frames. Note that on some smaller characters having their animation backwards in the air will cause ''1000 Stabs'' to whiff some hits.}} | ||
}} | }} | ||
| Line 669: | Line 671: | ||
|active= | |active= | ||
|recovery=75 | |recovery=75 | ||
|advantage=- / +35 | |||
|damage=24 | |damage=24 | ||
|range=0.9 | |range=0.9 | ||
|property=[[File:Knockdown.png]] | |property=[[File:Knockdown.png]] | ||
|stance= | |stance=Switch | ||
|description=An absolutely devastating grapple if you're able to get it. Massive damage, and leads to a free combo if you attack them before they fall over all the way.}} | |description=An absolutely devastating grapple if you're able to get it. Massive damage, and leads to a free combo if you attack them before they fall over all the way.}} | ||
}} | }} | ||
| Line 690: | Line 693: | ||
|active= | |active= | ||
|recovery=25 | |recovery=25 | ||
|advantage- / | |advantage=- / +17 | ||
|damage=0 | |damage=0 | ||
|range=0.9 | |range=0.9 | ||
|property=[[File:Dzzy.png]] | |property=[[File:Dzzy.png]] | ||
|stance= | |stance= | ||
|description=Lots of stun frames on this one and a very quick animation, but there are very few reasons to use this over ''Turn Around Slap''.}} | |description=Lots of stun frames on this one and a very quick animation, but there are very few reasons to use this over ''Turn Around Slap''.}} | ||
}} | }} | ||
| Line 712: | Line 715: | ||
|active= | |active= | ||
|recovery=133 | |recovery=133 | ||
|advantage= | |||
|damage= | |damage= | ||
|range= | |range= | ||
|property= | |property= | ||
|stance= | |stance= | ||
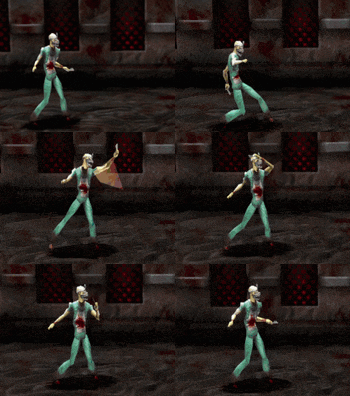
|description=With all that stabbing you’re doing, it’s a good idea to keep your equipment in order. There’s a couple of fun things you can cancel the taunt into, as well.}} | |description=With all that stabbing you’re doing, it’s a good idea to keep your equipment in order. There’s a couple of fun things you can cancel the taunt into, as well.}} | ||
}} | }} | ||
</div> | </div> | ||
---- | |||
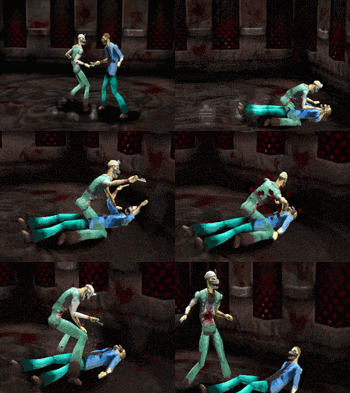
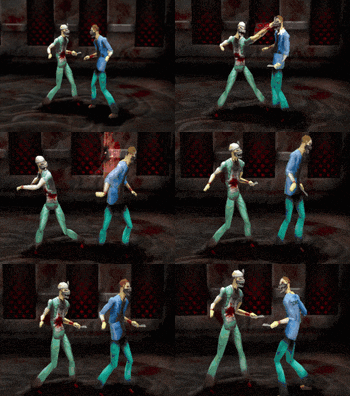
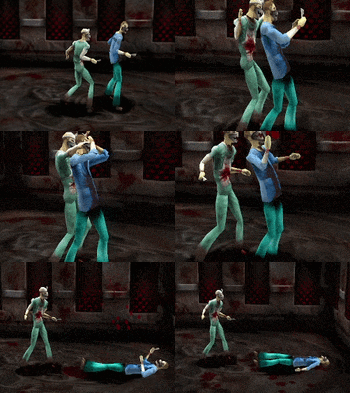
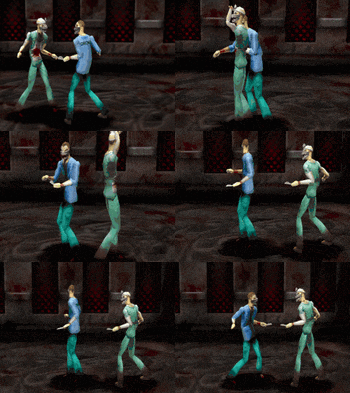
==Thrill Kills== | |||
Thrill Kill 1 - No Inputs</br> | |||
Thrill Kill 2 - {{TKin|i=1}} + '''L1'''</br> | |||
Thrill Kill 3 - {{TKin|i=3}} + {{TKin|i=4}} + {{TKin|i=d}}</br> | |||
Combo Kill - {{TKin|i=1}} + {{TKin|i=2}} + '''L1''' + {{TKin|i=f}}</br> | |||
Dance - {{TKin|i=1}} + {{TKin|i=2}} + {{TKin|i=3}} + '''L1''' + {{TKin|i=b}}</br> | |||
</br> | |||
{{NavboxTK}} | {{NavboxTK}} | ||
[[Category:Thrill Kill]] | [[Category:Thrill Kill]] | ||
[[Category:Dr. Faustus]] | [[Category:Dr. Faustus]] | ||
Latest revision as of 17:28, 5 January 2024
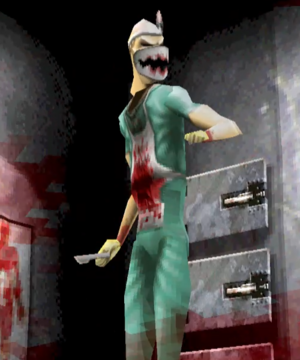
Overview
Dr. Faustus is one of the most dangerous characters in the game. He has high speed, safe high and mid strings, and has the best combo ender in the game in 1000 Stabs at his disposal. He's also one of the few characters in the game who can reliably 2 touch opponents: one touch to get his opponent against a wall with a grab or string that deals around 20 damage, and one touch to mixup into a launcher ending with 1000 Stabs for 80 damage.
| At a glance: | |
| Pros | Cons |
|
|
Move List
 Front Punch
 Back Punch
 Front Kick
 Back Kick
| Hit | Startup | Active | Recovery | Adv. (Block / Hit) | Damage | Range | Property | Stance | |
|---|---|---|---|---|---|---|---|---|---|
| 7f | 3f | 11f | -6 / +2 | 4 | 4.5u | - | Switch | ||
|
| |||||||||
Grabs / Misc Moves
Dr. Faustus' whiffed grab animation takes 18f.
| Hit | Startup | Active | Recovery | Adv. (Block / Hit) | Damage | Range | Property | Stance | |
|---|---|---|---|---|---|---|---|---|---|
| - | - | - | 133f | - | - | - | - | - | |
|
| |||||||||
Thrill Kills
Thrill Kill 1 - No Inputs
Thrill Kill 2 - ![]() + L1
+ L1
Thrill Kill 3 - ![]() +
+ ![]() +
+ ![]()
Combo Kill - ![]() +
+ ![]() + L1 +
+ L1 + ![]()
Dance - ![]() +
+ ![]() +
+ ![]() + L1 +
+ L1 + ![]()
