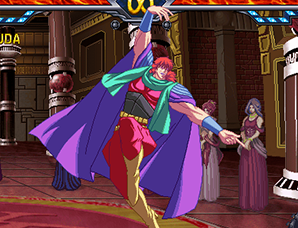
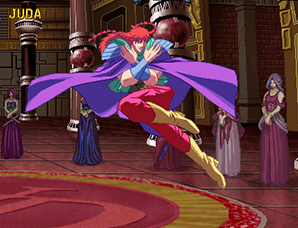
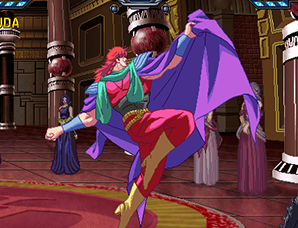
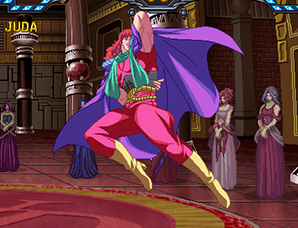
Lichmassacre (talk | contribs) m (Old Navbox removed for new Navbox.) |
|||
| (7 intermediate revisions by 2 users not shown) | |||
| Line 1: | Line 1: | ||
{{Infobox Character HNK | |||
|name=Juda | |||
}} | |||
Before diving right into the combos be sure to familiarize yourself with Juda's special/super moves and important normals. | |||
==Normal Moves== | |||
==Standing== | |||
===Close A=== | |||
[[Image:Juda-c.A.png]] | |||
5F Startup, 4F Active, +1 on block<br> | |||
<br> | |||
===Far A=== | |||
[[Image:Juda-A.png]] | |||
6F Startup, 4F Active, +1 on block<br> | |||
<br> | |||
===Close B=== | |||
[[Image:Juda-c.B.png]] | |||
6F Startup, 4F Active, +3 on block<br> | |||
<br> | |||
===Far B=== | |||
[[Image:Juda-B.png]] | |||
7F Startup, 3F Active, +6 on block<br> | |||
<br> | |||
===Close C=== | |||
[[Image:Juda-c.C.png]] | |||
9F Startup, 4F Active, +0 on block<br> | |||
<br> | |||
===Far C=== | |||
[[Image:Juda-C.png]] | |||
8F Startup, 8F Active, -10 on block<br> | |||
<br> | |||
===Close D=== | |||
[[Image:Juda-c.D.png]] | |||
8F Startup, 4F Active, -4 on block<br> | |||
<br> | |||
===Far D=== | |||
[[Image:Juda-D.png]] | |||
16F Startup, 2F Active, -5 on block<br> | |||
<br> | |||
==Crouching== | |||
===A=== | |||
[[Image:Juda-2A.png]] | |||
5F Startup, 3F Active, -1 on block<br> | |||
<br> | |||
===B=== | |||
[[Image:Juda-2B.png]] | |||
7F Startup, 3F Active, +3 on block<br> | |||
<br> | |||
===C=== | |||
[[Image:Juda-2C.png]] | |||
8F Startup, 5F Active, -2 on block<br> | |||
<br> | |||
===D=== | |||
[[Image:Juda-2D.png]] | |||
11F Startup, 6F Active, -2 on block<br> | |||
<br> | |||
==Air== | |||
===A=== | |||
[[Image:Juda-j.A.png]] | |||
5F Startup, 4F Active<br> | |||
<br> | |||
===B=== | |||
[[Image:Juda-j.B.png]] | |||
5F Startup, 9F Active<br> | |||
<br> | |||
===C=== | |||
[[Image:Juda-j.C.png]] | |||
9F Startup, 6F Active<br> | |||
<br> | |||
===D=== | |||
[[Image:Juda-j.D.png]] | |||
10F Startup, 6F Active<br> | |||
<br> | |||
==Other== | |||
===6A=== | |||
[[Image:Juda-6A.png]] | |||
25F Startup, 4F Active, +0 on block<br> | |||
<br> | |||
===(Air) 2A=== | |||
[[File:Juda-j.2A.png]] | |||
18F Startup, 12F Landing recovery<br> | |||
<br> | |||
===(Air) 2C=== | |||
[[File:Juda-j.2C.png]]<br> | |||
18F Startup, 12F Landing recovery<br> | |||
<br> | |||
===Throw=== | |||
[[Image:Juda-Throw.png]] | |||
4F Startup, 4F Active<br> | |||
<br> | |||
Can only be performed while the Komak gauge is full. | |||
===BD Throw=== | |||
[[Image:Juda-BD.png]] | |||
23F Startup, 4F Active<br> | |||
<br> | |||
Can only be performed while the Dagar gauge is full. | |||
===Grave Shoot=== | |||
[[Image:Juda-Grave.png]] | |||
15F Startup 4F Active, +3 on block<br> | |||
<br> | |||
===Heavy Strike=== | |||
[[Image:Juda-Heavy.png]] | |||
41F Startup, 6F Active<br> | |||
<br> | |||
===Banishing Strike=== | |||
[[Image:Juda-Bani.png]] | |||
18-33F Startup, 14F Active, -5 on block<br> | |||
<br> | |||
==Special Moves== | ==Special Moves== | ||
===Juda's Follower Meters=== | |||
[[File:Juda-Followers.png]] | |||
X | |||
===Denshou Reppa=== | |||
'''236C'''<br> | |||
[[Image:Juda-Denshou.png]] | |||
9F Startup<br> | |||
<br> | |||
A low to the ground fireball move, similar to Iori's from KoF. Doesn't do much damage, and has huge recovery(your opponent gets a guaranteed hit on you even when you connect with it at close range!), so must be used sparingly and with caution. Takes off one star on counter hit. | |||
==="Ichido Omoishirasete Ageyou"=== | |||
'''236B'''<br> | |||
[[Image:Juda-Dagarrush.png]] | |||
6F Startup to call Dagar, 8F For Dagar to appear, minimum of 9F of movement, 10F to attack<br> | |||
6F Active<br> | |||
<br> | |||
AKA Dagar Rush. Dagar runs forward and strikes the opponent. Costs 20% Dagar meter, and takes off one star and causes wall bounce on counter hit. Dagar will continue moving even during super freeze, which when combined with the dam super allows for an unblockable setup. | |||
When in revenge mode Dagar will attack Juda instead - in this case you are able to kill him off before he hits you with a move like far A, but this will cause his gauge to go to zero and make him unsummonable for a period of time. In some situations simply guarding the attack may be your best bet. | |||
===Dagar no Chiryaku=== | |||
'''421B'''<br> | |||
[[Image:Juda-DChiryaku.png]] | |||
6F Startup to call Dagar, 20F For Dagar to appear, 38F to dig underground, Dagar lasts for 300F, 8F Startup to launch out<br> | |||
16F Active<br> | |||
<br> | |||
X | X | ||
=== | ==="Ore wo Riyou Shitanoka~!!"=== | ||
'''214B'''<br> | |||
[[Image:Juda-Dagakyan.png]]<br> | |||
[[Image:Juda-DChiryaku2.png]] | |||
9F Startup, 20F Active, 8F Recovery<br> | |||
<br> | |||
X | X | ||
=== | ===Stamp the UD=== | ||
'''623A'''<br> | |||
[[Image:Juda-Stamp.png]] | |||
4F Startup to call Komak, 5F For Komak to appear, 6F Startup to uppercut<br> | |||
20F Active<br> | |||
<br> | |||
Komak will always come out even if Juda is hit, making this move a great reversal | |||
===Komaku no Chiryaku"=== | |||
'''421A'''<br> | |||
[[Image:Juda-KChiryaku.png]] | |||
7F Startup to call Komak, 21F To plant the mine<br> | |||
61F Active<br> | |||
<br> | |||
X | X | ||
=== | ===Ichikoro"=== | ||
'''236A'''<br> | |||
[[Image:Juda-Ichikoro.png]] | |||
4F To call Komak, 5F for Komak to appear, 57F Act<br> | |||
Poison lasts for <br> | |||
<br> | |||
X | X | ||
=== | ===Chiryaku no Jidai"=== | ||
'''(On Wakeup) 41236E'''<br> | |||
[[Image:Juda-Jidai.png]] | |||
Any attack that cancels the animation will have 16f of invincibility.<br> | |||
<br> | |||
X | X | ||
=== | ===Dam Kekkai"=== | ||
'''236236C (Uses 1 Bar Aura)'''<br> | |||
[[Image:Juda-Dam.png]] | |||
4F Startup<br> | |||
<br> | |||
X | X | ||
=== | ===Nanto Yousou Hazan"=== | ||
'''214214C (Uses 1 Bar Aura)'''<br> | |||
[[Image:Juda-Yousou.png]] | |||
9F Startup, 32F Active, -50 on block<br> | |||
<br> | |||
If this attack is used to kill Dagar while he's in Revenge state, Juda's Aura gauge will be maxed out, and Dagar will be unavailable for the rest of the round. | |||
=== | ===Kesshou Shi"=== | ||
'''236CD (Fatal KO)'''<br> | |||
[[Image:Juda-FKO.png]] | |||
9F Startup<br> | |||
<br> | |||
X | X | ||
{{Navbox-HNK}} | {{Navbox-HNK}} | ||
[[Category:Hokuto no Ken]] | [[Category:Hokuto no Ken]] | ||
Latest revision as of 22:20, 10 April 2022
Introduction
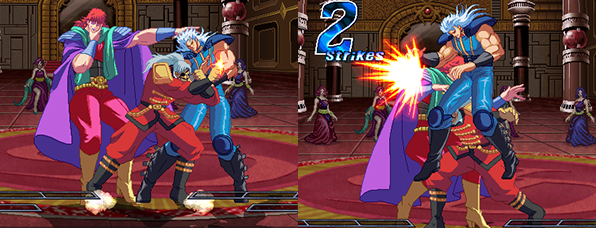
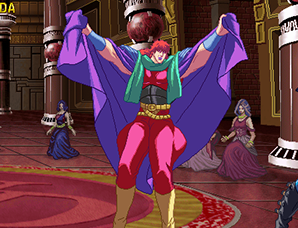
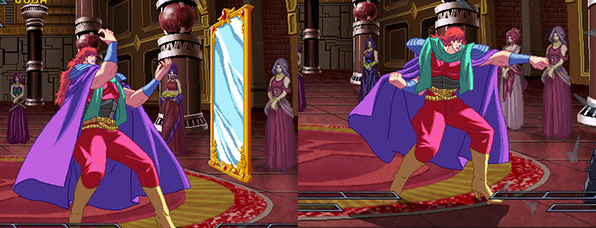
Juda is a tricky, trap-based character, perhaps most comparable to Testament from the Guilty Gear series. The use of his followers allow him to create advantageous situations without much risk to himself, and he has a full arsenal of mixups and unblockable set-plays at his fingertips, many of which are capable of chaining into 100% combos. Juda also has several good reversals, namely his Stamp uppercut and dam super, as well as a special Dagar Guard Cancel, making his defensive game quite solid.
His reliance on his followers is one of his few weaknesses - without them he isn't capable of doing much. For this reason learning to properly manage your followers is an essential skill for any would-be Juda user. While very hard to pick up, Juda's unique style of play makes him an interesting character with incredibly high potential. That being said, let us start this section off by listing Juda's main strengths and weaknesses.
| Pros | Cons |
|
|
Before diving right into the combos be sure to familiarize yourself with Juda's special/super moves and important normals.
Normal Moves
Standing
Close A
5F Startup, 4F Active, +1 on block
Far A
6F Startup, 4F Active, +1 on block
Close B
6F Startup, 4F Active, +3 on block
Far B
7F Startup, 3F Active, +6 on block
Close C
9F Startup, 4F Active, +0 on block
Far C
8F Startup, 8F Active, -10 on block
Close D
8F Startup, 4F Active, -4 on block
Far D
16F Startup, 2F Active, -5 on block
Crouching
A
5F Startup, 3F Active, -1 on block
B
7F Startup, 3F Active, +3 on block
C
8F Startup, 5F Active, -2 on block
D
11F Startup, 6F Active, -2 on block
Air
A
5F Startup, 4F Active
B
5F Startup, 9F Active
C
9F Startup, 6F Active
D
10F Startup, 6F Active
Other
6A
25F Startup, 4F Active, +0 on block
(Air) 2A
18F Startup, 12F Landing recovery
(Air) 2C
18F Startup, 12F Landing recovery
Throw
4F Startup, 4F Active
Can only be performed while the Komak gauge is full.
BD Throw
23F Startup, 4F Active
Can only be performed while the Dagar gauge is full.
Grave Shoot
15F Startup 4F Active, +3 on block
Heavy Strike
41F Startup, 6F Active
Banishing Strike
18-33F Startup, 14F Active, -5 on block
Special Moves
Juda's Follower Meters
Denshou Reppa
9F Startup
A low to the ground fireball move, similar to Iori's from KoF. Doesn't do much damage, and has huge recovery(your opponent gets a guaranteed hit on you even when you connect with it at close range!), so must be used sparingly and with caution. Takes off one star on counter hit.
"Ichido Omoishirasete Ageyou"
6F Startup to call Dagar, 8F For Dagar to appear, minimum of 9F of movement, 10F to attack
6F Active
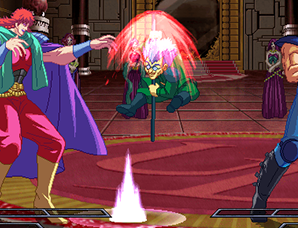
AKA Dagar Rush. Dagar runs forward and strikes the opponent. Costs 20% Dagar meter, and takes off one star and causes wall bounce on counter hit. Dagar will continue moving even during super freeze, which when combined with the dam super allows for an unblockable setup.
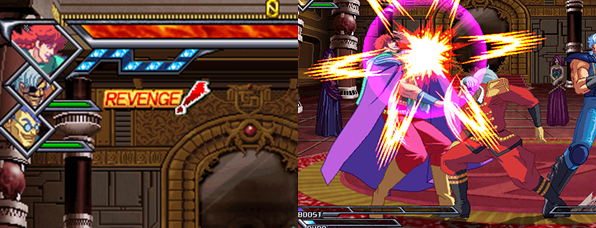
When in revenge mode Dagar will attack Juda instead - in this case you are able to kill him off before he hits you with a move like far A, but this will cause his gauge to go to zero and make him unsummonable for a period of time. In some situations simply guarding the attack may be your best bet.
Dagar no Chiryaku
6F Startup to call Dagar, 20F For Dagar to appear, 38F to dig underground, Dagar lasts for 300F, 8F Startup to launch out
16F Active
X
"Ore wo Riyou Shitanoka~!!"
9F Startup, 20F Active, 8F Recovery
X
Stamp the UD
4F Startup to call Komak, 5F For Komak to appear, 6F Startup to uppercut
20F Active
Komak will always come out even if Juda is hit, making this move a great reversal
Komaku no Chiryaku"
7F Startup to call Komak, 21F To plant the mine
61F Active
X
Ichikoro"
4F To call Komak, 5F for Komak to appear, 57F Act
Poison lasts for
X
Chiryaku no Jidai"
Any attack that cancels the animation will have 16f of invincibility.
X
Dam Kekkai"
4F Startup
X
Nanto Yousou Hazan"
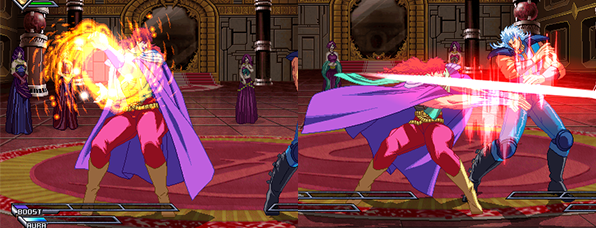
9F Startup, 32F Active, -50 on block
If this attack is used to kill Dagar while he's in Revenge state, Juda's Aura gauge will be maxed out, and Dagar will be unavailable for the rest of the round.
Kesshou Shi"
9F Startup
X
