(→Throws) |
(→Throws) Tag: Manual revert |
||
| Line 473: | Line 473: | ||
|cancel= | |cancel= | ||
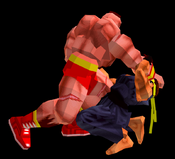
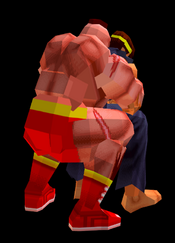
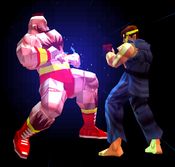
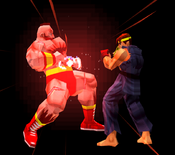
|description= "Stomach Block" is a neat one. This is a throw almost exclusive to punishes. | |description= "Stomach Block" is a neat one. This is a throw almost exclusive to punishes. | ||
* Leaves the opponent point blank and off axis | * Leaves the opponent point blank and off axis. | ||
* To guarantee an SB outside of a punish: Guard Break the opponent, cross them up, and throw them before they leave stun. | * To guarantee an SB outside of a punish: Guard Break the opponent, cross them up, and throw them before they leave stun. | ||
}} | }} | ||
Revision as of 00:29, 6 July 2025
Introduction
In the rapidly evolving, two-man Street Fighter EX1 scene, Zangief might be just the hero we need.
"Competitive" (hahaha) SFEX is quickly becoming a setplay arms race. It was (re?)discovered earlier this year (2024) that any Super Move that caused a sideswitch could set up unblockable meaties. Early setups were so strong and counterplay so inconsistent-- EXA could've been the first Street Fighter game in history where it's players soft banned much of the roster.
Now it's been a few months. Within EXA's small scene, most of the roster can consistently set up utterly inane two touch sequences. With a little lab time, the top tiers can take a round with one. Even with the game set to best of five rounds, EXA is becoming more explosive by the day. Unless you're 'Gief.
By pressing three buttons, Zangief shoves that setplay nerd into a locker and drags SFEX back to reality. Despite having zero invulnerability, Lariat is easily a frontrunning anti-air in EXA, and makes him uniquely strong in this metagame.
Normals
Standing
| Damage | Startup | Active | Recovery | Total | On Hit | On Block | Guard | Cancel |
|---|---|---|---|---|---|---|---|---|
| - | - | - | - | - | - | - | H/L | Sp/Su |
| Damage | Startup | Active | Recovery | Total | On Hit | On Block | Guard | Cancel |
|---|---|---|---|---|---|---|---|---|
| - | - | - | - | - | - | - | H/L | Sp/Su |
| Damage | Startup | Active | Recovery | Total | On Hit | On Block | Guard | Cancel |
|---|---|---|---|---|---|---|---|---|
| - | - | - | - | - | - | - | H/L | Su |
| Damage | Startup | Active | Recovery | Total | On Hit | On Block | Guard | Cancel |
|---|---|---|---|---|---|---|---|---|
| - | - | - | - | - | - | - | H/L | Sp/Su |
| Damage | Startup | Active | Recovery | Total | On Hit | On Block | Guard | Cancel |
|---|---|---|---|---|---|---|---|---|
| - | - | - | - | - | - | - | H/L | Sp/Su |
| Damage | Startup | Active | Recovery | Total | On Hit | On Block | Guard | Cancel |
|---|---|---|---|---|---|---|---|---|
| - | - | - | - | - | - | - | H/L | Su |
Crouching
| Damage | Startup | Active | Recovery | Total | On Hit | On Block | Guard | Cancel |
|---|---|---|---|---|---|---|---|---|
| - | - | - | - | - | - | - | H/L | Ch/Sp/Su |
| Damage | Startup | Active | Recovery | Total | On Hit | On Block | Guard | Cancel |
|---|---|---|---|---|---|---|---|---|
| - | - | - | - | - | - | - | H/L | Sp/Su |
| Damage | Startup | Active | Recovery | Total | On Hit | On Block | Guard | Cancel |
|---|---|---|---|---|---|---|---|---|
| - | - | - | - | - | - | - | H/L | Sp/Su |
| Damage | Startup | Active | Recovery | Total | On Hit | On Block | Guard | Cancel |
|---|---|---|---|---|---|---|---|---|
| - | - | - | - | - | - | - | L | Sp/Su |
| Damage | Startup | Active | Recovery | Total | On Hit | On Block | Guard | Cancel |
|---|---|---|---|---|---|---|---|---|
| - | - | - | - | - | - | - | L | Sp/Su |
| Damage | Startup | Active | Recovery | Total | On Hit | On Block | Guard | Cancel |
|---|---|---|---|---|---|---|---|---|
| - | - | - | - | - | KD | - | L | - |
Jumping
| Damage | Startup | Active | Recovery | Total | On Hit | On Block | Guard | Cancel |
|---|---|---|---|---|---|---|---|---|
| - | - | - | - | - | - | - | H | - |
| Damage | Startup | Active | Recovery | Total | On Hit | On Block | Guard | Cancel |
|---|---|---|---|---|---|---|---|---|
| - | - | - | - | - | - | - | H | - |
| Damage | Startup | Active | Recovery | Total | On Hit | On Block | Guard | Cancel |
|---|---|---|---|---|---|---|---|---|
| - | - | - | - | - | - | - | H | - |
| Damage | Startup | Active | Recovery | Total | On Hit | On Block | Guard | Cancel |
|---|---|---|---|---|---|---|---|---|
| - | - | - | - | - | - | - | H | - |
| Damage | Startup | Active | Recovery | Total | On Hit | On Block | Guard | Cancel |
|---|---|---|---|---|---|---|---|---|
| - | - | - | - | - | - | - | H | - |
| Damage | Startup | Active | Recovery | Total | On Hit | On Block | Guard | Cancel |
|---|---|---|---|---|---|---|---|---|
| - | - | - | - | - | - | - | H | - |
Moves List
Throws
| Damage | Startup | Active | Recovery | Total | On Hit | On Block | Guard | Cancel |
|---|---|---|---|---|---|---|---|---|
| - | - | - | - | - | - | - | - | - |
| Damage | Startup | Active | Recovery | Total | On Hit | On Block | Guard | Cancel |
|---|---|---|---|---|---|---|---|---|
| - | - | - | - | - | - | - | - | - |
| Damage | Startup | Active | Recovery | Total | On Hit | On Block | Guard | Cancel |
|---|---|---|---|---|---|---|---|---|
| - | - | - | - | - | - | - | - | - |
|
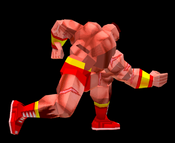
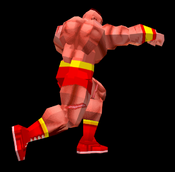
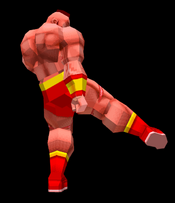
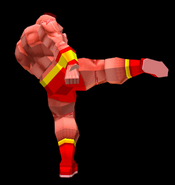
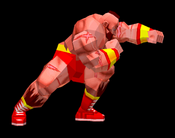
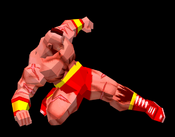
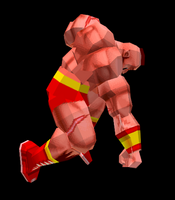
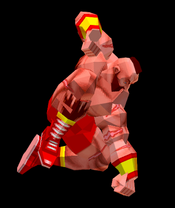
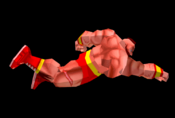
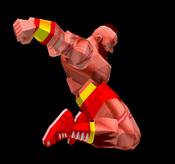
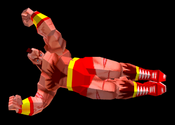
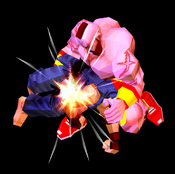
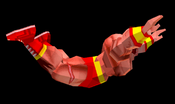
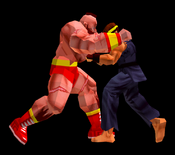
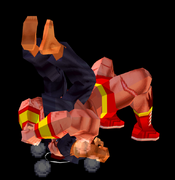
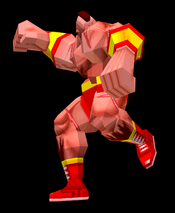
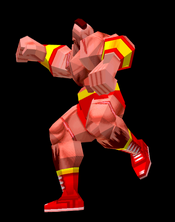
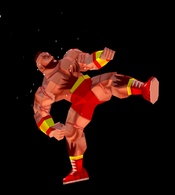
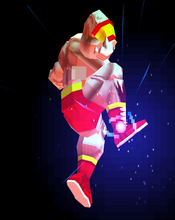
"Stomach Block" is a neat one. This is a throw almost exclusive to punishes.
| ||||||||
Command Normals
| Damage | Startup | Active | Recovery | Total | On Hit | On Block | Guard | Cancel |
|---|---|---|---|---|---|---|---|---|
| - | - | - | - | - | - | - | - | - |
Special Moves
| Damage | Startup | Active | Recovery | Total | On Hit | On Block | Guard | Cancel |
|---|---|---|---|---|---|---|---|---|
| - | - | - | - | - | - | - | - | - |
|
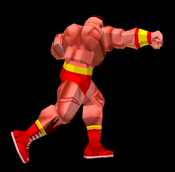
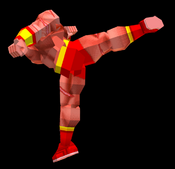
Don't sweat the technique.
| ||||||||
| Damage | Startup | Active | Recovery | Total | On Hit | On Block | Guard | Cancel |
|---|---|---|---|---|---|---|---|---|
| - | - | - | - | - | - | - | - | - |
|
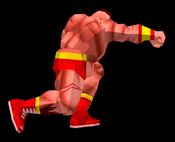
Except this one, actually. This one has recovery. :(
| ||||||||
| Damage | Startup | Active | Recovery | Total | On Hit | On Block | Guard | Cancel |
|---|---|---|---|---|---|---|---|---|
| - | - | - | - | - | - | - | - | - |
| Damage | Startup | Active | Recovery | Total | On Hit | On Block | Guard | Cancel |
|---|---|---|---|---|---|---|---|---|
| - | - | - | - | - | - | - | - | - |
Super Moves
| Damage | Startup | Active | Recovery | Total | On Hit | On Block | Guard | Cancel |
|---|---|---|---|---|---|---|---|---|
| - | - | - | - | - | - | - | Unblockable | - |
| Damage | Startup | Active | Recovery | Total | On Hit | On Block | Guard | Cancel |
|---|---|---|---|---|---|---|---|---|
| - | - | - | - | - | - | - | - | - |
| Damage | Startup | Active | Recovery | Total | On Hit | On Block | Guard | Cancel |
|---|---|---|---|---|---|---|---|---|
| - | - | - | - | - | - | - | - | - |
| Damage | Startup | Active | Recovery | Total | On Hit | On Block | Guard | Cancel |
|---|---|---|---|---|---|---|---|---|
| - | - | - | - | - | - | - | - | - |
The Basics
Street Fighter EX's coinflip character might be among the most balanced and honest there is. In what has seemingly become a real 3D game overnight, Zangief's Lariat beats many setups clean. Even when 'Gief wakes up BACKWARDS, Kara 2LK~PPP Option Selects a low profile normal and one of the fattest anti-airs in the game. Consistent, easy, and with other quirks of his kit, AA Lariat is an infamous party starter.
- SPD has no whiff animation.
- Not everyone in SFEX has a Level 3 Super... Zangief does. Cosmic Buster is the most damaging move in the game.
- Super Stomping is Zangief's only other meter dump: A looping ranbu that can tick into 720 on block or be repped for gargantuan damage.
Advanced Strategy
Life, is death, is life.
Match-Ups
| General | Introduction | Game Mechanics | |
| The Characters | Akuma | Allen Snider | Blair Dame | Kairi | Chun-Li | Jack | Darun Mister | Dhalsim | Doctrine Dark | Garuda | Guile | Hokuto | Ken | M.Bison | Pullum Purna | Ryu | Sakura | Skullomania | Zangief | Evil Ryu | Evil Hokuto |
