m (Filled in missing descriptions.) |
m (→Thrill Kills) |
||
| (10 intermediate revisions by the same user not shown) | |||
| Line 28: | Line 28: | ||
|property= | |property= | ||
|stance= | |stance= | ||
|description=Poor range for a high poke, but excellent advantage and frame data.}} | |description=Poor range for a high poke, but excellent advantage and frame data. | ||
---- | |||
<b>Cancels:</b></br> | |||
{{TKin|i=f|c=1}}{{TKin|i=1}} - Backslap}} | |||
}} | }} | ||
</div> | </div> | ||
| Line 50: | Line 53: | ||
|property= | |property= | ||
|stance= | |stance= | ||
|description=A slight sacrifice of startup and advantage for range and damage. Doesn't have a lot of good combo strings, and is mostly used as a juggle extension since it strings (untrue) into ''Ball Kick'', which then strings to ''Rising Prod Spin''.}} | |description=A slight sacrifice of startup and advantage for range and damage. Doesn't have a lot of good combo strings, and is mostly used as a juggle extension since it strings (untrue) into ''Ball Kick'', which then strings to ''Rising Prod Spin''. | ||
---- | |||
<b>Cancels:</b></br> | |||
{{TKin|i=b|c=1}}{{TKin|i=f|c=1}}{{TKin|i=4}} - Splits Kick}} | |||
}} | }} | ||
</div> | </div> | ||
| Line 162: | Line 168: | ||
|property=[[File:Dzzy.png]] | |property=[[File:Dzzy.png]] | ||
|stance= | |stance= | ||
|description=Too short a range and not enough active frames to be that good. It's a bit of an orphan move since there's no way to truly string into it, either. ''Ball Kick'' is your better stun move choice.}} | |description=Too short a range and not enough active frames to be that good. It's a bit of an orphan move since there's no way to truly string into it, either. ''Ball Kick'' is your better stun move choice. | ||
---- | |||
<b>Cancels:</b></br> | |||
{{TKin|i=f|c=1}}{{TKin|i=3}} - Knee Thrust}} | |||
}} | }} | ||
</div> | </div> | ||
| Line 250: | Line 259: | ||
|property=[[File:Knockdown.png]] | |property=[[File:Knockdown.png]] | ||
|stance= | |stance= | ||
|description=Your go-to | |description=Your go-to juggle ender in the corner. It's minus on hit, but no other move matches its damage in the corner when every hit lands.}} | ||
}} | }} | ||
</div> | </div> | ||
| Line 318: | Line 327: | ||
|property=[[File:Launch.png]] | |property=[[File:Launch.png]] | ||
|stance=Switch | |stance=Switch | ||
|description=Stupidly fast startup and good range for a launcher. It also has a lot of travel to it which helps get closer to the corner during juggles.}} | |description=Stupidly fast startup and good range for a launcher. It also has a lot of travel to it which helps get closer to the corner during juggles. | ||
---- | |||
<b>Cancels:</b></br> | |||
{{TKin|i=b|c=1}}{{TKin|i=f|c=1}}{{TKin|i=2}} - Overhead Prod Slam</br> | |||
{{TKin|i=qc|c=1}}{{TKin|i=2}} - Prod Swing}} | |||
}} | }} | ||
</div> | </div> | ||
| Line 362: | Line 375: | ||
|property=[[File:Dzzy.png]] | |property=[[File:Dzzy.png]] | ||
|stance=Switch | |stance=Switch | ||
|description=Decent range as far as stuns go. For the most part you'll mostly use this in juggles to cancel into ''Rising Prod Spin'' as an ender.}} | |description=Decent range as far as stuns go. For the most part you'll mostly use this in juggles to cancel into ''Rising Prod Spin'' as an ender. | ||
---- | |||
<b>Cancels:</b></br> | |||
{{TKin|i=hc|c=1}}{{TKin|i=1}} '''/''' {{TKin|i=2}} - Rising Prod Spin</br> | |||
{{TKin|i=f|c=1}}{{TKin|i=3}} - Knee Thrust}} | |||
}} | }} | ||
</div> | </div> | ||
| Line 384: | Line 401: | ||
|property= | |property= | ||
|stance= | |stance= | ||
|description=One of Belledonna's best stand-alone specials. Very slow startup, but you get superb range and low enough disadvantage that it's virtually safe on block | |description=One of Belledonna's best stand-alone specials. Very slow startup, but you get superb range and low enough disadvantage that it's virtually safe on block. If someone blocks it, you can deal 85 damage with it's low/high string afterwards in the corner, or you can buffer a grab they only have three frames to react to.}} | ||
}} | }} | ||
</div> | </div> | ||
| Line 430: | Line 447: | ||
|property= | |property= | ||
|stance=Switch | |stance=Switch | ||
|description=Mostly used as a combo filler button since it can cancel into either ''Overhead Prod Slam'' or (more usefully) ''Vegas Vertical''.}} | |description=Mostly used as a combo filler button since it can cancel into either ''Overhead Prod Slam'' or (more usefully) ''Vegas Vertical''. | ||
---- | |||
<b>Cancels:</b></br> | |||
{{TKin|i=f|c=1}}{{TKin|i=b|c=1}}{{TKin|i=2}} - Overhead Prod Slam</br> | |||
{{TKin|i=f|c=1}}{{TKin|i=4}} - Vegas Vertical}} | |||
}} | }} | ||
</div> | </div> | ||
| Line 452: | Line 473: | ||
|property=[[File:Launch.png]] | |property=[[File:Launch.png]] | ||
|stance=Switch | |stance=Switch | ||
|description=Your best mid-string launcher, however on its own it's short range and average startup doesn't make it your best choice for a launcher over ''Knee Thrust''.}} | |description=Your best mid-string launcher, however on its own it's short range and average startup doesn't make it your best choice for a launcher over ''Knee Thrust''. | ||
---- | |||
<b>Cancels:</b></br> | |||
{{TKin|i=qc|c=1}}{{TKin|i=2}} - Prod Swing}} | |||
}} | }} | ||
</div> | </div> | ||
| Line 474: | Line 498: | ||
|property= | |property= | ||
|stance= | |stance= | ||
|description= | |description=Excellent move. Great disjointed hitbox, can low profile high attacks and certain mids, and it's a low combo starter.}} | ||
}} | }} | ||
</div> | </div> | ||
| Line 496: | Line 520: | ||
|property= | |property= | ||
|stance=Switch | |stance=Switch | ||
|description=A filler move. Can string into a ''Forward Cartwheel'' to give it bonus damage, but its bad startup doesn't make that an appealing option during an actual battle.}} | |description=A filler move. Can string into a ''Forward Cartwheel'' to give it bonus damage, but its bad startup doesn't make that an appealing option during an actual battle. | ||
---- | |||
<b>Cancels:</b></br> | |||
{{TKin|i=hc|c=1}}{{TKin|i=3}} - Forward Cartwheel}} | |||
}} | }} | ||
</div> | </div> | ||
| Line 576: | Line 603: | ||
|property=[[File:Launch.png]] | |property=[[File:Launch.png]] | ||
|stance= | |stance= | ||
|description=Poor range, but good active frames. Most of your crouch attacks string into this. Unfortunately this launcher severely limited by its recovery time, as it's too long to catch your opponent with any of your standing strikes.}} | |description=Poor range, but good active frames. Most of your crouch attacks string into this. Unfortunately this launcher severely limited by its recovery time, as it's too long to catch your opponent with any of your standing strikes. | ||
---- | |||
<b>Cancels:</b></br> | |||
{{TKin|i=b|c=1}}{{TKin|i=f|c=1}}{{TKin|i=3}} - Forward Heel Flip}} | |||
}} | }} | ||
</div> | </div> | ||
| Line 714: | Line 744: | ||
}} | }} | ||
</div> | </div> | ||
<br/> | ---- | ||
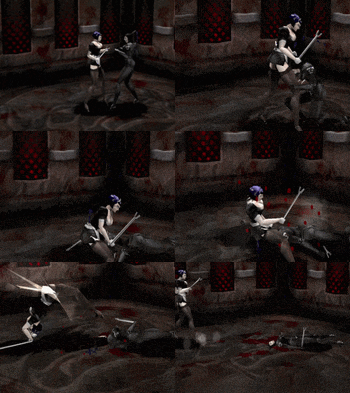
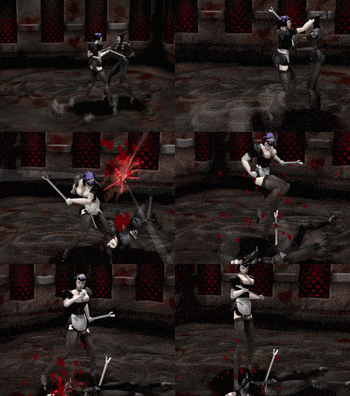
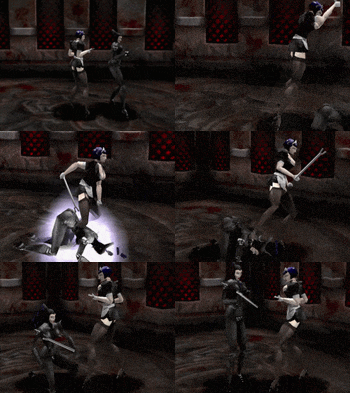
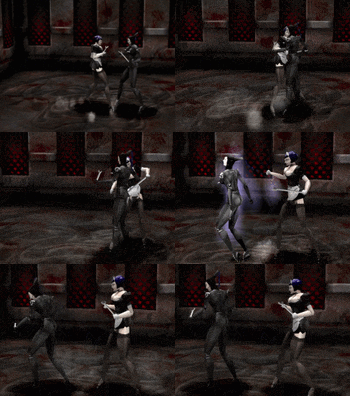
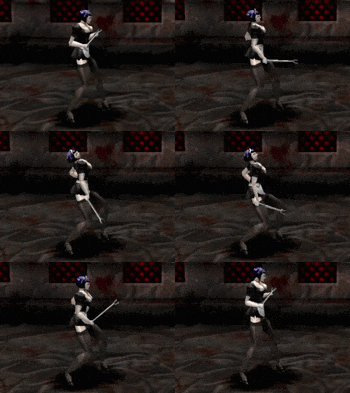
==Thrill Kills== | |||
Thrill Kill 1- No Inputs</br> | |||
Thrill Kill 2 - {{TKin|i=3}} + {{TKin|i=b}}</br> | |||
Thrill Kill 3 - {{TKin|i=1}} + {{TKin|i=4}} + '''L1''' + {{TKin|i=d}}</br> | |||
Combo Kill - {{TKin|i=2}} + {{TKin|i=3}} + '''L1'''</br> | |||
Dance - {{TKin|i=1}} + {{TKin|i=2}} + {{TKin|i=3}} + {{TKin|i=4}} + '''L1'''</br></br> | |||
{{NavboxTK}} | {{NavboxTK}} | ||
[[Category:Thrill Kill]] | [[Category:Thrill Kill]] | ||
[[Category:Belladonna]] | [[Category:Belladonna]] | ||
Latest revision as of 22:28, 20 February 2024
Overview
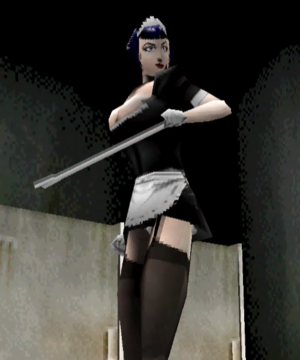
Belladonna is an excellent choice to learn Thrill Kill with. She has everything you need to plays the main meta perfectly: a string that attacks and launches a crouching player, safe strings to counter-hit with, and a few mix-up strings to get around blocks. Belladonna can reliably 3-touch her opponents with her high-damage mid-stage BnB juggles, and her damage in the corner is only rivaled by Dr. Faustus. With her long-reaching dash, she can utilize r-canceling to fly in at moment's notice with a string and convert it into a launcher for tons of damage.
Where Belladonna struggles the most is her very poor wake-up game. Both her Rising Cattle Prod and Splits Kick wake-up attacks have extremely poor recovery, neither hard knockdown allowing you space to breathe, and neither lead to much damage. If you get on the ropes, it can be a nightmare to get back into the game against a skilled opponent.
| At a glance: | |
| Pros | Cons |
|
|
Move List
 Front Punch
 Back Punch
 Front Kick
 Back Kick
Grabs / Misc Moves
Belladonna's whiffed grab recovery is 18f.
Thrill Kills
Thrill Kill 1- No Inputs
Thrill Kill 2 - ![]() +
+ ![]()
Thrill Kill 3 - ![]() +
+ ![]() + L1 +
+ L1 + ![]()
Combo Kill - ![]() +
+ ![]() + L1
+ L1
Dance - ![]() +
+ ![]() +
+ ![]() +
+ ![]() + L1
+ L1
