| (16 intermediate revisions by the same user not shown) | |||
| Line 28: | Line 28: | ||
|range=2.7 | |range=2.7 | ||
|property= | |property= | ||
|stance= | |stance= | ||
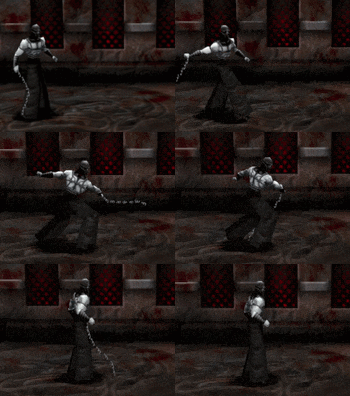
|description=One of the best high jabs in the game, featuring good range paired with fast startup and recovery. It’s only | |description=One of the best high jabs in the game, featuring good range paired with fast startup and recovery. It’s only rivaled by the startup of Imp’s Tiny Jab. | ||
---- | |||
<b>Cancels:</b></br> | |||
{{TKin|i=f|c=1}}{{TKin|i=1}} - Elbow Smash}} | |||
}} | }} | ||
</div> | </div> | ||
| Line 50: | Line 53: | ||
|range=3.0 | |range=3.0 | ||
|property= | |property= | ||
|stance= | |stance=Switch | ||
|description=Smash’s poor startup and recovery compared to ''Straight Jab'' doesn’t really make this move worth using as a combo starter.}} | |description=Smash’s poor startup and recovery compared to ''Straight Jab'' doesn’t really make this move worth using as a combo starter. | ||
---- | |||
<b>Cancels:</b></br> | |||
{{TKin|i=f|c=1}}{{TKin|i=4}} - Snap Kick}} | |||
}} | }} | ||
</div> | </div> | ||
| Line 72: | Line 78: | ||
|range=1.7 | |range=1.7 | ||
|property=[[File:Dzzy.png]] | |property=[[File:Dzzy.png]] | ||
|stance= | |stance= | ||
|description=Poor range, but good startup as far as stuns go with a crazy amount of active frames. Opponents can mash out of the stun quite fast, so it’s recommended you continue to string into ''Medium Knee'' or grab them.}} | |description=Poor range, but good startup as far as stuns go with a crazy amount of active frames. Opponents can mash out of the stun quite fast, so it’s recommended you continue to string into ''Medium Knee'' or grab them. | ||
---- | |||
<b>Cancels:</b></br> | |||
{{TKin|i=f|c=1}}{{TKin|i=3}} - Medium Knee}} | |||
}} | }} | ||
</div> | </div> | ||
| Line 94: | Line 103: | ||
|range=7.3 | |range=7.3 | ||
|property=[[File:Hardknockdown.png]] | |property=[[File:Hardknockdown.png]] | ||
|stance= | |stance=Switch | ||
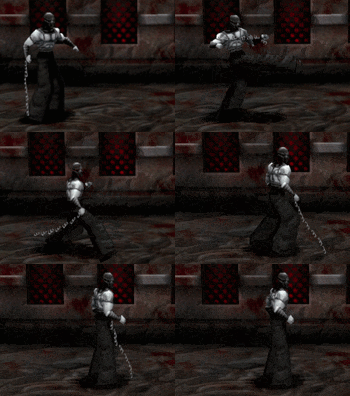
|description=One of Tormentor’s best moves. It has amazing range, recovery frames, hits mid, and has lots of ways to safely string into it.}} | |description=One of Tormentor’s best moves. It has amazing range, recovery frames, hits mid, and has lots of ways to safely string into it.}} | ||
}} | }} | ||
| Line 116: | Line 125: | ||
|range=5.0 | |range=5.0 | ||
|property=[[File:Launch.png]] | |property=[[File:Launch.png]] | ||
|stance= | |stance=Switch | ||
|description=The only DP input in the game. While it's too slow to be used by itself, ''Charged Uppercut'' will do 20 damage if you string into it making it easily your best combo finisher.}} | |description=The only DP input in the game. While it's too slow to be used by itself, ''Charged Uppercut'' will do 20 damage if you string into it making it easily your best combo finisher.}} | ||
}} | }} | ||
| Line 138: | Line 147: | ||
|range=1.8 | |range=1.8 | ||
|property= | |property= | ||
|stance= | |stance= | ||
|description=Terrible range, and it doesn’t seem to string into anything. Avoid using.}} | |description=Terrible range, and it doesn’t seem to string into anything. Avoid using.}} | ||
}} | }} | ||
| Line 162: | Line 171: | ||
|range=6.3 | |range=6.3 | ||
|property= | |property= | ||
|stance= | |stance= | ||
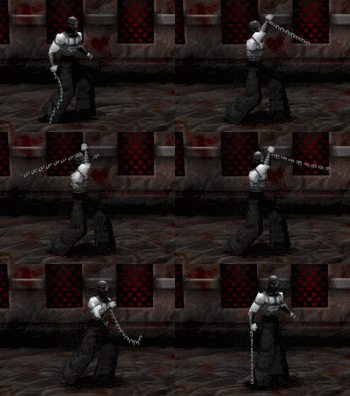
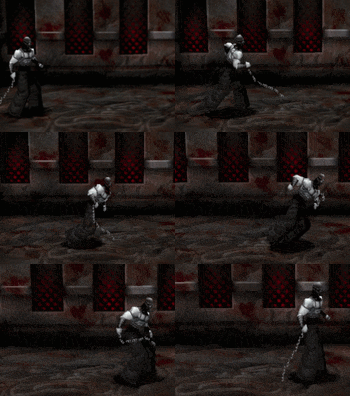
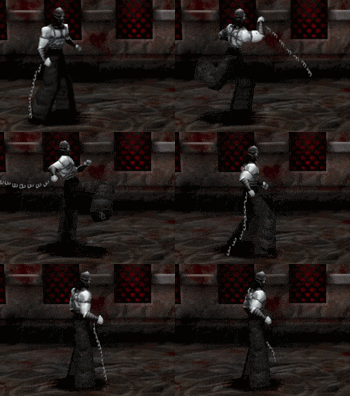
|description=Tormentor’s farthest reaching high normal. Though it sometimes has a finicky hurtbox, it strings into both ''Charged Punch'' and ''Spin Kick'', making it not a terrible option to punish your opponent from range and keep {{TKin|i=2}} held down to gain some quick chain heat.}} | |description=Tormentor’s farthest reaching high normal. Though it sometimes has a finicky hurtbox, it strings into both ''Charged Punch'' and ''Spin Kick'', making it not a terrible option to punish your opponent from range and keep {{TKin|i=2}} held down to gain some quick chain heat. | ||
---- | |||
<b>Cancels:</b></br> | |||
{{TKin|i=qc|c=1}}{{TKin|i=1}} - Charged Punch</br> | |||
{{TKin|i=qc|c=1}}{{TKin|i=3}} - Spin Kick</br> | |||
{{TKin|i=f|c=1}}{{TKin|i=4}} - Snap Kick}} | |||
}} | }} | ||
</div> | </div> | ||
| Line 184: | Line 198: | ||
|range= | |range= | ||
|property=Attack Buff | |property=Attack Buff | ||
|stance= | |stance= | ||
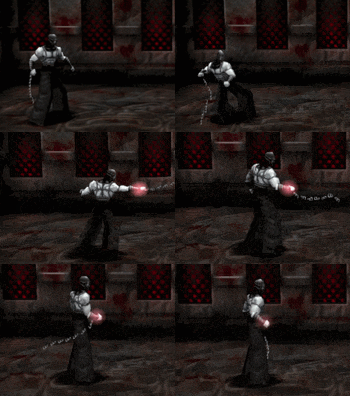
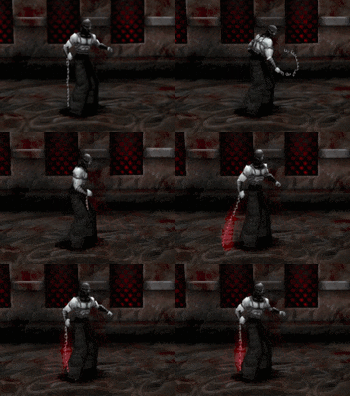
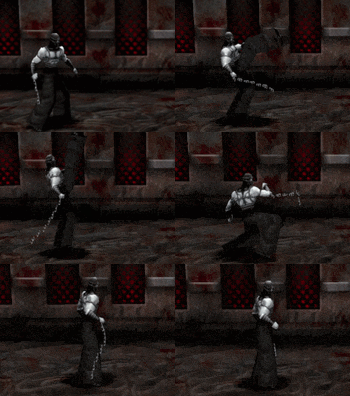
|description=Character defining move. Hold {{TKin|i=2}} for at least 32 frames, then release to heat your chain. For attacks affected by heat, the maximum possible damage added is denoted with in parenthesis next to its base value. Visit the [[#Chain Heater|Chain Heater]] section below for more in-depth information.}} | |description=Character defining move. Hold {{TKin|i=2}} for at least 32 frames, then release to heat your chain. For attacks affected by heat, the maximum possible damage added is denoted with in parenthesis next to its base value. Visit the [[#Chain Heater|Chain Heater]] section below for more in-depth information.}} | ||
}} | }} | ||
| Line 206: | Line 220: | ||
|range=5.3 | |range=5.3 | ||
|property= | |property= | ||
|stance= | |stance= | ||
|description=More active frames and damage than | |description=More active frames and damage than its non-spinning cousin, but less range. Since this strings into Guilty Lashes, it’s one of the best heated chain payouts in terms of pure damage if you're able to land it. | ||
---- | |||
<b>Cancels:</b></br> | |||
{{TKin|i=qc|c=1}}{{TKin|i=2}} - Guilty Lashes</br> | |||
{{TKin|i=f|c=1}}{{TKin|i=3}} - Medium Knee}} | |||
}} | }} | ||
</div> | </div> | ||
| Line 228: | Line 246: | ||
|range=8.0 | |range=8.0 | ||
|property=[[File:Knockdown.png]] | |property=[[File:Knockdown.png]] | ||
|stance= | |stance=Switch | ||
|description=A full second of startup for mediocre damage compared to his other tools. Avoid using.}} | |description=A full second of startup for mediocre damage compared to his other tools. Avoid using.}} | ||
}} | }} | ||
| Line 250: | Line 268: | ||
|range=8.3 | |range=8.3 | ||
|property= | |property= | ||
|stance= | |stance= | ||
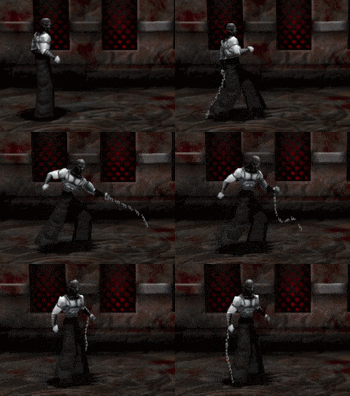
|description=The weed whacker. Amazing range and active frames, and good OTG string starter. Makes a good heated chain payout if strung into from a Spinning Chain Slash.}} | |description=The weed whacker. Amazing range and active frames, and good OTG string starter. Makes a good heated chain payout if strung into from a Spinning Chain Slash. | ||
---- | |||
<b>Cancels:</b></br> | |||
{{TKin|i=f|c=1}}{{TKin|i=qc|c=1}}{{TKin|i=1}} - Charged Uppercut}} | |||
}} | }} | ||
</div> | </div> | ||
| Line 267: | Line 288: | ||
|hit=[[File:High.png]] | |hit=[[File:High.png]] | ||
|startup=14 | |startup=14 | ||
|active= | |active= | ||
|recovery= | |recovery=58 | ||
|advantage=-15 / +2 | |advantage=-15 / +2 | ||
|damage=30 | |damage=30 | ||
|range=7.2<sup>u</sup>-10.5<sup>f</sup> | |range=7.2<sup>u</sup>-10.5<sup>f</sup> | ||
|property=[[File:Knockdown.png]] | |property=[[File:Knockdown.png]] | ||
|stance= | |stance= | ||
|description=}} | |description=}} | ||
{{AttackData-TK | {{AttackData-TK | ||
| Line 286: | Line 307: | ||
|range=9.3 | |range=9.3 | ||
|property=- | |property=- | ||
|stance= | |stance=Switch | ||
|description=This command grab is blockable, only grabs at the tip of its hitbox, is slow to start up, and doesn’t snag crouching players. At least it does lots of damage if you’re able to embarrass someone with it.}} | |description=This command grab is blockable, only grabs at the tip of its hitbox, is slow to start up, and doesn’t snag crouching players. At least it does lots of damage if you’re able to embarrass someone with it.}} | ||
}} | }} | ||
| Line 308: | Line 329: | ||
|range=3.6 | |range=3.6 | ||
|property=[[File:Hardknockdown.png]] | |property=[[File:Hardknockdown.png]] | ||
|stance= | |stance= | ||
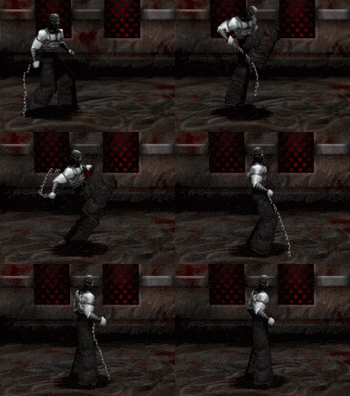
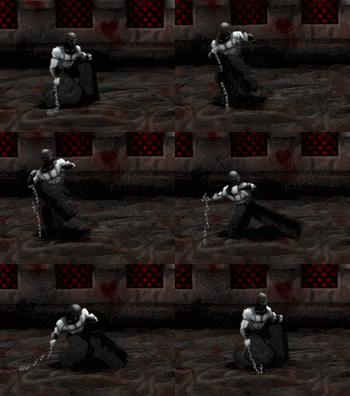
|description=A free-for-all favourite. Ending a corner juggle with this move can result in some stupidly high damage if you’re able to land every hit, though the spacing can sometimes be weird even if you’re right up against the wall.}} | |description=A free-for-all favourite. Ending a corner juggle with this move can result in some stupidly high damage if you’re able to land every hit, though the spacing can sometimes be weird even if you’re right up against the wall.}} | ||
}} | |||
</div> | |||
---- | |||
<div style="border:2px groove {{#var:primarycolor}}; background-color:{{#var:secondarycolor}}; padding:5px;"> | |||
{{MoveData | |||
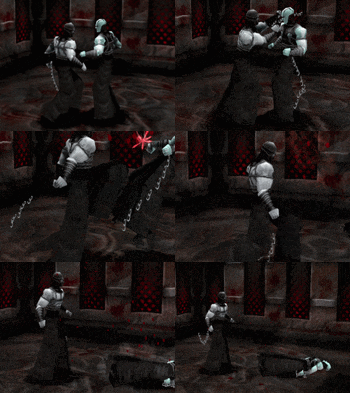
|image=TK-Tor-fbf2.gif | |||
|caption= | |||
|name=Nut Cracker | |||
|linkname= | |||
|input={{TKin|i=f|c=1}}{{TKin|i=b|c=1}}{{TKin|i=f|c=1}}{{TKin|i=2}} | |||
|data= | |||
{{AttackData-TK | |||
|version=On Grab | |||
|hit=[[File:Low.png]] | |||
|startup=14 | |||
|active= | |||
|recovery=44 | |||
|advantage=-10 / -12 | |||
|damage=13 | |||
|range=3.4 | |||
|property=[[File:Knockdown.png]] | |||
|stance= | |||
|description=}} | |||
{{AttackData-TK | |||
|header=no | |||
|version=On Hit | |||
|hit=[[File:Low.png]] | |||
|startup=14 | |||
|active=5 | |||
|recovery=12 | |||
|advantage=-10 / -5 | |||
|damage=5({{Tooltip | text=15 | hovertext=Damage at maximum heat.}}) | |||
|range=8.5 | |||
|property= | |||
|stance=Switch | |||
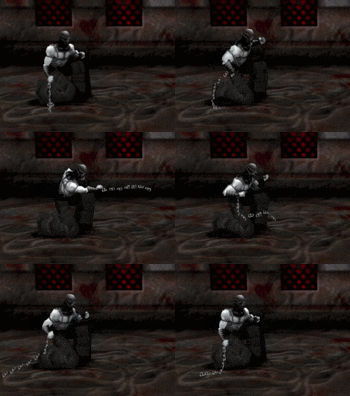
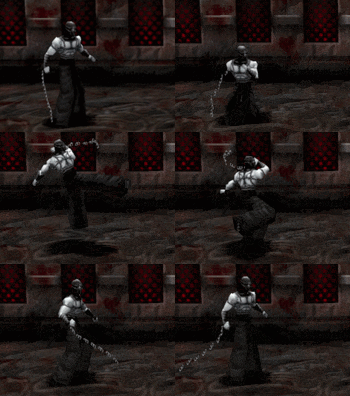
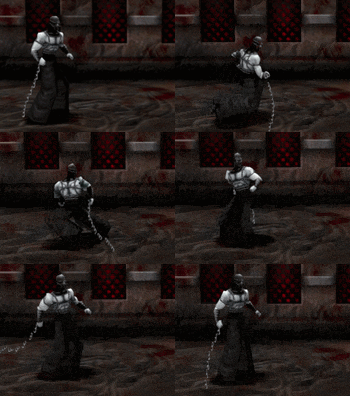
|description=Even more useless than ''Chain Twirl Throw''. Only grabs standing opponents right in front of you (it does grab a high blocking opponent - rare for a command grab in this game), and it's so minus '''''on hit''''' that pretty much the whole cast can get a free wake-up attack against you. Can be canceled into after his {{TKin|i=1+2}} combo filler hook.}} | |||
}} | }} | ||
</div> | </div> | ||
| Line 330: | Line 387: | ||
|range=4.1 | |range=4.1 | ||
|property= | |property= | ||
|stance= | |stance= | ||
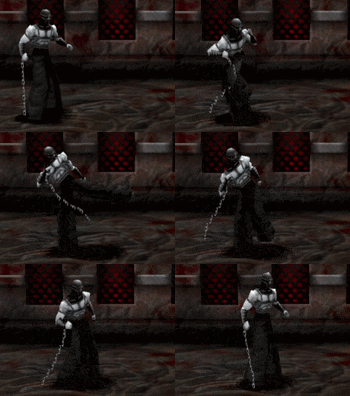
|description=Great startup, active frames, and ''allegedly'' okay range. The chain itself is the hurtbox, and can sometimes whiff at longer distances. Despite this, its active frames make it an appealing choice in certain situations.}} | |description=Great startup, active frames, and ''allegedly'' okay range. The chain itself is the hurtbox, and can sometimes whiff at longer distances. Despite this, its active frames make it an appealing choice in certain situations.}} | ||
}} | }} | ||
| Line 352: | Line 409: | ||
|range=10.8 | |range=10.8 | ||
|property=[[File:Hardknockdown.png]] | |property=[[File:Hardknockdown.png]] | ||
|stance= | |stance= | ||
|description=Fairly stubby as far as dash attacks go, but it has plenty of active frames and good damage.}} | |description=Fairly stubby as far as dash attacks go, but it has plenty of active frames and good damage.}} | ||
}} | }} | ||
| Line 376: | Line 433: | ||
|range=5.0 | |range=5.0 | ||
|property= | |property= | ||
|stance= | |stance=Switch | ||
|description=Contrary to its terrible looking advantage, this is one of Tormentor’s best buttons. Good startup, hits mid, and strings into a plethora of combos.}} | |description=Contrary to its terrible looking advantage, this is one of Tormentor’s best buttons. Good startup, hits mid, and strings into a plethora of combos. | ||
---- | |||
<b>Cancels:</b></br> | |||
{{TKin|i=qc|c=1}}{{TKin|i=3}} - Spin Kick}} | |||
}} | }} | ||
</div> | </div> | ||
| Line 398: | Line 458: | ||
|range=3.2 | |range=3.2 | ||
|property=[[File:Launch.png]] | |property=[[File:Launch.png]] | ||
|stance= | |stance=Switch | ||
|description=With very mediocre range, damage, and lift, this move is best strung into from a Gut Punch, or used as a juggle extender.}} | |description=With very mediocre range, damage, and lift, this move is best strung into from a Gut Punch, or used as a juggle extender. | ||
---- | |||
<b>Cancels:</b></br> | |||
{{TKin|i=b|c=1}}{{TKin|i=f|c=1}}{{TKin|i=1}} - Gut Punch</br> | |||
{{TKin|i=b|c=1}}{{TKin|i=f|c=1}}{{TKin|i=2}} - Back And Forth Snap</br> | |||
{{TKin|i=qc|c=1}}{{TKin|i=4}} - Ax Kick}} | |||
}} | }} | ||
</div> | </div> | ||
| Line 420: | Line 485: | ||
|range=3.3 | |range=3.3 | ||
|property=[[File:Hardknockdown.png]] | |property=[[File:Hardknockdown.png]] | ||
|stance= | |stance= | ||
|description=''Charged Punch'''s sister move. While it has much worse frame data on its own, it’s useful as a juggle ender due to it having better startup when strung into and hitting lower while offering the same damage payout. However, this highs High instead of Mid, so arguably ''Charged Punch'' is still the better move.}} | |description=''Charged Punch'''s sister move. While it has much worse frame data on its own, it’s useful as a juggle ender due to it having better startup when strung into and hitting lower while offering the same damage payout. However, this highs High instead of Mid, so arguably ''Charged Punch'' is still the better move.}} | ||
}} | }} | ||
| Line 442: | Line 507: | ||
|range=2.3 | |range=2.3 | ||
|property= | |property= | ||
|stance= | |stance= | ||
|description=Much less range than it appears to have, and doesn't string true into anything. Avoid using.}} | |description=Much less range than it appears to have, and doesn't string true into anything. Avoid using. | ||
---- | |||
<b>Cancels:</b></br> | |||
{{TKin|i=f|c=1}}{{TKin|i=qc|c=1}}{{TKin|i=1}} - Charged Uppercut}} | |||
}} | }} | ||
</div> | </div> | ||
| Line 466: | Line 534: | ||
|range=5.1 | |range=5.1 | ||
|property= | |property= | ||
|stance= | |stance= | ||
|description=There’s no reason to use this kick over ''Medium Kick'' on its own, unless the extra 0.1<sup>u</sup> of range is worth sacrificing combo versatility for.}} | |description=There’s no reason to use this kick over ''Medium Kick'' on its own, unless the extra 0.1<sup>u</sup> of range is worth sacrificing combo versatility for.}} | ||
}} | }} | ||
| Line 488: | Line 556: | ||
|range=4.4 | |range=4.4 | ||
|property= | |property= | ||
|stance= | |stance=Switch | ||
|description=A combo filler move, for the most part.}} | |description=A combo filler move, for the most part.}} | ||
}} | }} | ||
| Line 510: | Line 578: | ||
|range=6.8 | |range=6.8 | ||
|property= | |property= | ||
|stance= | |stance= | ||
|description=This sweep sports | |description=Your best low starter. This sweep sports amazing range and can string into either a powerful ''Charged Uppercut'' or an OTG string to add a bit of seasoning after a juggle.}} | ||
}} | }} | ||
</div> | </div> | ||
| Line 532: | Line 600: | ||
|range=3.7 | |range=3.7 | ||
|property=[[File:Knockdown.png]] | |property=[[File:Knockdown.png]] | ||
|stance= | |stance=Switch | ||
|description=A slow, low-damage knockdown move. There’s no way to truly string into it like Violet can with her mechanically similar Cherry Picker, so avoid using it.}} | |description=A slow, low-damage knockdown move. There’s no way to truly string into it like Violet can with her mechanically similar Cherry Picker, so avoid using it.}} | ||
}} | }} | ||
| Line 554: | Line 622: | ||
|range=4.5 | |range=4.5 | ||
|property= | |property= | ||
|stance= | |stance= | ||
|description= | |description=Another good low move. Great range, and can strings into ''Charged Punch''.}} | ||
}} | }} | ||
</div> | </div> | ||
| Line 576: | Line 644: | ||
|range=8.9 | |range=8.9 | ||
|property=[[File:Launch.png]] | |property=[[File:Launch.png]] | ||
|stance= | |stance= | ||
|description=Running Knee can sometimes begin juggling combos, which is quite unique for a dash attack in Thrill Kill. However, sometimes you have much more recovery time and cannot start a juggle. More research is needed as to why this happens.}} | |description=Running Knee can sometimes begin juggling combos, which is quite unique for a dash attack in Thrill Kill. However, sometimes you have much more recovery time and cannot start a juggle. More research is needed as to why this happens.}} | ||
}} | }} | ||
| Line 601: | Line 669: | ||
|range=0.8 | |range=0.8 | ||
|property=[[File:Dzzy.png]] | |property=[[File:Dzzy.png]] | ||
|stance= | |stance= | ||
|description=A side-switching grab. Opponents can quickly mash out of the stun, so you don’t have as much time as it looks to follow it up with a hit. It’s recommended that you dash-in '''Medium Knee''' for a juggle.}} | |description=A side-switching grab. Opponents can quickly mash out of the stun, so you don’t have as much time as it looks to follow it up with a hit. It’s recommended that you dash-in '''Medium Knee''' for a juggle.}} | ||
}} | }} | ||
| Line 623: | Line 691: | ||
|range=0.8 | |range=0.8 | ||
|property=[[File:Knockdown.png]] | |property=[[File:Knockdown.png]] | ||
|stance= | |stance= | ||
|description=A very fast, straightforward grab.}} | |description=A very fast, straightforward grab.}} | ||
}} | }} | ||
| Line 645: | Line 713: | ||
|range=0.8 | |range=0.8 | ||
|property=[[File:Knockdown.png]] | |property=[[File:Knockdown.png]] | ||
|stance= | |stance=Switch | ||
|description=A rear version of ''Punishment''', with more damage for your trouble.}} | |description=A rear version of ''Punishment''', with more damage for your trouble.}} | ||
}} | }} | ||
| Line 667: | Line 735: | ||
|range=0.8 | |range=0.8 | ||
|property=[[File:Dzzy.png]] | |property=[[File:Dzzy.png]] | ||
|stance= | |stance= | ||
|description=A basic swap grapple. 11<sup>f</sup> of stun.}} | |description=A basic swap grapple. 11<sup>f</sup> of stun.}} | ||
}} | }} | ||
| Line 689: | Line 757: | ||
|range=4.5 | |range=4.5 | ||
|property=[[File:Knockdown.png]] | |property=[[File:Knockdown.png]] | ||
|stance= | |stance= | ||
|description=This taunt has a hitbox! Neat.}} | |description=This taunt has a hitbox! Neat.}} | ||
}} | }} | ||
</div> | </div> | ||
<br/> | <br/> | ||
---- | |||
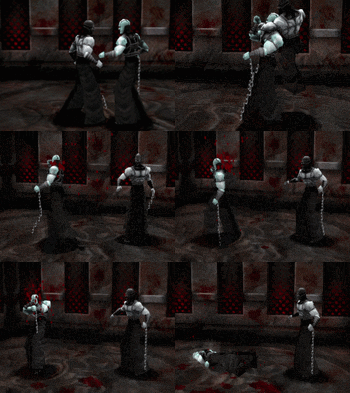
==Thrill Kills== | |||
Thrill Kill 1 - No Inputs</br> | |||
Thrill Kill 2 - {{TKin|i=2}} + {{TKin|i=4}}</br> | |||
Thrill Kill 3 - {{TKin|i=1}} + {{TKin|i=4}} + {{TKin|i=u}}</br> | |||
Combo Kill - {{TKin|i=3}} + {{TKin|i=4}} + '''L1''' + {{TKin|i=b}}</br> | |||
Dance - {{TKin|i=1}} + {{TKin|i=2}} + {{TKin|i=3}} + {{TKin|i=4}} + {{TKin|i=f}}</br> | |||
</br> | |||
==Chain Heater== | ==Chain Heater== | ||
Latest revision as of 14:13, 11 November 2023
Overview
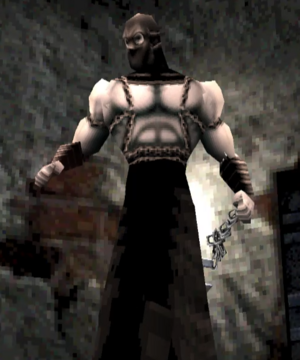
Tormentor is a very well-rounded character who's greatest strength is his combo versatility and his ability to constantly pressure his opponents with attacks. He has a 4f jab, very good ranged mid attacks to both start combos and send his opponents flying to the corner, plus on hit moves to stagger with, Spinning Sweep Kick has extremely good range and has a great combo string attached to it, and he has amazing damage in the corner against most of the cast with his Charged Punch wall-splat extensions.
While Tormentor may seem dominant in the hands of someone skilled, nothing about him is particularly broken. He relies on mixing up his combos and pressure to win, and using his 4f jab to stagger opponents attempting to use slower moves against him.
Chain Heater allows you to heat up your chain and give your chain attacks a damage bonus, which is a great tool if you're able to create space. However, heat really only makes a significant difference when it's maxed, and usually by then your opponent is hurt enough that a combo without any heat would win the round regardless.
| At a glance: | |
| Pros | Cons |
|
|
Move List
 Front Punch
 Back Punch
| Hit | Startup | Active | Recovery | Adv. (Block / Hit) | Damage | Range | Property | Stance | |
|---|---|---|---|---|---|---|---|---|---|
| - | - | - | 26f | - | - | - | Attack Buff | - | |
|
| |||||||||
 Front Kick
 Back Kick
Grabs / Misc Moves
Tormentor has 16f of recovery when he misses a grapple attempt.
Thrill Kills
Thrill Kill 1 - No Inputs
Thrill Kill 2 - ![]() +
+ ![]()
Thrill Kill 3 - ![]() +
+ ![]() +
+ ![]()
Combo Kill - ![]() +
+ ![]() + L1 +
+ L1 + ![]()
Dance - ![]() +
+ ![]() +
+ ![]() +
+ ![]() +
+ ![]()
Chain Heater
By holding down ![]() for at least 32 frames and releasing it, Tormentor heats up his chain. It does not matter how long you hold the button down for - the amount of heat gain is based on your current heat total. Here's is how the heat mechanic works in detail:
for at least 32 frames and releasing it, Tormentor heats up his chain. It does not matter how long you hold the button down for - the amount of heat gain is based on your current heat total. Here's is how the heat mechanic works in detail:
- You begin the round with 0 heat.
- 1 unit of heat is slowly lost every 63 frames (~2.1 seconds).
- 12 heat appears to be the maximum, giving a 150% damage bonus.
- If you have 0 heat, Chain Heater will add 8 heat (which drops to 7.999 on the first frame you return to your idle animation).
- If you have more than 0 heat, Chain Heater will do one of the following:
- Sets your current heat to 8, or fails to add any heat at all. Likely to happen at more than 6 heat.
- Adds 8 heat, up to a maximum of 12. More likely when you're below 6 heat.
