Lichmassacre (talk | contribs) m (Old Navbox removed for new Navbox.) |
Lichmassacre (talk | contribs) m (→Normal Moves) |
||
| Line 30: | Line 30: | ||
==Normal Moves== | ==Normal Moves== | ||
==Standing== | |||
===Close A=== | |||
[[Image:Toki-c.A.png]]<br> | |||
A weak-looking jab. Mostly useless. | |||
===Far A=== | |||
[[Image:Toki-A.png]]<br> | |||
A straight jab to the face. Mostly useless | |||
===Close B=== | |||
[[Image:Toki-c.B.png]]<br> | |||
A shin kick. Useful for hitting downed opponents. | |||
===Far B=== | |||
[[Image:Toki-B.png]]<br> | |||
A straight kick. Cancelable into itself. Its long range and fast startup make it very good for footsies. Can also be used against low air-dashing opponents. | |||
===Close C=== | |||
[[Image:Toki-c.C.png]]<br> | |||
An underhand palm attack. Mostly used in combos. | |||
===Far C=== | |||
[[Image:Toki-C.png]]<br> | |||
An upward punch. Slow startup, not very useful. | |||
===Close D=== | |||
[[Image:Toki-c.D.png]]<br> | |||
A downward chop. Used in some combos. | |||
===Far D=== | |||
[[Image:Toki-D.png]]<br> | |||
A backhand punch. Stuns opponent when it hits on the ground, can follow up with a Banishing Strike. Not very useful outside of combos. | |||
==Crouching== | |||
===A=== | |||
[[Image:Toki-2A.png]]<br> | |||
A low jab. Best move ever. Fast startup, advantage on guard. If at any point you aren't sure what to do, just hold down and mash A! Hits quite high so it will lose to some low moves like Shin's 2B. | |||
===B=== | |||
[[Image:Toki-2B.png]]<br> | |||
A sweep kick that sends the opponent flying into the air. Toki's only low move. Its slow startup makes it somewhat less attractive than most of Toki's other mixup options, but it is important to throw it in every once in a while to keep your opponent crouching. | |||
===C=== | |||
[[Image:Toki-2C.png]]<br> | |||
A stylish upward jab. Can follow up with another crouching C on hit or guard, which can be Jump Canceled. Used in combos or as an anti-air. | |||
===D=== | |||
[[Image:Toki-2D.png]]<br> | |||
A two-handed forward thrust. Its long reach, quick startup, and small hitbox make this Toki's main rushdown move. Hits quite high so it will lose to some low moves like Shin's 2B. | |||
==Air== | |||
===A=== | |||
[[Image:Toki-j.A.png]]<br> | |||
A downward jab. Mostly used in combos. | |||
===B=== | |||
[[Image:Toki-j.B.png]]<br> | |||
An upward kick. Used as an air vs air and in combos. | |||
===C=== | |||
[[Image:Toki-j.C.png]]<br> | |||
A two-handed downward chop. Wide horizontal range makes it useful as a cross-up in some situations. | |||
===D=== | |||
[[Image:Toki-j.D.png]]<br> | |||
A downward kick. Insanely long active time. Can be used as a cross-up | |||
==Other== | |||
===6A=== | |||
[[Image:Toki-6A.png]]<br> | |||
An overhead thrust that knocks the opponent into the air. Overhead attack. Not very useful when you consider Toki's other overhead options, but you can throw it in every once in a while to mix things up. | |||
===6B=== | |||
[[Image:Toki-6B.png]]<br> | |||
A jump kick that knocks the opponent into the air. Can dodge low-hitting attacks. Not very useful except as a gimmick. | |||
===6D=== | |||
[[Image:Toki-6D.png]]<br> | |||
A fancy-looking straight chop. Upper body invulnerability makes it useful for countering high-hitting attacks and as an anti-air. Hits overhead on Raoh and Heart, but won't hit other crouching characters. | |||
===Throw=== | |||
[[Image:Toki-Throw.png]]<br> | |||
Toki grabs his opponent and blasts them away from him. Opponent is thrown in the opposite direction of the lever, so for example if you input forward C, they will be thrown behind you. Causes wall bounce and can cancel into a teleport, allowing for no-gauge follow ups. Hands-down the best throw in the game. | |||
===Grave Shoot=== | |||
[[Image:Toki-Grave.png]]<br> | |||
A big upward kick that launches the opponent into the air. Can cancel into a teleport. Mostly used in combos. | |||
===Heavy Strike=== | |||
[[Image:Toki-Heavy.png]]<br> | |||
A strong low thrust. Fairly short range but still useful in some situations. About middle-of-the-road as far as Heavy Strikes go. | |||
===Banishing Strike=== | |||
[[Image:Toki-Bani.png]]<br> | |||
Toki puts his hands together and unleashes a blast of energy. Mostly used in combos. | |||
==Special Moves== | ==Special Moves== | ||
Revision as of 16:32, 19 January 2021
Introduction
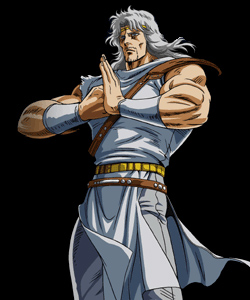
| If you are even a little familiar with Hokuto no Ken, Toki probably needs no introduction. His ability to teleport around with no recovery allows for over-the-top mixups and pressure, and he has an answer to any situation, being fully equipped with two of the best reversal supers in the game, zero-startup low/high/air counter moves, a projectile, and a projectile reflector move. As his 2B has a long startup and he possesses no other low moves, Toki's mixup is centered more on confusing the opponent into guarding the wrong way than the usual high/low or low/throw styles. This makes for a fairly unique play-style, which can take some getting used to. However if you are playing to win and are willing to put in the effort, Toki is likely the best pick for you.
That being said, let us start this section off by listing Toki's main strengths and weaknesses. |
Strengths:
- Positive matchups against all characters; has two 9:1 matchups
- Can teleport all over the place at high speed with no recovery at all.
- Has three 1-frame startup counter moves which can be followed up with huge no gauge combos
- Throw causes wall bounce, and can be followed up with huge no gauge combos
- Has two of the best reversal supers in the game
- Great star reducing abilities
- Best FKO in the game
Weaknesses:
- 2B is his only low attack, and comes out quite slow
- 3-star FKO combos are fairly difficult to pull off
- People may hold a grudge against you for using him
Before diving right into the combos be sure to familiarize yourself with Toki's special/super moves and important normals.
Normal Moves
Standing
Close A
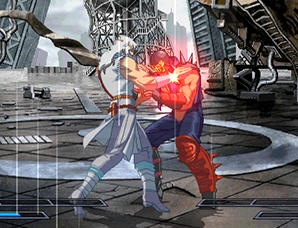
A weak-looking jab. Mostly useless.
Far A
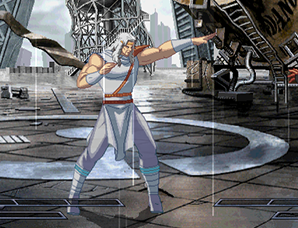
A straight jab to the face. Mostly useless
Close B
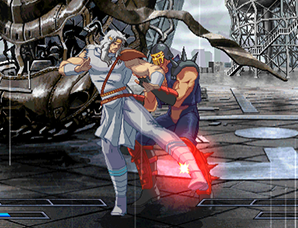
A shin kick. Useful for hitting downed opponents.
Far B
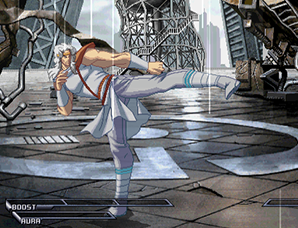
A straight kick. Cancelable into itself. Its long range and fast startup make it very good for footsies. Can also be used against low air-dashing opponents.
Close C
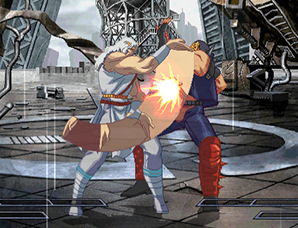
An underhand palm attack. Mostly used in combos.
Far C
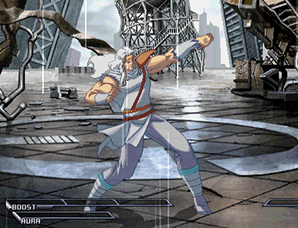
An upward punch. Slow startup, not very useful.
Close D
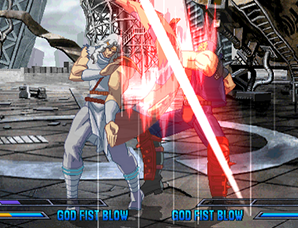
A downward chop. Used in some combos.
Far D
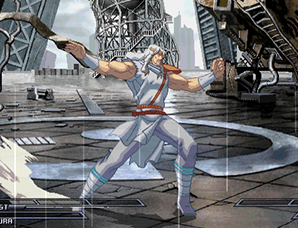
A backhand punch. Stuns opponent when it hits on the ground, can follow up with a Banishing Strike. Not very useful outside of combos.
Crouching
A
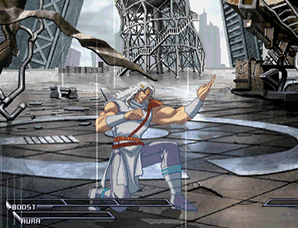
A low jab. Best move ever. Fast startup, advantage on guard. If at any point you aren't sure what to do, just hold down and mash A! Hits quite high so it will lose to some low moves like Shin's 2B.
B
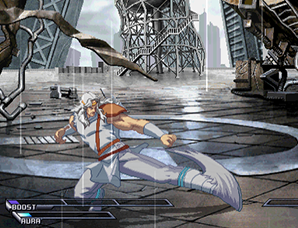
A sweep kick that sends the opponent flying into the air. Toki's only low move. Its slow startup makes it somewhat less attractive than most of Toki's other mixup options, but it is important to throw it in every once in a while to keep your opponent crouching.
C
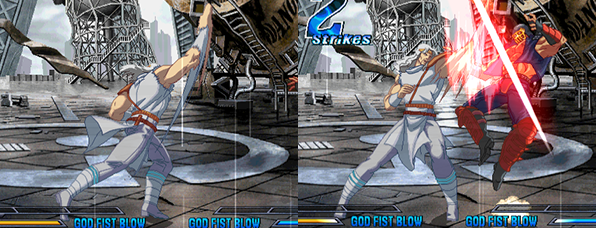
A stylish upward jab. Can follow up with another crouching C on hit or guard, which can be Jump Canceled. Used in combos or as an anti-air.
D
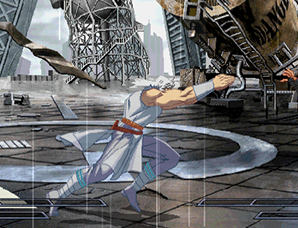
A two-handed forward thrust. Its long reach, quick startup, and small hitbox make this Toki's main rushdown move. Hits quite high so it will lose to some low moves like Shin's 2B.
Air
A
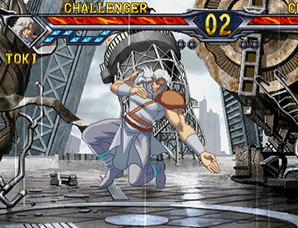
A downward jab. Mostly used in combos.
B
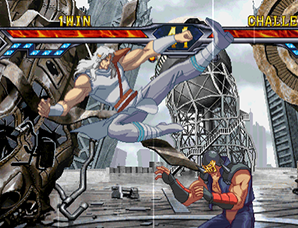
An upward kick. Used as an air vs air and in combos.
C
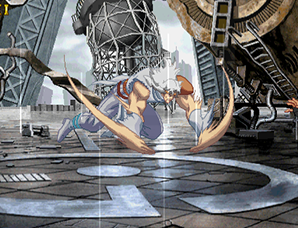
A two-handed downward chop. Wide horizontal range makes it useful as a cross-up in some situations.
D
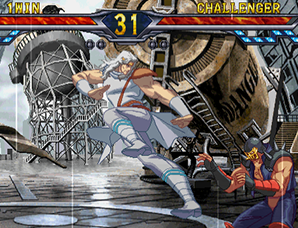
A downward kick. Insanely long active time. Can be used as a cross-up
Other
6A
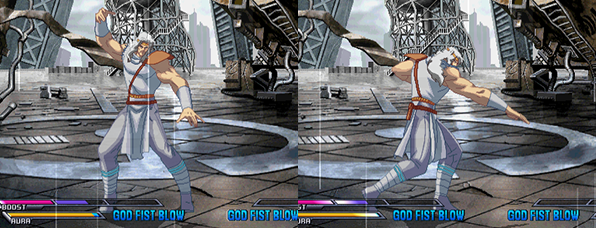
An overhead thrust that knocks the opponent into the air. Overhead attack. Not very useful when you consider Toki's other overhead options, but you can throw it in every once in a while to mix things up.
6B
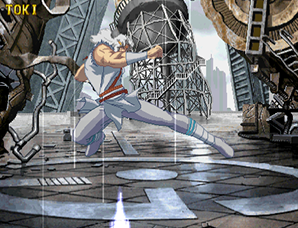
A jump kick that knocks the opponent into the air. Can dodge low-hitting attacks. Not very useful except as a gimmick.
6D
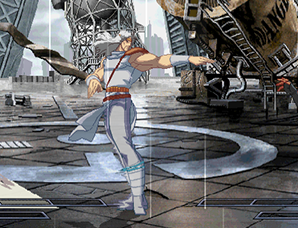
A fancy-looking straight chop. Upper body invulnerability makes it useful for countering high-hitting attacks and as an anti-air. Hits overhead on Raoh and Heart, but won't hit other crouching characters.
Throw
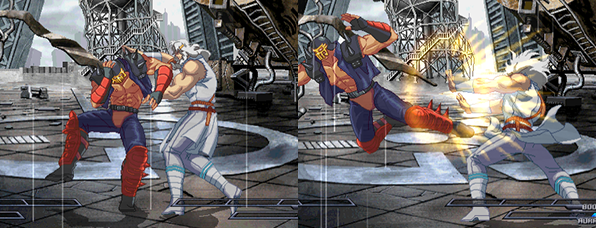
Toki grabs his opponent and blasts them away from him. Opponent is thrown in the opposite direction of the lever, so for example if you input forward C, they will be thrown behind you. Causes wall bounce and can cancel into a teleport, allowing for no-gauge follow ups. Hands-down the best throw in the game.
Grave Shoot
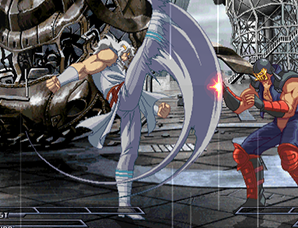
A big upward kick that launches the opponent into the air. Can cancel into a teleport. Mostly used in combos.
Heavy Strike
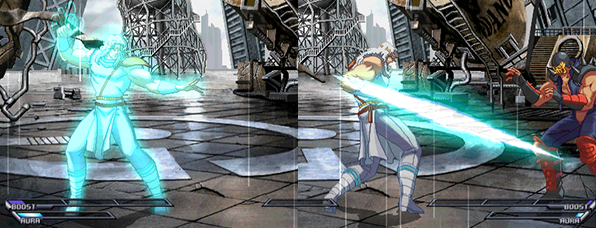
A strong low thrust. Fairly short range but still useful in some situations. About middle-of-the-road as far as Heavy Strikes go.
Banishing Strike
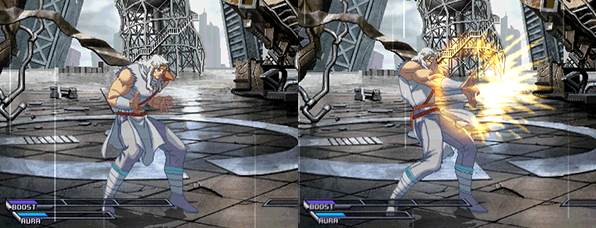
Toki puts his hands together and unleashes a blast of energy. Mostly used in combos.
Special Moves
See Special Moves section.
Combos
See Combos section.
Matchups
Kenshiro
X
Raoh
X
Toki
X
Shin
X
Rei
X
Juda
X
Thouther
X
Jagi
X
Mr. Heart
X
Mamiya
X
