This page covers Shin's special and super moves. His normal moves are explained here.
Nanto Senkyakusou
214B
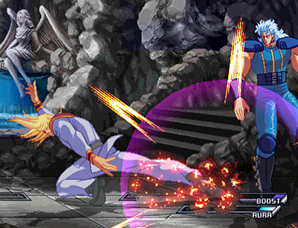
Shin performs a low sliding kick. Slow startup and recovery. Takes off a star on Counter Hit. Can be used to dodge some high-hitting moves. Overall it is very high-risk low-return move, and thus doesn't get much use.
Nanto Gokutoken
(Land or Air) 623B or D
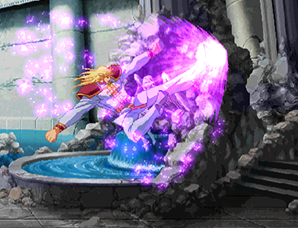
An air kick, similar to Kenshiro's Hieiken. The B land and air versions go diagonally upwards, while the D versions go horizontally across the screen. All versions take off a star on Counter Hit.
The land B version has invulnerability while rising, but not during startup, so cannot be used as a reversal. Causes wall bounce on hit, and it is possible to act in the air once the move has risen to it's peak. Misses all crouching characters except Heart. Very high return move, but often risky to use.
The land D version knocks the opponent into the air on normal hit, and causes wall bounce on Counter Hit. Hits overhead, but is generally never used because your opponent can easily get a guaranteed combo on you if they block it, which isn't that hard to do.
The air B version is mostly used as a combo ender. It does however hit overhead, so it is possible to use it after an air dash jump B as an alternative to landing and doing a 2B. This is quite hard to see, and effective to use every once in a while. Like the land D version, you will probably die if it is blocked, so caution is necessary when using it outside of combos.
The air D version is for the most part the same as the land D version. Has a few uses in some combos but otherwise is not very important.
Nanto Ryuuhayadan
236A (Can press A multiple times)
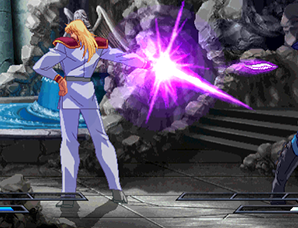
Shin strikes a pose and shoots feather-shaped blasts of power from his finger. Shoots two feathers upon executing the move, and one more for every time you press A. The feathers do no damage, but are unblockable and each hit adds to the opponent's unseen dizzy meter. Upon striking the opponent the word 'Faint' appears in a colored bubble, which ranges from yellow to red. The closer to red, the closer the opponent is to being dizzied - once it is fully red almost any hit will dizzy them. Feathers can also take out other projectiles and Juda's followers. This all sounds useful, but due to it's long recovery and the fact that your opponent can just run through your projectiles and hit you, this is a terrible move that you will only ever use by accident.
Nanto Hakuhazan
214C
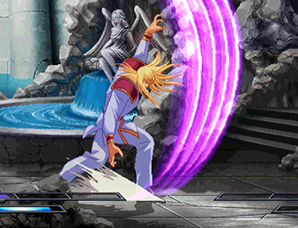
Shin does a big backhanded slash. Slow startup and long recovery, but has big range and upper-body invulnerability. Takes off one star on normal hit and two on Counter Hit. Can reflect most non-beam projectiles. Causes stun on grounded opponents. Mostly used in combos.
Nanto Senjuzan
236C, Follow-up with 236C
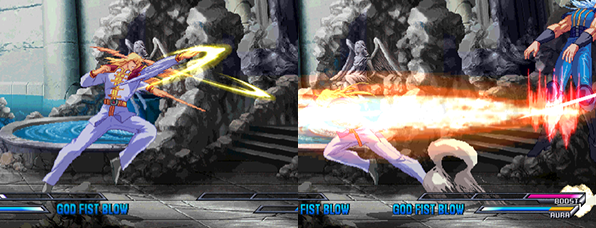
Shin rushes forwards a strikes his opponent rapidly. Takes off a star on Counter Hit. Slow startup, and doesn't hit crouching characters. The follow up move causes Shin to quickly turn around and attack his opponent while returning back to the side he started on. Takes a star on normal hit and two on Counter Hit. Used mostly in Banishing Strike combos.
Nanto Gyakushisou
63214A
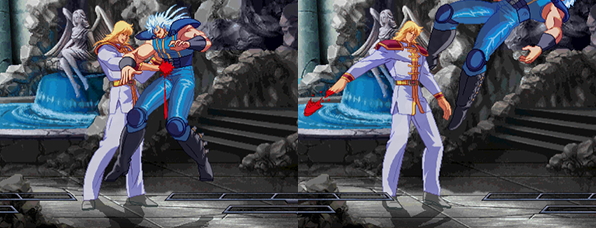
Shin grabs his opponent, pokes them, then throws them away. A 4-frame startup command grab. Takes off one star, and follow up is possible. Very important part of Shin's mixup game.
Nanto Hakuen Tenshou
236 or 214D
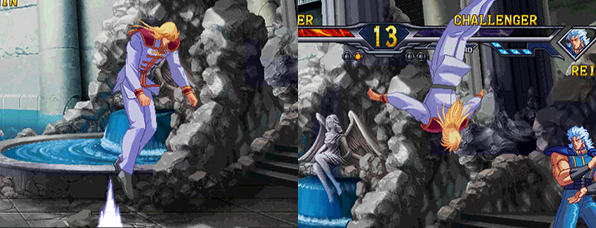
Shin jumps up into the air and does a flip. The 236 version goes forwards, while the 214 version goes backwards. Can act midway through the jump. Mostly used in combos after a 2D. There is some invulnerability while jumping but it has no real use. It is also possible to triangle jump off of the wall if you come in contact with it while jumping, but once again this is completely useless.
Nanto Raishinshou
236236C (Uses 1 Bar Aura)
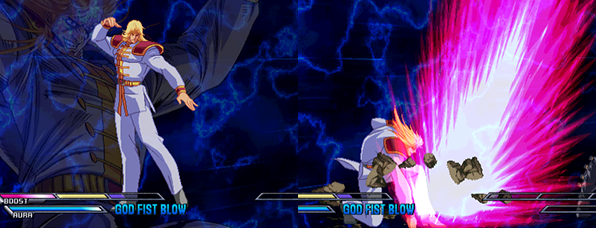
Shin hits the ground an a big geyser of power shoots out. Takes off one star on normal hit and two on Counter hit. Has full invulnerability until execution, but the startup is quite slow at 12 frames. Mostly used in combos, and very sparingly as a reversal.
Nanto Senshu Ryuugeki
214214C (Hold C to charge) (Uses 1 Bar Aura)
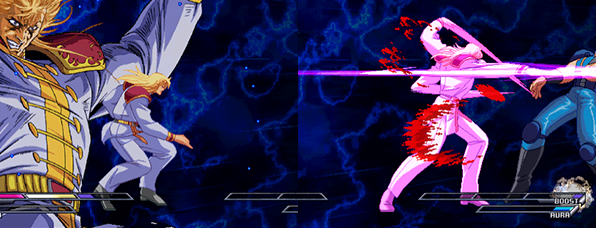
Shin charges up then rushes forward and stabs at his opponent rapidly. Can be charged by holding C. Charging increases the amount of hits and damage done - on some characters the max charge will instantly Guard Crush them if they block it. The last hit takes off one star, and the first hit will take off 2 stars on Counter Hit, for a total of 3 stars if the last hit connects. Has invulnerability, but the startup is even slower than that of Raishinshou. Does not see much use except in some obscure combos.
"Omae no Ken deha, Shinan!"
(With no stars left) 412363214A (Uses 1 Bar Aura)

Shin slowly retreats, then jumps to his death. Shin begins the next round with his stars restored to full. This could have been a very useful move, but unfortunately the startup animation is extremely long, making it impossible to use for all practical purposes.
Nanto Shoushuu Tokyaku
236CD (Fatal KO)

Shin does a high kick, then pokes his opponent to death while his underlings hold them. The kick move hits twice - the second hit must connect, or the FKO will fail.