This page covers Kenshiro's normal moves. His special and super moves are explained here.
Standing
Close A
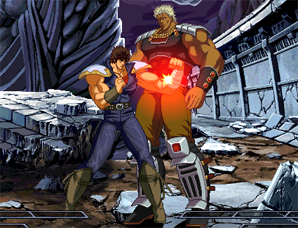
A quick jab. Not very useful for pressure or zoning, but used in some combos.
Far A
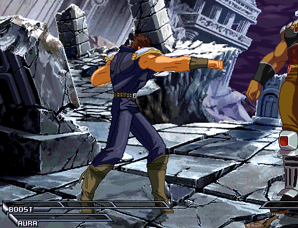
A straight punch. Mostly the same as close A but perhaps slightly more useful as an anti-air.
Close B
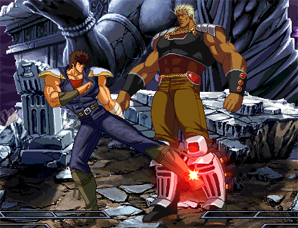
A low kick. Decent but lacking in comparison to 2B.
Far B
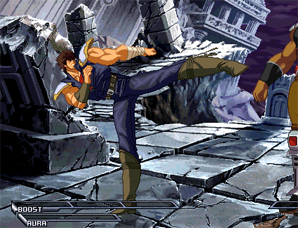
A straight kick. Gives advantage on guard and cancelable into itself. Very useful for mid-range zoning.
Close C
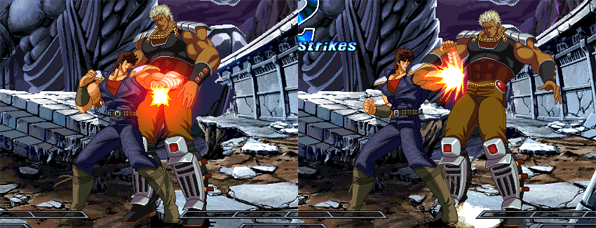
Two quick punches. No real use, seen mostly when missing with a throw attempt.
Far C
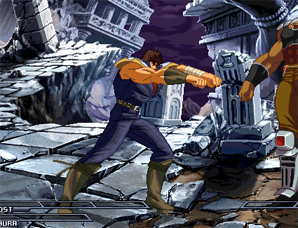
A two-handed punch. Long active frames and good range. Very useful for zoning, can hit confirm Boost into a combo. Against Rei only, far C combos into 236D when you hit him crouching - this is very useful as far D does not hit crouching opponents.
Close D
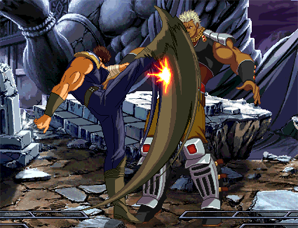
An upward kick. Its quick startup and big hitbox make it a very good anti-air. Also useful in combos.
Far D
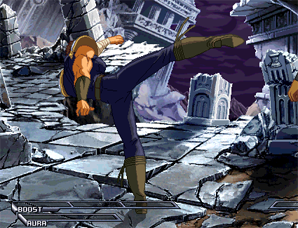
A strong kick. With 7 frame startup, great range, and good comboability, this is without a doubt one of Kenshiro's best normals.
Crouching
A
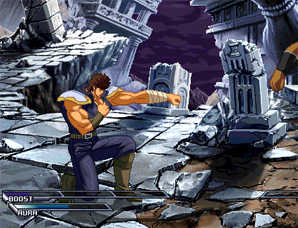
A crouching jab. Fast startup, used at close range and in combos.
B
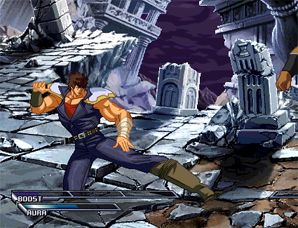
A low crouching kick. 8 frame advantage on block, allowing for mixup with another 2B or air dash B. Very useful.
C
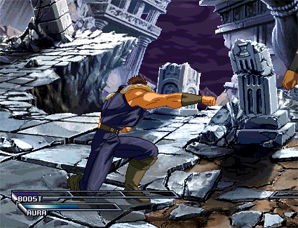
A crouching straight punch. Cancelable into itself, but it's slow startup and short range makes it not very useful.
D
Air
A
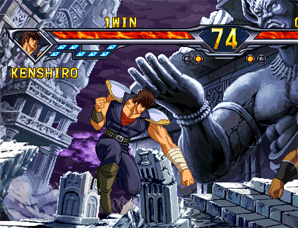
A quick air jab. Used mostly for getting out of pressure and as a mixup option after an air dash B.
B
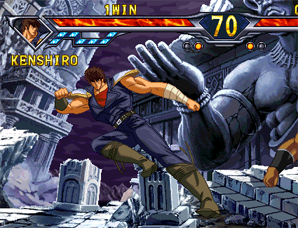
An air kick. Its long range and quick execution make this move Kenshiro's main overhead.
C
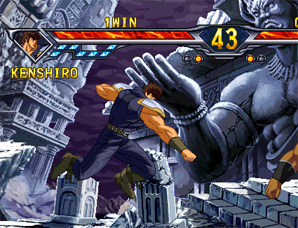
A strong air punch. Fairly slow startup, works alright as an air-to-ground. Used mostly in combos.
D
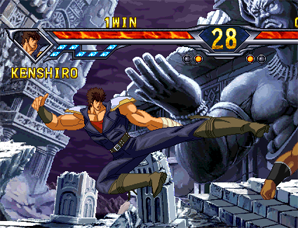
A 3-hit air kick. Good range to the side but not very effective against opponents below you. Use mostly in combos or for long range zoning.
Other
6A

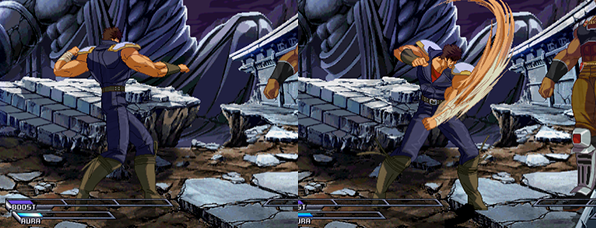
An overhead chop. Aside from being quite slow with a 27 frame startup, Kenshiro screaming 'GANZANRYOUZANHA!' at the top of his lungs doesn't help make this move any less telegraphed either. Still, using Boost it is possible follow up with a combo on a successful hit or a quick low on guard, making this move worth using every once in a while.
6B
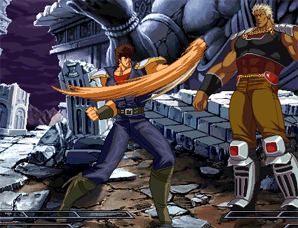
A backhand punch. Jump cancelable and possesses Super Armor. Knocks opponent into the air on normal hit and causes wall bounce on counter. Very useful for dealing with Guard Cancels.
Throw
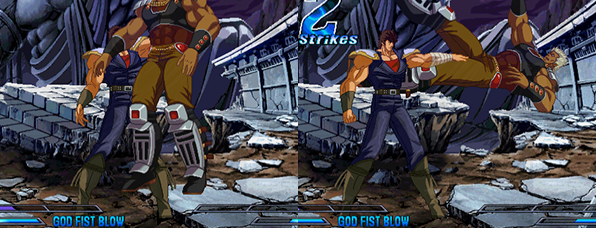
Kenshiro picks up his opponent, slaps them around a bit, then tosses them to the ground. Follow up possible in the corner. Can also follow up mid-screen with the use of Boost. Very useful and an important part of Kenshiro's mixup game.
BD Throw
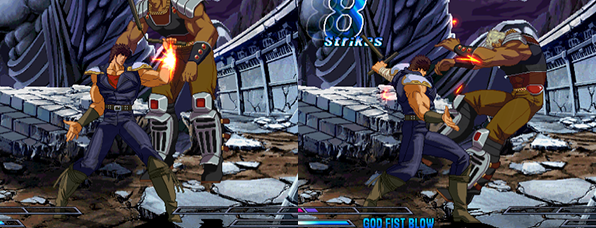
Kenshiro throws his opponent into the air then hits them with his nunchaku. Follow up possible in the corner. Can also follow up mid-screen with the use of Boost. As it hits multiple times it is great for building meter. Like all BD throws its use is pretty much limited to dizzied opponents.
Grave Shoot
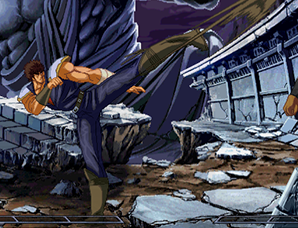
A really, really high kick that launches the opponent into the air. Great range both above and to the sides, but will not hit crouching opponents. Extremely powerful as an early anti-air, and has a fairly short recovery. Also an important combo part.
Heavy Strike
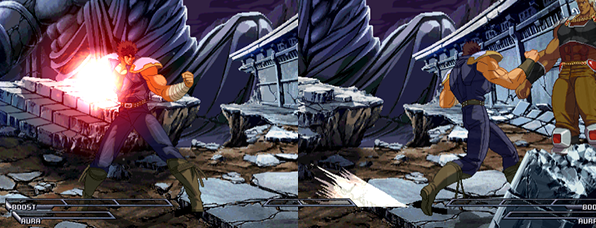
A body shot. Its really short range makes it one of the least useful Heavy Strikes in the game.
