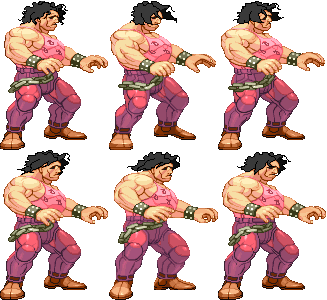
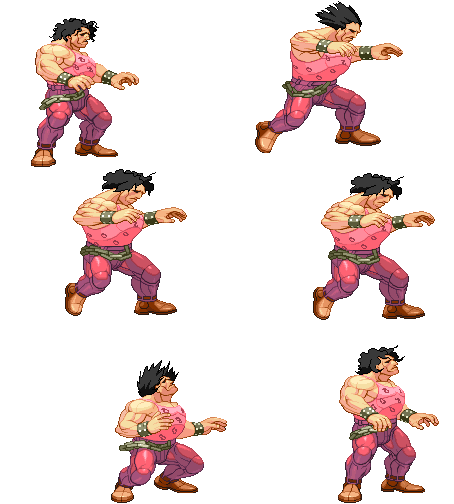
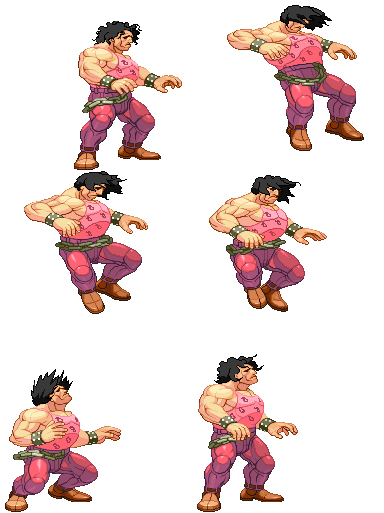
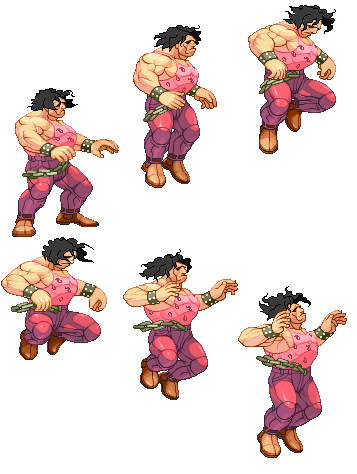
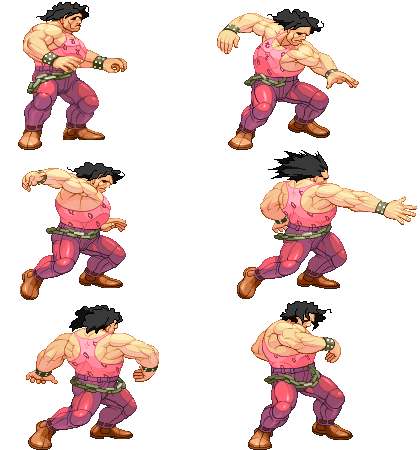
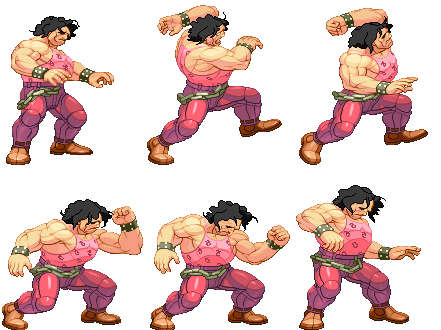
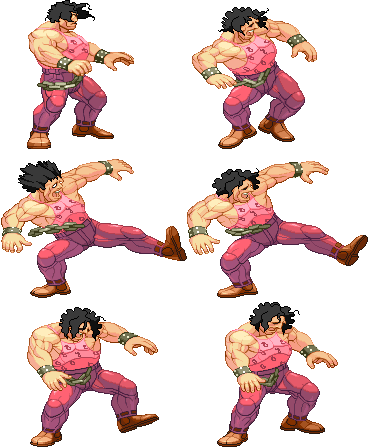
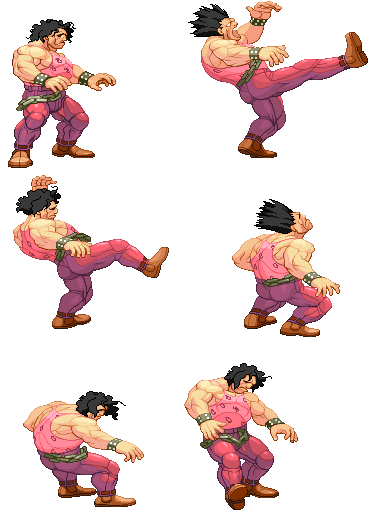
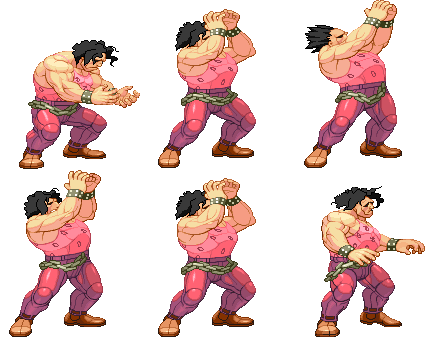
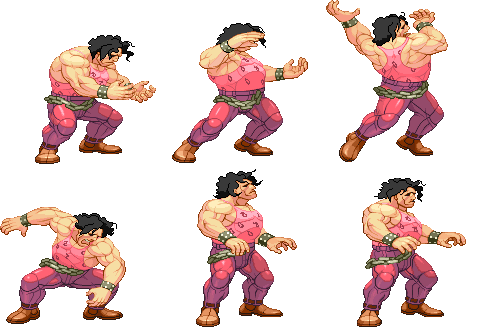
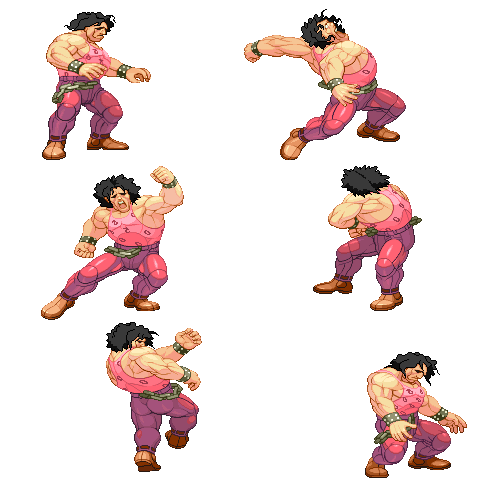
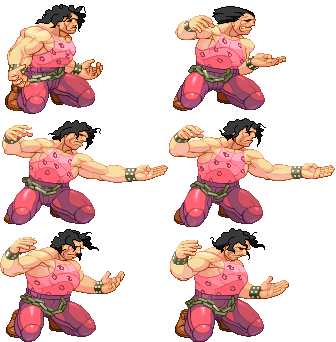
Introduction
Specific Character Information
- Stamina: 1300
- Stun Bar Length (dots): 72
- Stun Bar Recovery (frames it takes to recover 1 dot): 21
- Taunt:
Unheld taunt - Increases damage for the next hit/combo by 18.8% (maximum 1 taunt). Also increases defence for the rest of the round by 6.3% per taunt (maximum 4 taunts, 25% bonus) Held taunt - Increases damage for the next hit/combo/throw by 25%. One taunt is the maximum.
- Best Kara-Throw: MK
Colors
Moves List
Basic Moves
| Move | Convention |
| Forward | F |
| Back | B |
| Crouch | C |
| Jump | J |
| Jump Forward | JF |
| Jump Backwards | JB |
| Super Jump | D-U |
| Super Jump Forward | D-UF |
| Super Jump Backwards | D-UB |
| Dash Forward | FF |
| Dash Backwards | BB |
| Quarter Circle Forward | QCF |
| Quarter Circle Backwards | QCB |
| Forward, Down, Down-Forward | F,D,DF / DP |
| Full Circle | 360 |
| Double Full Circle | 720 |
| Guard (High) | B when enemy is attacking |
| Guard (Low) | DB when enemy is attacking |
| Parry (High) | Tap F when about to take a hit |
| Parry (Low) | Tap D when about to take a hit |
| Parry (Air) | Tap F in air when about to take a hit |
| Red Parry | Execute parry after blocking a hit in a combo |
| Punch (Any) | P |
| Kick (Any) | K |
| 2 Punches | PP |
| 2 Kicks | KK |
| 3 Punches | PPP |
| 3 Kicks | KKK |
| Jab | LP |
| Strong | MP |
| Fierce | HP |
| Short | LK |
| Forward | MK |
| Roundhouse | HK |
| Universal Overhead | UOH |
Normal Moves
| Move | Motion |
| Jab | LP |
| Strong | MP |
| Fierce | HP |
| Short | LK |
| Forward | MK |
| Roundhouse | HK |
| Jumping Jab | (Air) LP |
| Jumping Strong | (Air) MP |
| Jumping Fierce | (Air) HP |
| Jumping Short | (Air) LK |
| Jumping Forward | (Air) MK |
| Jumping Roundhouse | (Air) HK |
| Universal Overhead | MP+MK |
| Taunt | HP+HK |
Throws
| Move | Motion |
| Neck Hanging Three | LP+LK |
| Body Slam | F+LP+LK or B+LP+LK |
Command Normals
| Move | Motion |
| Hammer Hook | F+HP |
| Crouching Jab | D+LP |
| Crouching Strong | D+MP |
| Crouching Fierce | D+HP |
| Crouching Short | D+LK |
| Crouching Forward | D+MK |
| Crouching Roundhouse | D+HK |
| Body Press | (Air) D+HP |
Target Combos
- Hugo has no Target Combos
Special Moves
| Move | Motion |
| Giant Palm Bomber | QCB+P |
| Moonsault Press | 360+P |
| Monster Lariat | QCF+K |
| Shootdown Backbreaker | F, D, DF+K |
| Meat Squasher | 360+K |
| Ultra Throw | HCB+K |
EX Moves
| Move Name | Motion |
| Giant Palm Bomber | QCB+PP |
| Monster Lariat | QCF+KK |
Super Arts
| Num. | Super Art Name | Motion | Super Bars |
| I | Gigas Breaker | 720+P | 1 stock |
| II | Megaton Press | QCF+QCF+K | 2 stocks |
| III | Hammer Frenzy | QCF+QCF+P (Keep P pushed for delay the attack) | 2 stocks |
Move Analisys
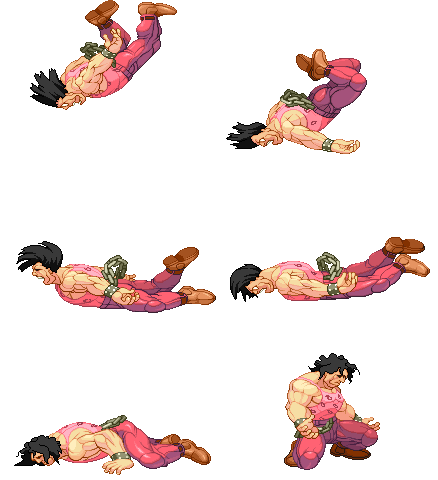
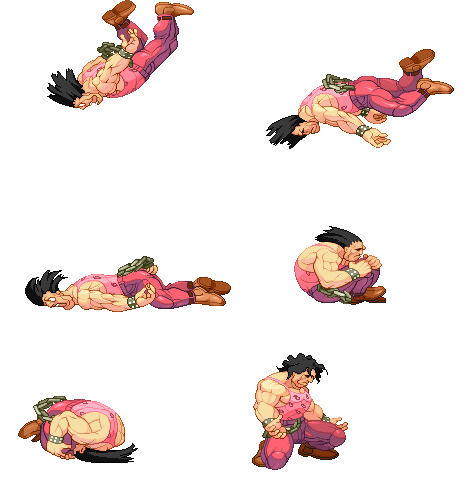
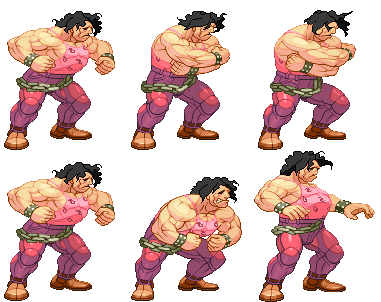
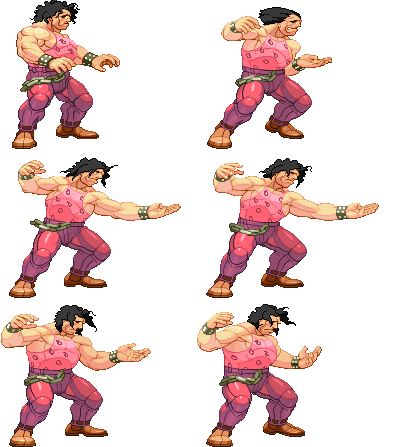
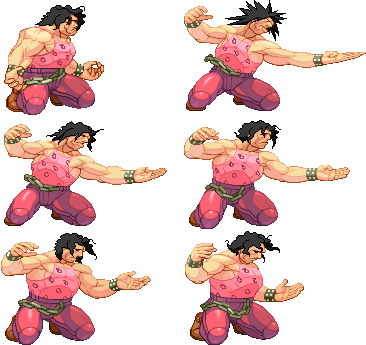
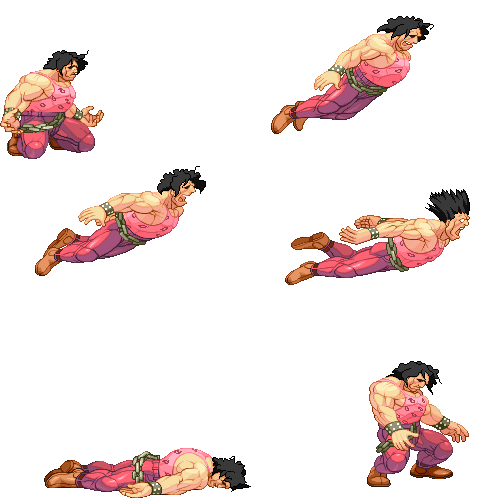
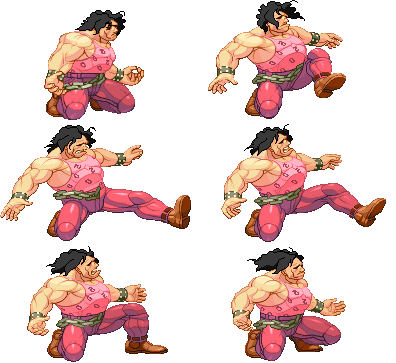
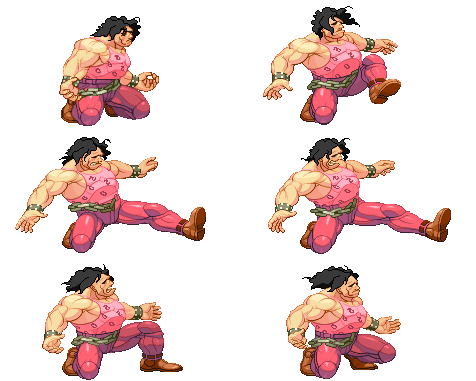
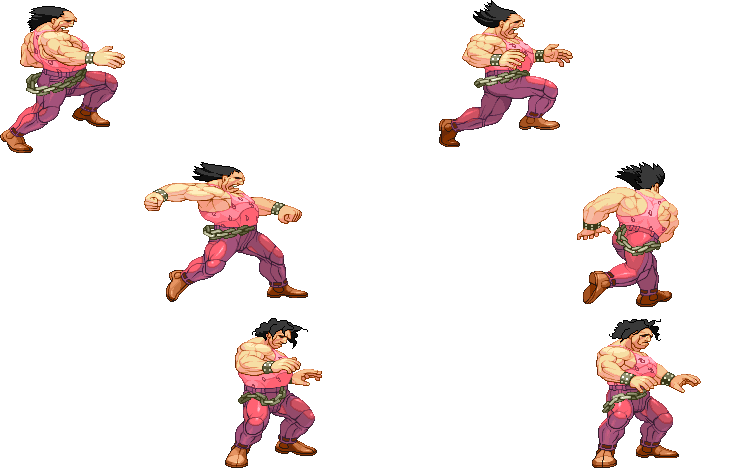
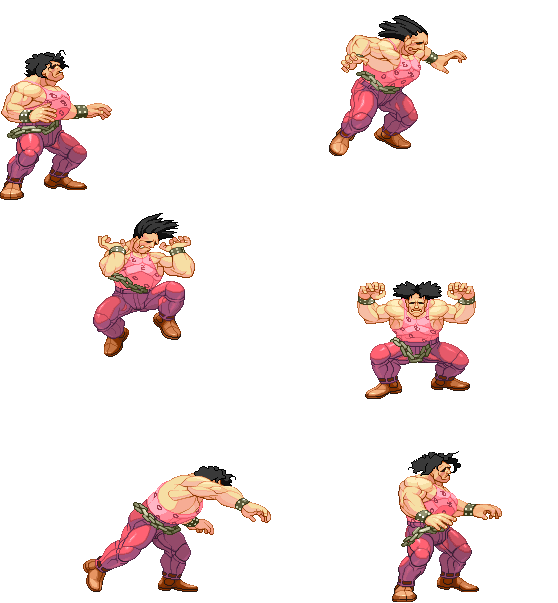
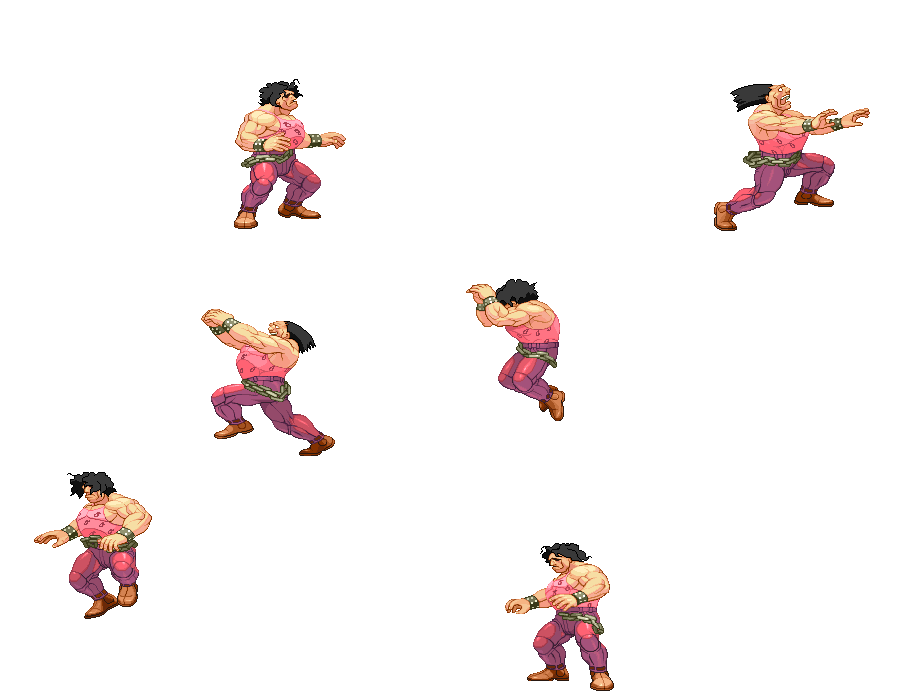
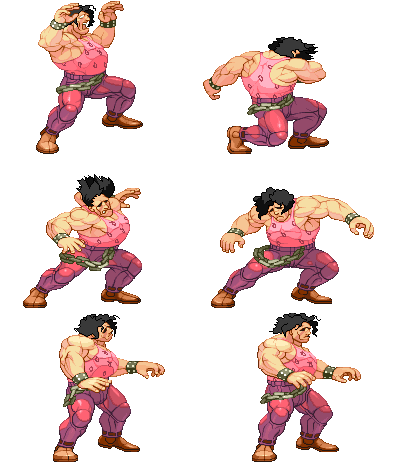
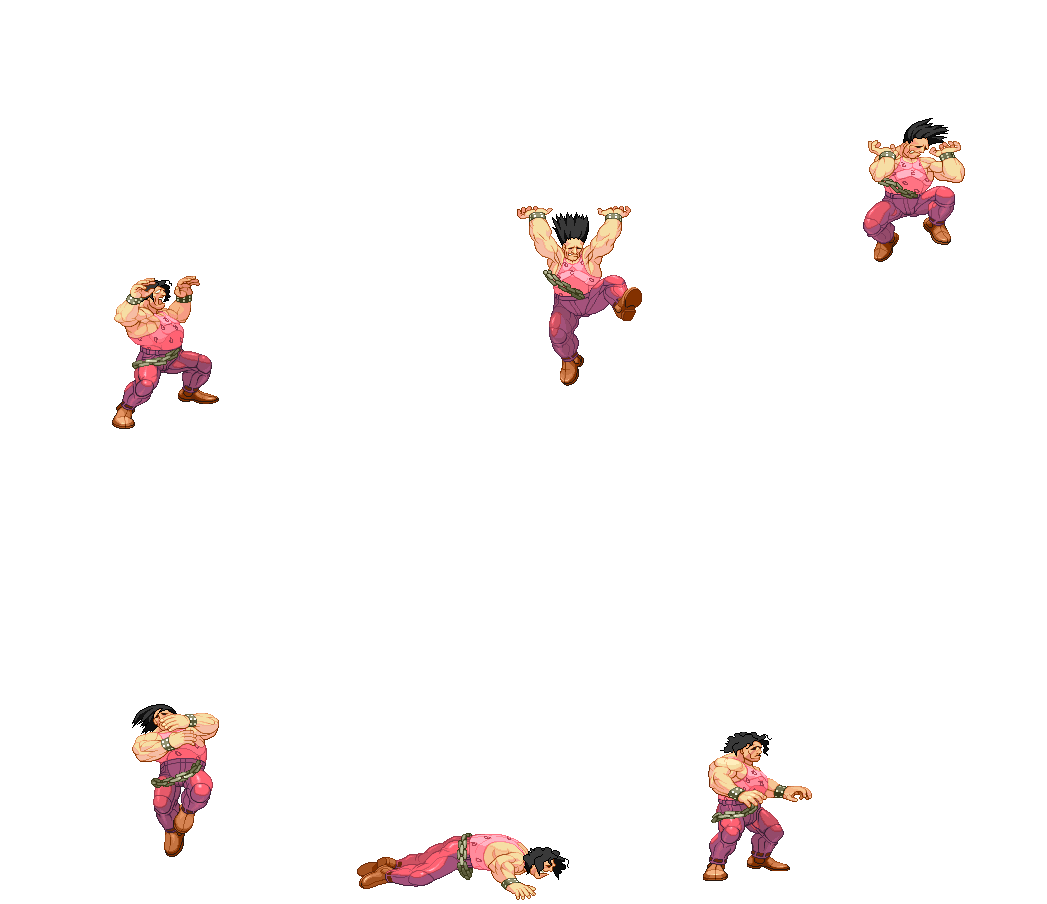
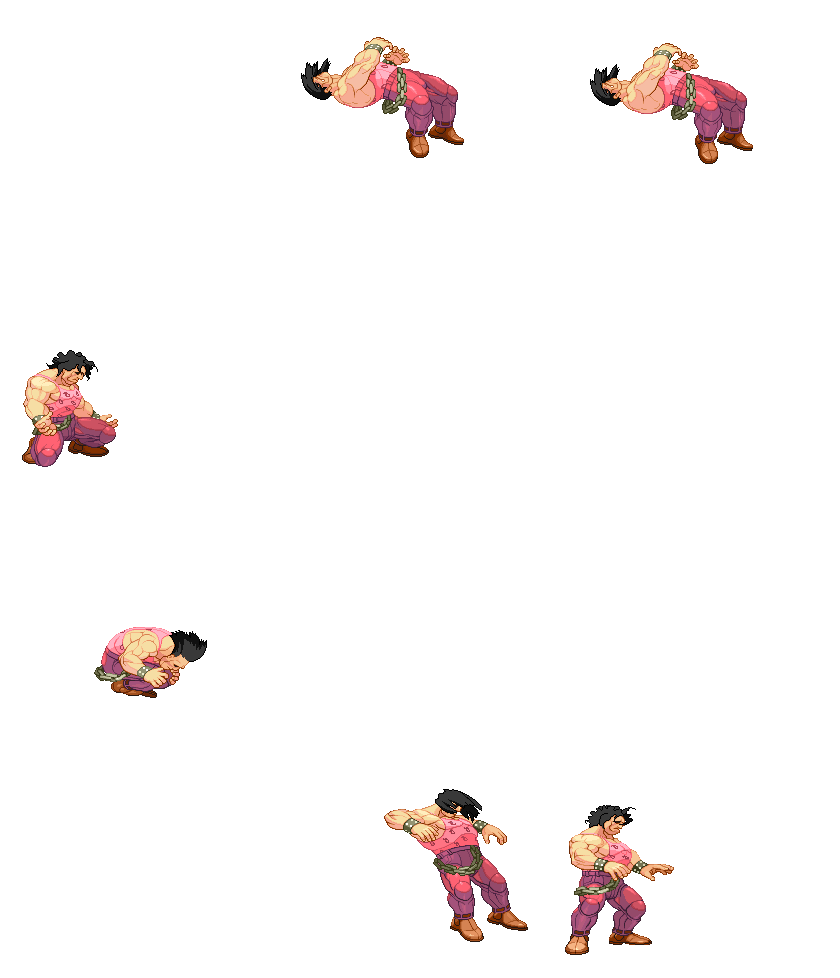
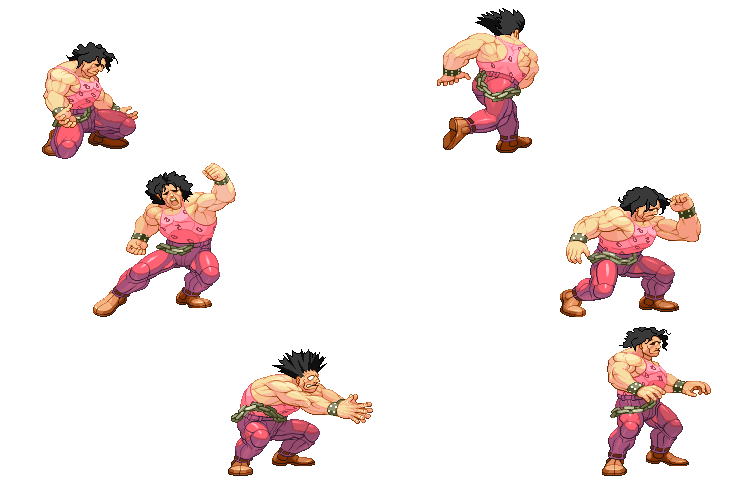
- All those sprites are taken from the site http://www.zweifuss.com/index.htm
- All Framedatas in "Move Analisys" section are taken from Game Restaurant
Please note that the images show in this section are for the 1st frame it hits, so this means the opponent is taking the hit in the image shown on the move. I use the 1st frame of every move (except taunt, jump, dash and 2nd throw image sprites) because you will see the maximum range of every attack (mostly of the attacks). Note also that those images are ACCURATE, they are exactly the 1rst frame it hits, so enemy takes damage but they still dont make the "pain" frame.
General
- Move: Move name
- Motion: What you must do to execute the move
- Damage: Damage it does (in pixels)
- Stun Damage: Stun Damage it does (in pixels)
- Chains into itself: If you can combo into the same movement
- Special Cancel: If you can cancel the move into a Special Move
- Super Cancel: If you can cancel the move into a Super Art
- Throw Range: Range of the throw (in pixels)
- Throw Range (Front): Range of the throw in front of your character (in pixels)
- Throw Range (Up & Down): Range of the throw, up and down from your character (in pixels)
- Gauge Needed: Gauge you need to execute the EX move (in pixels)
- Num.: Super Art number
- Super Art: Super Art name
- Super Art Stock: Number of Gauge Bars the Super Art have, also the lenght of each bar (in pixels)
Frame Data
- Startup: Number of frames it takes to start the move
- Hit: Number of frames that can hit the opponent
- Recovery: Number of frames it takes to recover from the move
- Blocked Advantage: Number of frames you are in advantage/disvantage after opponent have been blocked the hit
- Hit Advantage: Number of frames you are in advantage/disvantage after opponent have been take the hit
- Crouching Hit Advantage: Number of frames you are in advantage/disvantage after opponent have been take the hit while he is crouching
- + # : You have # frames of advantage
- - # : You have # frames of disvantage
- # ~ # : Advantage/disvantage can vary from # to #
- Down: Enemy gets knocked down
- Guard: How opponent must guard the move, High (H), Low (L) or both (HL)
- Parry: How opponent must parry the move, High (H), Low (L) or both (HL)
Gauge Increase
- Miss: Gauge you gain if you miss the move (in pixels)
- Blocked: Gauge you gain if the move gets blocked (in pixels)
- Hit: Gauge you gain if you hit the opponent with the move (in pixels)
- Parry: Gauge opponent gains when he parry the move (in pixels)
Basic Moves
| Move | Start-up frames | In ground frames | In air frames | Recovery frames | Total frames |
|---|---|---|---|---|---|
| Dash Forward | - | - | 8 | 3 | 11 |
Comments here
| Move | Start-up frames | In ground frames | In air frames | Recovery frames | Total frames |
|---|---|---|---|---|---|
| Dash Backwards | - | - | 16 | 3 | 19 |
Comments here
| Move | Motion | Frames |
| Jump | BU or U or FU | 5 |
Comments here
| Move | Motion | Frames |
| Super Jump | DBU or DU or DFU | 7 |
Comments here
| Move | Motion | Frames |
| Normal Wakeup | - | 69 |
Comments here
| Move | Motion | Frames |
| Tech Wakeup | Tap D when hitting the ground | 54 |
Comments here
| Move | Motion | Frames | Gauge Increase |
| Unheld Taunt | HP+HK | ?? | 6 |
Comments here
| Move | Motion | Frames | Gauge Increase |
| Held Taunt | Hold HP+HK | ?? | 6 |
Comments here
Normal Moves
| Move | Motion | Damage | Stun Damage | Chains into itself | Special Cancel | Super Cancel |
| Jab | LP | 35 | 5 | Yes | No | No |
Frame Data
| Startup | Hit | Recovery | Blocked Advantage | Hit Advantage | Crouching Hit Advantage | Guard | Parry |
| 4 | 4 | 8 | -1 | -1 | -1 | HL | HL |
Gauge Increase
| Miss | Blocked | Hit | Parry (Gauge for opponent) |
| 0 | 2 | 3 | 4 |
Comments here
| Move | Motion | Damage | Stun Damage | Chains into itself | Special Cancel | Super Cancel |
| Strong | MP | 120 | 13 | No | No | No |
Frame Data
| Startup | Hit | Recovery | Blocked Advantage | Hit Advantage | Crouching Hit Advantage | Guard | Parry |
| 10 | 7 | 12 | -5 | 0 | +1 | HL | H |
Gauge Increase
| Miss | Blocked | Hit | Parry (Gauge for opponent) |
| 2 | 5 | 9 | 4 |
Comments here
| Move | Motion | Damage | Stun Damage | Chains into itself | Special Cancel | Super Cancel |
| Fierce | HP | 170 | 21 | No | No | No |
Frame Data
| Startup | Hit | Recovery | Blocked Advantage | Hit Advantage | Crouching Hit Advantage | Guard | Parry |
| 16 | 7 | 15 | -3 | -1 | +1 | HL | HL |
Gauge Increase
| Miss | Blocked | Hit | Parry (Gauge for opponent) |
| 3 | 7 | 15 | 4 |
Comments here
| Move | Motion | Damage | Stun Damage | Chains into itself | Special Cancel | Super Cancel |
| Short | LK | 50 | 3 | No | Yes | Yes |
Frame Data
| Startup | Hit | Recovery | Blocked Advantage | Hit Advantage | Crouching Hit Advantage | Guard | Parry |
| 5 | 4 | 9 | +1 | +1 | +1 | HL | HL |
Gauge Increase
| Miss | Blocked | Hit | Parry (Gauge for opponent) |
| 0 | 2 | 3 | 4 |
Comments here
| Move | Motion | Damage | Stun Damage | Chains into itself | Special Cancel | Super Cancel |
| Forward | MK | 115(70+50) | 13(9+5) | No | No | No |
Frame Data
| Startup | Hit | Recovery | Blocked Advantage | Hit Advantage | Crouching Hit Advantage | Guard | Parry |
| 9/14 | 2/4 | 23 | -4 | +1 | +3 | HL/H | H/H |
Gauge Increase
| Miss | Blocked | Hit | Parry (Gauge for opponent) |
| 7 | 5 | 11 | 8(4+4) |
Comments here
| Move | Motion | Damage | Stun Damage | Chains into itself | Special Cancel | Super Cancel |
| Roundhouse | HK | 150 | 19 | No | No | No |
Frame Data
| Startup | Hit | Recovery | Blocked Advantage | Hit Advantage | Crouching Hit Advantage | Guard | Parry |
| 21 | 8 | 28 | -13 | +3 | +3 | H | H |
Gauge Increase
| Miss | Blocked | Hit | Parry (Gauge for opponent) |
| 3 | 7 | 15 | 4 |
Comments here
| Move | Motion | Damage | Stun Damage | Chains into itself | Special Cancel | Super Cancel |
| Jump Jab | (Air) LP | 40 | 9 | No | No | No |
Frame Data
| Startup | Hit | Recovery | Blocked Advantage | Hit Advantage | Crouching Hit Advantage | Guard | Parry |
| 3 | 11 | - | - | - | - | H | H |
Gauge Increase
| Miss | Blocked | Hit | Parry (Gauge for opponent) |
| 0 | 2 | 3 | 4 |
Comments here
| Move | Motion | Damage | Stun Damage | Chains into itself | Special Cancel | Super Cancel |
| Jump Strong | (Air) MP | 100 | 13 | No | No | No |
Frame Data
| Startup | Hit | Recovery | Blocked Advantage | Hit Advantage | Crouching Hit Advantage | Guard | Parry |
| 6 | 8 | - | - | - | - | H | H |
Gauge Increase
| Miss | Blocked | Hit | Parry (Gauge for opponent) |
| 2 | 5 | 9 | 4 |
Comments here
| Move | Motion | Damage | Stun Damage | Chains into itself | Special Cancel | Super Cancel |
| Jump Fierce | (Air) HP | 150 | 17 | No | No | No |
Frame Data
| Startup | Hit | Recovery | Blocked Advantage | Hit Advantage | Crouching Hit Advantage | Guard | Parry |
| 11 | 5 | - | - | - | - | H | H |
Gauge Increase
| Miss | Blocked | Hit | Parry (Gauge for opponent) |
| 3 | 7 | 15 | 4 |
Comments here
| Move | Motion | Damage | Stun Damage | Chains into itself | Special Cancel | Super Cancel |
| Jump Short | (Air) LK | 60 | 7 | No | No | No |
Frame Data
| Startup | Hit | Recovery | Blocked Advantage | Hit Advantage | Crouching Hit Advantage | Guard | Parry |
| 3 | 16 | - | - | - | - | H | H |
Gauge Increase
| Miss | Blocked | Hit | Parry (Gauge for opponent) |
| 0 | 2 | 3 | 4 |
Comments here
| Move | Motion | Damage | Stun Damage | Chains into itself | Special Cancel | Super Cancel |
| Jump Forward | (Air) MK | 100 | 11 | No | No | No |
Frame Data
| Startup | Hit | Recovery | Blocked Advantage | Hit Advantage | Crouching Hit Advantage | Guard | Parry |
| 5 | 7 | - | - | - | - | H | H |
Gauge Increase
| Miss | Blocked | Hit | Parry (Gauge for opponent) |
| 2 | 5 | 9 | 4 |
Comments here
| Move | Motion | Damage | Stun Damage | Chains into itself | Special Cancel | Super Cancel |
| Jump Roundhouse | (Air) HK | 130 | 15 | No | No | No |
Frame Data
| Startup | Hit | Recovery | Blocked Advantage | Hit Advantage | Crouching Hit Advantage | Guard | Parry |
| 11 | 7 | - | - | - | - | H | H |
Gauge Increase
| Miss | Blocked | Hit | Parry (Gauge for opponent) |
| 3 | 7 | 15 | 4 |
Comments here
| Move | Motion | Damage | Stun Damage | Chains into itself | Special Cancel | Super Cancel |
| Universal Overhead | MP+MK | 40 | 3 | No | No | No |
Frame Data
| Startup | Hit | Recovery | Blocked Advantage | Hit Advantage | Crouching Hit Advantage | Guard | Parry |
| 15 | 10 | 5 | -5~+7 | 0~+8 | +1~+9 | H | H |
Gauge Increase
| Miss | Blocked | Hit | Parry (Gauge for opponent) |
| 0 | 1 | 2 | 4 |
Comments here
Throws
| Move | Motion | Damage | Stun Damage | Throw Range |
| Neck Hanging Three | LP+LK | 130(30x8) | 24(5x8) | 32 |
Frame Data
| Startup | Hit | Recovery | Blocked Advantage | Hit Advantage | Crouching Hit Advantage | Guard | Parry |
| 2 | 1 | 21 | - | - | - | LP+LK | - |
Gauge Increase
| Miss | Blocked | Hit |
| 0 | 7 (for the player who blocked) | 24(3?x8) |
In corner, you can reset with D+MP after the throw
| Move | Motion | Damage | Stun Damage | Throw Range |
| Body Slam | F+LP+LK or B+LP+LK | 160 | 13 | 32 |
Frame Data
| Startup | Hit | Recovery | Blocked Advantage | Hit Advantage | Crouching Hit Advantage | Guard | Parry |
| 2 | 1 | 21 | - | - | - | LP+LK | - |
Gauge Increase
| Miss | Blocked | Hit |
| 0 | 7 (for the player who blocked) | 7 |
Comments here
Command Normals
| Move | Motion | Damage | Stun Damage | Chains into itself | Special Cancel | Super Cancel |
| Hammer Hook | F+HP | 160 | 21 | No | No | No |
Frame Data
| Startup | Hit | Recovery | Blocked Advantage | Hit Advantage | Crouching Hit Advantage | Guard | Parry |
| 14 | 4 | 33 | -14 | +4 | +4 | HL | H |
Gauge Increase
| Miss | Blocked | Hit | Parry (Gauge for opponent) |
| 3 | 7 | 15 | 4 |
Long range and good stun damage, but very unsafe move if blocked or missed.
| Move | Motion | Damage | Stun Damage | Chains into itself | Special Cancel | Super Cancel |
| Drop Kick | F+HK or B+HK | 150 | 19 | No | No | No |
Frame Data
| Startup | Hit | Recovery | Blocked Advantage | Hit Advantage | Crouching Hit Advantage | Guard | Parry |
| 21 | 8 | 27 | -12 | +4 | +4 | H | H |
Gauge Increase
| Miss | Blocked | Hit | Parry (Gauge for opponent) |
| 3 | 7 | 15 | 4 |
Comments here
| Move | Motion | Damage | Stun Damage | Chains into itself | Special Cancel | Super Cancel |
| Crouch Jab | C+LP | 30 | 3 | Yes | Yes | Yes |
Frame Data
| Startup | Hit | Recovery | Blocked Advantage | Hit Advantage | Crouching Hit Advantage | Guard | Parry |
| 4 | 3 | 8 | -1 | -1 | -1 | HL | HL |
Gauge Increase
| Miss | Blocked | Hit | Parry (Gauge for opponent) |
| 0 | 2 | 3 | 4 |
Comments here
| Move | Motion | Damage | Stun Damage | Chains into itself | Special Cancel | Super Cancel |
| Crouch Strong | C+MP | 120 | 13 | No | No | No |
Frame Data
| Startup | Hit | Recovery | Blocked Advantage | Hit Advantage | Crouching Hit Advantage | Guard | Parry |
| 7 | 5 | 12 | -2 | -1 | 0 | HL | HL |
Gauge Increase
| Miss | Blocked | Hit | Parry (Gauge for opponent) |
| 2 | 5 | 9 | 4 |
Comments here
| Move | Motion | Damage | Stun Damage | Chains into itself | Special Cancel | Super Cancel |
| Crouch Fierce | C+HP | 110 | 13 | No | No | No |
Frame Data
| Startup | Hit | Recovery | Blocked Advantage | Hit Advantage | Crouching Hit Advantage | Guard | Parry |
| 13 | 10 | 37 | -29 | Down | Down | HL | HL |
Gauge Increase
| Miss | Blocked | Hit | Parry (Gauge for opponent) |
| 3 | 7 | 15 | 4 |
Comments here
| Move | Motion | Damage | Stun Damage | Chains into itself | Special Cancel | Super Cancel |
| Crouch Short | C+LK | 40 | 3 | No | Yes | Yes |
Frame Data
| Startup | Hit | Recovery | Blocked Advantage | Hit Advantage | Crouching Hit Advantage | Guard | Parry |
| 3 | 3 | 7 | +2 | +2 | +2 | L | L |
Gauge Increase
| Miss | Blocked | Hit | Parry (Gauge for opponent) |
| 0 | 2 | 3 | 4 |
Comments here
| Move | Motion | Damage | Stun Damage | Chains into itself | Special Cancel | Super Cancel |
| Crouch Forward | C+MK | 100 | 3 | No | No | No |
Frame Data
| Startup | Hit | Recovery | Blocked Advantage | Hit Advantage | Crouching Hit Advantage | Guard | Parry |
| 8 | 5 | 17 | -5 | Down | Down | L | L |
Gauge Increase
| Miss | Blocked | Hit | Parry (Gauge for opponent) |
| 2 | 5 | 9 | 4 |
Comments here
| Move | Motion | Damage | Stun Damage | Chains into itself | Special Cancel | Super Cancel |
| Crouch Roundhouse | C+HK | 170 | 13 | No | No | No |
Frame Data
| Startup | Hit | Recovery | Blocked Advantage | Hit Advantage | Crouching Hit Advantage | Guard | Parry |
| 11 | 23 | 24~38 | -43 | Down | Down | H(far) or L(close) | H(far) or L(close) |
Gauge Increase
| Miss | Blocked | Hit | Parry (Gauge for opponent) |
| 3 | 7 | 15 | 4 |
This move is tricky, knocks down if hits, hits low at point blank or very close to the enemy, and hits high when you are at D+MK range, this means if enemy is guarding low and you do D+HK at D+MK range, he will get hit and be knocked down again, use this "overhead" move combined with D+MK for knocking down repeatedly a "teenage mutant ninja TURTLE" opponent, entering into a guessing game. But remember that, if enemy blocks or parry the D+HK move, you will be comboed or take huge damage. Watch out for reversals also.
| Move | Motion | Damage | Stun Damage | Chains into itself | Special Cancel | Super Cancel |
| Body Press | JF, D+HP | 100 | 17 | No | No | No |
Frame Data
| Startup | Hit | Recovery | Blocked Advantage | Hit Advantage | Crouching Hit Advantage | Guard | Parry |
| 9 | Until landing | - | - | - | - | H | H |
Gauge Increase
| Miss | Blocked | Hit | Parry (Gauge for opponent) |
| 3 | 7 | 15 | 4 |
Nice for cross-ups, but rarely you will have the chance to do it. If you throw the opponent (Body Slam) and he doesnt do a tech wakeup, go for the cross-up with Body Press, also after a succesful Moonsault Press, if enemy doesnt do a tech wakeup, superjump to the opponent when you touch the ground (will not work on characters that have quick wakeup, such as Dudley).
Special Moves
| Move | Motion | Damage | Blocked Damage | Stun Damage | Super Cancel |
| Giant Palm Bomber (Jab) | QCB+LP | 110 | 14 | 15 | Yes |
| Giant Palm Bomber (Strong) | QCB+MP | 125 | 16 | 17 | Yes |
| Giant Palm Bomber (Fierce) | QCB+HP | 140 | 18 | 19 | Yes |
Frame Data
| Move | Startup | Hit | Recovery | Blocked Advantage | Hit Advantage | Crouching Hit Advantage | Guard | Parry |
| Giant Palm Bomber (Jab) | 17 | 2 | 9 | +11 | +13 | +15 | HL | H |
| Giant Palm Bomber (Strong) | 19 | 2 | 7 | +16 | +18 | +20 | HL | H |
| Giant Palm Bomber (Fierce) | 22 | 2 | 6 | +19 | +21 | +23 | HL | H |
Gauge Increase
| Move | Miss | Blocked | Hit | Parry (Gauge for opponent) |
| Giant Palm Bomber (Jab) | 3 | 8 | 16 | 4 |
| Giant Palm Bomber (Strong) | 3 | 8 | 16 | 4 |
| Giant Palm Bomber (Fierce) | 3 | 8 | 16 | 4 |
Comments here
| Move | Motion | Damage | Blocked Damage | Stun Damage | Throw Range | Super Cancel |
| Moonsault Press (Jab) | 360+LP | 240 | - | 19 | 59 | No |
| Moonsault Press (Strong) | 360+MP | 255 | - | 19 | 53 | No |
| Moonsault Press (Fierce) | 360+HP | 280 | - | 19 | 47 | No |
Frame Data
| Move | Startup | Hit | Recovery | Blocked Advantage | Hit Advantage | Crouching Hit Advantage | Guard | Parry |
| Moonsault Press (Jab) | 2 | 2 | 36 | - | Down | Down | Impossible | Impossible |
| Moonsault Press (Strong) | 2 | 2 | 36 | - | Down | Down | Impossible | Impossible |
| Moonsault Press (Fierce) | 2 | 2 | 36 | - | Down | Down | Impossible | Impossible |
Gauge Increase
| Move | Miss | Blocked | Hit | Parry (Gauge for opponent) |
| Moonsault Press (Jab) | 5 | - | 31 | - |
| Moonsault Press (Strong) | 5 | - | 31 | - |
| Moonsault Press (Fierce) | 5 | - | 31 | - |
Comments here
| Move | Motion | Damage | Blocked Damage | Stun Damage | Super Cancel |
| Monster Lariat (Short) | QCF+LK | 150 | 19 | 11 | No |
| Monster Lariat (Forward) | QCF+MK | 160 | 20 | 13 | No |
| Monster Lariat (Roundhouse) | QCF+HK | 170 | 21 | 15 | No |
Frame Data
| Move | Startup | Hit | Recovery | Blocked Advantage | Hit Advantage | Crouching Hit Advantage | Guard | Parry |
| Monster Lariat (Short) | 11 | 5 | 21~25 | -8 | Down | Down | HL | H |
| Monster Lariat (Forward) | 15 | 5 | 23~27 | -10 | Down | Down | HL | H |
| Monster Lariat (Roundhouse) | 24 | 5 | 24~28 | -11 | Down | Down | HL | H |
Gauge Increase
| Move | Miss | Blocked | Hit | Parry (Gauge for opponent) |
| Monster Lariat (Short) | 3 | 8 | 13 | 4 |
| Monster Lariat (Forward) | 3 | 8 | 13 | 4 |
| Monster Lariat (Roundhouse) | 3 | 8 | 13 | 4 |
Comments here
| Move | Motion | Damage | Blocked Damage | Stun Damage | Throw Range (Front) | Throw Range (Up & Down) | Super Cancel |
| Shootdown Backbreaker (Short) | F, D, DF+LK | 180 | - | 15 | 21 | 71~122 | No |
| Shootdown Backbreaker (Forward) | F, D, DF+MK | 200 | - | 15 | 38 | 75~110 | No |
| Shootdown Backbreaker (Roundhouse) | F, D, DF+HK | 220 | - | 15 | 29 | 76~117 | No |
Frame Data
| Move | Startup | Hit | Recovery | Blocked Advantage | Hit Advantage | Crouching Hit Advantage | Guard | Parry |
| Shootdown Backbreaker (Short) | 5 | 9 | 30 | - | Down | Down | Impossible | Impossible |
| Shootdown Backbreaker (Forward) | 17 | 10 | 25 | - | Down | Down | Impossible | Impossible |
| Shootdown Backbreaker (Roundhouse) | 12 | 12 | 29 | - | Down | Down | Impossible | Impossible |
Gauge Increase
| Move | Miss | Blocked | Hit | Parry (Gauge for opponent) |
| Shootdown Backbreaker (Short) | 5 | - | 31 | - |
| Shootdown Backbreaker (Forward) | 5 | - | 31 | - |
| Shootdown Backbreaker (Roundhouse) | 5 | - | 31 | - |
Comments here
| Move | Motion | Damage | Blocked Damage | Stun Damage | Throw Range | Super Cancel |
| Meat Squasher (Short) | 360+LK | 160 | - | 13 | 34 | No |
| Meat Squasher (Forward) | 360+MK | 160 | - | 13 | 34 | No |
| Meat Squasher (Roundhouse) | 360+HK | 160 | - | 13 | 34 | No |
Frame Data
| Move | Startup | Hit | Recovery | Blocked Advantage | Hit Advantage | Crouching Hit Advantage | Guard | Parry |
| Meat Squasher (Short) | 20~24 | 2 | 30 | - | Down | Down | Impossible | Impossible |
| Meat Squasher (Forward) | 30~52 | 2 | 33 | - | Down | Down | Impossible | Impossible |
| Meat Squasher (Roundhouse) | 47~67 | 2 | 36 | - | Down | Down | Impossible | Impossible |
Gauge Increase
| Move | Miss | Blocked | Hit | Parry (Gauge for opponent) |
| Meat Squasher (Short) | 3 | - | 22 | - |
| Meat Squasher (Forward) | 3 | - | 22 | - |
| Meat Squasher (Roundhouse) | 3 | - | 22 | - |
Comments here
| Move | Motion | Damage | Blocked Damage | Stun Damage | Throw Range | Super Cancel |
| Ultra Throw (Short) | HCB+LK | 70 | - | 7 | 38 | No |
| Ultra Throw (Forward) | HCB+MK | 70 | - | 7 | 38 | No |
| Ultra Throw (Roundhouse) | HCB+HK | 70 | - | 7 | 38 | No |
Frame Data
| Move | Startup | Hit | Recovery | Blocked Advantage | Hit Advantage | Crouching Hit Advantage | Guard | Parry |
| Ultra Throw (Short) | 7 | 2 | 36 | - | Down | Down | Impossible | Impossible |
| Ultra Throw (Forward) | 7 | 2 | 36 | - | Down | Down | Impossible | Impossible |
| Ultra Throw (Roundhouse) | 7 | 2 | 36 | - | Down | Down | Impossible | Impossible |
Gauge Increase
| Move | Miss | Blocked | Hit | Parry (Gauge for opponent) |
| Ultra Throw (Short) | 5 | - | 22 | - |
| Ultra Throw (Forward) | 5 | - | 22 | - |
| Ultra Throw (Roundhouse) | 5 | - | 22 | - |
Comments here
EX Moves
| Move | Motion | Gauge Needed | Damage | Blocked Damage | Stun Damage | Super Cancel |
| Giant Palm Bomber (EX) | QCB+PP | 40 | 220* | 23** | 15*** | Yes |
| * (20+60+140) Damage is when all hits connect. |
| ** (?+?+?) Damage is when all hits connect. |
| *** (3+3+9) Damage is when all hits connect. |
Frame Data
| Move | Startup | Hit | Recovery | Blocked Advantage | Hit Advantage | Crouching Hit Advantage | Guard | Parry |
| Giant Palm Bomber (EX) | 22 | 1 | 10 | +10 | Down | Down | HL/HL/HL | H/H/H |
Gauge Increase
| Move | Miss | Blocked | Hit | Parry (Gauge for opponent) |
| Giant Palm Bomber (EX) | - | - | - | 12(4+4+4) |
Comments here
| Move | Motion | Gauge Needed | Damage | Blocked Damage | Stun Damage | Super Cancel |
| Monster Lariat (EX) | QCF+KK | 40 | 140~180 | 18~23 | 13~17 | No |
Frame Data
| Move | Startup | Hit | Recovery | Blocked Advantage | Hit Advantage | Crouching Hit Advantage | Guard | Parry |
| Monster Lariat (EX) | 6~26 | 6 | 31~35 | -22 | Down | Down | HL | H |
Gauge Increase
| Move | Miss | Blocked | Hit | Parry (Gauge for opponent) |
| Monster Lariat (EX) | - | - | - | 4 |
Comments here
Super Arts
| Num. | Super Art | Super Art Stock | Motion | Damage | Blocked Damage | Stun Damage | Throw Range |
| I | Gigas Breaker | 1 bar (128) | 720+P | 610* | - | 5** | 70 |
| * (180?+180?+270?) Damage is when all hits connect. |
| ** (?+?+?) Damage is when all hits connect. |
Frame Data
| Startup | Hit | Recovery | Blocked Advantage | Hit Advantage | Crouching Hit Advantage | Guard | Parry |
| 1 | 2 | 36 | - | Down | Down | Impossible | Impossible |
Comments here
| Num. | Super Art | Super Art Stock | Motion | Damage | Blocked Damage | Stun Damage | Throw Range (Front) | Throw Range (Up & Down) |
| II | Megaton Press | 2 bars (112 each bar) | QCF QCF+K | 450* | - | 25** | 50 | 60~133 |
| * (70?+380?) Damage is when all hits connect. |
| ** (?+?) Damage is when all hits connect. |
Frame Data
| Super Art Name | Startup | Hit | Recovery | Blocked Advantage | Hit Advantage | Crouching Hit Advantage | Guard | Parry |
| Megaton Press (Short) | 3 | 12 | 30 | - | Down | Down | Impossible | Impossible |
| Megaton Press (Forward) | 5 | 16 | 34 | - | Down | Down | Impossible | Impossible |
| Megaton Press (Roundhouse) | 7 | 20 | 36 | - | Down | Down | Impossible | Impossible |
Comments here
| Num. | Super Art | Super Art Stock | Motion | Damage | Blocked Damage | Stun Damage |
| III | Hammer Frenzy | 2 bars (88 each bar) | QCF QCF+P | 390* | 98** | 20*** |
| * (80?+90?+80?+60?+120?) Damage is when all hits connect. |
| ** (?+?+?+?+?) Damage is when all hits connect. |
| *** (?+?+?+?+?) Damage is when all hits connect. |
Frame Data
| Startup | Hit | Recovery | Blocked Advantage | Hit Advantage | Crouching Hit Advantage | Guard | Parry |
| 4 | 5 | 47 | -29 | Down | Down | HL/HL/H/H/HL | HL/HL/H/H/HL |
Comments here
Combos
Instead of Jumping HP, you can use Down HP in the air for any combo that starts with Jumping HP.
Combos: Midscreen
- Jumping HP-->Standing LK-->QCF 2K
- QCB 2P-->QCF HK
- HCB HK-->SA II
- QCB HP-->QCB MP/LPxxSA III
- QCB HP-->QCB LP-->D MK
- Jumping HP-->Standing LK-->SA III
- HCB HK-->F, D, DF HK
- QCB HP-->QCB MP/LP-->Crouching MK
- QCB HP-->QCB MP/LP-->QCF 2K
- Crouching LK-->SA III
- C LP-->C LP-->SA III
Combos:Corner
- HCB HK-->QCB P-->F, D, DF HK
- HCB HK-->QCB 2P-->F, D, DF HK
- HCB HK-->QCB HPxxSA II
- Neutral Throw-->QCB 2P
Stun Finisher
- HCB HK-->Standing MP (x4)-->F, D, DF LK
Frame Data
- All Framedatas in this section are taken from Karathrow Mirror site, and are quite different from the "Move Analisys". Please use the Frame Data from "Move Analisys", since they are more accurate.
Normals
| Move | Startup | Hit | Recovery | Blocked Advantage | Hit Advantage | Crouching Hit Advantage | Damage | Guard | Parry | Stun | Chains into itself | Special Cancel | Super Cancel |
|---|---|---|---|---|---|---|---|---|---|---|---|---|---|
| Jab | 4 | 3 | 8 | -1 | -1 | -1 | 35 | H/L | H/L | 5 | Yes | No | No |
| Strong | 10 | 6 | 12 | -5 | 0 | 1 | 120 | H/L | H | 13 | No | No | No |
| Fierce | 16 | 6 | 15 | -3 | -1 | 1 | 170 | H | H | 21 | No | No | No |
| Short | 5 | 3 | 9 | 1 | 1 | 1 | 50 | H/L | H/L | 3 | No | Yes | Yes |
| Forward | 9 | 1*3 | 23 | -4 | 1 | 3 | 70+50 | H | H | 9+5 | No | No | No |
| Roundhouse | 21 | 7 | 28 | -13 | 3 | 3 | 150 | H | H | 19 | No | No | No |
| Jumping Jab | 3 | 10 | - | - | - | - | 40 | H | H | 9 | No | No | No |
| Jumping Strong | 7 | 7 | - | - | - | - | 100 | H | H | 13 | No | No | No |
| Jumping Fierce | 13 | 4 | - | - | - | - | 150 | H | H | 17 | No | No | No |
| Jumping Short | 3 | 15 | - | - | - | - | 60 | H | H | 7 | No | No | No |
| Jumping Forward | 5 | 6 | - | - | - | - | 100 | H | H | 11 | No | No | No |
| Jumping Roundhouse | 11 | 6 | - | - | - | - | 130 | H | H | 15 | No | No | No |
| Overhead | 16~25 | 9 | 5 | -5~7 | 0~7 | 1~9 | 40 | H | H | 3 | No | No | No |
Throws
| Move | Startup | Hit | Recovery | Blocked Advantage | Hit Advantage | Damage | Parry | Stun | Chains into itself | Special Cancel | Super Cancel |
|---|---|---|---|---|---|---|---|---|---|---|---|
| Neck Hanging Three | 2 | 1 | 21 | - | - | 30x8 | - | 5x8 | No | No | No |
| Body Slam | 2 | 1 | 21 | - | - | 160 | - | 13 | No | No | No |
Command Normals
| Move | Startup | Hit | Recovery | Blocked Advantage | Hit Advantage | Crouching Hit Advantage | Damage | Guard | Parry | Stun | Chains into itself | Special Cancel | Super Cancel |
|---|---|---|---|---|---|---|---|---|---|---|---|---|---|
| Hammer Hook | 14 | 3 | 33 | -14 | - | - | 160 | H | H | 21 | No | No | No |
| Crouching Jab | 4 | 2 | 8 | -1 | -1 | -1 | 30 | H/L | H/L | 3 | Yes | Yes | Yes |
| Crouching Strong | 7 | 4 | 12 | -2 | -1 | 0 | 90 | H/L | H/L | 3 | No | No | No |
| Crouching Fierce | 13 | 9 | 37 | -29 | - | - | 110 | H/L | H/L | 13 | No | No | No |
| Crouching Short | 3 | 2 | 7 | 2 | 2 | 2 | 40 | L | L | 3 | No | Yes | Yes |
| Crouching Forward | 8 | 4 | 17 | -5 | - | - | 100 | L | L | 3 | No | No | No |
| Crouching Roundhouse | 11 | 22 | - | -43 | - | - | 170 | H/L | H/L | 13 | No | No | No |
| Body Press | 9 | - | - | - | - | - | 100 | H | H | 17 | No | No | No |
Special Moves
| Move | Startup | Hit | Recovery | Blocked Advantage | Damage | Parry | Stun | Super Cancel |
|---|---|---|---|---|---|---|---|---|
| Giant Palm Bomber (Jab) | 17 | 1 | 9 | 11 | 110 | H | 15 | Yes |
| Giant Palm Bomber (Strong) | 19 | 1 | 7 | 16 | 125 | H | 17 | Yes |
| Giant Palm Bomber (Fierce) | 22 | 1 | 6 | 19 | 140 | H | 19 | Yes |
| Giant Palm Bomber (EX) | 22*2 | 1*1 | - | - | 20+60 | H | 3+3 | Yes |
| " (Last Hit) | 2 | 1 | 10 | 10 | 140 | H | 9 | Yes |
| Moonsault Press (Jab) | 2 | 1 | 36 | - | 240 | - | 19 | No |
| Moonsault Press (Strong) | 2 | 1 | 36 | - | 255 | - | 19 | No |
| Moonsault Press (Fierce) | 2 | 1 | 36 | - | 280 | - | 19 | No |
| Monster Lariat (Short) | 11 | 4 | - | -8 | 150 | H | 11 | No |
| Monster Lariat (Forward) | 15 | 4 | - | -10 | 160 | H | 13 | No |
| Monster Lariat (Roundhouse) | 24 | 4 | - | -11 | 170 | H | 15 | No |
| Monster Lariat (EX) | 7~27 | 5 | - | -22 | 140 | H | 13 | No |
| Shootdown Backbreaker (Short) | 5 | 8 | 30 | - | 180 | - | 15 | No |
| Shootdown Backbreaker (Forward) | 17 | 9 | 25 | - | 200 | - | 15 | No |
| Shootdown Backbreaker (Roundhouse) | 13 | 11 | 29 | - | 220 | - | 15 | No |
| Meat Squasher (Short) | 21~25 | 1 | 30 | - | 160 | - | 13 | No |
| Meat Squasher (Forward) | 31~53 | 1 | 33 | - | 160 | - | 13 | No |
| Meat Squasher (Roundhouse) | 44~68 | 1 | 36 | - | 160 | - | 13 | No |
| Ultra Throw | 7 | 1 | 36 | - | 70 | - | 7 | No |
Super Arts
| Move | Startup | Hit | Recovery | Blocked Advantage | Damage | Parry | Stun |
|---|---|---|---|---|---|---|---|
| Gigas Breaker (SA1) | 1 | 1 | 36 | - | 180+180 | - | 7+7 |
| " (Moonsault Press) | - | - | - | - | 270 | - | 7 |
| Megaton Press (SA2) (Short) | 3 | 11 | 30 | - | 70 | - | 11 |
| " (Body Press) | - | - | - | - | 380 | - | 19 |
| Megaton Press (SA2) (Forward) | 5 | 15 | 34 | - | 70 | - | 11 |
| " (Body Press) | - | - | - | - | 380 | - | 19 |
| Megaton Press (SA2) (Roundhouse) | 7 | 19 | 36 | - | 70 | - | 11 |
| " (Body Press) | - | - | - | - | 380 | - | 19 |
| Hammer Frenzy (SA3) | 4 | 4 | - | - | 80 | H/L | 7 |
| " (2nd Hit) | 12 | 2 | - | - | 90 | H/L | 5 |
| " (3rd Hit) | 13 | 5 | - | - | 80 | H | 5 |
| " (4th Hit) | - | 1 | - | - | 60 | H | 5 |
| " (Last Hit) | 20 | 1 | 47 | -29 | 120 | H/L | 7 |
Strategies
Overview
Super Art Selection
The SA you choose will depend on your preference and the matchup. The two most used supers are Gigas Breaker and Hammer Mountain.
Gigas Breaker is great because it creates a sense of fear in your opponent, has great comeback potential and can be setup in a variety of ways including an SJ cancel called a Tachi or standing gigas. It can also be buffered in a dash, but is mostly used in a situation where a parry or block can lead to fat ass damage. Drawbacks include a lack of combo-ability and loss of some EX potential. Hayao is arguably the best known SAI player, also notable is Eriho.
SAII isn't used much, but Megaton Press can be used a lot like Gief's Aerial Russian Slam. It can be used to counter characters who want to be in the air a lot, like Yun and Akuma and force them to play a ground game. It can also be used after an ultra throw, and in the corner after ultra throw and a clap. Does decent damage and allows for EX uses, most people pass it up to have either the power of Gigas or the flexibility of Hammer Mountain.
Hammer Mountain is Hugo's most flexible SA. It deals decent damage, can be used on wakeup or to charge through poke strings and as a whiff punisher. Deals excellent stun damage. Can be comboed from claps, clks, jhk, bodysplash, clk and allows for EX usage. It is one of two ways Hugo can deal big damage with a combo, the other is a clap comboed into EX clothesline. It is generally preferred in the Dudley matchup because he can escape Gigas/Earthquake Bomb with Backswing Blows and his strange hitbox. SAIII is also seemingly more popular in America than Japan, some of the best known mainly SAIII players include YSB, Adolfo Luevano, and Y-Da.
Kara-Techniques
Zoning
Mixups
Additional Notes
- Personal Action: Attack and Defense up, max 4 per round. Holding HP HK = Throw damage up.
- Hugo has a very high defense (only taunted Q surpass it).
- Hugo has one of the highest stun bar.
Match-ups
Serious Advantage Match-ups
Hugo has no matchups where he is at a serious advantage.
Advantage Match-ups
Sean
Fair Match-ups
Q
Disadvantage Match-ups
Yun
Ken- Watch out for crossup air EX Tatsu!
Makoto- If the Makoto does too much dashing or Hayates, they can be stuffed with lk/clk/clp and anticipation mp/cmk. If she tries to fight on the ground and use the general Makoto playstyle, she'll likely get destroyed. Earthquake Bombs/Gigas will own her dash punches and close attacks that get blocked or parried. All of her useful pokes can be high parried besides clk and chp. Her only ground poke that can beat Hugo's crouching pokes is cmk which trades w/ Hugo's sweep. (in your favor) If the Makoto knows that she can't do a lot to Hugo on the ground, he will likely play it safe and try to hit with cmk on the ground, jumping tsurugi and safe (to parry/grab) jump ins. You have to then rely on Hugo's pretty bad anti airs and Backbreakers, try to bait her to jump with cmp and pokes, if she jumps for a tsurugi you can sometimes backbreak it on reaction. Cornering Makoto is the best thing you can do in this match... no need to worry so much with the big man about her Karakusa bullshit, she won't likely be able to land it due to Hugo's various throws beating hers and the aforementioned countering her ground offense. SAIII is recommended cause you can use it for another anti air and you're unlikely to Gigas a smart Makoto.
Yang
Akuma
Ibuki
Necro
Oro
Ryu
Alex
Remy
Elena
Twelve
Serious Disadvantage Match-ups
Chun Li- Chun is the master of ground combat, she can zone you really easily with her long high priority pokes and can atleast trade with everything Hugo has. She also has the threat of SAII.
Dudley- Dudley has the ability to outzone you with his long fierce and forward fierce, there isn't much to retalliate against this with rather than trading hits. His hits also do a lot of damage, but most importantly is the fact that his hitbox is strange so he is harder to throw. That combined with the powerful backswing blow makes this match difficult for Hugo. Even if you close the distance, he can still slip out, SAIII is generally preferred in this matchup, and your objective is to corner him and then control him there being mindful of his EX Uppercut.
Video Matches
Hayao
Hugo (Hayao) Vs. Chun-Li (Koshun)
Hugo (Hayao) Vs. Chun-Li (Koshun No Deshi)
Hugo (Hayao) Vs. Chun-Li (Umezono) (Amazing Gigas Breaker after parrying half Chun-Li's Houyouku-Sen)
Hugo (Hayao) Vs. Dudley (Fujiwara)
Hugo (Hayao) Vs. Dudley (Kokuzin)
Hugo (Hayao) Vs. Dudley (Jima)
Hugo (Hayao) Vs. Ken (Teruchika) (Amazing parry at the end of the last round)
Hugo (Hayao) Vs. Ken (Haitani)
Hugo (Hayao) Vs. Makoto (Shiroitachi)
Hugo (Hayao) Vs. Necro (PinoAB7)
Hugo (Hayao) Vs. Urien (Ramen)

