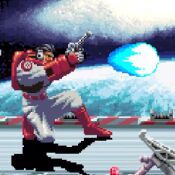
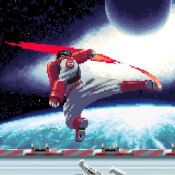
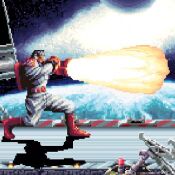
Introduction
Move List
Normals
| Standing Weak Attack | Input | Damage | Start | Active | Recovery | Total Frames | Notes |
|---|---|---|---|---|---|---|---|
| File:Rolf 5A.jpg | 5A |
Command Normals
| Comet Tail | Input | Damage | Start | Active | Recovery | Total Frames | Notes |
|---|---|---|---|---|---|---|---|
 |
3 + A | 6 | Dash and Special Cancellable. Hits low. Does not continue juggles. Can be linked after 5A or 2A. |
| Stardust Arrow | Input | Damage | Start | Active | Recovery | Total Frames | Notes |
|---|---|---|---|---|---|---|---|
 |
3 + B | 22 | Dash and Special Cancellable. Hits low. Does not continue juggles. Can be linked after 5A. |
| Metro Launcher | Input | Damage | Start | Active | Recovery | Total Frames | Notes |
|---|---|---|---|---|---|---|---|
 |
3 + C | 32 | Does a good amount of stun. Can't juggle opponent when launched. Mostly used as an anti-air. |
Throws
| Boost Pressure | Input | Damage |
|---|---|---|
 |
4/6 + C | 32 |
Special Moves
| A | Damage | Startup, Active, and Recovery | On Hit | On Block | ||||||||
|---|---|---|---|---|---|---|---|---|---|---|---|---|
| - | - | - | - | |||||||||
| Dash Damage | Dash Startup, Active, and Recovery | On Dash Hit | On Dash Block | |||||||||
| - | - | - | - | |||||||||
| B | Damage | Startup, Active, and Recovery | On Hit | On Block | ||||||||
| - | - | - | - | |||||||||
| Dash Damage | Dash Startup, Active, and Recovery | On Dash Hit | On Dash Block | |||||||||
| - | - | - | - | |||||||||
| C | Damage | Startup, Active, and Recovery | On Hit | On Block | ||||||||
| - | - | - | - | |||||||||
| Dash Damage | Dash Startup, Active, and Recovery | On Dash Hit | On Dash Block | |||||||||
| - | - | - | - | |||||||||
Notes:
| ||||||||||||
| A | Damage | Startup, Active, and Recovery | On Hit | On Block | ||||||||
|---|---|---|---|---|---|---|---|---|---|---|---|---|
| - | - | - | - | |||||||||
| Dash Damage | Dash Startup, Active, and Recovery | On Dash Hit | On Dash Block | |||||||||
| - | - | - | - | |||||||||
| B | Damage | Startup, Active, and Recovery | On Hit | On Block | ||||||||
| - | - | - | - | |||||||||
| Dash Damage | Dash Startup, Active, and Recovery | On Dash Hit | On Dash Block | |||||||||
| - | - | - | - | |||||||||
| C | Damage | Startup, Active, and Recovery | On Hit | On Block | ||||||||
| - | - | - | - | |||||||||
| Dash Damage | Dash Startup, Active, and Recovery | On Dash Hit | On Dash Block | |||||||||
| - | - | - | - | |||||||||
Notes:
Counter Play:
| ||||||||||||
The Basics
Combos
- 66, 214+A, 2B xx 214+A
This combo instantly bubble stuns an opponent when fully connected. Another way of landing the combo is by crossing-up the opponent with the first 214+A.


