Introduction
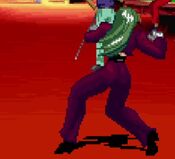
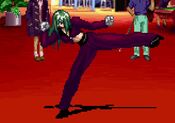
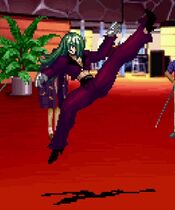
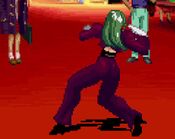
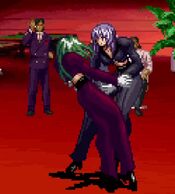
Saki will cut you.
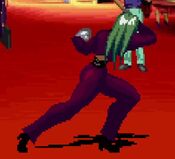
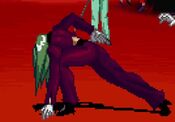
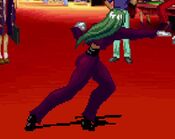
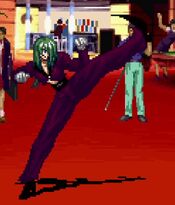
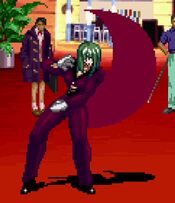
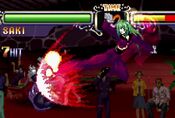
Saki is a simple character with a simple gameplan: make you explode. Sporting solid aerial normals and a HK button that almost plays footsies for you, Saki is able to turn a good number of errant pokes she'll land during neutral into incredible damage with her supers, leading to combos that often deal upwards of 50% damage in one shot. This simplicity is both a blessing and a curse, however -- her lack of solid pokes not attached to the HK button leaves her ground game feeling fairly linear, and her reliance on two-bar combo conversions for her damage makes resource management a very important question for her.
| Pros | Cons |
|
|
Movelist
| Damage | Guard | Startup | Active | Recovery | FrameAdv |
|---|---|---|---|---|---|
| - | Mid | - | - | - | |
|
A short swipe, shares a similar animation to Tetsu. As a poke it's a bit slow but it has a blindingly fast chain into stLK. | |||||
| Damage | Guard | Startup | Active | Recovery | FrameAdv |
|---|---|---|---|---|---|
| - | Mid | - | - | - | |
|
A turning low kick. It looks like an obvious standing low, but this is still a mid strike. No links or chains but the range is silly for a stLK. | |||||
| Damage | Guard | Startup | Active | Recovery | FrameAdv |
|---|---|---|---|---|---|
| - | Mid | - | - | - | |
|
A two hit strike combination. The range on the second hit is good, but it takes significant time starting up. Is special cancelable so you can convert off either hit. | |||||
| Damage | Guard | Startup | Active | Recovery | FrameAdv |
|---|---|---|---|---|---|
| - | Mid | - | - | - | |
|
THE Saki button. A quick crescent kick that has not only has a very good horizontal hitbox, but also covers a significant amount of vertical space. It might not be reliable for deeper jump ins, but on a more shallow aerial approach this can and will deflect the opponent. It is also special cancellable. | |||||
| Damage | Guard | Startup | Active | Recovery | FrameAdv |
|---|---|---|---|---|---|
| - | Mid | - | - | - | |
|
A vertical launcher, gives you a juggle combo afterwards due to being special cancelable. | |||||
| Damage | Guard | Startup | Active | Recovery | FrameAdv |
|---|---|---|---|---|---|
| - | Mid | 8 | - | - | - |
|
[Obligatory dated What Are Those joke] not too fast, but links into itself and chains into crLK or hell, it is special cancelable by itself. Lots of utility. | |||||
| Damage | Guard | Startup | Active | Recovery | FrameAdv |
|---|---|---|---|---|---|
| - | Low | 6 | - | - | - |
|
Faster than crLP, is actually a low, and most importantly chains into crHK for a knockdown. | |||||
| Damage | Guard | Startup | Active | Recovery | FrameAdv |
|---|---|---|---|---|---|
| - | Mid | - | - | - | |
|
A special cancelable downward swipe, important for being her OTG pickup inot HP Tetsu. | |||||
| Damage | Guard | Startup | Active | Recovery | FrameAdv |
|---|---|---|---|---|---|
| - | Low | 4 | - | - | - |
|
A beefy sweep, great range, but holy crap is that startup fast. | |||||
| Damage | Guard | Startup | Active | Recovery | FrameAdv |
|---|---|---|---|---|---|
| - | High | - | - | - | |
|
A downward jab, chains into stHP and stHK. Can hit a standing opponent while rising. | |||||
| Damage | Guard | Startup | Active | Recovery | FrameAdv |
|---|---|---|---|---|---|
| - | High | 4 | - | - | - |
|
Also can hit a standing opponent while rising and has good horizontal range. Chains into stHP and stHK. When done as a neutral jump it is not active for very long, but when done as a diagonal jump it's dummy active. | |||||
| Damage | Guard | Startup | Active | Recovery | FrameAdv |
|---|---|---|---|---|---|
| - | High | 9 | - | - | - |
|
A big ol double handed swipe. | |||||
| Damage | Guard | Startup | Active | Recovery | FrameAdv |
|---|---|---|---|---|---|
| - | High | - | - | - | |
|
A roundhouse kick that covers tons of space and, most most importantly, is active for approximately 4 years. Like most attacks bound to Saki's HK button, it rules. | |||||
Command Moves
| Damage | Guard | Startup | Active | Recovery | FrameAdv |
|---|---|---|---|---|---|
| - | Mid | - | - | - | |
|
A quick chop that (thankfully) doesn't hit overhead. Doesn't have good range, but is probably her fastest normal. | |||||
| Damage | Guard | Startup | Active | Recovery | FrameAdv |
|---|---|---|---|---|---|
| - | Mid | - | - | - | |
|
A midrange elbow strike, looks like it should hit overhead but is just a mid. | |||||
| Damage | Guard | Startup | Active | Recovery | FrameAdv |
|---|---|---|---|---|---|
| - | High | 18 | - | - | - |
|
A forward step kick. A very strong poke that rounds out her powerful options off of the HK button. Slow startup but will hit from downtown, which is wild because it chains into stHP and clHK. | |||||
Target Combos
st.LP > st.LK
f+LP > st.LK > st.LP > (st.HP > st.HK) or (st.HK > st.HP)
f+HK > st.HP/st.HK
st.HK > f+HP > st.HK
cr.LP > (st.LP) > cr.LK
cr.LK > cr.HK
j.LP/LK > j.HP/HK
Guard Cancels
LP: f+A
LK: cl.HK
HP: LP Ren (hcb,f+LP)
HK: LP Sen (dp+LP)
Saki's best guard cancel is her HP guard cancel, since it's her command grab. When activated outside of grab range, Saki will simply maintain her blocking animation while becoming briefly invincible. This can lead to larger punishes that can potentially make up for the meter spent on the guard cancel.
Special Moves
Super Moves
| Damage | Guard | Startup | Active | Recovery | FrameAdv |
|---|---|---|---|---|---|
| Mid | - | - | - | ||
|
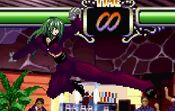
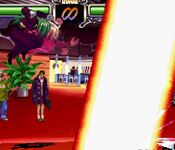
Saki jumps into the air before throwing out a massive pillar of fire a few steps in front of her. This super can also be performed in the air, where it becomes significantly faster on startup. The pillar is air-unblockable and deals a ton of damage, so while this super isn't used as often as Mizuchi, it's still useful in certain juggle combos as well as the occasional anti-air. | |||||
| Damage | Guard | Startup | Active | Recovery | FrameAdv |
|---|---|---|---|---|---|
| Mid | - | - | - | ||
|
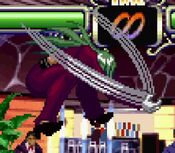
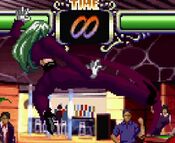
A flipkick that leads into a devastating follow up hit. The final hit of this super deals fixed damage, and is the primary reason why Saki's damage is as high as it is. Only used in combos, but is incredible for that purpose. | |||||
Strategy
Saki can get a lot of mileage out of just using her buttons to control neutral. On the ground, she can use far HK, cr.HK and f+HK to control the ground, while j.LK, j.HK and (again) far HK can swat people out of the air. With meter on deck, Saki can very easily blow people up for trying to stuff her aerial approaches -- conditioning them with aerial chains from jump-ins with j.LK can lead to you baiting and punishing potential anti-air attempts with Homura. This is much the same for people who try to approach by air blocking as well, since both far HK and Homura can beat those options. Once you've established yourself up close, you can run a pretty basic (but very scary) mixup between cr.LK > cr.HK hit confirms and your normal throw -- in either case, cashing your mixup out into HP Tetsu xx Mizuchi will deal around 50% damage to the opponent. However, it's important to be mindful of your meter, since Saki's primary defensive option is EX Shoku -- useful, to be sure, owing to its 0F startup after flash, but it does mean that you'll have to frequently be making decisions about how to use your meter, so try to be judicious when the necessity arises.
Combos
Basic Combos
Depending on the character and screen position, sometimes Tetsu will only hit once, which can make the super cancel more awkward to perform. In many cases you'll accidentally get EX Ryou instead of Mizuchi, which is still pretty decent damage.
cr.LK > cr.HK xx HP Tetsu (xx Mizuchi)
far HK, cr.HK xx HP Tetsu (xx Mizuchi)
cr.LP(x1~2), cr.HK xx HP Tetsu (xx Mizuchi)
Yes, those are links.
Anti-Air Combos
st.HK xx HP Tetsu (xx Mizuchi)
j.LK > j.HK, land j.LK > j.HK, EX Ryou/xx Homura
j.LK > j.HK, land f+HK > cl.HK xx Homura
Throw Combo
Throw > cr.HP xx HP Tetsu (xx Mizuchi)

