Matt Cowan (talk | contribs) No edit summary |
Matt Cowan (talk | contribs) No edit summary |
||
| Line 51: | Line 51: | ||
==Air== | ==Air== | ||
===A=== | ===A=== | ||
[[Image:Kenshiro-j.A.png]]<br> | |||
A quick air jab. Used mostly for getting out of pressure and as a mixup option after an air dash B.<br> | A quick air jab. Used mostly for getting out of pressure and as a mixup option after an air dash B.<br> | ||
===B=== | ===B=== | ||
[[Image:Kenshiro-j.B.png]]<br> | |||
An air kick. Its long range and quick execution make this move Kenshiro's main overhead.<br> | An air kick. Its long range and quick execution make this move Kenshiro's main overhead.<br> | ||
===C=== | ===C=== | ||
[[Image:Kenshiro-j.C.png]]<br> | |||
A strong air punch. Fairly slow startup but decently strong against grounded opponents. Used mostly in combos.<br> | A strong air punch. Fairly slow startup but decently strong against grounded opponents. Used mostly in combos.<br> | ||
===D=== | ===D=== | ||
[[Image:Kenshiro-j.D.png]]<br> | |||
A 3-hit air kick. Good range to the side but not great against opponents below you. Use mostly in combos or for long range zoning. | A 3-hit air kick. Good range to the side but not great against opponents below you. Use mostly in combos or for long range zoning. | ||
Revision as of 10:05, 29 March 2012
Standing
Close A
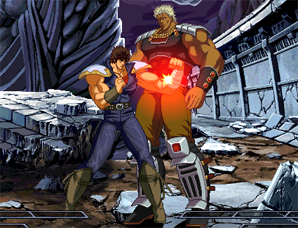
A quick jab. Not very useful for pressure or zoning, but used in some combos.
Far A
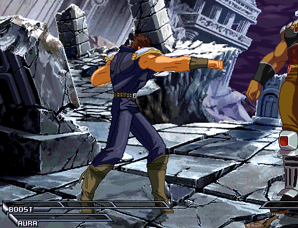
A straight punch. Mostly the same as close A but perhaps slightly more useful as an anti-air.
Close B
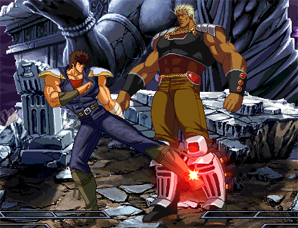
A low kick. Decent but lacking in comparison to 2B.
Far B
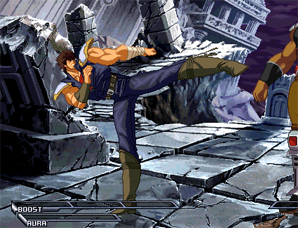
A straight kick. Gives advantage on guard and cancelable into itself. Very useful for mid-range zoning.
Close C
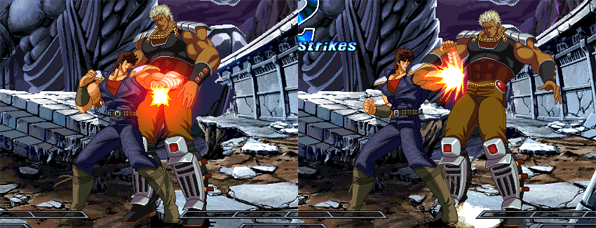
Two quick punches. No real use, seen mostly when missing with a throw attempt.
Far C
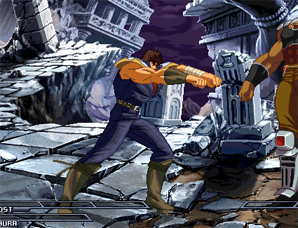
A two-handed punch. Long active frames and good range. Very useful for zoning, can hit confirm Boost into a combo.
Close D
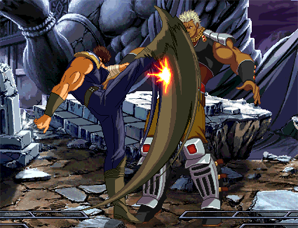
An upward kick. Its quick startup and a wide range make it a very good anti-air. Also useful in combos.
Far D
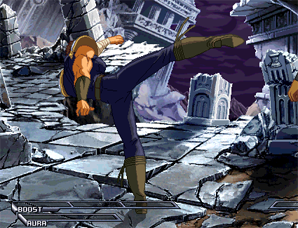
A strong kick. With 7 frame startup, great range, and good comboability, this is without a doubt one of Kenshiro's best normals.
Crouching
A
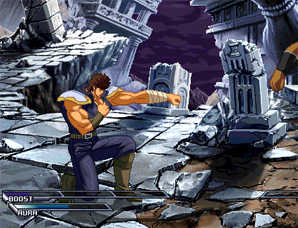
A crouching jab. Fast startup, used at close range and in combos.
B
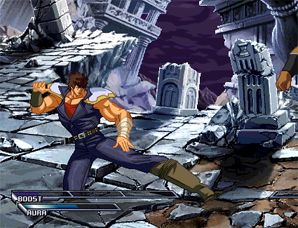
A low crouching kick. 8 frame advantage on block, allowing for mixup with another 2B or air dash B. Very useful.
C
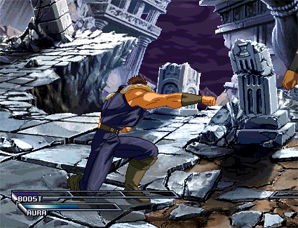
A crouching straight punch. Cancelable into itself, but it's slow startup and short range makes it not very useful.
D
Air
A
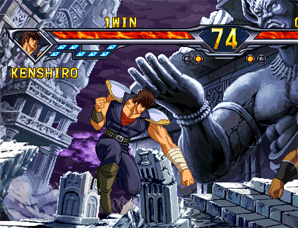
A quick air jab. Used mostly for getting out of pressure and as a mixup option after an air dash B.
B
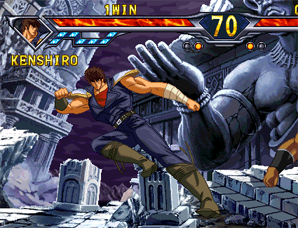
An air kick. Its long range and quick execution make this move Kenshiro's main overhead.
C
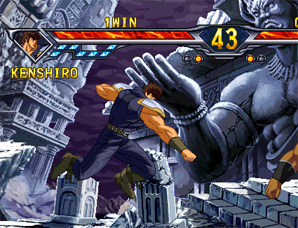
A strong air punch. Fairly slow startup but decently strong against grounded opponents. Used mostly in combos.
D
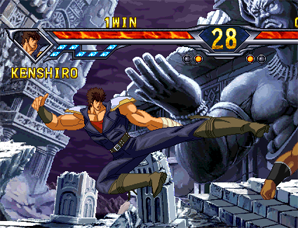
A 3-hit air kick. Good range to the side but not great against opponents below you. Use mostly in combos or for long range zoning.
