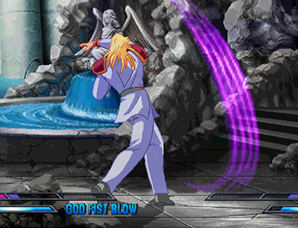
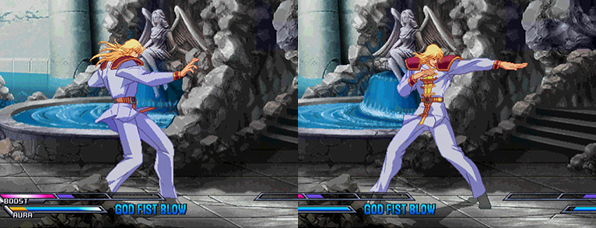
< Shin
Matt Cowan (talk | contribs) (Created page with 'This page covers Shin's normal moves. His special and super moves are explained here. ==Standing== ===Close A=== Image:Shin-c.A.png<br> X ===...') |
Matt Cowan (talk | contribs) No edit summary |
||
| Line 5: | Line 5: | ||
===Close A=== | ===Close A=== | ||
[[Image:Shin-c.A.png]]<br> | [[Image:Shin-c.A.png]]<br> | ||
A quick jab to the face. | |||
===Far A=== | ===Far A=== | ||
[[Image:Shin-A.png]]<br> | [[Image:Shin-A.png]]<br> | ||
A straight jab. | |||
===Close B=== | ===Close B=== | ||
[[Image:Shin-c.B.png]]<br> | [[Image:Shin-c.B.png]]<br> | ||
A lazy-looking kick. | |||
===Far B=== | ===Far B=== | ||
[[Image:Shin-B.png]]<br> | [[Image:Shin-B.png]]<br> | ||
A low kick. | |||
===Close C=== | ===Close C=== | ||
[[Image:Shin-c.C.png]]<br> | [[Image:Shin-c.C.png]]<br> | ||
A strong low jab. | |||
===Far C=== | ===Far C=== | ||
[[Image:Shin-C.png]]<br> | [[Image:Shin-C.png]]<br> | ||
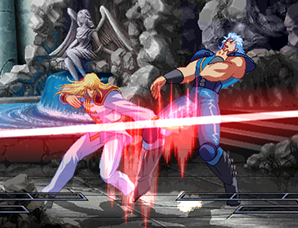
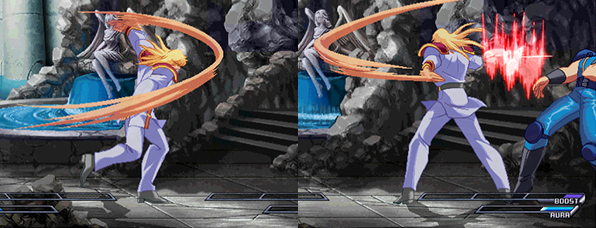
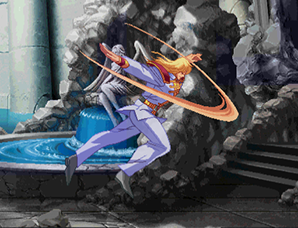
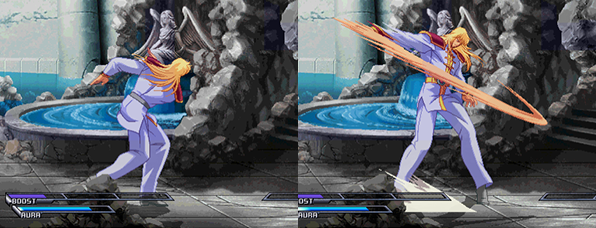
A big horizontal slash. | |||
===Close D=== | ===Close D=== | ||
[[Image:Shin-c.D.png]]<br> | [[Image:Shin-c.D.png]]<br> | ||
A knee followed by a kick to the head. | |||
===Far D=== | ===Far D=== | ||
[[Image:Shin-D.png]]<br> | [[Image:Shin-D.png]]<br> | ||
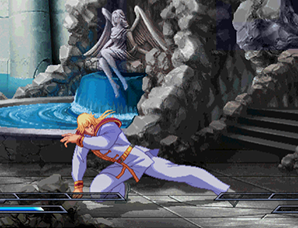
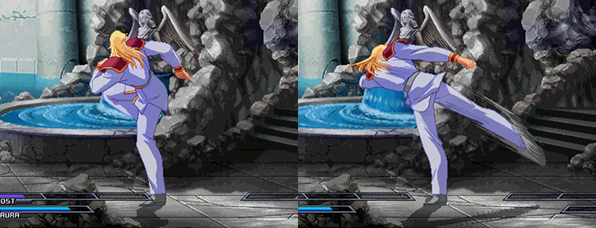
A strong low kick. | |||
==Crouching== | ==Crouching== | ||
===A=== | ===A=== | ||
[[Image:Shin-2A.png]]<br> | [[Image:Shin-2A.png]]<br> | ||
A short crouching elbow jab. | |||
===B=== | ===B=== | ||
[[Image:Shin-2B.png]]<br> | [[Image:Shin-2B.png]]<br> | ||
A very low crouching kick. | |||
===C=== | ===C=== | ||
[[Image:Shin-2C.png]]<br> | [[Image:Shin-2C.png]]<br> | ||
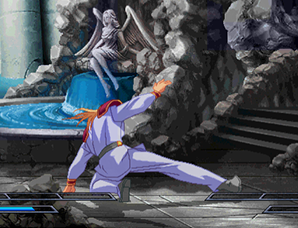
A strong upwards jab while crouching. | |||
===D=== | ===D=== | ||
[[Image:Shin-2D.png]]<br> | [[Image:Shin-2D.png]]<br> | ||
A long sweep kick. | |||
==Air== | ==Air== | ||
===A=== | ===A=== | ||
[[Image:Shin-j.A.png]]<br> | [[Image:Shin-j.A.png]]<br> | ||
A downwards jab. | |||
===B=== | ===B=== | ||
[[Image:Shin-j.B.png]]<br> | [[Image:Shin-j.B.png]]<br> | ||
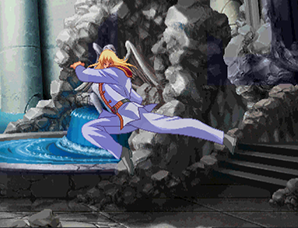
A straight kick. | |||
===C=== | ===C=== | ||
[[Image:Shin-j.C.png]]<br> | [[Image:Shin-j.C.png]]<br> | ||
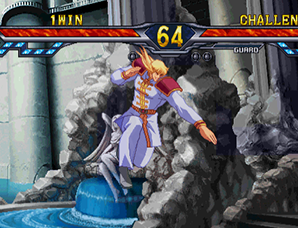
A two-handed downwards chop. | |||
===D=== | ===D=== | ||
[[Image:Shin-j.D.png]]<br> | [[Image:Shin-j.D.png]]<br> | ||
A strong downwards kick. | |||
==Other== | ==Other== | ||
===6A=== | ===6A=== | ||
[[Image:Shin-6A.png]]<br> | [[Image:Shin-6A.png]]<br> | ||
A horizontal slicing punch. | |||
===6B=== | ===6B=== | ||
[[Image:Shin-6B.png]]<br> | [[Image:Shin-6B.png]]<br> | ||
A strong stomping kick. | |||
===Throw=== | ===Throw=== | ||
[[Image:Shin-Throw.png]]<br> | [[Image:Shin-Throw.png]]<br> | ||
Shin throws his opponent to the ground then jabs them quickly several times. | |||
===BD Throw=== | ===BD Throw=== | ||
[[Image:Shin-BD.png]]<br> | [[Image:Shin-BD.png]]<br> | ||
Shin slaps his opponent to the ground, stomps on their body, and then kicks them away. | |||
===Grave Shoot=== | ===Grave Shoot=== | ||
[[Image:Shin-Grave.png]]<br> | [[Image:Shin-Grave.png]]<br> | ||
A slashing underhand chop. | |||
===Heavy Strike=== | ===Heavy Strike=== | ||
[[Image:Shin-Heavy.png]]<br> | [[Image:Shin-Heavy.png]]<br> | ||
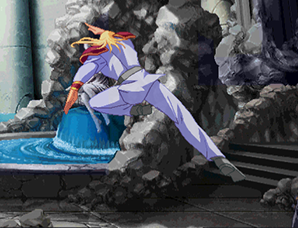
Shin winds up then charges forward with a strong thrust. | |||
===Banishing Strike=== | ===Banishing Strike=== | ||
[[Image:Shin-Bani.png]]<br> | [[Image:Shin-Bani.png]]<br> | ||
Shin winds up then does a powerful straight jab. | |||
[[Category:Hokuto no Ken]] | [[Category:Hokuto no Ken]] | ||
Revision as of 17:50, 25 January 2013
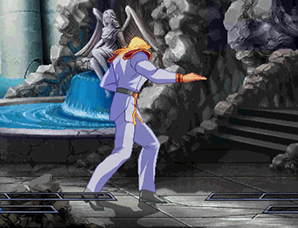
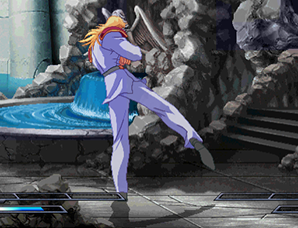
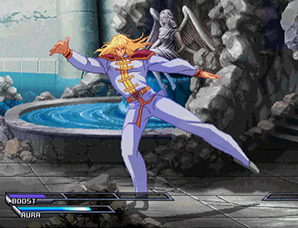
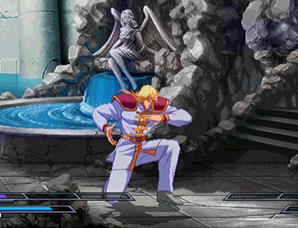
This page covers Shin's normal moves. His special and super moves are explained here.
Standing
Close A
Far A
Close B
Far B
Close C
Far C
Close D
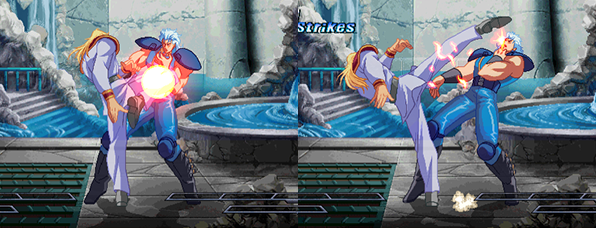
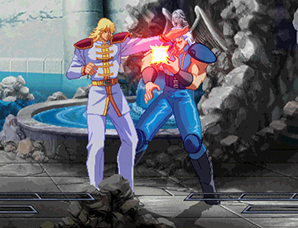
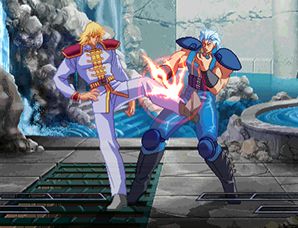
A knee followed by a kick to the head.
Far D
Crouching
A
B
C
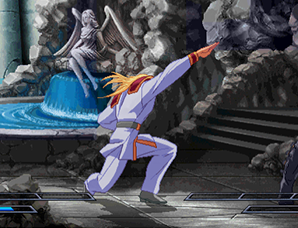
A strong upwards jab while crouching.
D
Air
A
B
C
D
Other
6A
6B
Throw
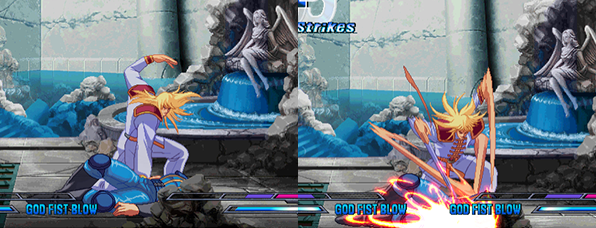
Shin throws his opponent to the ground then jabs them quickly several times.
BD Throw
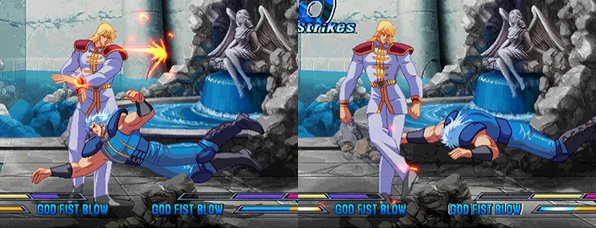
Shin slaps his opponent to the ground, stomps on their body, and then kicks them away.
Grave Shoot
Heavy Strike
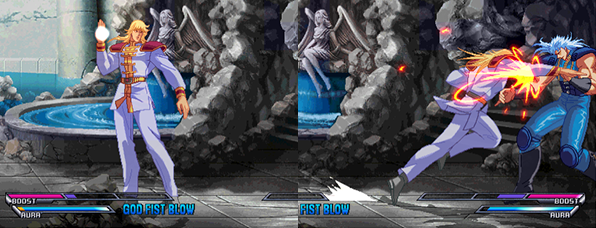
Shin winds up then charges forward with a strong thrust.
