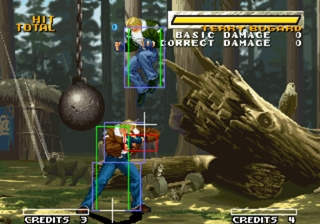
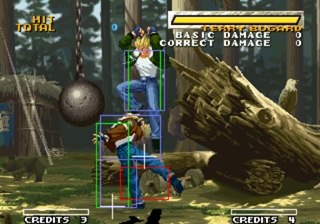
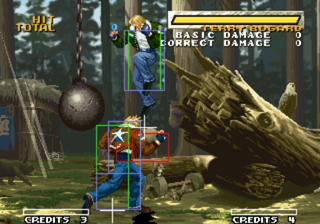
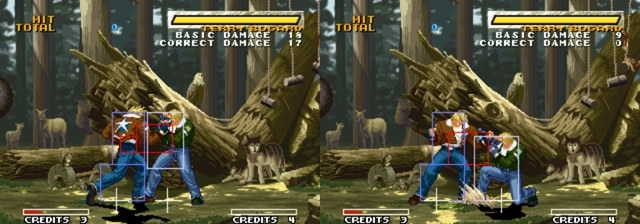
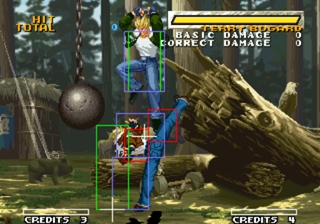
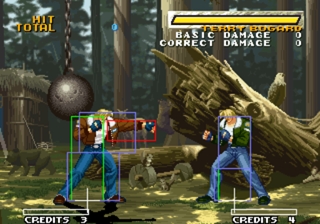
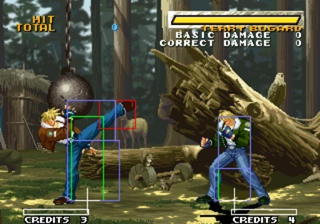
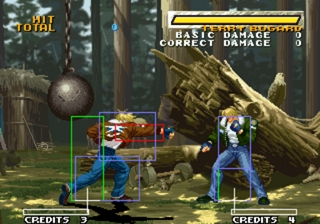
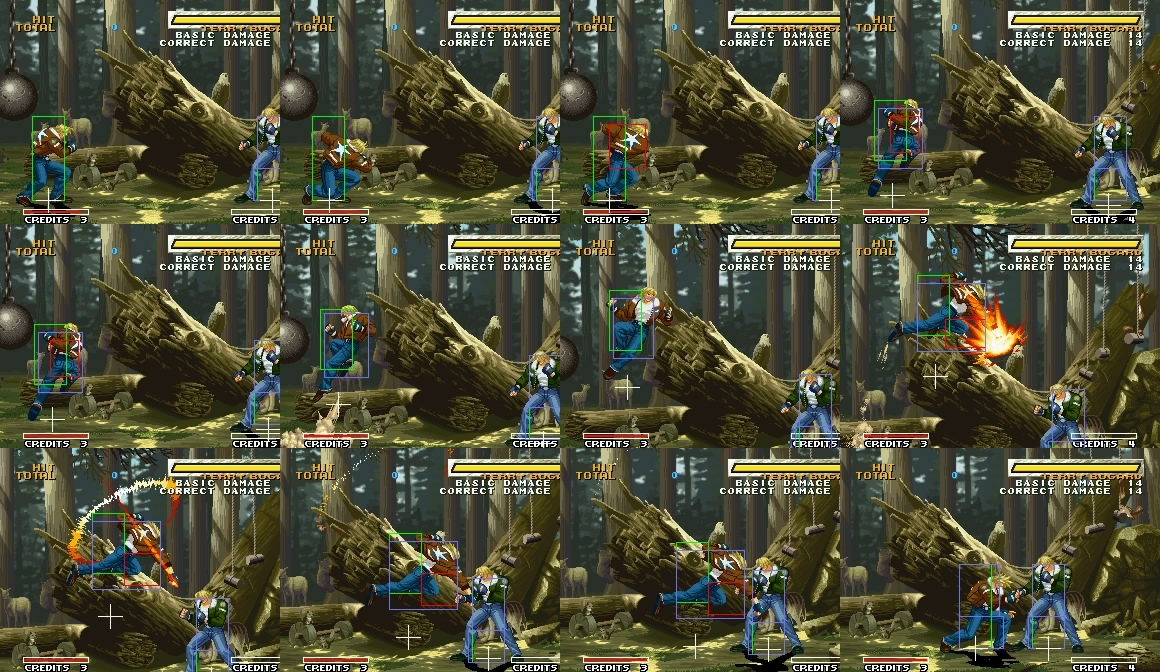
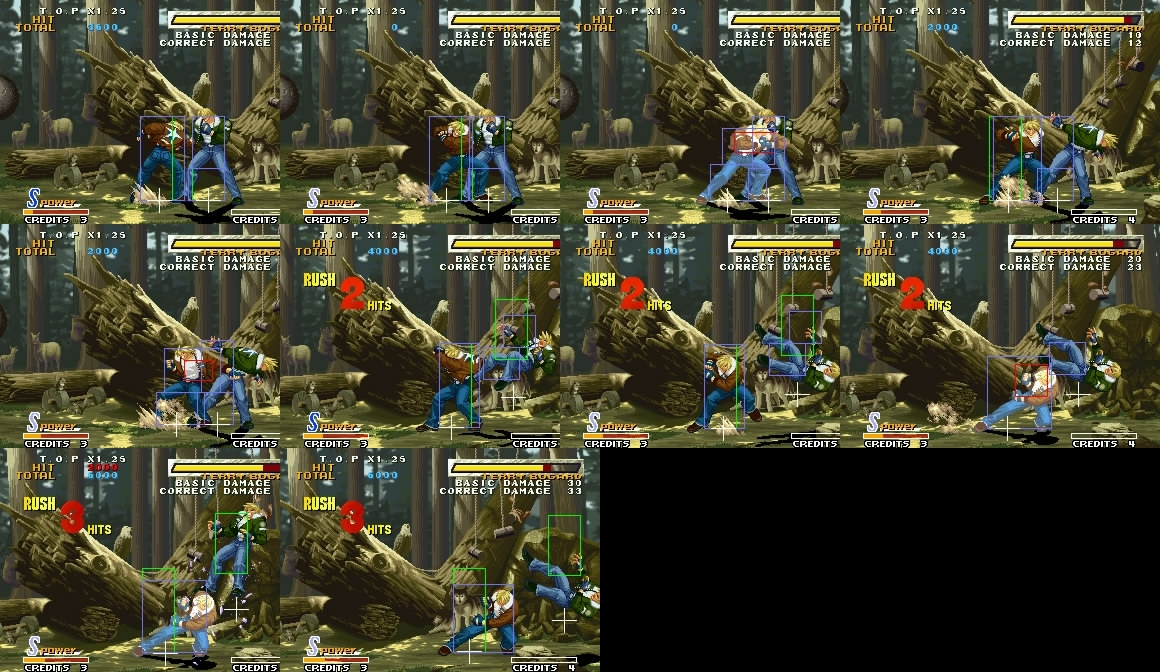
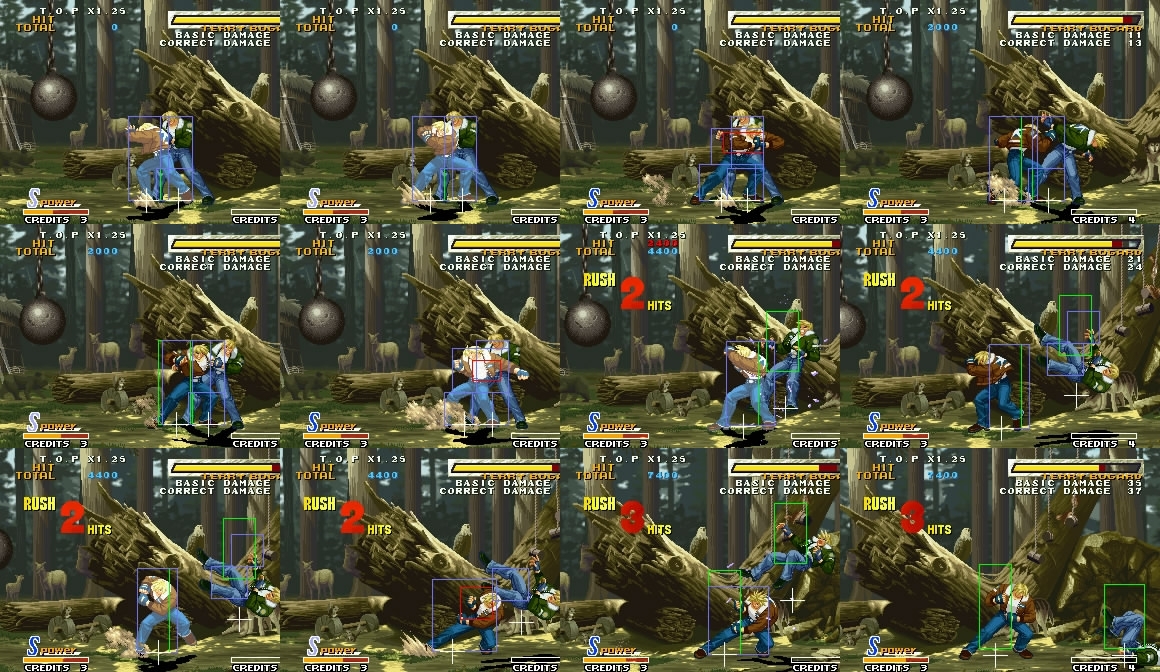
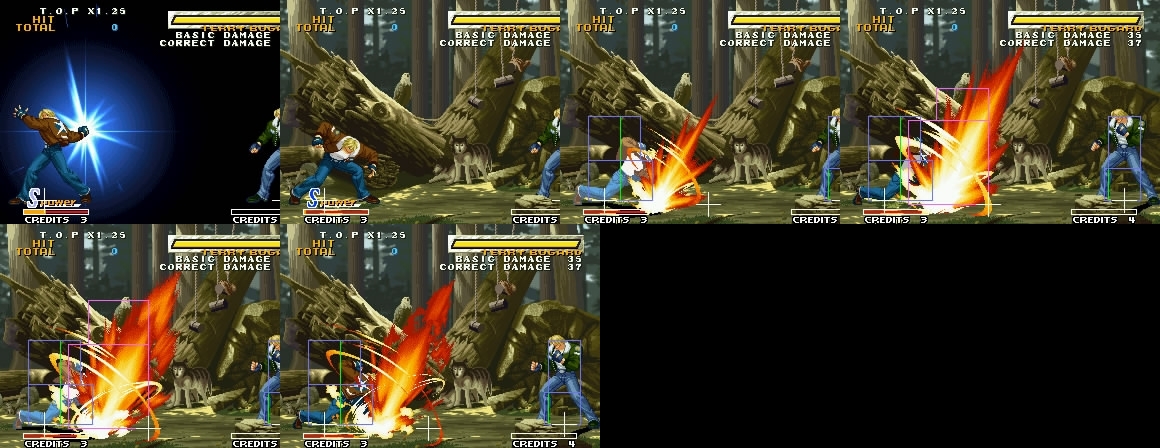
Introduction
Character Colors

Profile
Full name: Terry Bogard.
Birthdate: March 15, 1971; 35 years old.
Birthplace: United States.
Height: 182cm (5' 11").
Weight:	81kg (179 lbs).
Blood type: O.
Family/Relatives: Jeff Bogard (adoptive father), Andy Bogard (brother), Rock Howard (adoptive son).
Job/Occupation: None (does part time work to get by).
Likes: Jeff's gloves, vintage jeans, Ukee (his pet monkey).
Dislikes: Slugs.
Hobbies: Playing video games, trawling, wall painting.
Favorite food: Fast-food, clubhouse sandwiches made by Rock.
Forte in sports: Basketball.
Special skill: Making 50 3-pointer shots in a row.
Most unpleasant: Cigarettes.
Favorite music: Rock and Country.
Fighting style: Martial arts and street fighting.
History
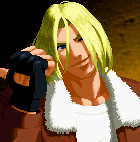
Terry Bogard (テリー・ボガード, Terī Bogādo), the "Legendary Hungry Wolf". After the events of the previous games in the series, Terry took Rock Howard, the young son of his deceased arch-nemesis, Geese Howard, under his wing, developing a father-son bond with the boy and teaching him how to fend for himself as they traveled the world together.
Now, ten years later, he and a teenager Rock are back in South Town (properly re-named "Second South"), to participate in the "King of Fighters: Maximum Mayhem" tournament, in order to test and improve their skills; with no knowledge of the true plans of the sinister mastermind behind the scheduled event...
Quick Analysis
Terry is, overall, considered a mid-tier character in this game, with strong offensive and defensive tools that, however, are by no means flawless. His Specials are too much unsafe on block (sometimes, even on hit), so he can't really rushdown his enemies without enourmous amounts of caution; on the other hand, his excelent normals, both in the air and on the ground, allow him to stand up to his foes with a good zoning and defensive game.
Thanks to his Feint Cancels, hIs bread and butter combos are some of the best in the game, perfectly capable of doing insane amounts of damage, specially in the corner, where he also dominates with his blockstrings and resets that can easily grant him a Guard Crush opportunity if he plays unpredictably (so much that he is considered a beast in short sets, when his lockdown pressure is less obvious). His Break Special, too, is excelent, doubling as one of the best Anti-Airs in the game (that, unfortunately, is still unsafe on block, so it must still be used carefuly).
Play at your own pace, don't let the opponent gain momentum and control the flow of the match, and you are good to go.
Movelist
Throws
 • Buster Throw
    (Close)   +
    (Close)   +

Command Moves
 • Double Combination
      >

Special Moves
 • Power Wave
      +

 • Burning Knuckle
      +

 • Crack Shoot
      +

 • Power Dunk (Break)
      +

 • Power Charge
      ,      +        x3
Super Moves
 • Power Geyser
      +

 • Buster Wolf
      +

T.O.P. Attack
 • Max Dunk
      +

Cancel Ability
When a move can be canceled, it can either be canceled into a Special, a Super or a Feint. Some moves that can't be canceled when they hit can be canceled when the opponent blocks, while some moves that can be Special/Super canceled cannot be Feint Canceled.
Frame Data
Legend :
 Command = the input for the attack.

 Start Up = How many start up frames an attack has.

 Hit = When the attack hits.

 Block = When the attack is blocked.

 + signifies how many advantage frames the attacker has.

 - signifies how many disadvantage frames the attacker has.

 KD means the attack will knock the opponent down.
Data from Howard's Arena
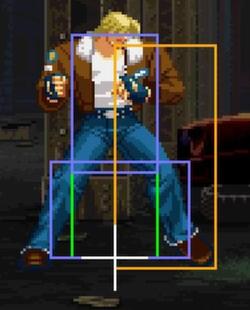
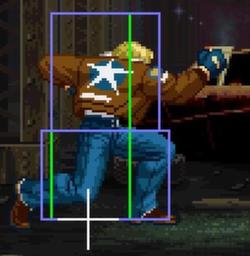
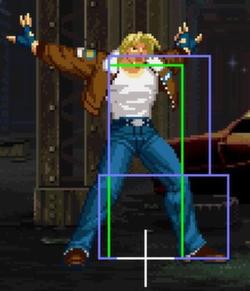
Hitboxes and Attack Notes
Buster Throw
| Command | Total Frames |
| Close |
9 |
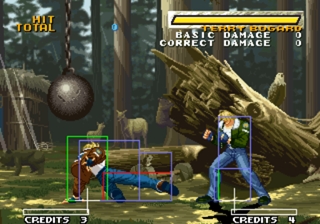
By no means the best in the game, but not the worst either, specially when you take into consideration the fact that, in case the Throw fails, a 'cl. C' will come out instead, and that's one of Terry's best normals (since you can make it safe with Feint Canceling, or just jumping right into his Target Combo).
You can use this to set up some tricky crossup situations. For example, after performing a midscreen backthrow, run just a little bit and then jump with Terry's 'j. C': if done correctly, the enemy will get hit in the back at a pretty deceptive angle (this can be done with a regular throw, but a backthrow seems to be easier). A similar setup works in the corner too, and it's even better: after throwing his enemy into the corner, and running just a little before perfoming a jump, even if the enemy has his back against the corner, he will have to change his block direction because of a bug that will force him to stand up facing the opposite direction of Terry's.
Forward Feint
| Command | Total Frames |
| x |
Terry's best Feint Cancel option by far, since it makes him advance slightly, lessening the impact of the pushback from his attacks and allowing him to land more blows in his combos.
This is, without a doubt, core to Terry's gameplay, and should be mastered as soon as possible.
Down Feint
| Command | Total Frames |
| x |
Almost completely uselesss. Stick with the forward one, it's a thousand times better. This one moves Terry backwards way too much, so Feint Canceling with this becomes a waste of time.
You could, once in a blue moon, use this to actualy fool your opponent into thinking you're going for a Burning Knuckle... but that would be you searching really, really hard for a reason to use this at all.
cl. A
| Command | Start Up | Hit | Guard |
| Close |
3 | +7 | +7 |
As fast as it can get with a 3F start-up, this is a pretty good button to mash around when your about to score a Guard Crush. Good poke, cancelable into Specials, and starter of a few basic combos.
Also works as an Anti-Air, specially after a crossunder.
cl. B
| Command | Start Up | Hit | Guard |
| Close |
4 | +3 | +3 |
Canceled right into a Power Dunk, this is mostly used as an Anti-GC option on the enemy's wake-up.
The only other use this move has is getting you killed you when it comes out on accident when you are trying to use a st. B as Anti-Air.
cl. C
| Command | Start Up | Hit | Guard |
| Close |
5 | -5 | -5 |
If the foward Feint Cancel is the heart of Terry's gameplay, this move is certainly the soul: good start-up, excelent blockstun and hitbox positioning, fairly safe on block, Feint, Special and Super cancelable, blockstring and combo starter, throw button... this move has it all. Expect to use this a lot.
Double Combination
| Command | Start Up | Hit | Guard |
| Close |
5 | +4 | +4 |
Terry's target combo is really good not only because it is completely safe on block, but also because it allows him to easily hit-confirm and link it's last attack into the strong version of his punch Super, anywhere on the stage, or even into his light Break Special, but only when the enemy has his back against the corner (courtesy of midscreen pushback limitations).
Since it hits twice, it doubles an excelent Anti-GC weapon, even more so because of it's potential to be linked in any of the aforementioned ways. It's also can be used as a nice frame trap, since most people don't know that this is positive on block.
cl. D
| Command | Start Up | Hit | Guard |
| Close |
7 | -2 | -2 |
Very few uses for this one, unfortunately. It hits twice, but it's cancelable only on the first hit, so you can't exactly use this to beat out GC attempts (well, you can, but there are far better options).
It can work as an Anti-Air too at certain ranges.
far. A
| Command | Start Up | Hit | Guard |
| Far |
4 | +4 | +4 |
Basicaly the same as his cl. A, except that is has a far better range. Fast poke, good for intercepting dashers. Also doubles as a pretty decent Anti-Air (even better after a crossunder). Special and Super cancelable. This move also works as a frame trap to beat out opponents trying to engage you after blocking something, like Terry's Power Wave.
far. B
| Command | Start Up | Hit | Guard |
| Far |
5 | +1 | +1 |
This move isn't Special cancelable. However, it works as one of Terry's best Anti-Airs, since it has a deceptively large hitbox and speed. It's also pretty safe in case the opponent empty-jumps at you, trying to Air-JD your Anti-Air, since the pushback won't allow him to counter-attack. At precise rangers, this move will beat out hop and jump attempts, acting as a preemptive Anti-Air of sorts. Good frame trap when followed by a far. A, for example.
far. C
| Command | Start Up | Hit | Guard |
| Far |
11 | -2 | -2 |
Pretty horrible normal. Not only is this button ungodly slow, it's also unsafe on block, and it's not even Feint, Special, or Super cancelable. Avoid this.
far. D
| Command | Start Up | Hit | Guard |
| Far |
9 | -5 | -5 |
A little slow, but it has good damage and nice range, allowing it to be used as poke at far distances (with caution and moderation, of course). This isn't cancelable on hit, but it is cancelable on block, making this move a prime candidate of corner resets with Terry's Power Charge.
cr. A
| Command | Start Up | Hit | Guard |
| 4 | +6 | +6 |
One frame faster than Terry's crouching light kick (but it doesn't hit low, making it less useful). Good frame advantage on block and on hit, also Special and Super cancelable. An average normal.
cr. B
| Command | Start Up | Hit | Guard |
| 5 | +6 | +6 |
Very good normal. Good range, fast startup, Special and Super cancelable, and it has to be defended low; as such, this move is a great add to Terry's overall mixup game when used as a meaty. The hitstun in this also allows for some nice and easy hit confirms. It's also sometimes used as a frame trap with Terry's run (run a little, cr. B, run a little, cr. B again), but it's not something that should be abused.
cr. C
| Command | Start Up | Hit | Guard |
| 7 | +6 | +6 |
Another excelent normal. Average startup and solid range turns this move into one of Terry's most commonly seen combo finishers. It's also his best way to punish unsafe moves at mid-ranges.
cr. D
| Command | Start Up | Hit | Guard |
| 8 | KD | -15 |
Terry's sweep is easily one of the worst in the game, with just atrocious disadvantage on block. It has some speed and, of course, it can score a knockdown, but that's pretty much it. Should be used sparringly.
j. A
| Command | Start Up | Hit | Guard |
| Jumping |
4 | ? | ? |
This move comes out faster than any other of Terry's air attacks. It's horizontal hitbox will strike out of the air almost anything at heights equivalents to that of Terry's own jump. It may lack a little range, but this is still one of Terry's most usefuls Air-to-Airs that can be used in whatever jump trajectory.
Since it stays active for a good amount of time, remember to press this as soon as you leave the ground, to make sure it comes out as fast as possible.
j. B
| Command | Start Up | Hit | Guard |
| Jumping |
5 | ? | ? |
Probably Terry's best air attack. It may be a little bit slower than his j. A (by a single frame), but it has fantastic priority, and a hitbox aiming downwards that will strike airbone opponents bellow and in front of Terry. Not really a good move to throw out while jumping backwards, but in a neutral or forward jump, it will be a clean hit most of the time.
In a short jump, this move, when used alongside Terry's Power Dunk, becomes an immensely useful tool as a combo starter that can only be defended high, adding some depth to Terry's mixup game. Plus, jump or short jump, j. B works as a pretty good and unpredictable crossup. Very, very useful indeed.
j. C
| Command | Start Up | Hit | Guard |
| Jumping |
7 | ? | ? |
Good damage and start-up. It's mainly used as a close jump-in or short jump-in attack, but it can also work an awkward Air-to-Air when Terry's right above someone (also sometimes used to protect Terry's hurtbox while jumping backwards, which can come in handy when trying to get away with a win by Time Out for example).
At the right distances (with the proper Throw setup, for example), this can also be used as a tricky crossup.
j. D
| Command | Start Up | Hit | Guard |
| Jumping |
9 | ? | ? |
What it lacks in speed, this move compensates with damage and range. It can work as an Air-to-Air (this is one of Terry's strongest buttons to use after jumping back), but it definetly shines more as a jump-in or short jump-in strike, since it works absolutely wonders as a stupidly good crossup.
Low-Evade Attack
| Command | Start Up | Hit | Guard |
| 26 | -1 | +5 |
Horrible move that mostly will come out on accident after a failed Power Dunk Break attempt. Patheticaly slow start-up. If you want to do an overhead, just go for the short hop.
High-Evade Attack
| Command | Start Up | Hit | Guard |
| 8 | -14 | -8 |
One of the worst in the game, but you're still left with no choice but to use it. It actualy has a pretty decent start-up and priority (at certain ranges), so it can be used to break a few Reversal attempts. The real problem lies in it's enourmous frame disadvantage, both on hit and on block; this can be somewhat diminished by a Feint or Special cancel, but there's absolutely nothing you can do if it's blocked, since it's not cancelable at all in that situation. Other than that, the damage on this is quite good, so it can be used in combos to pump the damage up a little.
It may be used as an Anti-Air too, but that's an advanced and hard technique, since the timing must be perfect, and the chance of losing or trading against the enemy is real.
T.O.P. Attack
| Command | Start Up | Hit | Guard |
| 14 | KD | -11 |
Not particularly useful. It can be used as an easy Guard Cancel, but it has horribly slow start-up. Sure, it does great Guard Crush damage, but even if your enemy gets his guard crumpled with this, the recovery on it is so abysmal that you won't even be able to do any follow-up.
To add insult to injury, the damage is pitiful, and it's also unsafe on block.
Power Wave (A)
| Command | Start Up | Hit | Guard |
| 11 | -6 | -6 |
Terry's ground-based fireball. Quite average, to be frank. Pressing the light button makes the fireball travel slower, and it's generaly useless in combos. The recovery on this version of the move is better, but Terry can still be punished even on hit if it was done too close to the enemy, so be careful.
Power Wave (C)
| Command | Start Up | Hit | Guard |
| 11 | -11 | -11 |
This version of the Power Wave travels a little bit faster through the ground, making it more useful in his basic combos. However, it suffers from an even more unforgivable recovery and high block disadvantage. It's what Terry has, though, so use with caution.
Burning Knuckle (A)
File:TerryGarouBurningKnuckleA.jpg
| Command | Start Up | Hit | Guard |
| 14 | KD | -12 |
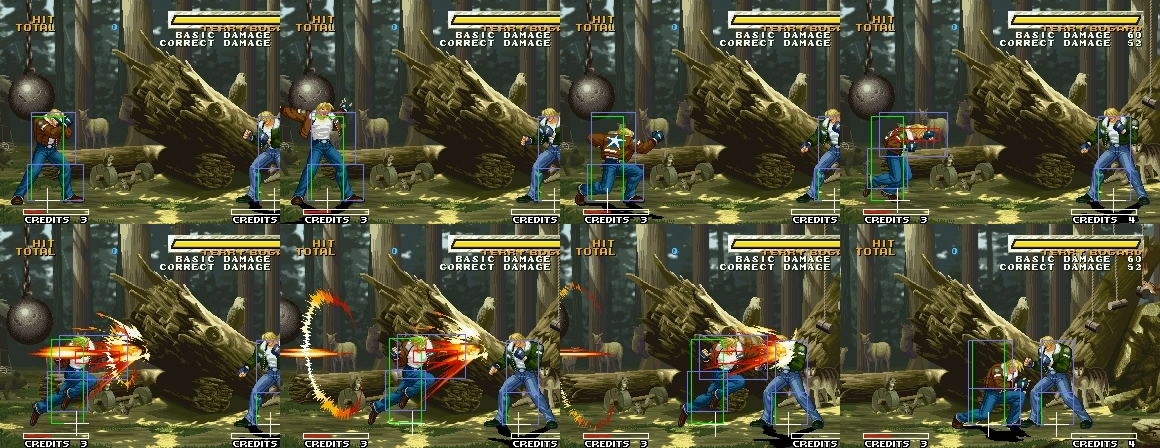
This Special has very few pratical uses. On hit, it will cause good damage, corner carry, and knockdown. On block, it will leave you stuck with it's pretty crippling recovery. It can, however, become relatively safe to use when blocked at the right distances (so much that people will immediately follow this up with a Power Dunk Break for an improvised frame trap). Better safe than sorry, though, so be sure to confirm this in your combos properly.
It covers good range too, and it can work sometimes as an easy Guard Cancel option. Probably the best way to finish some of Terry's juggle combos, mostly on a Counter-Hit basis (and only when you can't afford the meter for a Super).
Burning Knuckle (C)
| Command | Start Up | Hit | Guard |
| 23 | KD | -10 |
This version of Terry's Burning Knuckle does more damage and is barely safer on block. On the other hand, it's pretty much a JD/GC bait, thanks to it's criminaly long start-up animation (that also won't allow you to practically combo this into and out of anything).
Honestly, this is almost worthless.
Crack Shoot (B)
| Command | Start Up | Hit | Guard |
| 22 | -2 | -2 |
This Special hits overhead, scoring some good damage. Quite safe on block and on hit (punishable, in both situations, only by a few Supers with 0F of start-up). It can't, however, be reliably used in combos, and the speed and range on this is lacking at best.
Besides taking your enemy by surprise, or something along those lines, there are very few reasons why to use this at all.
Crack Shoot (D)
| Command | Start Up | Hit | Guard |
| 20 | KD | -13 |
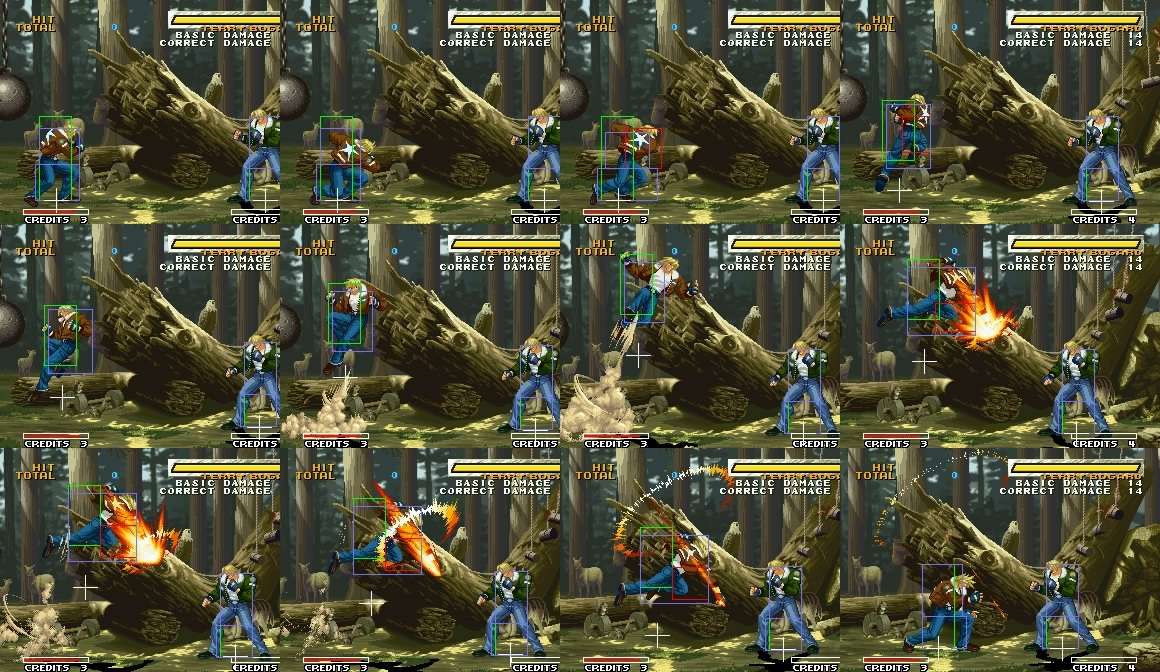
Travels further than it's weaker counterpart, doing more damage and now gaining knockdown capabilities. People tend to use this as an Anti-Air in some cases but, frankly, that's mostly a very bad idea.
Tremendously unsafe on block.
Power Dunk (B)
| Command | Start Up | Hit | Guard |
| 3 | KD | -4 |
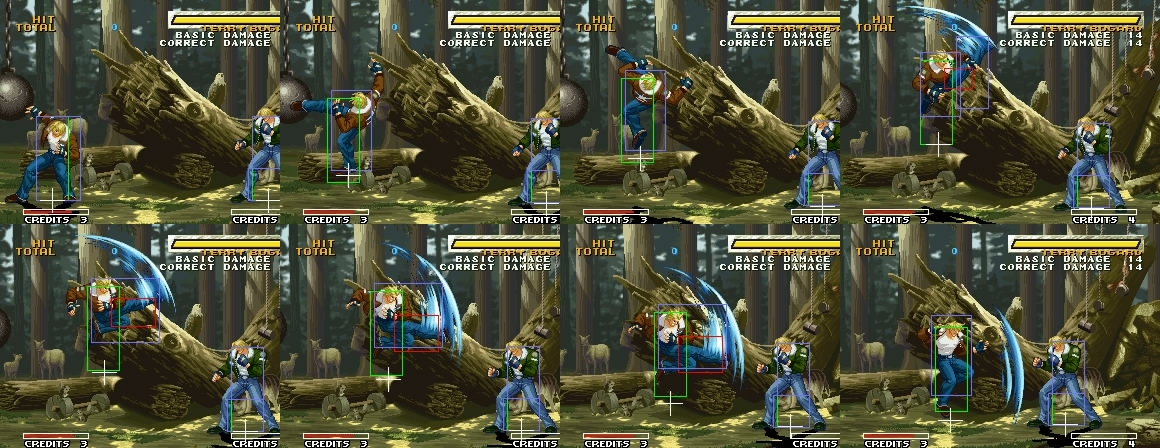
Terry's very own "Dragon Punch" move, with no invincibility frames. The lightning quick start-up on this Special turns it into Terry's primal option for a Guard Cancel by far. It's main function, however, is to be used as an average, multi-hit, Anti-Air attack. It can be used in some very specific combos too; in ways that, for some reason, it's strong variety woudln't. It's also relatively safe on block.
One of the main issues with this Special is that the amounts of hits will vary depending on the range it's used, so if the opponent tries to Air-JD every strike, he may very well land before Terry in some situations (who will be as a sitting duck for a good punishment).
Power Dunk (D)
| Command | Start Up | Hit | Guard |
| 3 | KD | -13 |
In it's strong variety, Terry's Power Dunk gains a good ammount of invincibility at it's start-up frames, so a Reversal at wake-up, for example, is now a possibility (a dangerous one still, so don't overuse it or get predictable with it). On the other hand, it's far more unsafe on block now than it's previous version. Can still work as an Anti-Air, but there's still chance Terry can get punished if the enemy antecipates it.
Power Dunk (Break)
| Command | Start Up | Hit | Guard |
| 3 | KD | -2 |
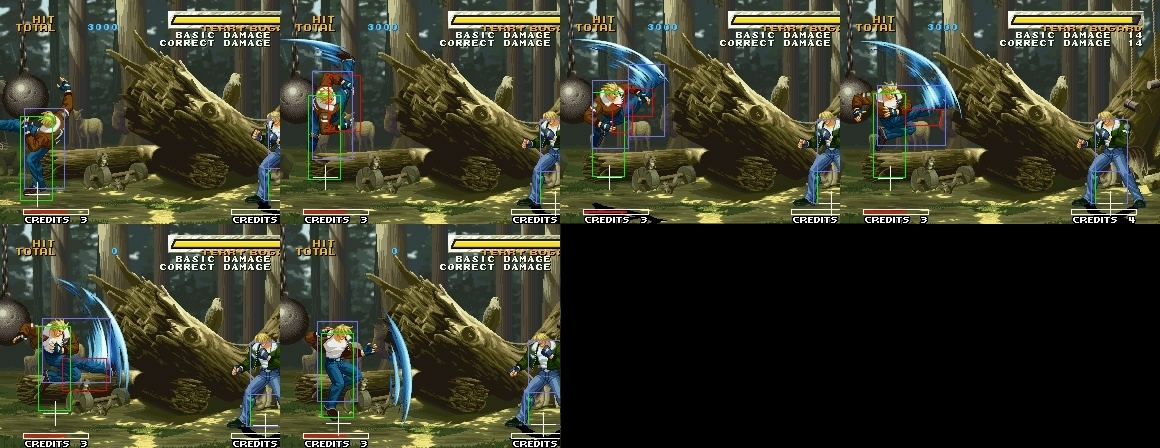
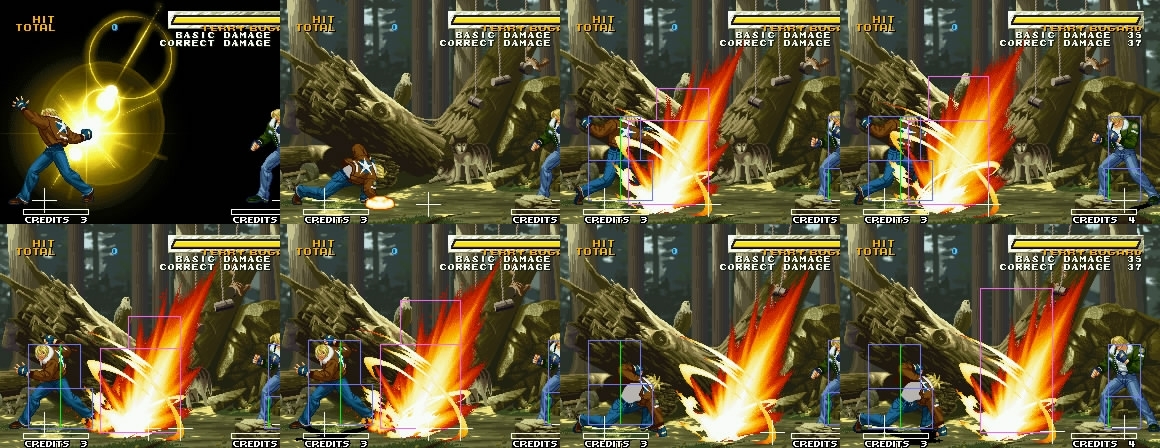
Easily Terry's best and most useful Special move. On hit, it juggles the opponent into a state where Terry can easily land any one of his Supers (or just another Power Dunk, in case he's meterless). It can be canceled out of pretty much almost all of Terry's best normal moves, so a good Terry player must master this Special, so that any hit of his can lead into it, allowing a free Super. Jumps and short-jumps into his Break work magnificently when Terry is at the offense, and when he's not, an Anti-Air Break will intercept almost any jumps or hops, with or without a Guard Cancel. On block, the weak version will be pushed back a little bit more, while the strong version will keep Terry at his place. Remember not to abuse this, however, since it can (and will, if you're not careful) be punished by any Super with 0F of start-up.
Power Charge (A)
| Command | Start Up | Hit | Guard |
| 11 | -7 | -7 | |
| --- |
--- | KD | -16 |
| ------ |
--- | KD | -18 |
Terry's "Rekka" Special, that can be followed up twice by repeating the inputs for the Special. Very unsafe on block, so remember to confirm your combos before using this. In combos, only the first two hits will usualy land, but always go for the third hit anyway, even if you know it will whiff (since Terry will gain a little meter with it). When your enemy is at the corner, however, all three blows will land, causing knockdown and just hurting like hell.
Power Charge (C)
| Command | Start Up | Hit | Guard |
| 20 | +7 | +7 | |
| --- |
--- | +2 | +2 |
| ------ |
--- | KD | -13 |
Another one of Terry's best moves (even if it can be considered kind of "gimmicky"). It's main use, undoubtedly, is in Terry's lockdown pressure and Guard Crush setups, since the first two hits are completely safe on block, and allow Terry to keep on attacking. After using this move once, Terry will usually follow-up with any blockstring variety that he desires, just so that he can unexpectedly reset the blockstring all over again by suddenly using another Power Charge, till the enemy's guard is finally broken and he can land his most damaging combos. There are lots of ways to escape the reset, and lots of ways that Terry can counter those escape attempts and keep on pressuring, which is great part of his corner strenght and mind-games. This will all, however, be discussed about in more detail in an individual and proper section.
Power Geyser (A)
| Command | Start Up | Hit | Guard |
| 7 | KD | -38 |
The most iconical and nostalgic move at the Legendary Hungry Wolf's disposal since Fatal Fury 2 is back... and it's average at best. It doesn't do as much damage as his Kick Super, it has a relatively slow start-up, the range on it's hitbox doesn't reach nearly as far as it's animation would suggest, it can whiff completely when used in the direction of the corner, and the recovery on it, in case it gets block or it whiffs, is absolutely ridiculous. To make matters worse, since it only hits once, the opponent can just use an Air-JD to gain a little life back, land, and still have more than enough time to easily punish you. It's not useless by any means, however: it has a surprisingly large ammount of invincibility frames on it's startup, and it works great as an Anti-Air against short hops (allowing follow-ups combos with his Kick Super, in case it trades). Just make sure to use it at the right times, or save the meter for his other Super.
Power Geyser (C)
| Command | Start Up | Hit | Guard |
| 3 | KD | -68 |
A triple Power Geyser attack. Lightning-quick start-up, and even greater amount of invincibility frames than before, sure are good pros, but most of the cons of it's weaker version remains, making this less useful than it seems. It's one of the very moves on Terry's arsenal that can easily be hit-confirmed out of his target combo, which can be sometimes useful.
Buster Wolf (B)
| Command | Start Up | Hit | Guard |
| 8 | KD | -17 |
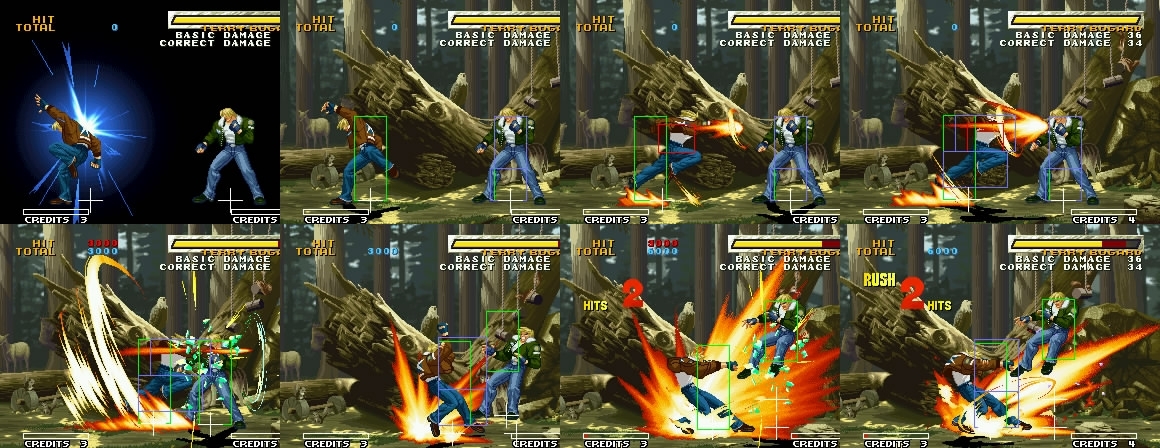
The Legendary Hungry Wolf's new trademark Super, and honestly, his best. It has less invincibility frames than his punch Super, it's true, but it inflicts greater damage and (thankfuly) can be used independently of Terry's overall position in the stage. Learn how to hit-confirm with Terry into this Super, and always try to land one whenever you hit your enemy out of something with your Break if you have the meter to spare; and since we are speaking of meter, remember to always whiff a strong Power Charge while your enemy is still knocked down, so you can safely approach and gain a little meter at the same time.
Buster Wolf (D)
| Command | Start Up | Hit | Guard |
| 4 | KD | -34 |
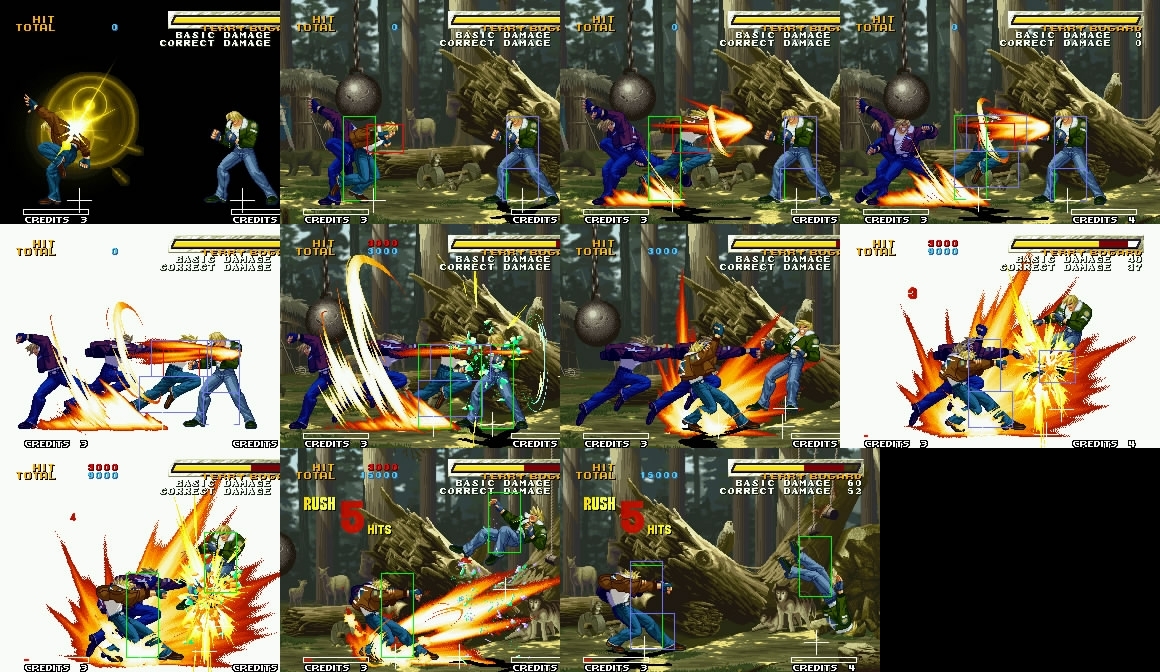
With a twice as fast start-up time, added number of hits (five in total), and increased damage potential, this Super is Terry's best combo finisher and punishment tool by far, even if it's not generaly advised to use two stocks of Super at once (unless it guarantees the kill). Quick note: almost all hits will end up whiffing if Terry use this version of his Super immediately after a Counter-Hit Break, so don't forget to use a second Break before you spend your precious meter and it all goes to waste.
Combos and Links
Basic
Jump-ins
Pretty basic jump-in to use at far distances, since 'cr. C' has more range than 'cl. C'. Average damage and safe on block (except when the enemy is at the corner).
Use Terry's kick Super instead of his Power Wave if you have the meter to spare. Keep in mind that it's not generally advised to burn your whole Super meter unless you're going for the kill; but if you want do a lot of damage as quickly as possible (specially when your T.O.P. is active), don't think twice about it and let them feel the pain.
Use this instead of the above if Terry is a little bit closer to the enemy. Midscreen, the third hit of the Power Charge will whiff, but do it anyway so you can gain meter. Good damage (even better in the corner), but really unsafe and dangerous on block.
'cl. C' can be interchanged here with a 'cr. B' instead, if you are having problems canceling 'cl. C' into Super (the difference in damage is minimal).
Standing
Good way to punish things at point-blank range that just a regular st. C wouldn't be able to.
Another fast punish to land once in a while, when you have the meter to spare. Since you don't need to use the motion store technique to land this, you can hit-confirm it out of a regular poke when the situation calls for it. Be sure it will end the round, though, since the meter cost is high.
This isn't a cancel. It's a link, and a pretty easy one too. A nice hit-confirm to use once in a while as a last resort. Never use this if your opponent has his back against the corner, since the last hit of the Super will whiff.
Another good combo to use when you find yourself in need of a quick punish. The strong version of the Power Dunk does a little bit more (but still quite average) damage.
It's far better to finish the above combo with Terry's kick Super instead of his regular Power Dunk if your meter allows so. It is, however, generally not advised to spend your two precious bars unless you're going for the kill, but if you want do a lot of damage as quickly as possible (specially when your T.O.P. is active), don't hesitate to use them.
Low-hitting
As basic as it gets. Always use the strong version of Power Wave, otherwise it won't combo properly. This must be used at point-blank range, or the second 'cr. B' may whiff because of it's poor range. Average damage, and safe on block (except when the enemy is at the corner).
The best and most common way to hit-confirm Terry's kick Super. Be careful with the range on the second 'cr. B'. It's advised not to spend two meters on this unless it's going to guarantee the kill. Pretty good damage.
Has better range than the previous combo, but it's unsafe on block, so be sure to confirm it. Always go for the third hit of the Power Charge, even if it whiffs, to gain meter. Average damage.
Excelent meterless combo to be used against an enemy with his back against the corner. Does really good damage, and hit-confirming the Power Charge is relatively easy. The best about it, however, is that it will beat anyone trying to backdash in their wake-up (the 'cr. B' will whiff, but the 'cl. C' will hit them out of their recovery).
High-hitting
One of Terry's main meterless combos, adding a lot of strength to his mixup game. Extremely dangerous against characters that have a Super with 0F of startup at their disposal, so be careful. 'j. B' is the best way to start this combo since it's so fast.
Again, Terry's kick Super should definetly be used here. As always, mind your meter.
Intermediary
Jump-ins
Standing
Now the fun begins, as we start to use Terry's Feint Cancel to improve our combos. This one is really good, now only because it scores him some good damage, but also because it's safe on block (and it will hurt the enemy's defense health).
This one dores more damage, but it's unsafe on block. Terry's Burning Knuckle also won't combo unless the first 'cl. C' was done at point-blank range. Use with cautions.
Great punishment weapon. The rule of generaly not spending two meters unless it will win the round still applies, though. Be sure to confirm this.
If Terry performs a slightly walk after his Feint Cancel, he will be able to land all three hits of the Power Charge, even midscreen. Really good combo.
Low-hitting
High-hitting
Advanced
Jump-ins
Standing
Low-hitting
High-hitting
- File:D1.gif
 (meaty), s.
 (c),fc, File:D1.gif
 ,
,
T.O.P. Notes
To come.
Overall Strategy
To come.
Matchup Notes
To come.
Advanced Tactics
To come.
