| Line 105: | Line 105: | ||
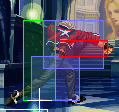
[[File:RockHitboxSet1.jpg]]<br> | [[File:RockHitboxSet1.jpg]]<br> | ||
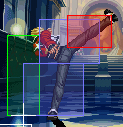
[[File:RockJump.jpg]] [[file:up1.gif]] | [[File:RockJump.jpg]] [[file:up1.gif]] | ||
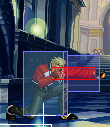
[[File:RockThrow.jpg]] | [[File:RockThrow.jpg]] CLOSE [[File:f.png]] + [[File:snkc.gif]] | ||
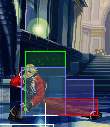
[[File:RockFwdFeint.jpg]] [[File:f.gif]] + [[File:snka.gif]] + [[File:snkc.gif]] | [[File:RockFwdFeint.jpg]] [[File:f.gif]] + [[File:snka.gif]] + [[File:snkc.gif]] | ||
Revision as of 05:57, 1 October 2011
Introduction
To come.
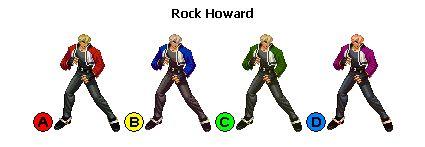
Character Colors
Gameplay Overview
To come.
Move List
Command Normal Moves
Special Command Moves
| Command | Move | Weak Damage | Strong Damage |
| Reppu-ken | 12 | 10/18 (2 hits) | |
| Crack Counter | 12 | 16 | |
| Hard Edge | 12 | 18 | |
| Rage Run | 20 | 0 | |
| ch. |
Rising Tackle | 18 | 21 |
| File:360a.png + |
Evac Toss | NA | 20 |
| Rasetsu | NA | 11 | |
| Raging Storm | 33 | 46 | |
| Shinning Knuckle | 32 | 47/55 (more dmg in corner) | |
| Neo Deadly Rave | NA | 49/59 (more dmg in corner) |
Attributes
Damage level: Normal
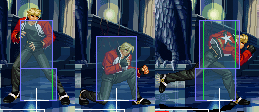
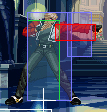
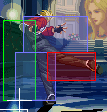
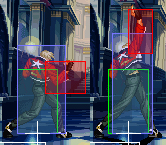
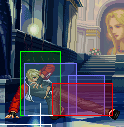
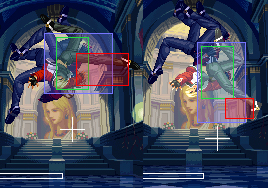
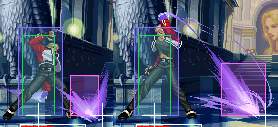
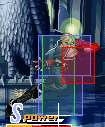
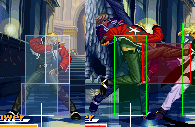
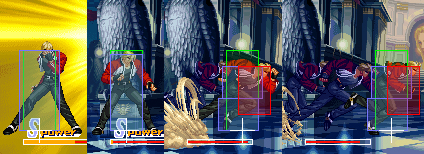
Hitboxes
Legend:
Hit Box: Area that will hit the opponent
Hurt Box: Area where you can get hit. A move is invincible if the Hurt Box is absent.
Throw Box/Range: Active throw frames and range. Your opponent will be thrown in this field if not in block or hit stun.
Projectile Box: Hit box on a projectile attack
Guard/Counter Box: The Guard Box or Counter Box. This appears when blocking or using a counter move.
Push Box: Has no bearing on hurt/hit boxes. Just allows characters to not pass through each other.
Frame Data
Legend :
Command = the input for the attack.
Start Up = How many start up frames a move/attack has.
Hit = When the attack hits.
Block = When the attack is blocked.
+ signifies how many advantage frames the attacker has.
- signifies how many disadvantage frames the attacker has.
KD means the attack will knock the opponent down.
| Command | Start Up | Hit | Guard |
| Close |
3 | +6 | +6 |
| Close |
3 | +2 | +2 |
| Close |
5 | -8 | -8 |
| Close |
10 | -6 | -6 |
| --- |
10 | -8 | -8 |
| Far |
3 | +4 | +4 |
| Far |
6 | -3 | -3 |
| Far |
10 | -6 | -6 |
| Far |
11 | -9 | -9 |
| 4 | +3 | +3 | |
| 4 | +5 | +5 | |
| 4 | -3 | -3 | |
| 8 | KD | -12 | |
| 21 | -6 | -6 | |
| 9 | -11 | -5 | |
| 12 | -3 | -3 | |
| 13 | 0 | 0 | |
| 3 | KD | +4 | |
| 3 | KD | +4 | |
| ch |
10 | KD | -29 |
| ch |
10 | KD | -32 |
| 11 | KD | -5 | |
| 17 | KD | -12 | |
| 22 | KD | -3 | |
| 11 | KD | NA | |
| 29 | KD | -16 | |
| 13 | KD | -23 | |
| 18 | KD | -51 | |
| 1 | KD | -13 | |
| 0 | KD | -15 | |
| 0 | KD | -2 |
Data from Howard's Arena
Attack Notes
![]() +
+ ![]() :
:
Ground projectile C version does a point blank ground projectile then sends out a Reppu-ken. The Reppu-ken he sends is weaker than the normal Reppu-ken
![]() +
+ ![]() :
:
![]() counters mid & high attacks, while
counters mid & high attacks, while ![]() counters low attacks.
counters low attacks.
![]() +
+ ![]() :
:
A version has Rock do a quick short dash with an elbow attack. C has him follow-up with a punch. The C version is slower than the A version.
![]() +
+ ![]() :
:
B version has him dash then do an overhead punch, while D will warp him behind his opponent. The B version is very risky as the punch has some start-up delay. The D version is a good set-up for his 360+C.
File:360a.png + ![]() :
:
Command throw & is Break-able with AB. There are 3 things to do with this move:-
1- Just doing 360+C will have Rock throw his opponent to the opposite side of the screen.
2- Breaking the move with AB will allow Rock to follow up with a special move or super.
3- Holding AB during the Evac Toss will have Rock charge up his fist for an energy blast. The timing is strict to get this follow-up to connect. This follow-up is the Rasetsu.
Combos
Anywhere:
1) Jumping ![]() -->Standing
-->Standing ![]() -->
-->![]() +
+![]()
2) Jumping ![]() -->Standing
-->Standing ![]() -->
-->![]() x2+
x2+![]() OR Neo Deadly Rave
OR Neo Deadly Rave
3) Jumping ![]() /
/![]() -->
-->![]() +
+![]() +
+![]() -->QCFx2+A
-->QCFx2+A
Corner only:
4) Jumping C/D-->Down+AB-->QCFx2+P
5) Jumping C-->Standing A-->Standing C-->QCF+C
6) Jumping C-->Standing A-->Standing C-->Neo Deadly Rave
7) Jumping C-->Standing A-->Standing C-->QCFx2+K
Back to corner:
8) 360+C, Break-->QCB+A-->QCFx2+D-->C Rising Tackle
*Time this combo to get 15 hits total
9) 360+C, Break-->QCFx2+C
10) 360+C, Break-->Rising Tackle-->QCFx2+D-->C Rising Tackle
T.O.P. Notes
To come.
Overall Strategy
To come.
Matchup Notes
To come.
Advanced Tactics
To come.
