| Line 100: | Line 100: | ||
|Chain: - | |Chain: - | ||
|- | |- | ||
! [[image:snkb.gif]] | |||
|align="center"| // | |||
|align="center"| / | |||
|align="center"| C | |||
|align="center"| HL | |||
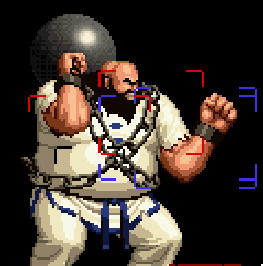
|colspan="3" | [[image:Cl.b chang kof99.jpg|center]] | |||
|Identical to far B | |||
|- | |||
! [[image:snkc.gif]] | |||
|align="center"| // | |||
|align="center"| / | |||
|align="center"| -/- | |||
|align="center"| HL/HL | |||
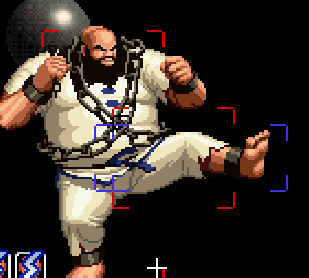
|valign="bottom" style="border-right:0px;"| [[image:Cl.c 1 chang kof99.jpg|center]] | |||
|colspan="2" valign="bottom" style="border-left:0px;"| [[image:Cl.c 2 chang kof99.jpg|center]] | |||
| | |||
|- | |||
! [[image:snkd.gif]] | |||
|align="center"| // | |||
|align="center"| / | |||
|align="center"| C | |||
|align="center"| HL | |||
|colspan="3" | [[image:Cl.d chang kof99.jpg|center]] | |||
| | |||
|- | |||
|colspan="9" align="center"| '''Standing Far''' | |||
|- | |||
! [[image:snka.gif]] | |||
|align="center"| // | |||
|align="center"| / | |||
|align="center"| - | |||
|align="center"| HL | |||
|colspan="3" | [[image:Far a chang kof99.jpg|center]] | |||
| Super crazy diesel anti-air vs short hop or even a normal height jump, and has high priority in general. | |||
Chain: - | |||
|- | |||
! [[image:snkb.gif]] | |||
|align="center"| // | |||
|align="center"| / | |||
|align="center"| C | |||
|align="center"| HL | |||
|colspan="3" | [[image:Far b chang kof99.jpg|center]] | |||
| The move of choice to cancel into things, since it's Chang's fastest cancelable move. It even links into his A Belly Flop (qcf qcf + A). | |||
It has more hit stun than other weak attacks, the hit stun is the same of a normal heavy attack (df + A can combo from it for example). | |||
Chain: - | |||
|- | |||
! [[image:snkc.gif]] | |||
|align="center"| // | |||
|align="center"| / | |||
|align="center"| - | |||
|align="center"| HL | |||
|colspan="3" | [[image:Far c chang kof99.jpg|center]] | |||
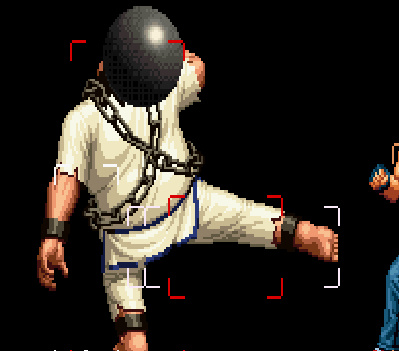
| Long range and a pretty big hitbox, but slow and has a lot of recovery. Still, you can use it to beat certain pokes and things, so experiment. | |||
|- | |||
! [[image:snkd.gif]] | |||
|align="center"| 13/9/22 | |||
|align="center"| -11/-13 | |||
|align="center"| - | |||
|align="center"| HL | |||
|colspan="3" | [[image:Far d chang kof99.jpg|center]] | |||
| | |||
|- | |||
! [[image:snkc.gif]]+[[image:snkd.gif]] | |||
|align="center"| // | |||
|align="center"| KD/ | |||
|align="center"| S | |||
|align="center"| HL | |||
|colspan="3"| [[image:Cd chang kof99.jpg|center]] | |||
| Nice big hitbox, cancelable. Good as a meaty. | |||
|- | |||
|colspan="9" align="center"| '''Crouching''' | |||
|- | |||
! [[image:snka.gif]] | |||
|align="center"| // | |||
|align="center"| / | |||
|align="center"| C | |||
|align="center"| HL | |||
|colspan="3" | [[image:Cr a chang kof 99.jpg|center]] | |||
| Easy to cancel into Ball Swing (P rapidly). | |||
Chain: - | |||
|- | |||
! [[image:snkb.gif]] | |||
|align="center"| 7/5/12 | |||
|align="center"| -5/-7 | |||
|align="center"| C | |||
|align="center"| L | |||
|colspan="3" | [[image:Cr b chang kof99.jpg|center]] | |||
| Low and cancelable, but slow. Good as a meaty. | |||
Chain: - | |||
|- | |||
!rowspan="2"| [[image:snkc.gif]] | |||
|rowspan="2" align="center"| // | |||
|rowspan="2" align="center"| / | |||
|rowspan="2" align="center"| C (1st part) | |||
|rowspan="2" align="center"| HL | |||
|valign="bottom" style="border-right:0px; border-bottom:0px;"| [[image:Cr c 1 chang kof99.jpg|center]] | |||
|valign="bottom" style="border-right:0px; border-left:0px; border-bottom:0px;"| [[image:Cr c 2 chang kof99.jpg|center]] | |||
|valign="bottom" style="border-left:0px; border-bottom:0px;"| [[image:Cr c 3 chang kof99.jpg|center]] | |||
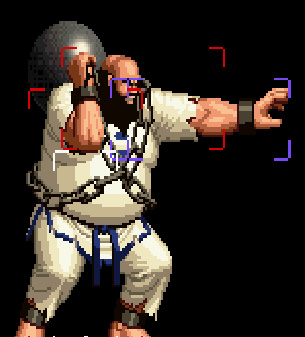
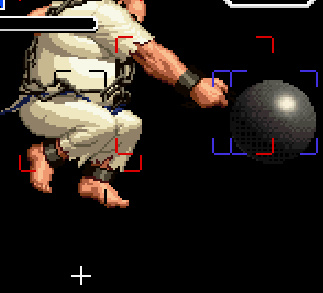
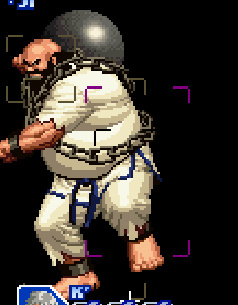
|rowspan="2"| Cancelable before he extends his arm all the way. Can be used an an early anti-air. | |||
|- | |||
|valign="bottom" style="border-right:0px; border-top:0px;"| [[image:Cr c 3 chang kof99.jpg|center]] | |||
|colspan="2" valign="bottom" style="border-left:0px; border-top:0px;"| [[image:Cr c 3 chang kof99.jpg|center]] | |||
|- | |||
! [[image:snkd.gif]] | |||
|align="center"| // | |||
|align="center"| KD/ | |||
|align="center"| C | |||
|align="center"| L | |||
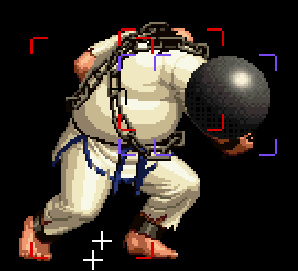
|valign="bottom" style="border-right:0px;"| [[image:Cr d 1 chang kof99.jpg|center]] | |||
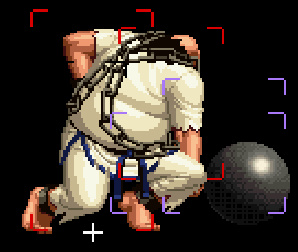
|valign="bottom" style="border-right:0px; border-left:0px;"| [[image:Cr d 2 chang kof99.jpg|center]] | |||
|valign="bottom" style="border-left:0px;"| [[image:Cr d 3 chang kof99.jpg|center]] | |||
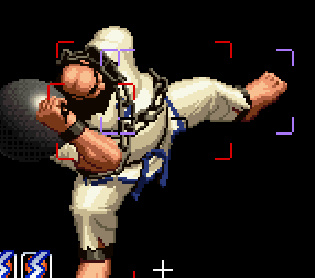
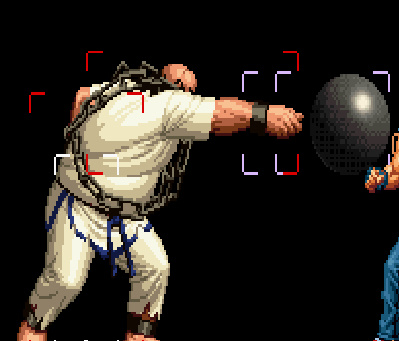
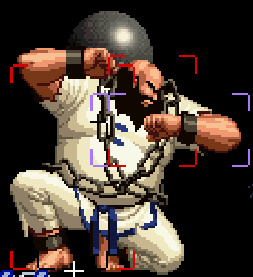
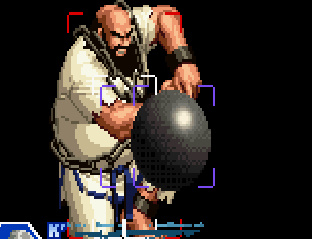
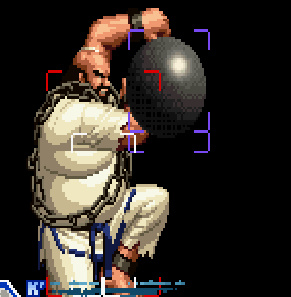
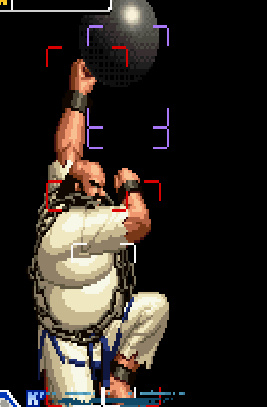
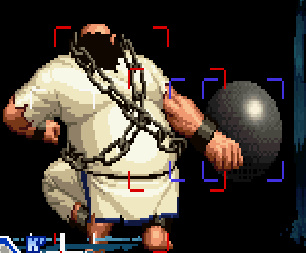
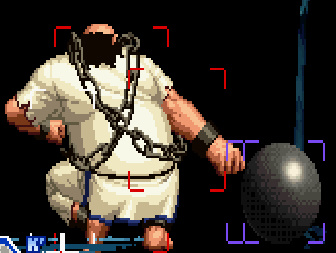
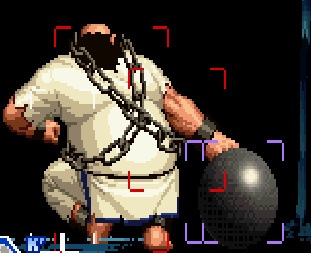
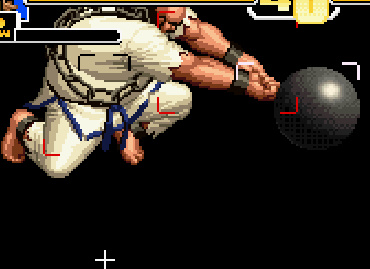
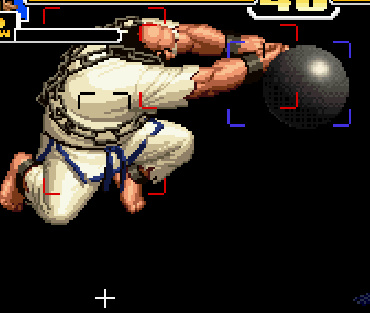
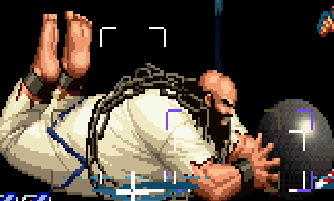
| #1 long range ground move. Cancelable on hit/block or on whiff, good to cancel into Ball Swing~cancel or A Ball Thrust ((b) f + A). Has a blind spot between Chang and the ball. | |||
|- | |||
|colspan="9" align="center"| '''Jump''' | |||
|- | |||
! [[image:snka.gif]] | |||
|align="center"| //- | |||
|align="center"| -/- | |||
|align="center"| - | |||
|align="center"| H | |||
|colspan="3" | [[image:J.a chang kof99.jpg|center]] | |||
| | |||
|- | |||
! [[image:snkb.gif]] | |||
|align="center"| //- | |||
|align="center"| -/- | |||
|align="center"| - | |||
|align="center"| H | |||
|colspan="3" | [[image:J.b chang kof99.jpg|center]] | |||
| | |||
|- | |||
! [[image:snkc.gif]] | |||
|align="center"| //- | |||
|align="center"| -/- | |||
|align="center"| - | |||
|align="center"| H | |||
|colspan="3" | [[image:J.c chang kof99.jpg|center]] | |||
| | |||
|- | |||
! [[image:snkd.gif]] | |||
|align="center"| //- | |||
|align="center"| -/- | |||
|align="center"| - | |||
|align="center"| H | |||
|colspan="3" | [[image:J.d chang kof99.jpg|center]] | |||
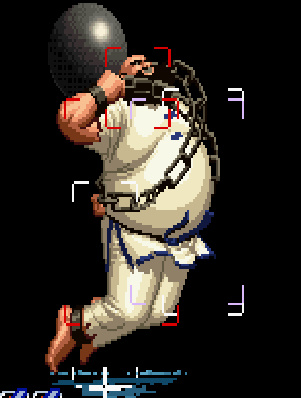
| Jumping attack if choice when you're too close for jumping C. Good as a jump-in to combo st.B > Ragdoll Slam from. | |||
|- | |||
! [[image:snkc.gif]]+[[image:snkd.gif]] | |||
|align="center"| //- | |||
|align="center"| KD/- | |||
|align="center"| - | |||
|align="center"| HL | |||
|valign="bottom" style="border-right:0px;"| [[image:J.cd 1 chang kof99.jpg|center]] | |||
|colspan="2" valign="bottom" style="border-left:0px;"| [[image:J.cd 2 chang kof99.jpg|center]] | |||
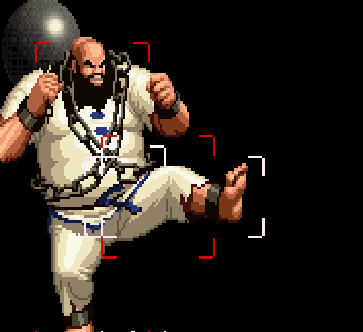
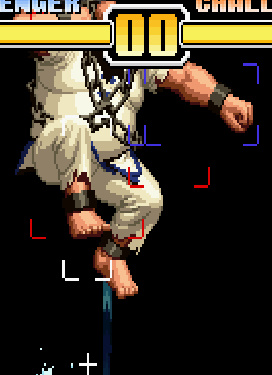
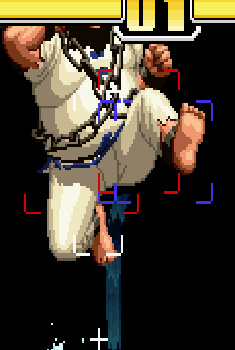
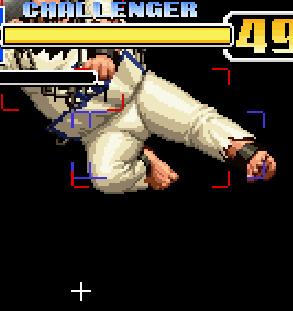
| Infamous jumping attack #2. Longer reach and more horizontally angled than jumping C. Actually better for hitting lower at long range than jumping C because it stays out longer. | |||
|- | |||
|colspan="9" align="center"| '''Command Normals''' | |||
|- | |||
! df + [[image:snka.gif]] | |||
|align="center"| // | |||
|align="center"| KD/ | |||
|align="center"| - | |||
|align="center"| L | |||
|colspan="3" | [[image:Cr df+a chang kof99.jpg|center]] | |||
| Low slide. Can go under any non-ground fireballs or high attacks. Has really bad recovery compared to other slides so be very careful using it. | |||
|- | |||
|colspan="9" align="center"| '''Special Moves''' | |||
|- | |||
! (b) f + [[image:snka.gif]] | |||
|align="center"| | |||
|align="center"| | |||
|align="center"| | |||
|align="center"| HL | |||
|valign="bottom" style="border-right:0px;"| [[image:Ch, f + A 1 chang kof99.jpg|center]] | |||
|colspan="2" valign="bottom" style="border-left:0px;"| [[image:Ch, f + A 2 chang kof99.jpg|center]] | |||
|rowspan="2"| '''Ball Thrust ((b) f + P)'''<br> | |||
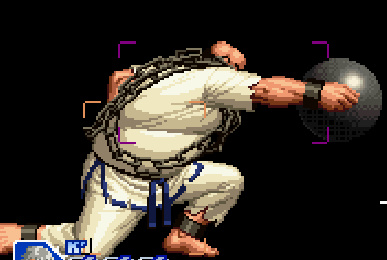
The startup has auto-guard, the A version is faster and has shorter auto-guard, C version is slower/longer auto-guard. This is a pretty nice long range move as an alternative to st.C. Don't use it close, you're asking to get comboed right after the auto-guard ends and before the attack comes out. | |||
The C version has an additional ball swing during the auto-guard before he attacks, and it can actually hit the opponent. This hardly ever hits, but it does do a shit ton fuck of damage. If it's a counter-hit, it'll hit twice, too. Once I tested on Yuri (low hp), MAX mode activated, counter-hit and it did about 90% damage. Not practical but good to know. | |||
|- | |||
! hcb f + [[image:punch.gif]] | |||
|align="center"| | |||
|align="center"| | |||
| | |||
|align="center"| Grab | |||
|colspan="3" | [[image:Hcb, f+A chang kof99.jpg|center]] | |||
|'''Ragdoll Slam (hcb f + P)'''<br> | |||
Instant command throw. You use it to throw people. Good after empty short hop, etc. you know the drill. This is KOF so get crackin'. | |||
|- | |||
! hcf + [[image:kick.gif]] | |||
|align="center"| | |||
|align="center"| KD | |||
| | |||
|align="center"| Normal attack | |||
|colspan="3" | [[image:Hcf+B chang kof99.jpg|center]] | |||
|'''Tekkyuu Taiko Uchi (hcf + K)'''<br> | |||
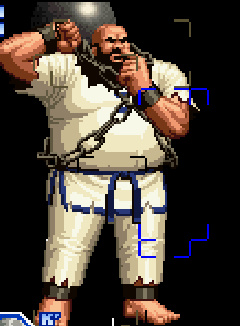
Chang stands and picks his nose, reversing air, high and mid attacks, as well as special moves and some DMs, doing mediocre damage. It cannot reverse most low attacks with the exception of ones that have a higher hitbox, such as Iori's crouch D | |||
|} | |||
[[Category:The King of Fighters '99]] | [[Category:The King of Fighters '99]] | ||
Revision as of 13:40, 9 August 2020
Introduction
Up Mid tier character in this game. Choi's best friend
Chang is a mid-range zoning, powerhouse and tank character
In-depth Analysis
Qualities :
- More powerful character of game
- His jump attacks who get good range, priority and various roles
- His ball who helps him to have a good keepaway gameplay
- Tekkyuu Dai Bousou >> qcf, hcb + P has startup invincibility
- Doesn't stay in corner vs Chang, above all without meter
Faults :
- He's slow, which gives him difficult matchups vs fireball characters (King, Bao, Iori, Takuma, K') and is pretty bad vs Choi
- Very big hitbox thus can enough easily be crossup
- No viable anti-air
- Tekkyuu Dai Bousou >> qcf, hcb + P has startup invincibility but is very slow thus cannot surprise opponent
- is pretty sensitive to low attacks and characters who have low crouching
Movelist
THROWS-------------------------------------------------------------------------
Hagan Geki >> When close - b / f + C, tap P repeatedly
Kusari Jime >> When close - b / f + D
COMMAND ATTACKS----------------------------------------------------------------
Hiki Nige >> df + P >> Hits low.
Evades several high attacks.
SPECIAL MOVES------------------------------------------------------------------
Tekkyuu Dai Kaiten >> Tap P repeatedly, move b/f >> Tap ABCD to stop.
Tekkyuu Tai Kouchi >> hcf + K
Tekkyuu Funsai Geki >> Charge b, f + P >> Has autoguard.
Dai Hakai Nage >> When close - hcb, f + P >> Unblockable.
DESPERATION MOVES--------------------------------------------------------------
Tekkyuu Dai Bousou >> qcf, hcb + P
Tekkyuu Dai Assatsu >> qcf, qcf + P
Tekkyuu Dai Bokusatsu >> qcf, qcf + K >> Negates several projectiles.
Hits opponents on the floor.
Combos
cr.C > df+A
Close D > hcb,f+C
cr.B > qcf,qcf+A
j.D > cl.B > hcb,f+C
cl.A or cr.A or cr.C or cl.B > Tekkyuu Dai Kaiten
