Matt Cowan (talk | contribs) No edit summary |
Matt Cowan (talk | contribs) mNo edit summary |
||
| Line 9: | Line 9: | ||
===Far A=== | ===Far A=== | ||
[[Image:Raoh-A.png]]<br> | [[Image:Raoh-A.png]]<br> | ||
A quick jab while advancing forward. Mostly used in | A quick jab while advancing forward. Mostly used in Traveling/Basuke combos. Can be used as an anti-air sometimes. | ||
===Close B=== | ===Close B=== | ||
Revision as of 10:50, 18 January 2013
This page covers Raoh's normal moves. His special and super moves are explained here.
Standing
Close A
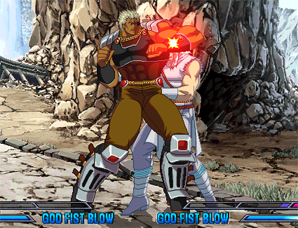
A short elbow jab. Very poor reach, but still can be used as an anti-air sometimes.
Far A
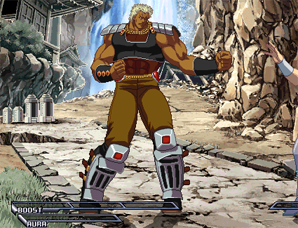
A quick jab while advancing forward. Mostly used in Traveling/Basuke combos. Can be used as an anti-air sometimes.
Close B
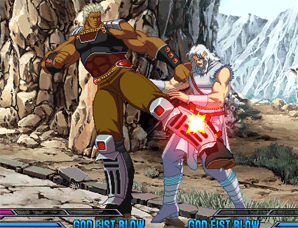
A kick to the shin. Can cancel into itself. Mostly used as a combo part.
Far B
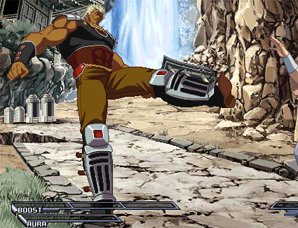
A light kick. Fairly fast execution and good range. Good for zoning and as an anti-air.
Close C
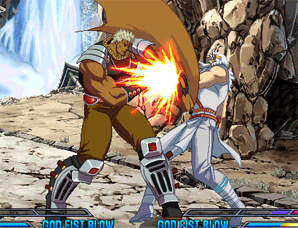
A strong overhead punch. Doesn't hit crouching opponents. Used mostly in combos to connect to a Banishing Strike. Holding C with a powerup stock available grants Super Armor and makes it unblockable.
Far C
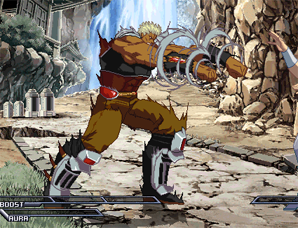
A two-handed punch. Identical to Kenshiro's far C, but due to Raoh's tall height it does not hit crouching opponents and is much less useful. Holding C with a powerup stock available grants Super Armor and makes it unblockable.
Close D
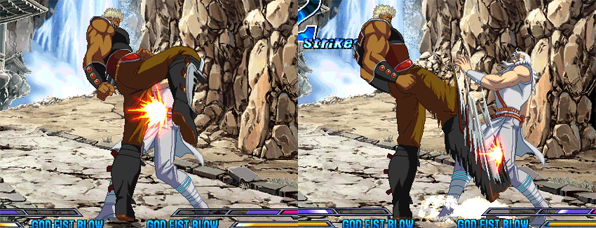
A knee followed by a drop kick. Both hits are cancelable, and the second hits low. The first hit can be a good spot to cancel into 6B as the startup animation looks the same as the second hit.
Far D
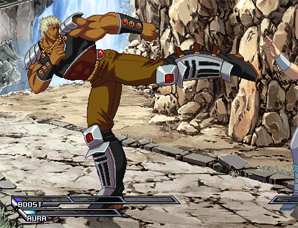
A sidekick. Its long range makes it good for beating out your opponents attacks, however it has very long recovery. Can chain into a Banishing Strike by Kara canceling from 2D(input D > 2CDCD or D > delay 2CD), making it a key move in combos.
Crouching
A
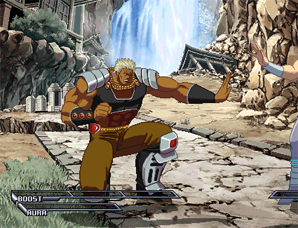
A crouching punch. At 4F startup, this is Raoh's fastest ground normal and is the only move capable of following up after an air Sai. Can be used to get out of pressure and as an anti-air in some cases, but often outright loses.
B
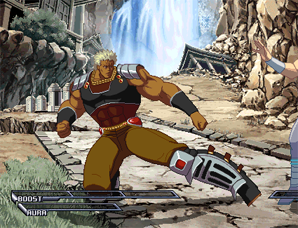
A crouching kick. Fairly decent range, good for zoning. Startup too slow to use to get out of pressure. As it is only a level 2 attack it can be hard to hit confirm Boost into a combo.
C
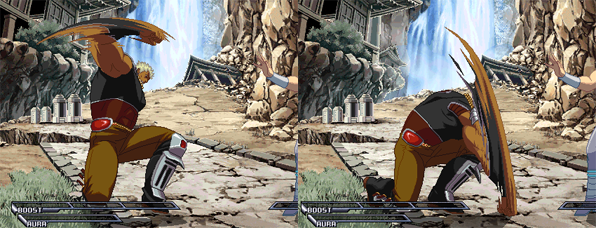
A strong punch to the ground. Causes opponent to bounce into the air even on normal hit, however in a combo of more than ~20 hits the opponent will instantly be knocked down. One of Raoh's few jump cancelable moves. Holding C with a powerup charge available makes the move become unblockable and gain Super Armor, and the opponent is launched high into the air on hit(must high jump after connecting or follow up will miss).
D
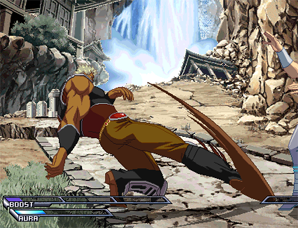
A low sweep kick. Very long range, can follow up with Insatsu, or a Grave Shoot in some situations. Like far D it is dangerous to miss with, but slightly safer as you can Kara cancel into a Grave Shoot or Banishing Strike. Holding D with a powerup stock available makes the move unblockable and launches the opponent into the air.
Air
A
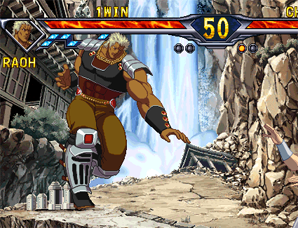
A jumping jab. Fairly strong and fast with a 3 frame startup. Used mostly for getting out of pressure.
B
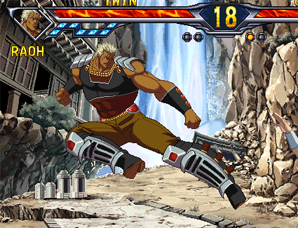
A jumping kick. Decent range. Used mostly for cross ups and in combos.
C
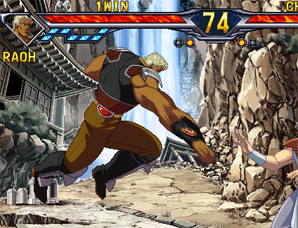
A strong air punch. Zero landing recovery. Can cancel into itself. Holding C with a powerup stock available makes the move unblockable and causes wall bounce.
D
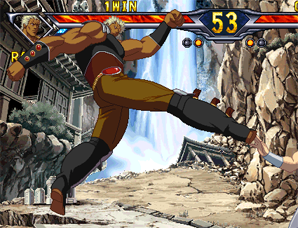
A 4-hit kick. The last hit is almost behind Raoh, making it good for cross ups from normal/high jumps.
Other
6A
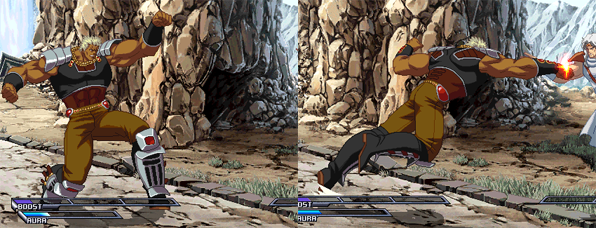
A charging punch. No use whatsoever. This move will likely be the cause of your demise many times as it loves to randomly come out when you try to input a reversal chop.
6B
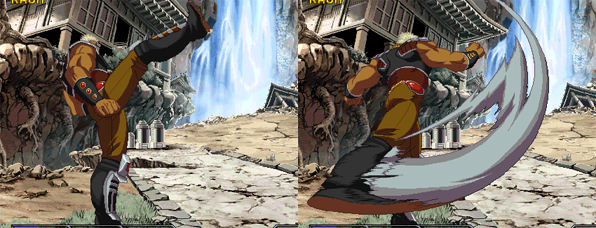
A drop kick. Hits overhead. Extremely hard to block when followed up with Boost 2B. There is no reason to ever use it without Boost as it is not cancelable and does not give advantage even on hit.
Throw
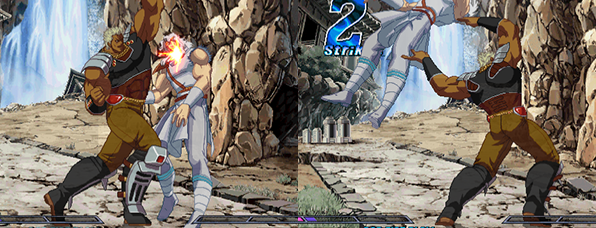
Raoh lifts up the opponent and throws them away. Follow up possible with Boost. Cannot cancel into Musou Insatsu. Great if you have enough Boost to follow up, otherwise not worth using.
BD Throw
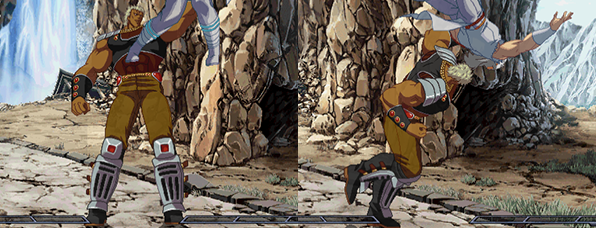
Raoh grabs the opponent by the face and smashes them to the ground. Follow up possible with Boost. Cannot cancel into Musou Insatsu. Generally only ever used to finish off a dizzied opponent.
Grave Shoot
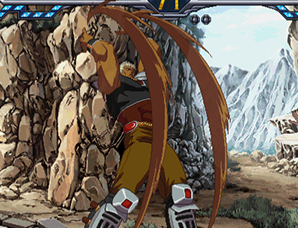
Raoh throws up his arms, launching his opponent into the air. Fairly short range to the sides, but very good against opponents in the air. Aside from its use as a combo part, it also functions as an early anti-air. Startup is fairly slow and recovery is long, so discretion is necessary when using it outside of combos.
Heavy Strike
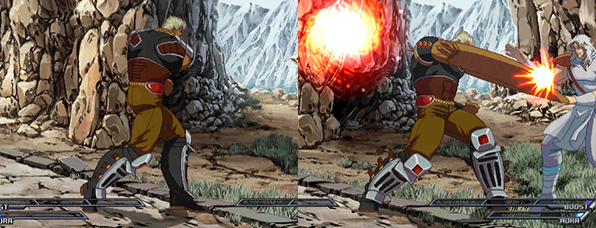
A backhand punch. Range is short and misses on all crouching characters except Heart and Raoh. Fairly bad as far as Heavy Strikes go but still useful in some situations.
Banishing Strike
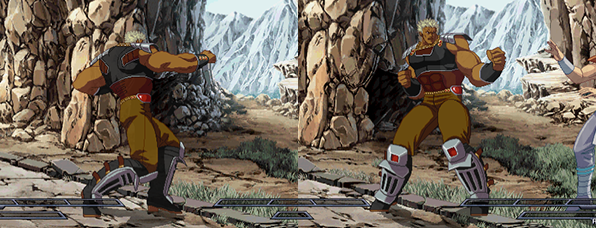
A painful looking body shot. Extremely important move used in pretty much all of Raoh's combos.